


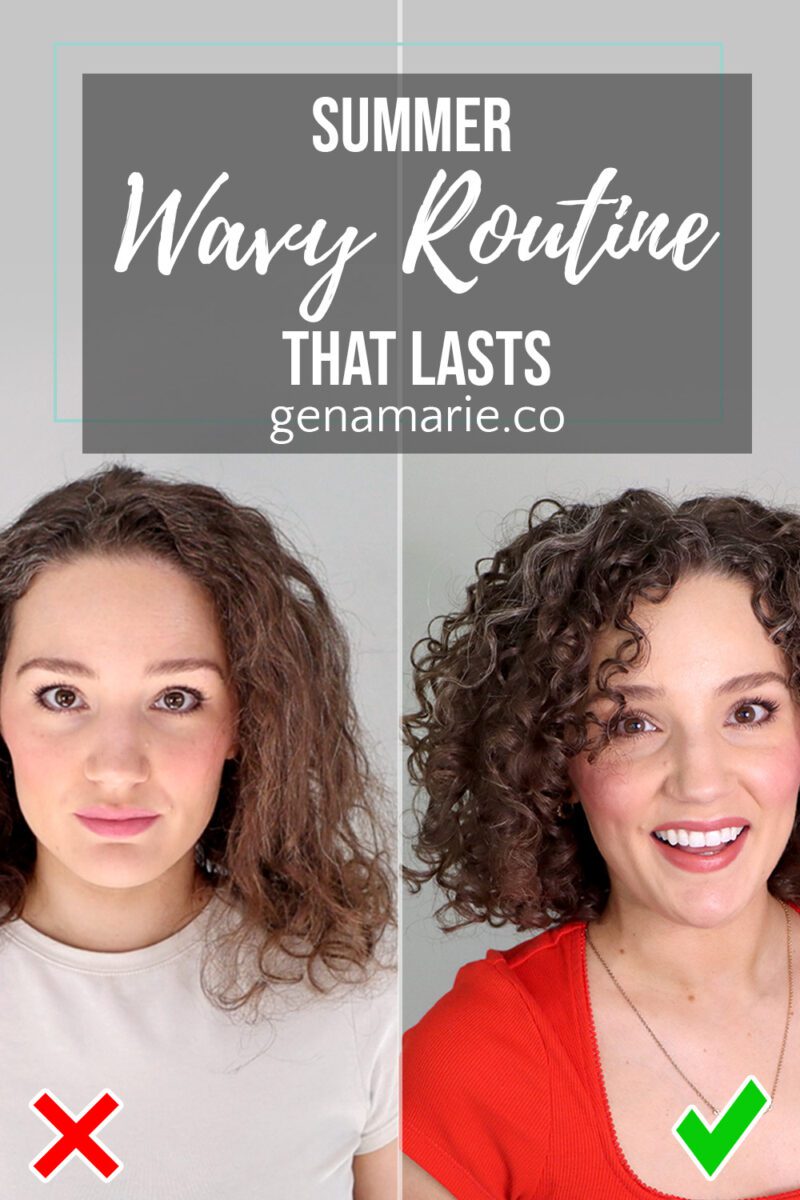
Wavy + Loose Curl Summer Routine That Actually Lasts
If your waves or loose curls fall flat every summer — losing definition by midday, never lasting past wash day — this routine is built

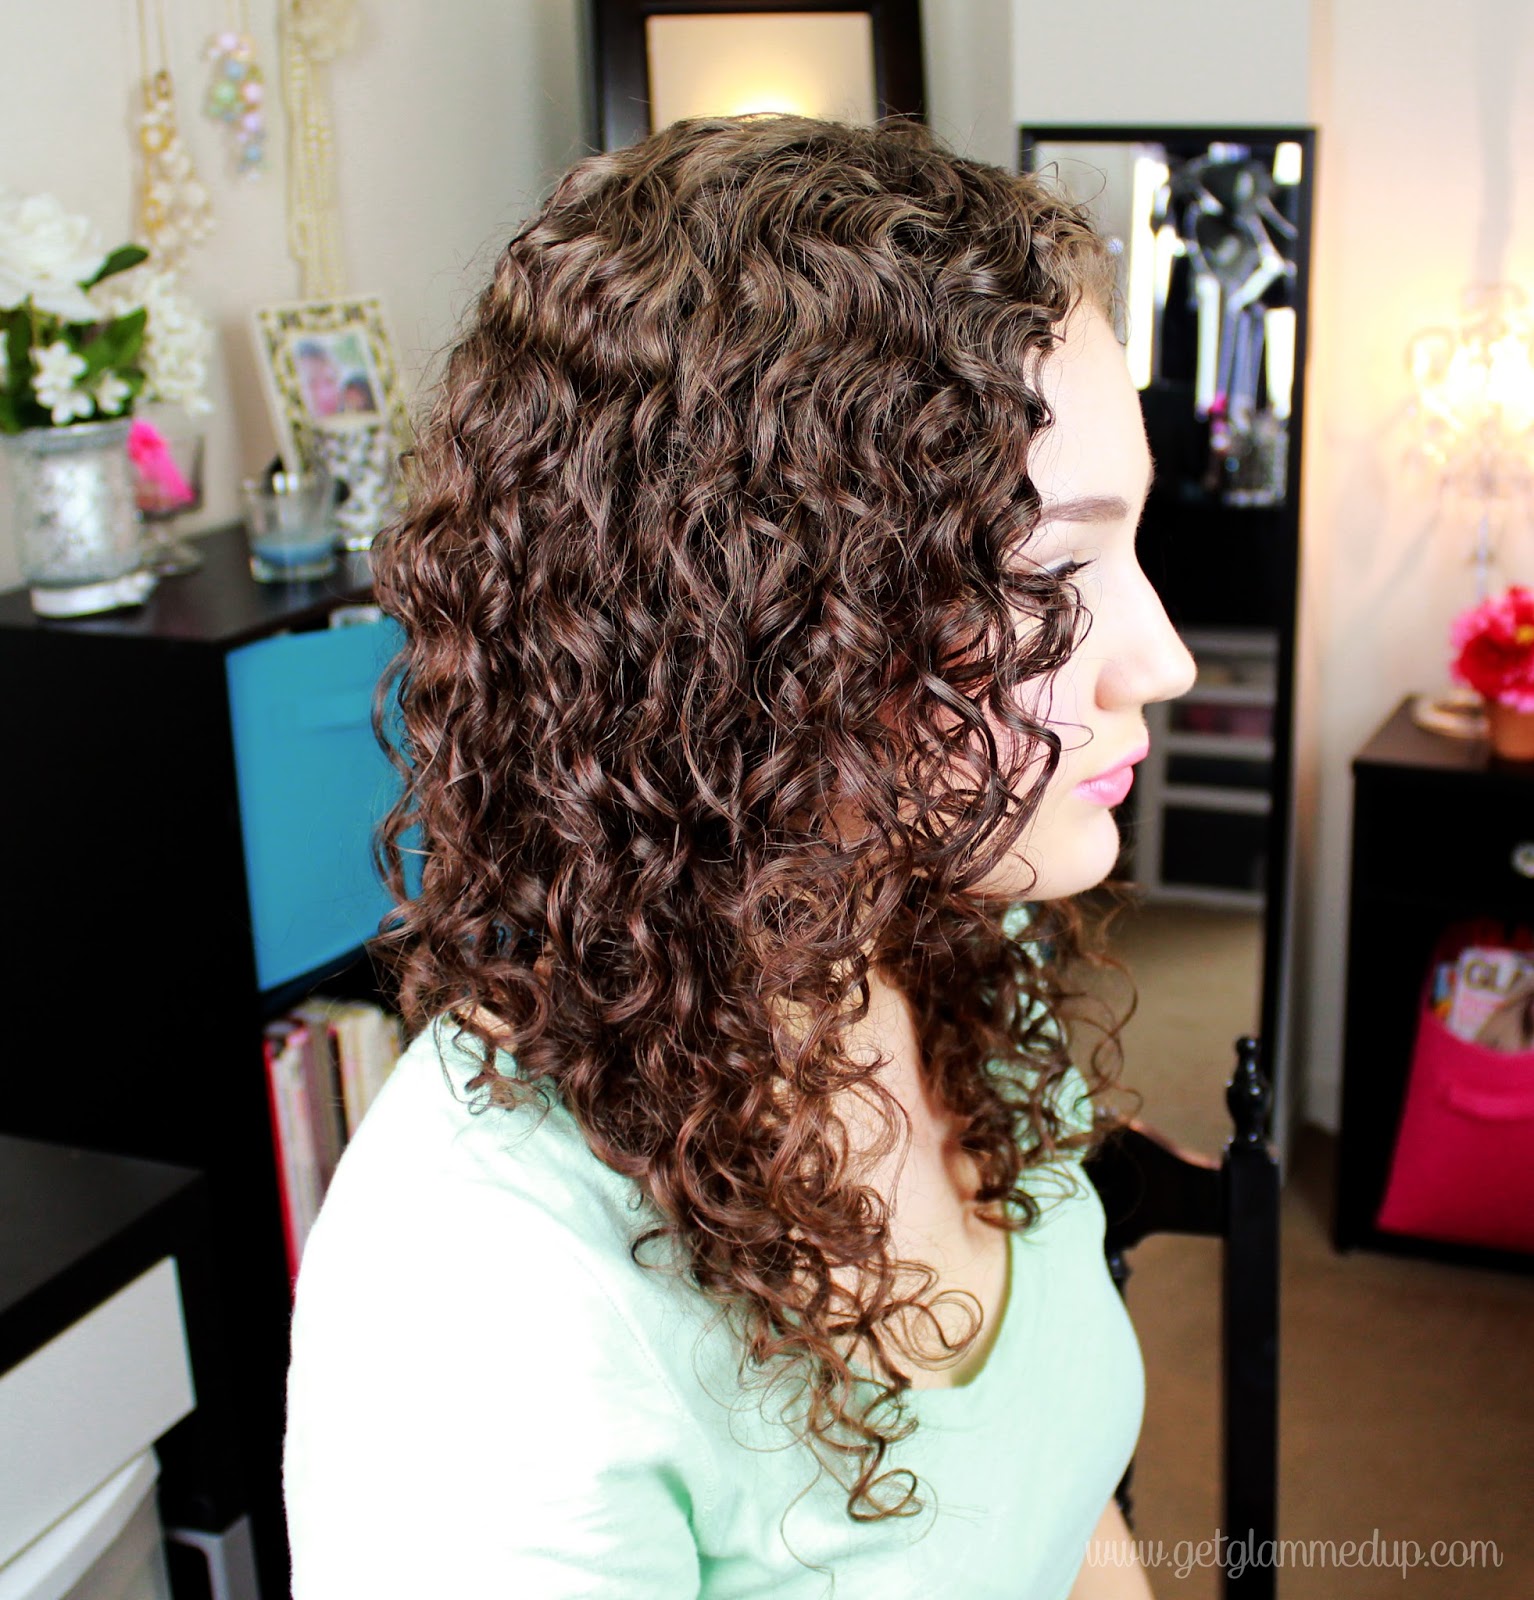
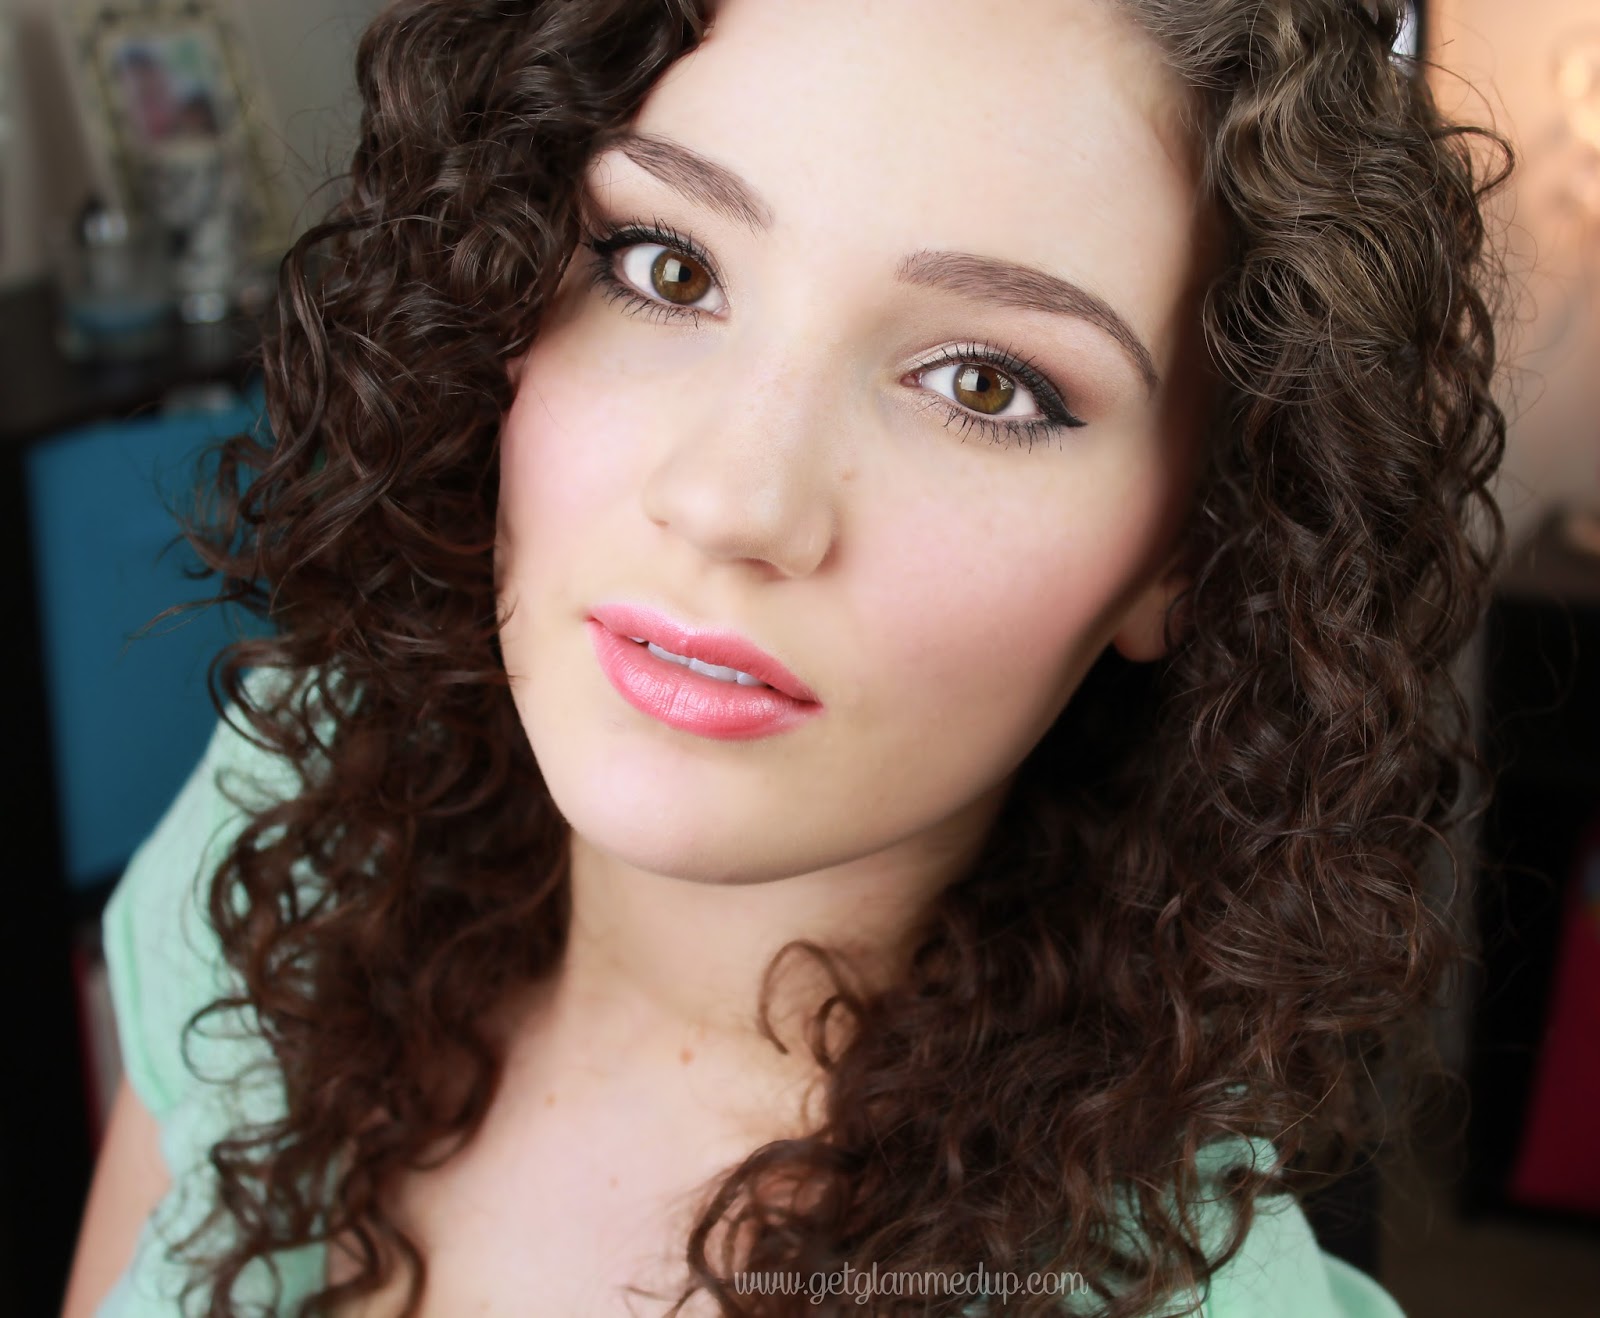
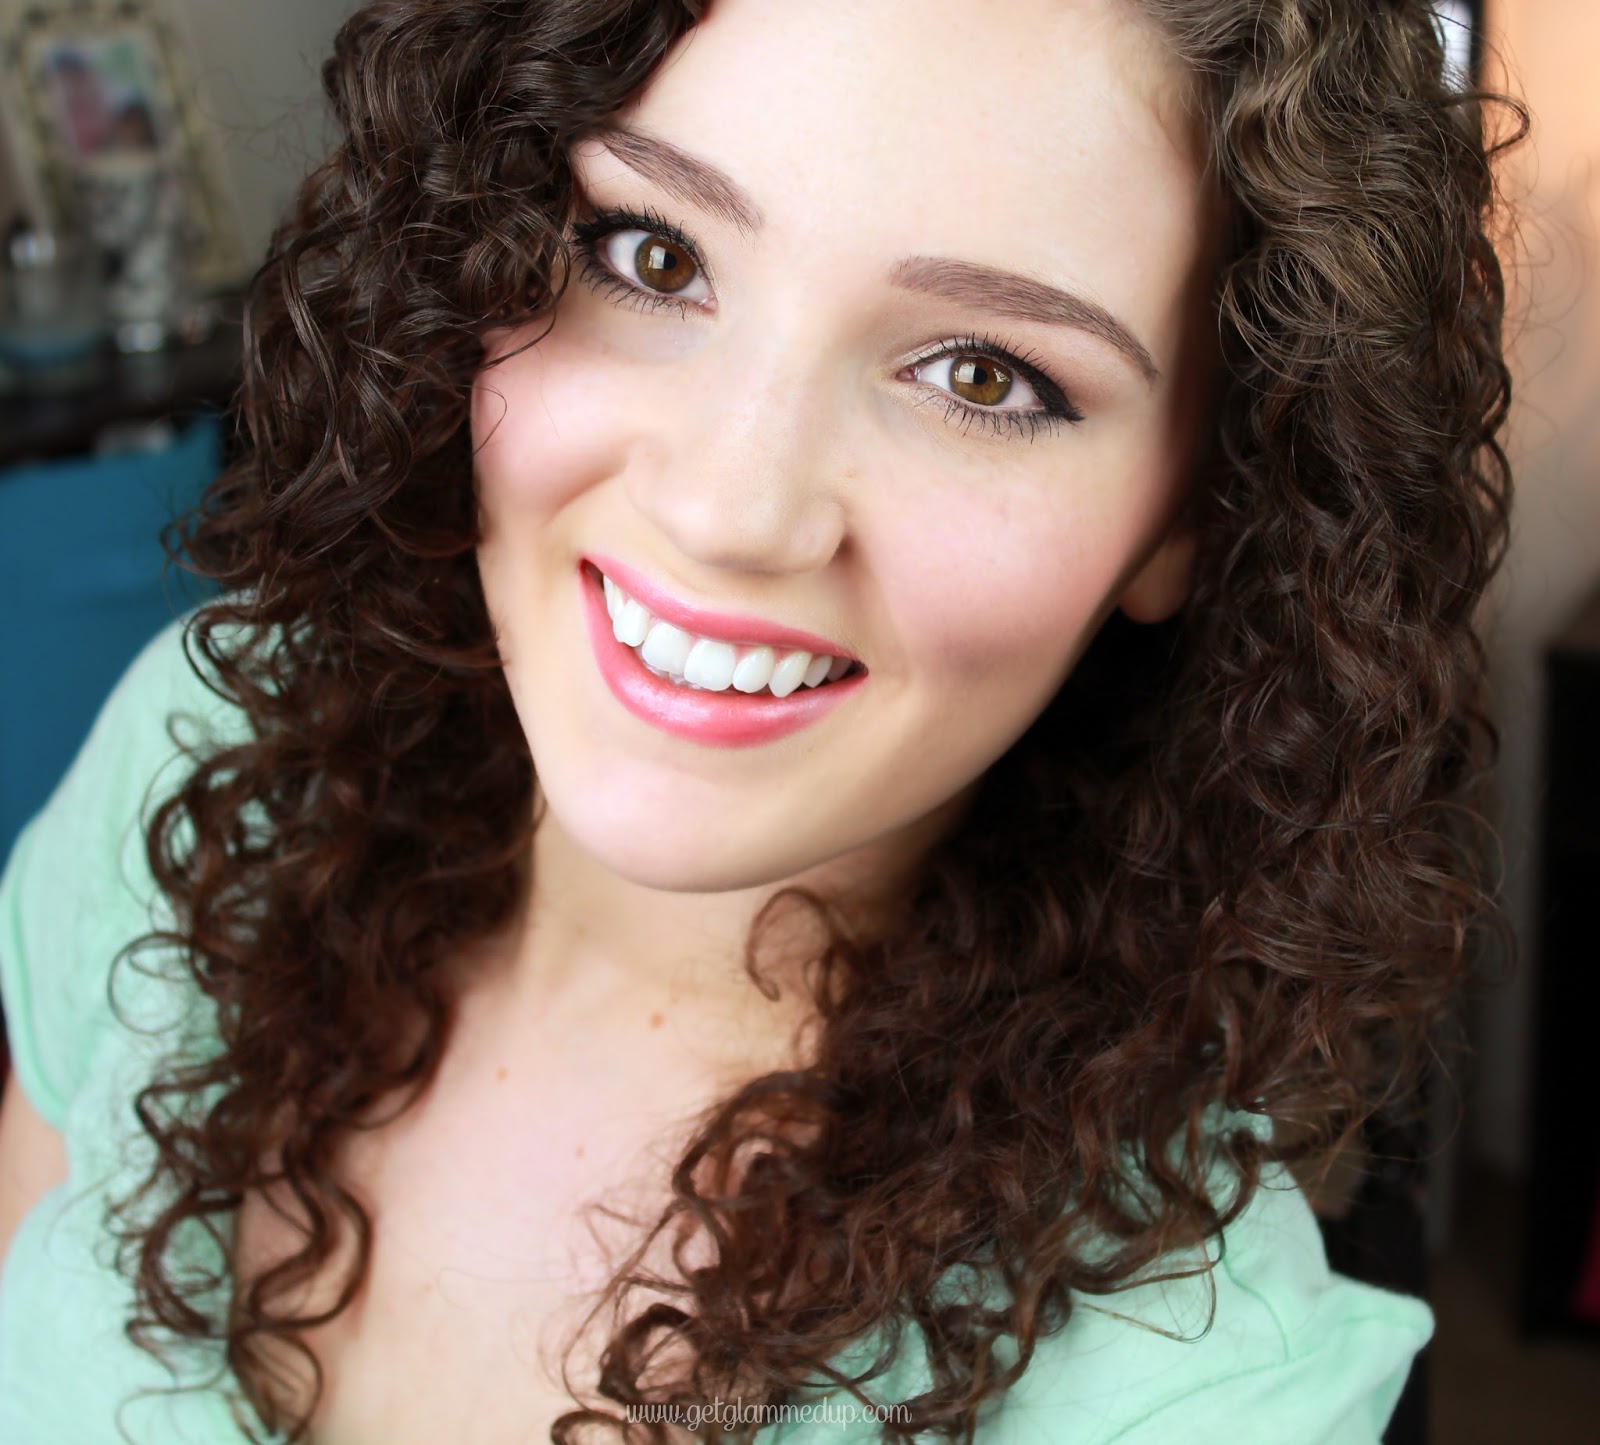
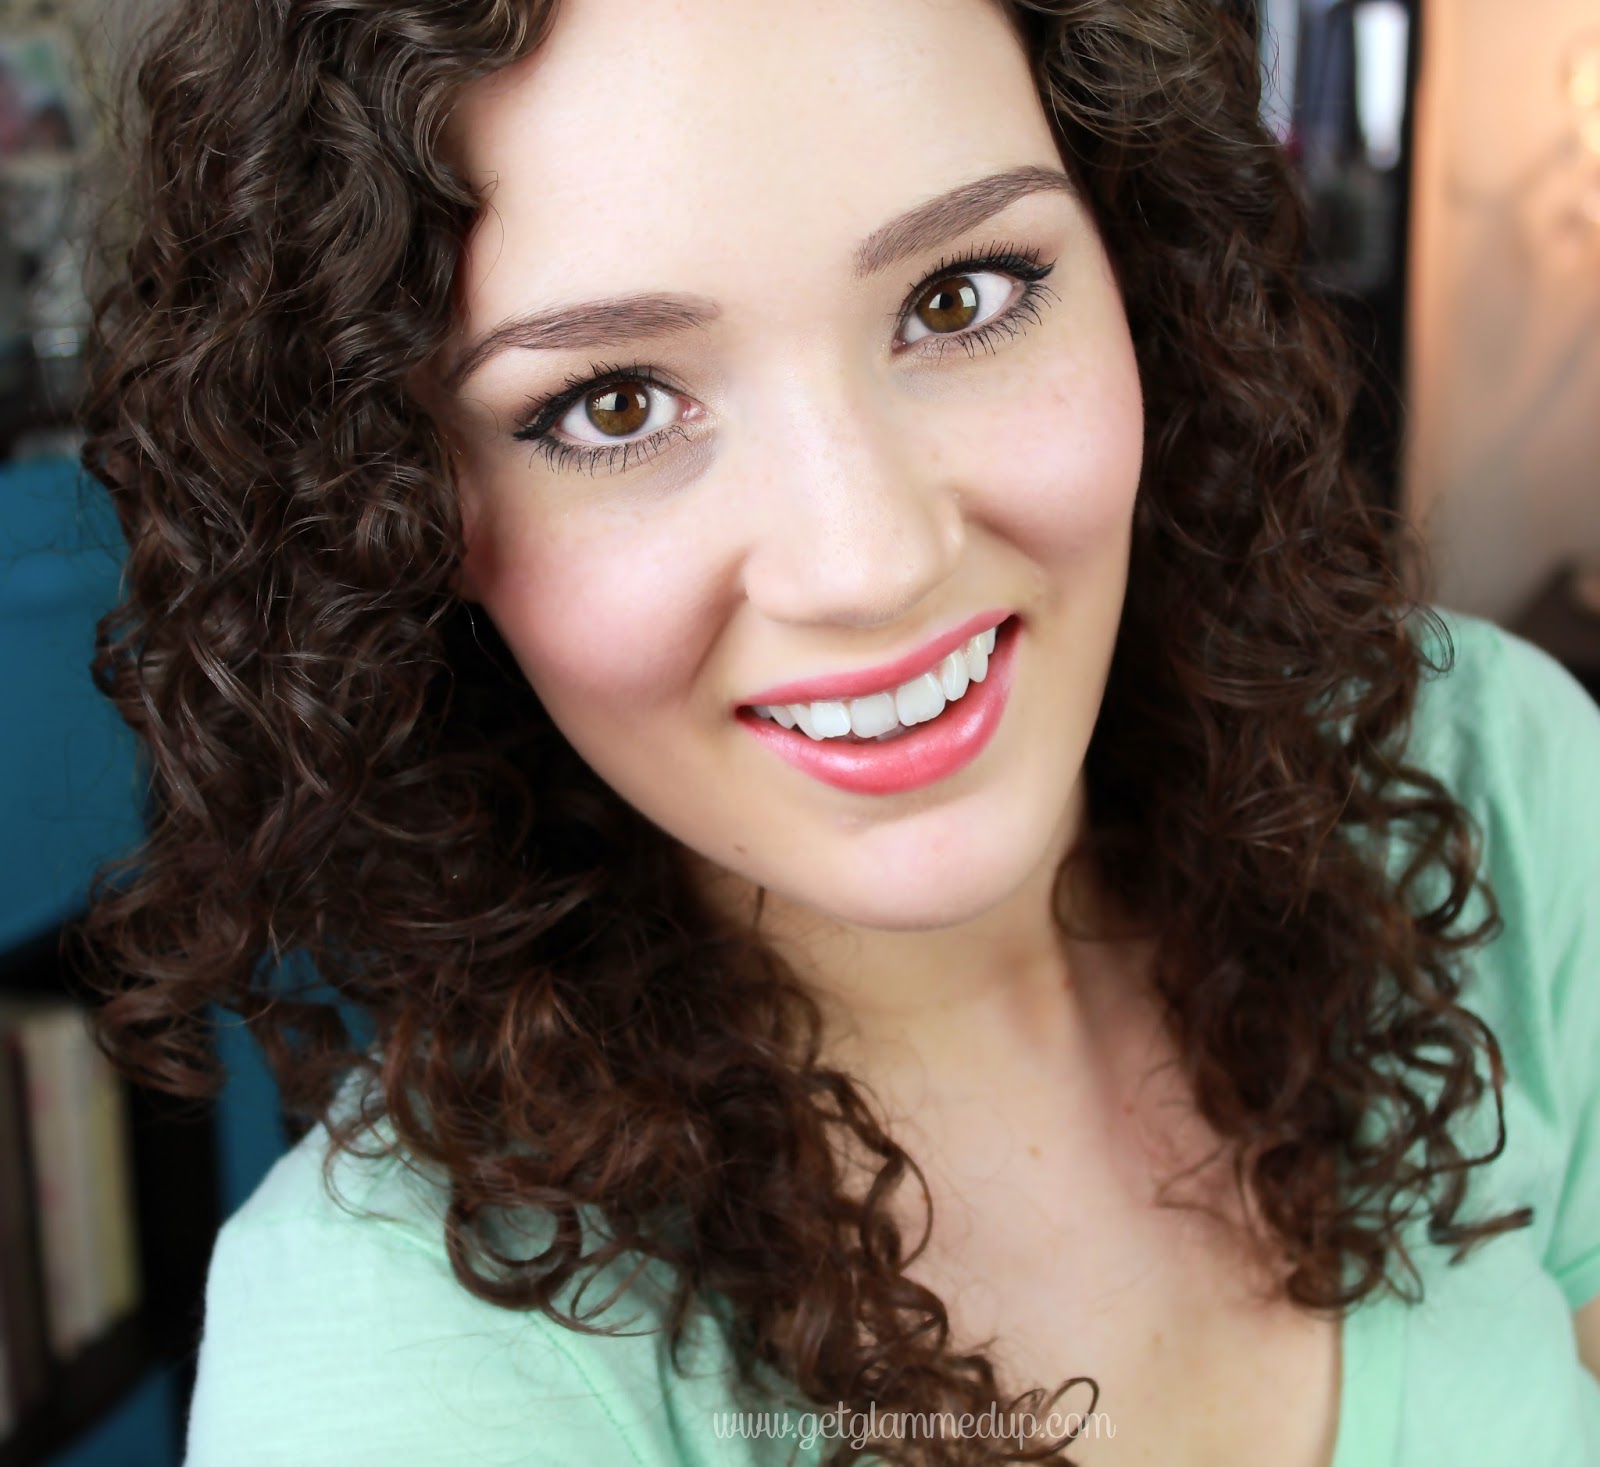
Curly hair is by far the most difficult hair type to style. It can be frizzy, bushy, stringy, and just overall hard to manage. In this video, I show how to style naturally curly hair. step-by-step. This can also apply for wavy hair. I show techniques on how to define your ringlets, as well as the best products that are also good for your hair. I also show how you can air dry your hair, or further define curls using a diffuser and a blow dryer.
Please keep in mind that not all curls are the same, and results will vary. Hair that is dry, damaged, or has buildup from silicones will not shrink up as easily. For the most defined bouncy curls, keep your hair trimmed, and ask for layers when it’s cut. Avoid straightening and heat styling as much as possible and embrace your natural curls!
Sulfate-free shampoo is the best shampoo for curls, however the proper products must be used in conjunction with it to avoid product buildup that will weigh down curls, preventing ringlets and volume. For more on this, see my video on sulfates & silicones.
Here are the steps on how to get bouncy ringlets for natural curly hair:
Step 1:
Shampoo using a sulfate free shampoo designed for curly hair. Avoid using shampoo every day. Instead shampoo every couple days. I still like to rinse and use conditioner on the days I do not shampoo, just to detangle redefine my curls.
Step 2:
Follow up with a matching conditioner, and let it sit for at least 5 minutes.
Step 3:
Combe through hair with the conditioner still in using a wide tooth comb. Start at the bottom and work your way up. Hair is especially fragile when wet, so be gentle so it doesn’t break off. Rinse hair, the run fingers through hair, and scrunch the roots.
Step 4:
After washing, ring hair out gently and wrap in a cotton T-shirt
Step 5:
After 5-10 minutes, apply a leave-in conditioner. This is optional, but will help hydrate the hair, reduce frizz, and prevent breakage.
Step 6:
Apply a curl cream to help define the curls as they dry. Rub the cream between palms, and gently smooth it over the hair, avoiding running fingers through. Running fingers through your hair will only pull apart the curls, even when they are wet, leading to stringy looking curls. I also like to apply curl cream by twisting sections of hair away from my face. This will help enforce curl formation and smooth flyways.
Step 7:
Let hair air dry approximately 50% of the way. Use duck bill clips at the roots to help enhance volume if you do not wish to use a blow dryer. Apply volumizing mousse if desired to roots.
Step 8:
After approximately 20-30 minutes, apply a cream/gel. Use the same patting and twisting method to smooth the product over curls. Avoid pulling curls apart when distributing the product. Twist curls around your finger and hold for a few seconds if they are not curling up correctly.
Step 9:
Blow dry hair using a diffuser attachment and low air setting. Place the diffuser into the roots, and push upward. Hold for a few seconds, and gently pull the diffuser away from your hair. Continue across the top and sides of your head. Then from the bottom, gather tips of hair into the diffuser and push up and towards your head. Hold for a few seconds, and continue on. For best results, gather each layer individually for even volume.
Step 10:
After drying, apply a small amount of serum to tame flyways by smoothing over curls using your palms. Apply a small amount of cram/gel if needed to areas that are still frizzy.
♥ Products Used:
–Nuance Blue Agave Curls & Waves Shampoo*
–Nuance Blue Agave Curls & Waves Conditioner*
–Nuance Meadowfoam Seed Leave-In Treatment
–Nuance Blue Agave Curl Cream*
–Nuance Blue Agave Wave Enhancing Styling Swirl*
–Nuance Healthy Shine Nourishing Oil
*most important, others are optional
♥ Tools Used:
–Revlon Tourmaline Ionic Blow Dryer with diffuser attachment
If you still have questions, please email me at gl*******@***il.com You can also comment with any request for more curly hair related videos.
Other hair videos:
–What are sulfates and silicones?
–How to Straighten Curly Hair & Maintain It
♥ Check out my latest video ♥
–Q&A: Curly Hair Tips, Dark Spot Treatments, My Career & More
♥ YOUTUBE: http://www.youtube.com/GlamMeUp8
♥ DESIGN WEBSITE: http://www.glammedupdesigns.com
♥ TWITTER: http://www.twitter.com/GlamMeUp
♥ EMAIL: gl*******@***il.com
♥ FACEBOOK: http://www.facebook.com/GlamMeUp8
♥ GOOGLE+: http://plus.google.com/+GenaM
♥ INSTAGRAM: http://www.instagram.com/glammeup
♥ PINTEREST: http://www.pinterest.com/GlamMeUp
♥ My favorite makeup brushes: http://bit. l/o77rXI <–Use code MAR2014 for 10% off
♥ My skincare: http://goo.gl/nCVgw <–20% Off through that link when you make an account, 15% off with guest checkout
♥ My self tanner: http://www.sungoddess.com <–Use code GlamMeUp8 to get 10% off orders!
♥ My teeth whitening kit: http://www.smilebright.info/ <–Use code “kit24” to get it for only $25 (regular $99)

If your waves or loose curls fall flat every summer — losing definition by midday, never lasting past wash day — this routine is built
Are you using a heat protectant in your curly hair routine? If you’re diffusing or planning to be in the sun, you probably should. But
You read the reviews online. One person says a product completely changed their hair. Someone else says it’s the worst thing they’ve ever tried. And
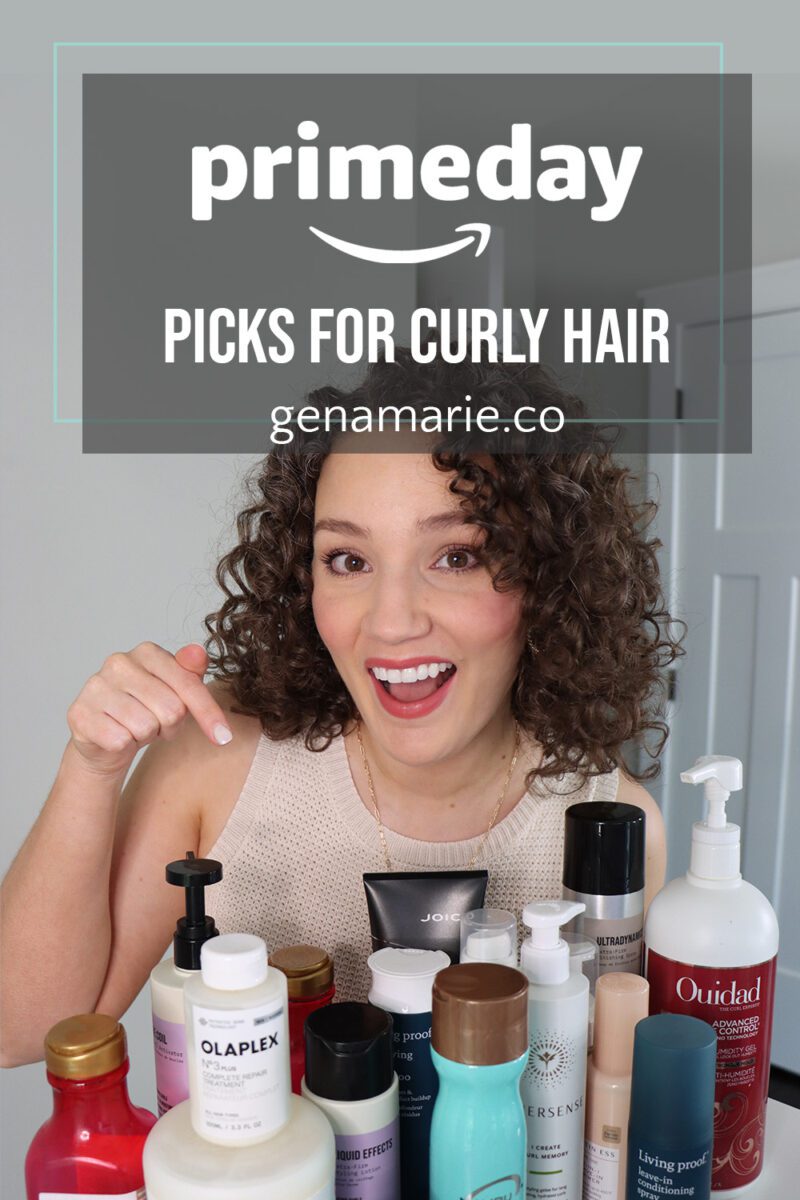
Amazon’s Prime Day Deals are happening today through Friday! I’ve rounded up my top curly hair picks on my Amazon storefront—plus shared quick notes below on each product’s key characteristics to help