


How to Style Curly Hair for Volume Using the Curl Stacking Method
Your styling technique could be the reason your curls are drying flat, stretched out, and stuck to your head — not your products, not your

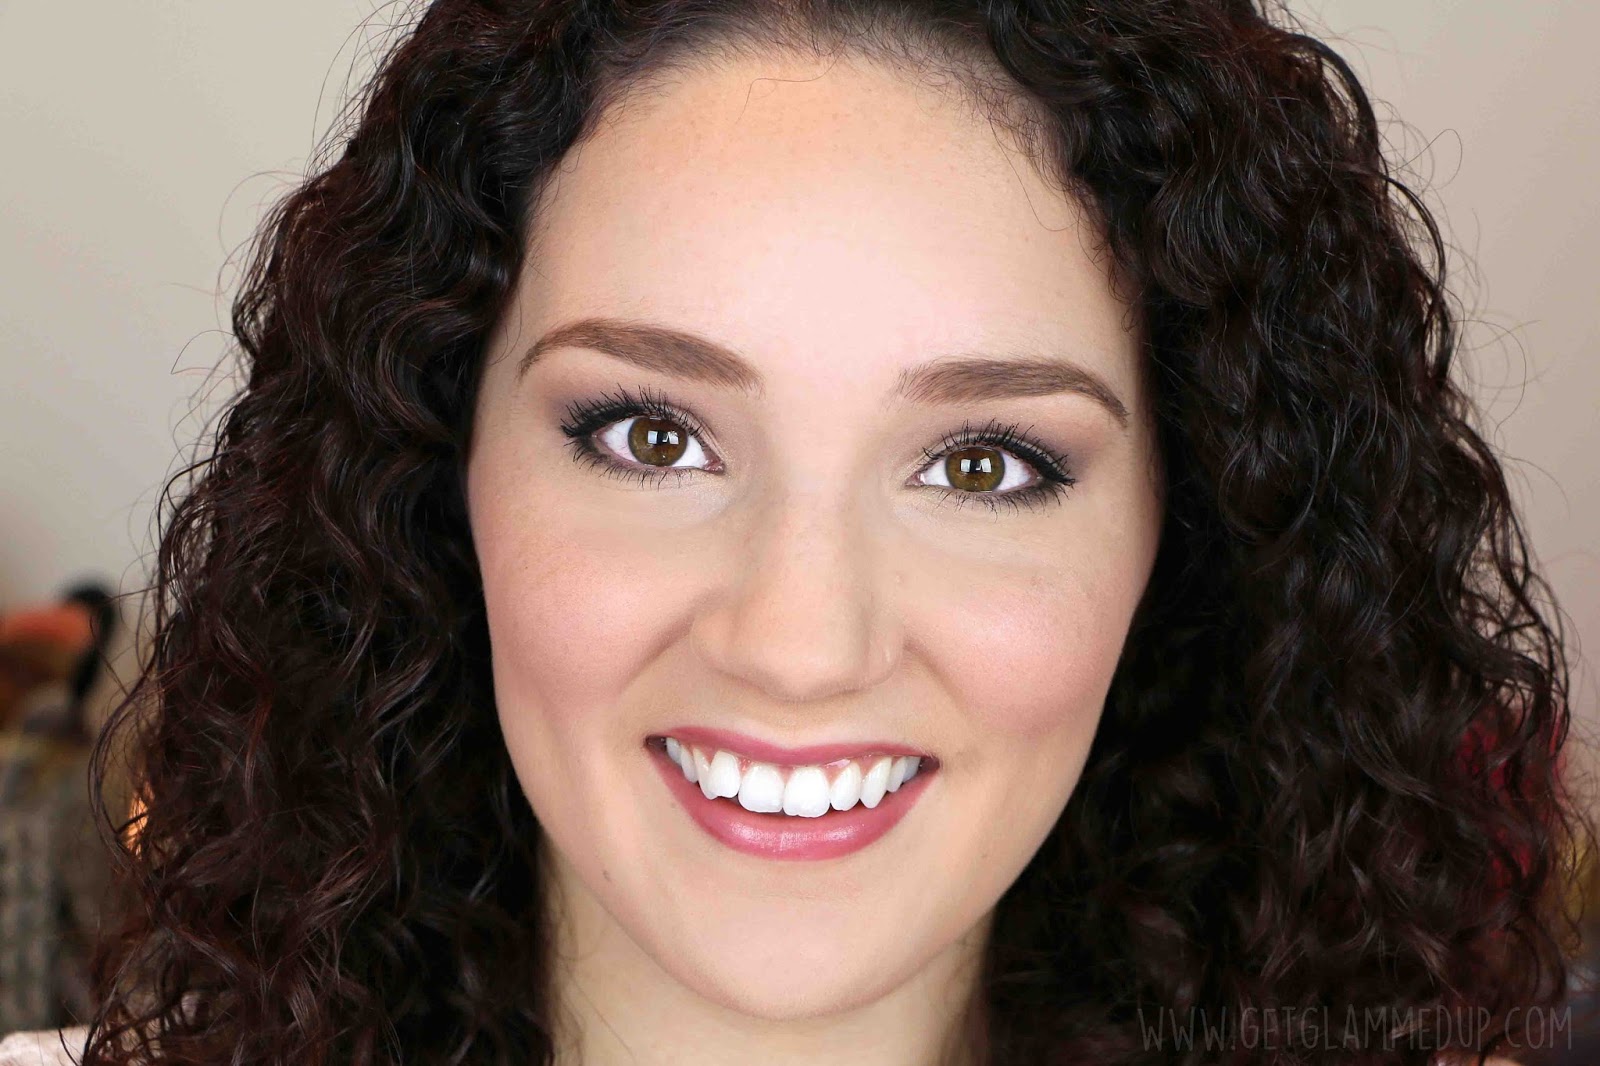
After doing my video on How to Apply Eyeshadow for Beginners, as well as my 12 Common Makeup Mistakes video, I was shocked at the amount of people that were interested in a smokey eye tutorial. I personally don’t wear them a whole lot because they take a little extra time and they are usually worn in the evening/nighttime. However this is an easy smokey eye that can be worn even in the daytime because its not overdone.
The look can easily be adjusted depending how dramatic or subtle you want to wear it. This tutorial features neutral shades of grey, brown, and black that can be worn with any outfit. Feel free to switch the shadows out for any range of colors you’d like, just follow the same steps in terms of which shade of the color goes where.
I’m also using the same drugstore eyeshadow palette I used in the last tutorial, the Maybelline The Nude palette.
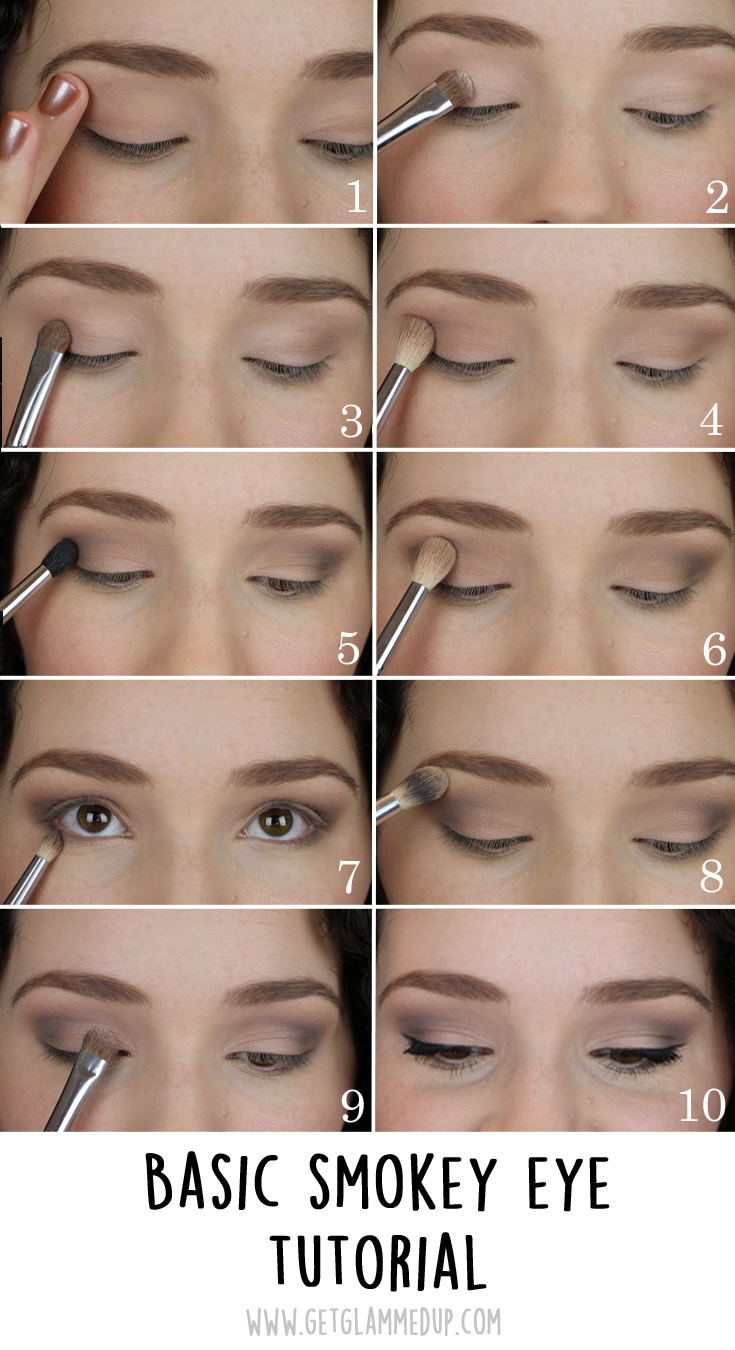
Step 1:
Apply an eyeshadow base or primer all over the lid. An eyeshadow base is VERY important for keeping your eyeshadow from fading and creasing throughout the day/night. I used the MAC Paint Pot in Painterly. I also recommend the NYX Eyeshadow Base.
Step 2:
Apply a light shimmery shadow to the inner portions of the lid using a Sigma E55 Eye Shading brush. Also take this shadow onto the inner corners of the lower lash line.
Step 3:
Using the same brush, apply a silver shadow to the outer portion of your lids, blending into the first shadow as you go. Feel free to skip this step, or use either one of these first to shadows all over the lid instead.
Step 4:
With a Sigma E35 Tapered Blending Brush, apply a matte taupe shadow all throughout the crease using windshield wiper motions. Avoid over blending too high, and also avoid going past the end of your eye. If you need to, apply tape from the outer corners of the eye towards the brow as a guide.
Step 5:
Using a Sigma E45 Small Tapered Blending Brush, apply a darker matte black eyeshadow to the over-V of your crease using small circular motions.
Step 6:
Blend the edges of the black shadow using the same blending brush from Step 4 with what’s left on the brush,
Step 7:
Apply the same matte taupe shadow top the lower lash line using a Sigma E30 Pencil Brush. Only apply this shadow about 3/4 of the way in, avoiding the inner corner. Connect the shadow to the upper lashline in the outer corner.
Step 8:
Using a fluffy blending brush, apply a matte skintone shadow all over the brow bone. Also use this brush and shadow to blend or tone down any of the shadows in the crease.
Step 9:
If needed, repeat steps 1 & 2 because the light shadows on the lid tend to get taken over by the darker shadows.
Step 10:
Finish off with eyeliner, curl the lashes, and apply mascara. I used the Studio Gear Invincible Gel Liner in Onyxand a Studio Gear Eyeliner Brush. For mascara I used the Maybelline Lash Sensational.
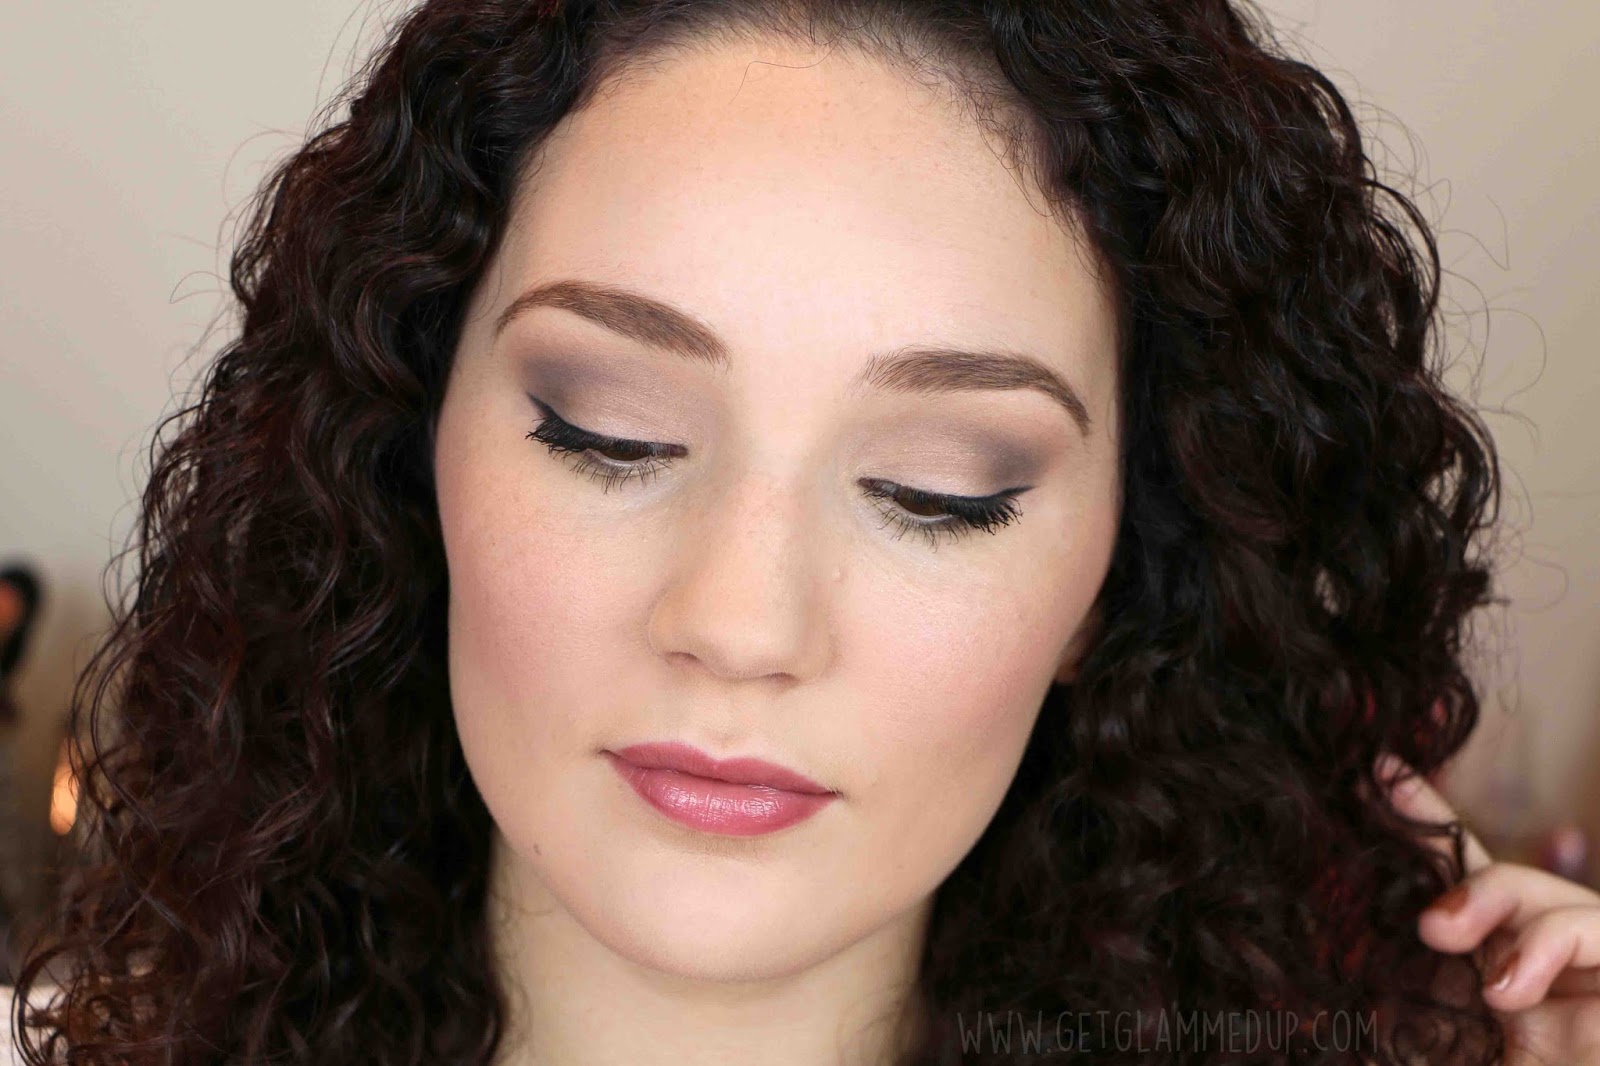
Matching face makeup, blush and lip colors with a smokey eye:
For the face a like to do a little contouring and definitely fill in my brows. Its essential to have strong (but not overdone) brows when doing more dramatic makeup to look balanced. I also opt for nude and pink toned blushes and lip colors when wearing smokey eyes. Today I used the Maybelline Master Glaze Blush in Pinched Pink and the Butter London Bloody Brilliant Lip Crayon in Teddy Boy.
SHOP THIS POST

$22.00

Maybelline The Nudes Eyeshadow Palette
$6.42
(price my vary)

Studio Gear Invincible Gel Eyeliner in Onyx
$16.00
(Use code “GlamMeUp8” for 10% off)

Maybelline Lash Sensational Mascara
$6.40
(price may vary)

Maybelline Master Glaze Blush Stick in Pinched Pink
$8.99

butterLONDON Bloddy Brilliant Lip Crayon in Teddy Boy
$20.00
(price may vary)
♥ Check out my previous video ♥
Your styling technique could be the reason your curls are drying flat, stretched out, and stuck to your head — not your products, not your
If your waves or loose curls fall flat every summer — losing definition by midday, never lasting past wash day — this routine is built
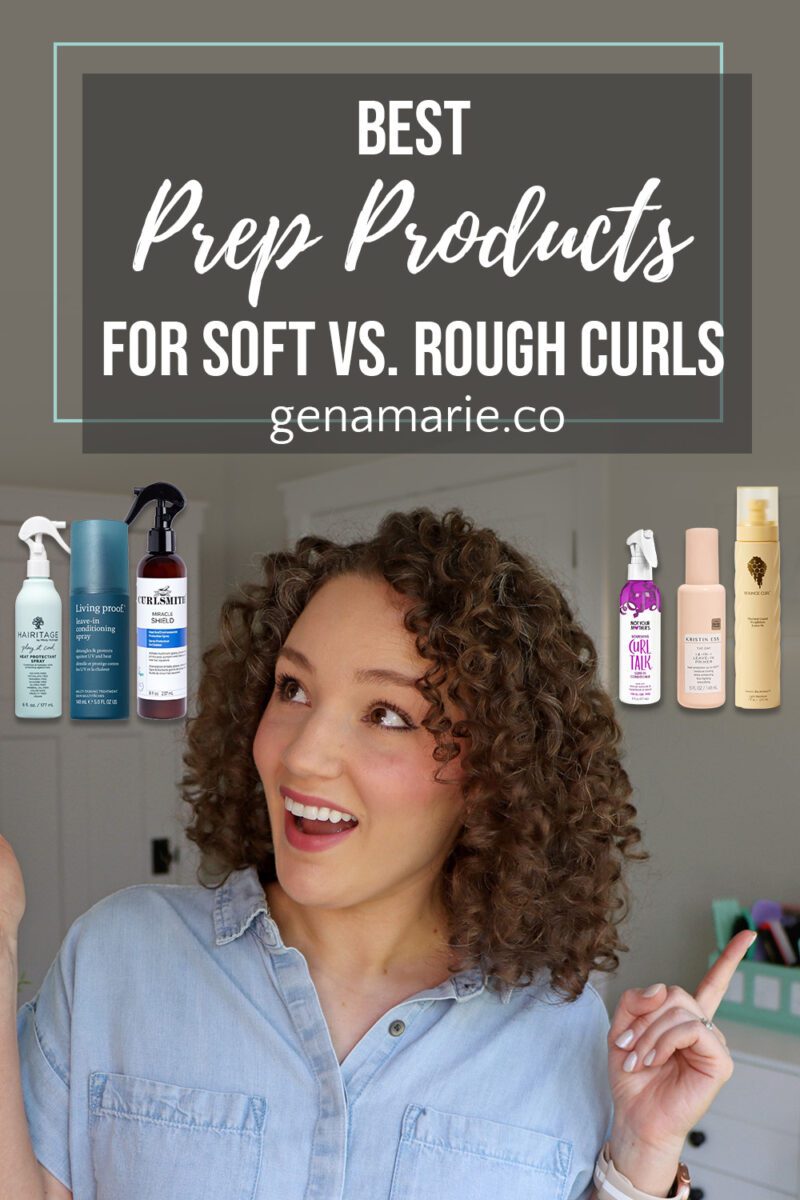
Are you using a heat protectant in your curly hair routine? If you’re diffusing or planning to be in the sun, you probably should. But
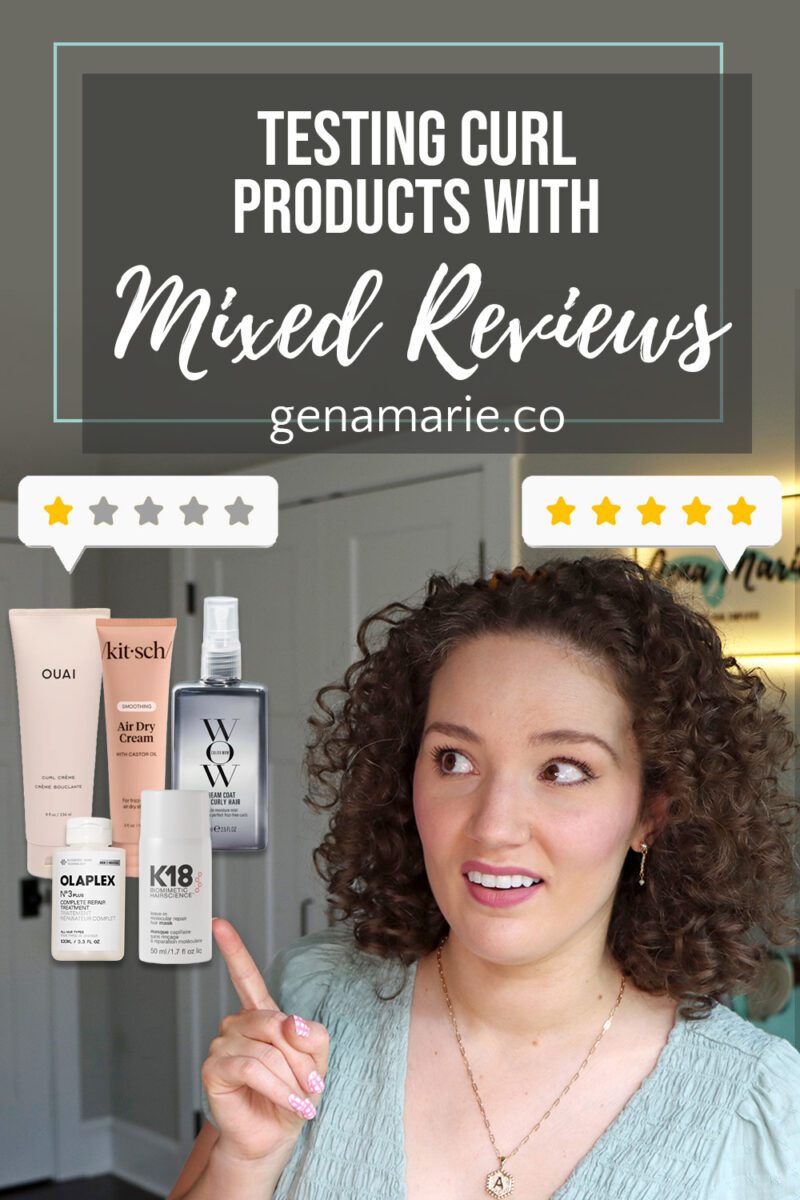
You read the reviews online. One person says a product completely changed their hair. Someone else says it’s the worst thing they’ve ever tried. And