


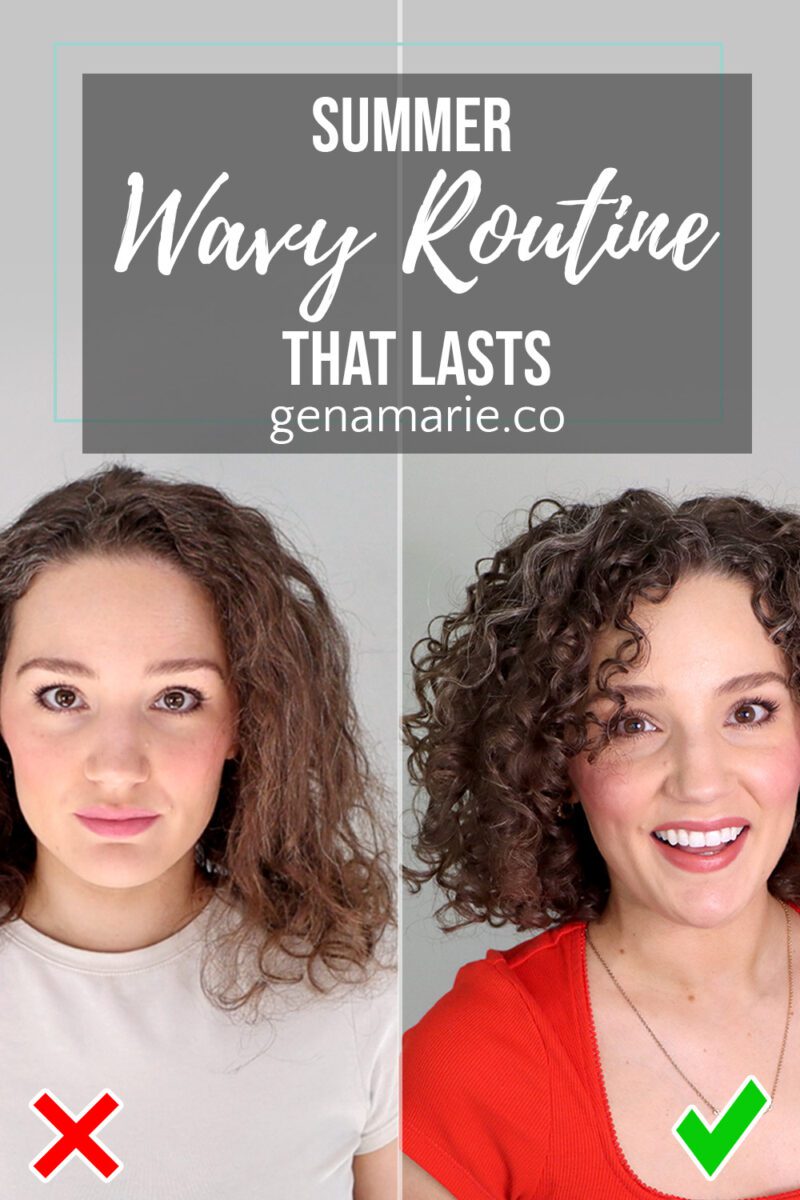
Wavy + Loose Curl Summer Routine That Actually Lasts
If your waves or loose curls fall flat every summer — losing definition by midday, never lasting past wash day — this routine is built
This blog contains affiliate links. Click here for a full disclosure.
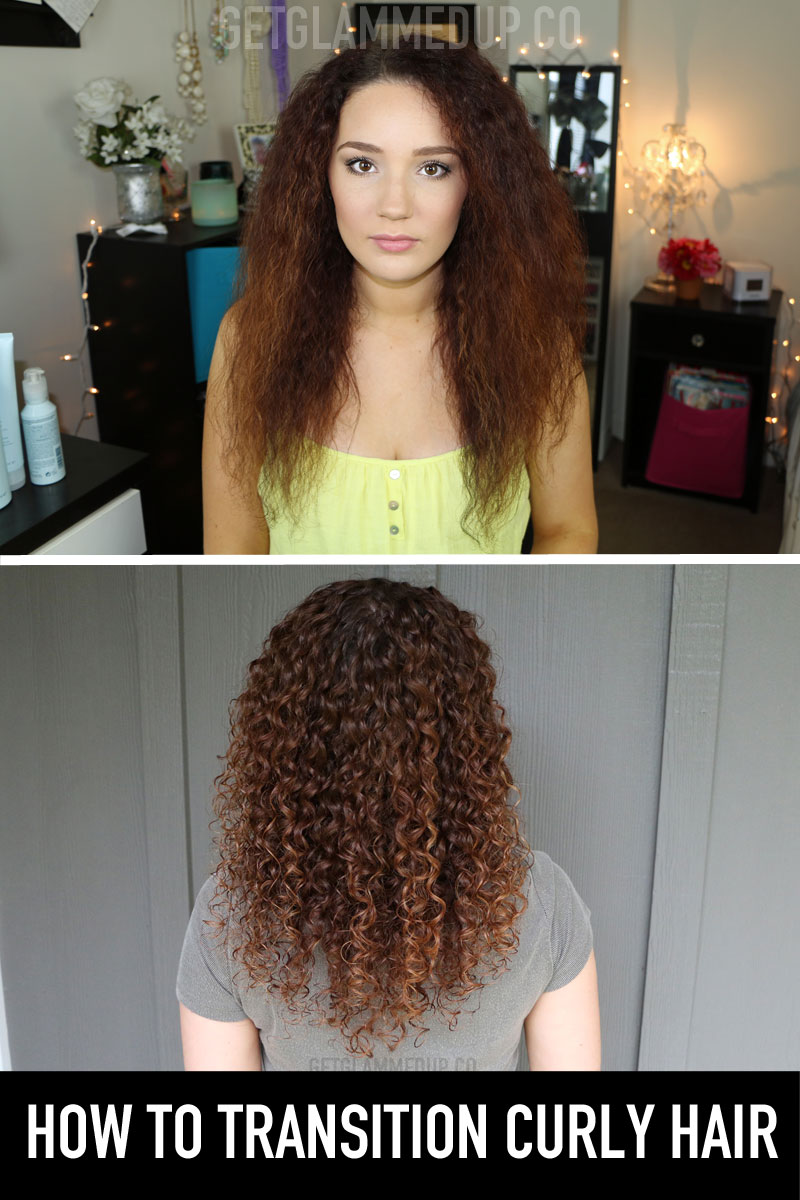
I’m so excited to announce my new video series, Curly Haircare for Beginners. The first video is all about transitioning to your natural hair texture, which I know is a huge struggle for people with naturally curly hair. My curly hair journey has been quite the experience, and I never realized how curly my hair could really be. After years and years of straightening, relaxing, heat damage, and color/chemical damage, my hair was dry and lacked curl definition. My curly type used to be wavy-curly, perhaps a 2C, and is now a 3B curl pattern. Now that I know the best products to use with the curly girl method, my hair has gotten curlier and more defined.
Here are 10 simple steps to get back to your naturally curly hair:
1. Have patience! You have to start somewhere, and it’s a long process! I started really caring for my hair a few years ago, and it’s just now starting to get back to my natural hair texture. I still have a long way to go, but trust the process! Stay inspired by following your favorite curly hair bloggers, do your research, and stay consistent. I am here for you 🙂

Pictured above: Before when I had split ends and needed a trim.
2. Cut off the dead ends. This is one of the hardest steps for most people, but crucial during the transition phase. You have to let go of the dead ends in order for your hair to begin your natural hair journey. If you’re not brave enough for the big chop (I wasn’t either), you can gradually get “dusting” trims every 6 weeks to remove the split ends, but it takes time to grow.
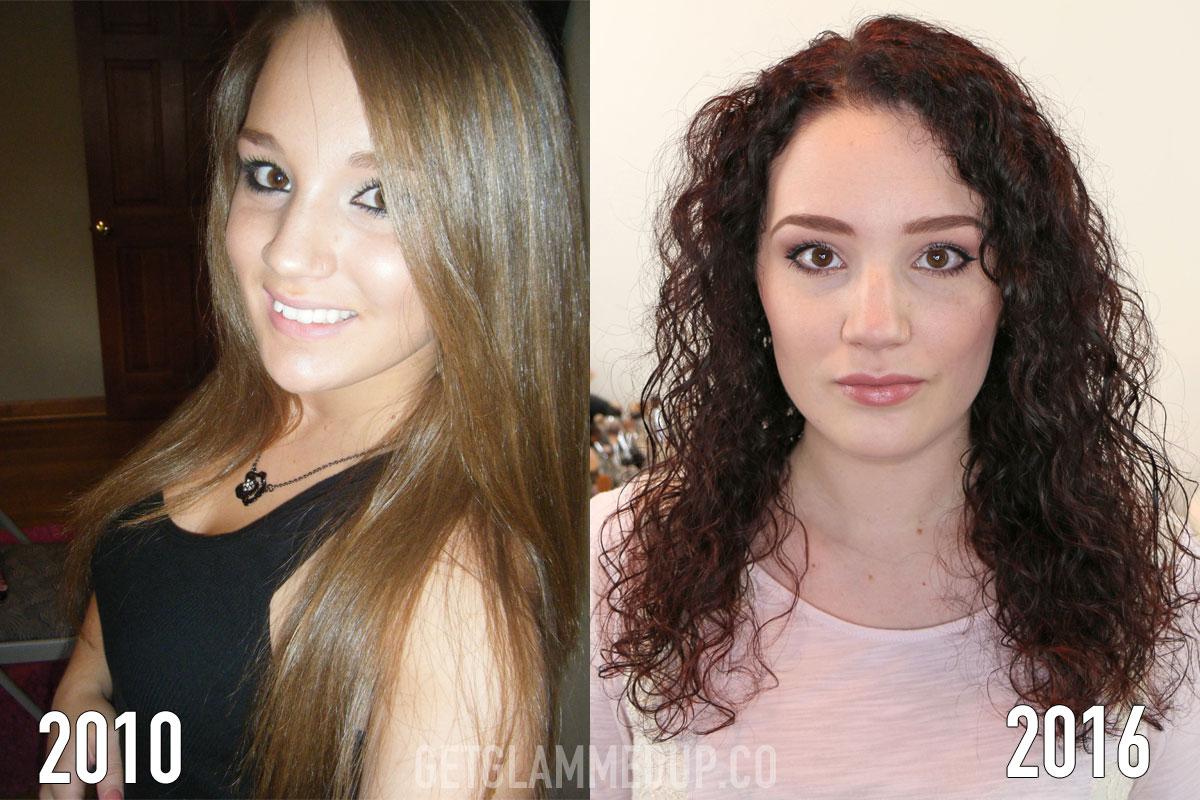
Pictured above: 2010, when I used to flat iron my hair every day, compared to 2016, which was the last time I used hot tools on my hair.
3. Stop using heat tools. THE MOST IMPORTANT STEP! You can’t damage your freshly cut ends, or else your hair will keep splitting and getting shorter. Put away your flat irons, curling irons, and blowout brushes far out of reach!
4. Wash your hair less. Curly hair is naturally so much drier than naturally straight hair, especially during the transition phase. Start with trying to go every other day with washing it, and eventually aim for only washing 1-2 times per week. Let the natural oils condition naturally dry curly hair.
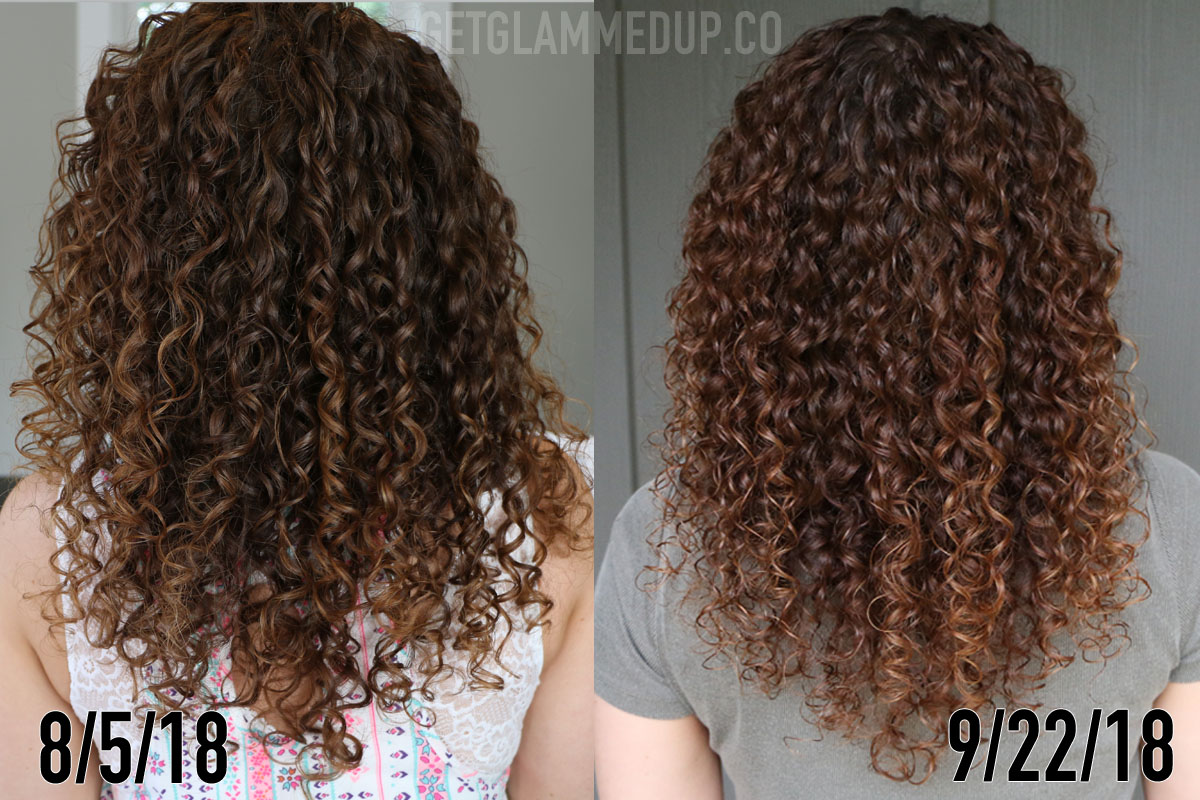
Pictured above: Results before taking the Hair369 vitamins, and about 2 months after finishing my first bottle.
5. How to grow your hair faster:
6. Deep condition weekly. Deep conditioning will change you’re hair’s life 😉 Trust me, once I started being more consistent about actually deep conditioning 1x a week for 30 minutes, my hair was so much healthier. Watch this video for The Ultimate Deep Conditioning Routine to see my favorite products.
7. Use Olaplex No. 3. You can hear ALL about the power of Olaplex in my results video here. Olaplex is a bond multiplier treatment that repairs hair’s broken bonds, making it stronger, healthier, and more defineds. You can get it here from Sephora.
8. Stop hair breakage using these steps:
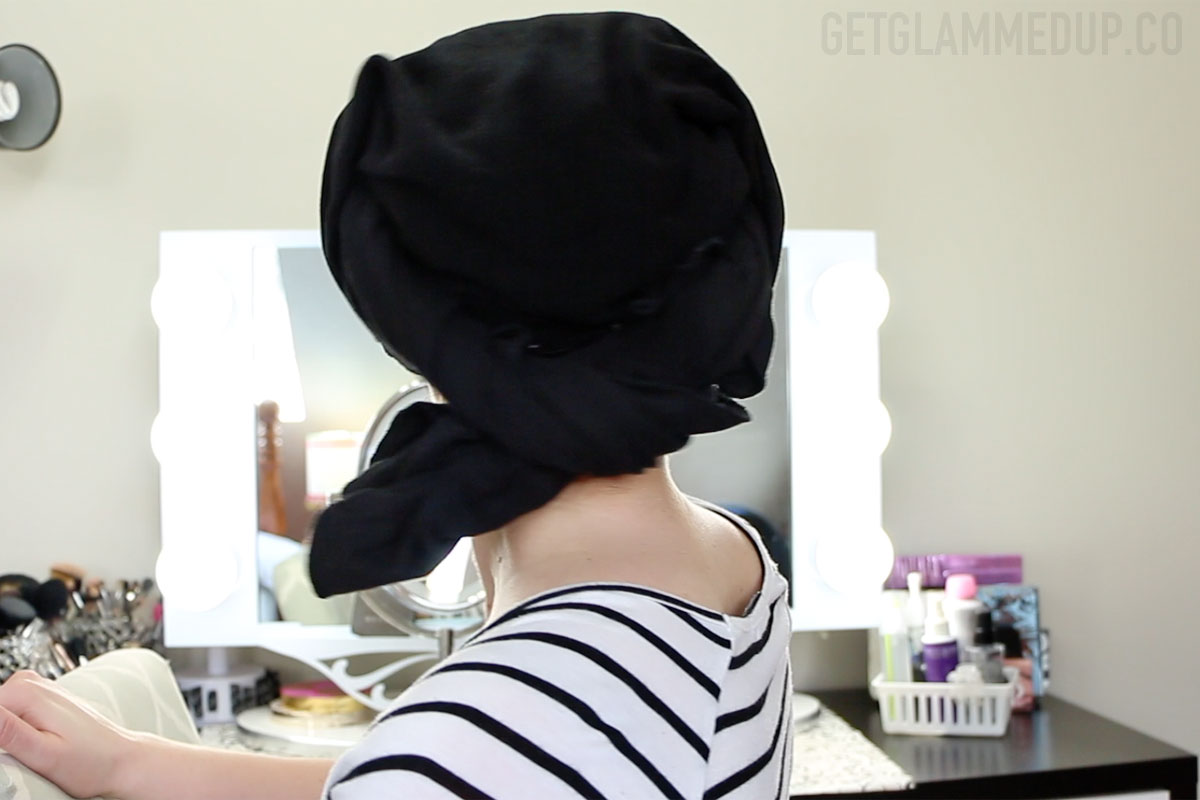
I highly recommend the HairRepear Towel, which is made out of 100% combed cotton with soft, interlocking fabric (no fibers that pull). Watch my video here on How to Plop Your Hair.
9. Stop coloring, bleaching, and using chemical treatments. This is a tough one for me, because I have never been a fan of my natural ash-brown hair. I love dying my hair darker, and more of a rich, warm brown, but the ammonia in hair color can be harsh on your hair. Temporary dyes can be a better option, and can help blend roots while you grow out your color. You certainly can have healthy, color-treated curls, once your hair is stronger, but cutting out all chemical processing best. Below is a photo from back when I was using at-home boxed dyes (yikes- stay away from these!) compared my hair color now that I am growing out.
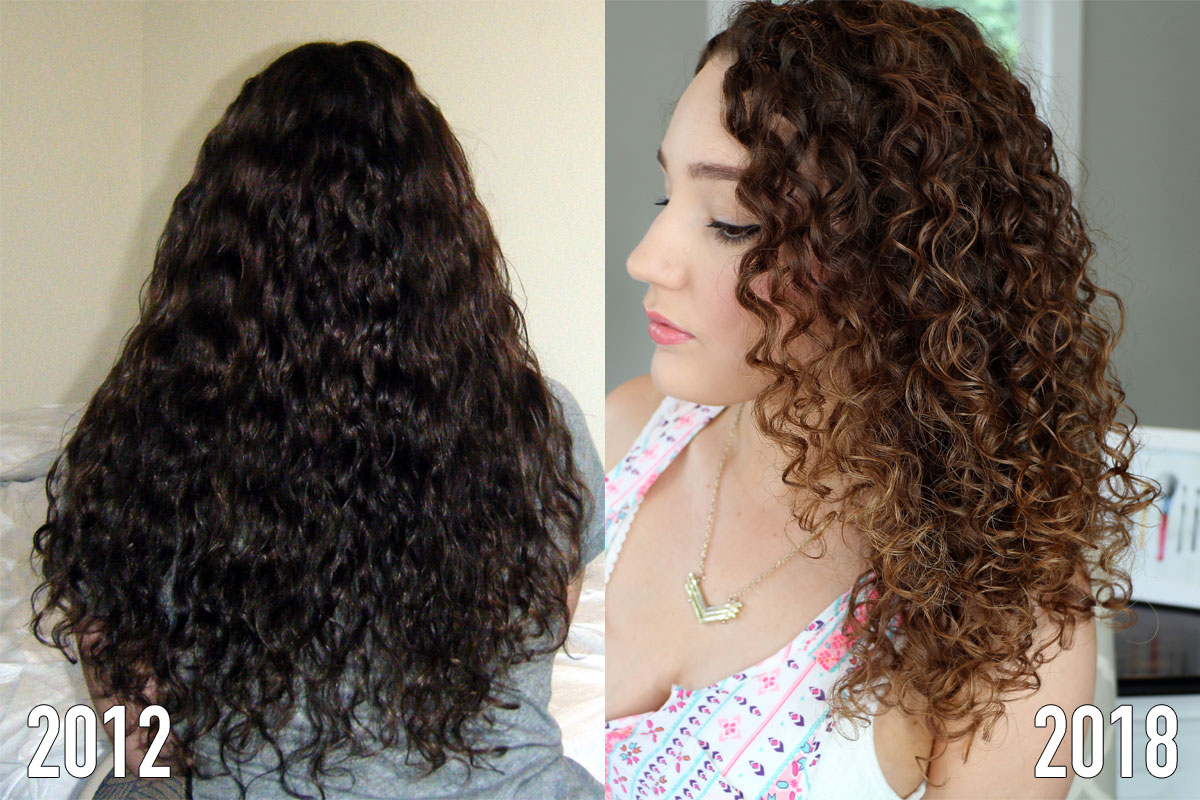
Pictured above: Back in 2012 when I was not using the Curly Girl Method, compared to now where I strictly use sulfate-free and silicone-free products.
10. Stop using products with sulfates and silicones. THE FINAL MOST IMPORTANT STEP is following the Curly Girl Method (see my most recent styling routine here). This will be my next video in this series, where I will cover the topic in more detail. Basically- check your products’ ingredients for anything contain “sodium lauryl sulfate” or any variation, and anything ending in “cone” such as “dimethicone” which is the most common silicone. Sulfates strip the hair of its natural oils, making it dry and frizzy. Silicones create a seal on the hair that prevents moisture from soaking in, and weighs down your curls. Silicones also require sulfate shampoos to remove them, so when using sulfate-free shampoo you must avoid silicone as well to prevent product buildup.
Now that you know where to start with transitioning your hair back to it’s normal texture, what other topics are you interested in learning about with curly haircare for beginners? Leave them in the comments!
View my full curly haircare playlist here for more hair videos over the years.
Check out my latest video:
–Fall Emerald Makeup Tutorial – Urban Decay Elements Palette Review & Tutorial
If your waves or loose curls fall flat every summer — losing definition by midday, never lasting past wash day — this routine is built
Are you using a heat protectant in your curly hair routine? If you’re diffusing or planning to be in the sun, you probably should. But
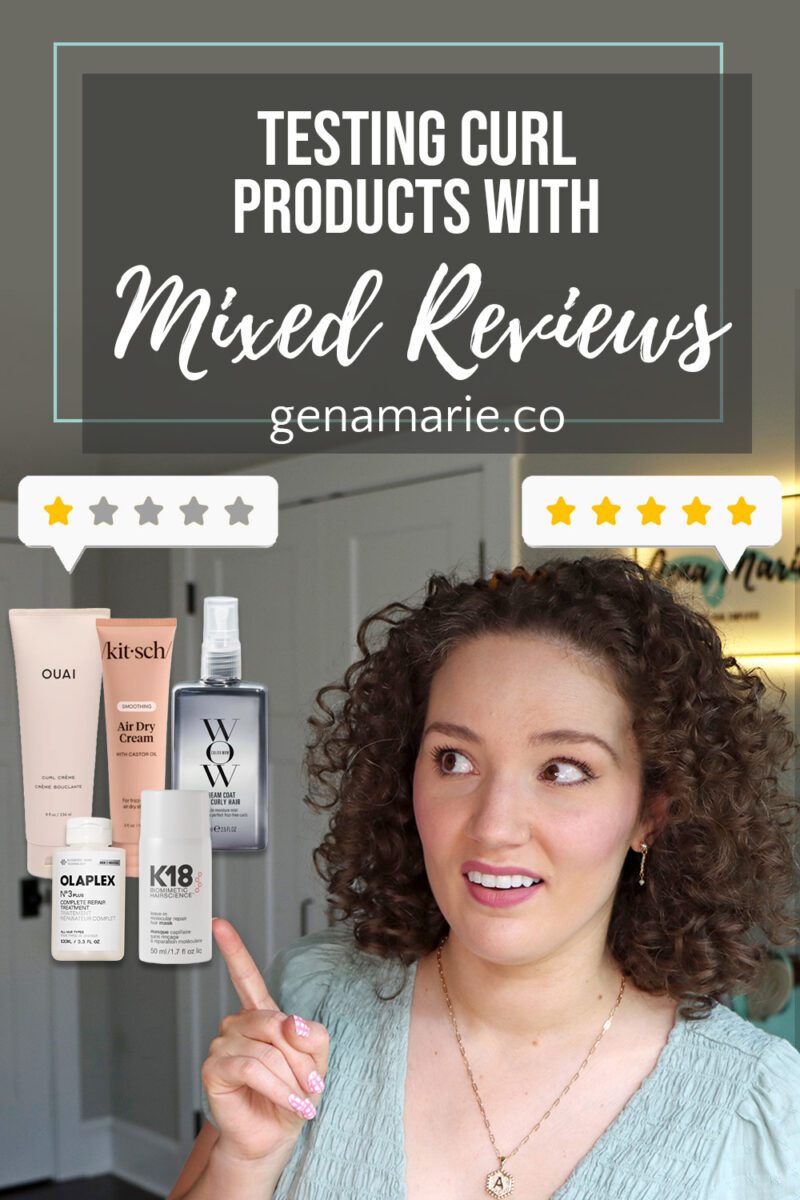
You read the reviews online. One person says a product completely changed their hair. Someone else says it’s the worst thing they’ve ever tried. And
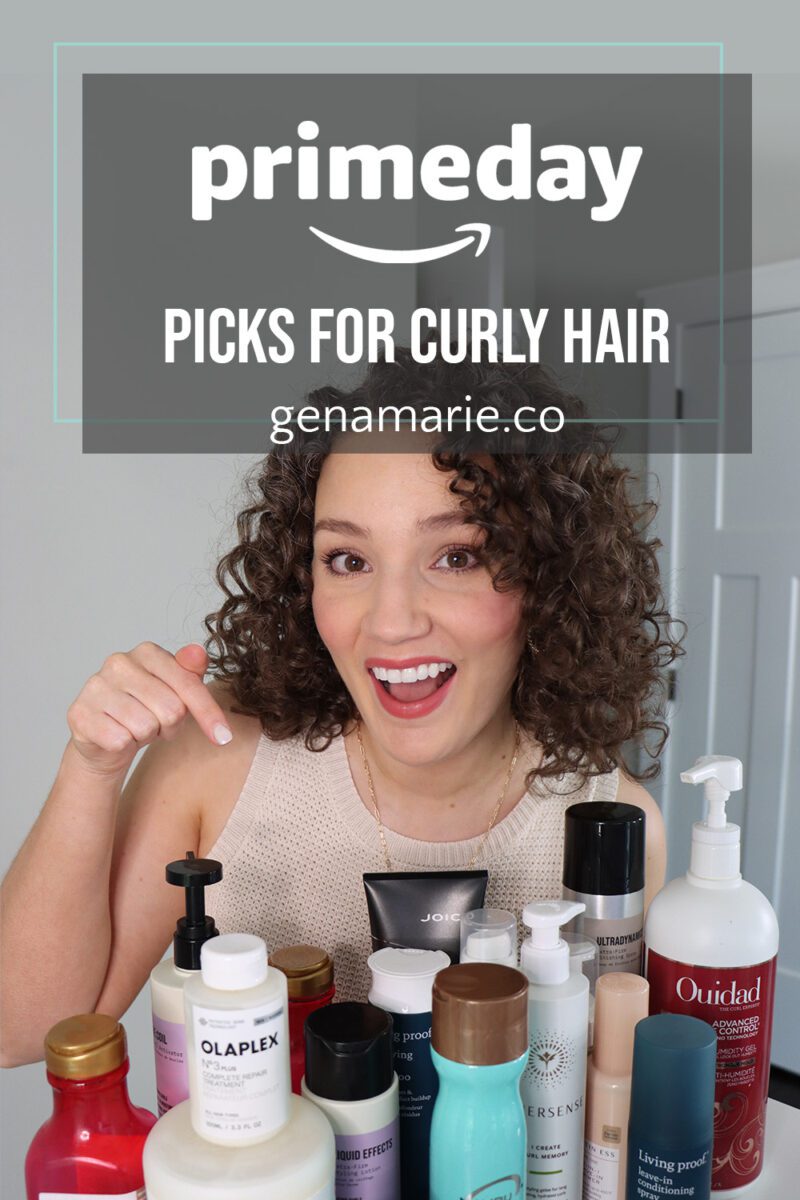
Amazon’s Prime Day Deals are happening today through Friday! I’ve rounded up my top curly hair picks on my Amazon storefront—plus shared quick notes below on each product’s key characteristics to help