


How to Style Curly Hair for Volume Using the Curl Stacking Method
Your styling technique could be the reason your curls are drying flat, stretched out, and stuck to your head — not your products, not your
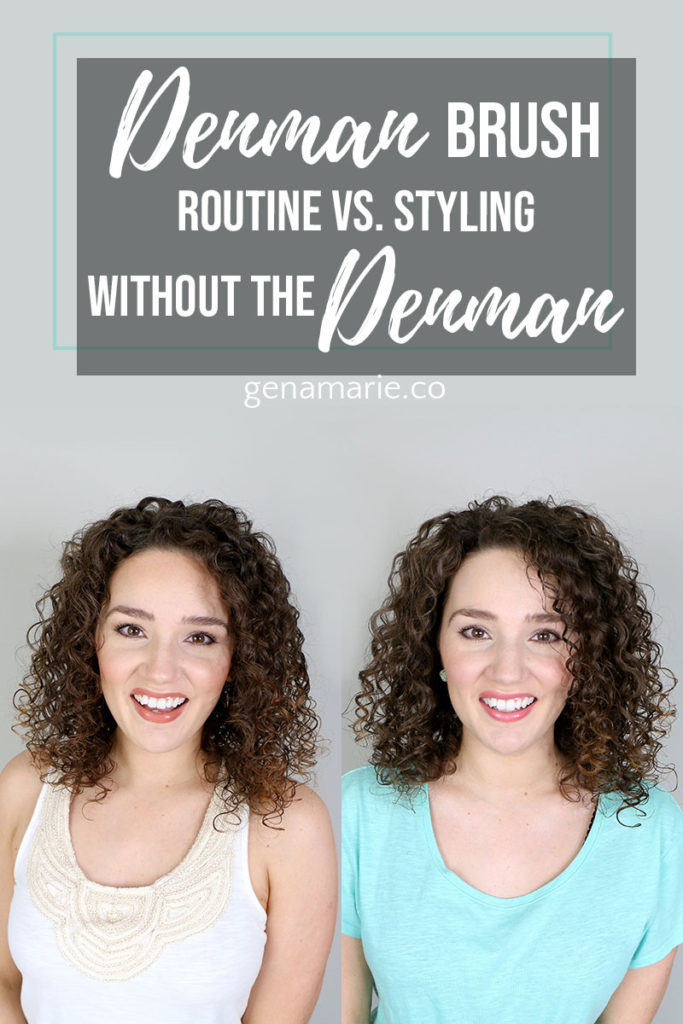
Today I’m putting the infamous Denman Brush to the test, and comparing my routine when I use the brush, versus a routine not using the brush. Both routines will use the same products and the same styling steps.
I am also going to be showing you how to create the Denman Brush effect using a similar method to the rake and shake method if you don’t have the brush. Learn the basic techniques of how to properly use the Denman Brush, and tips for creating ringlets, clumps, and volume.
The Denman Brush is not your typical brush, because it’s designed for styling naturally curly hair and creating ringlets. It’s not a detangling brush, however it can help smooth the strands as you’re styling. It’s used when your curls are wet and when you’re applying products. Common uses include:
If you have very damaged hair, you should avoid using brushes and combs when your hair is wet to prevent breakage. You may also notice shedding in the brush when using it.
If you have very thin, low density hair, the brush will cause your curls to clump together, reducing volume. Those with thin hair can still use the brush, but should separate clumps while the hair is still wet.
Also, if you’re someone who does not want shrinkage, you may want to avoid the Denman Brush. It helps your curls appear tighter, which leads to shrinkage.
There are ways to style your curls to create the same effect of a Denman Brush. Methods such as the rake and shake method also smooth the strands, clump the curls, and encourage ringlets. I show in the video above how to do this technique.
The results using this technique are looser curls, but they are clumped and defined. Tangles and frizz are smoothed out, and there is also less shrinkage than when using the Denman Brush.
Overall I was happy with both results, and I was surprised how similar my hair looked without the Denman Brush. My ringlets were not as tight but I had good clumping. I noticed more shedding with the rake and shake method from tugging at the hair, but the Denman brush could lead to more breakage over time. I can also style my hair faster without the brush, however it’s easier to use the brush.
Do you have the Denman Brush? If so, let me know which version you use!
Check out my video on How to Make Hair Curlier for more tips for creating ringlets.
Watch the rest of the Curly Haircare for Beginners playlist here.

Your styling technique could be the reason your curls are drying flat, stretched out, and stuck to your head — not your products, not your

If your waves or loose curls fall flat every summer — losing definition by midday, never lasting past wash day — this routine is built
Are you using a heat protectant in your curly hair routine? If you’re diffusing or planning to be in the sun, you probably should. But

You read the reviews online. One person says a product completely changed their hair. Someone else says it’s the worst thing they’ve ever tried. And