


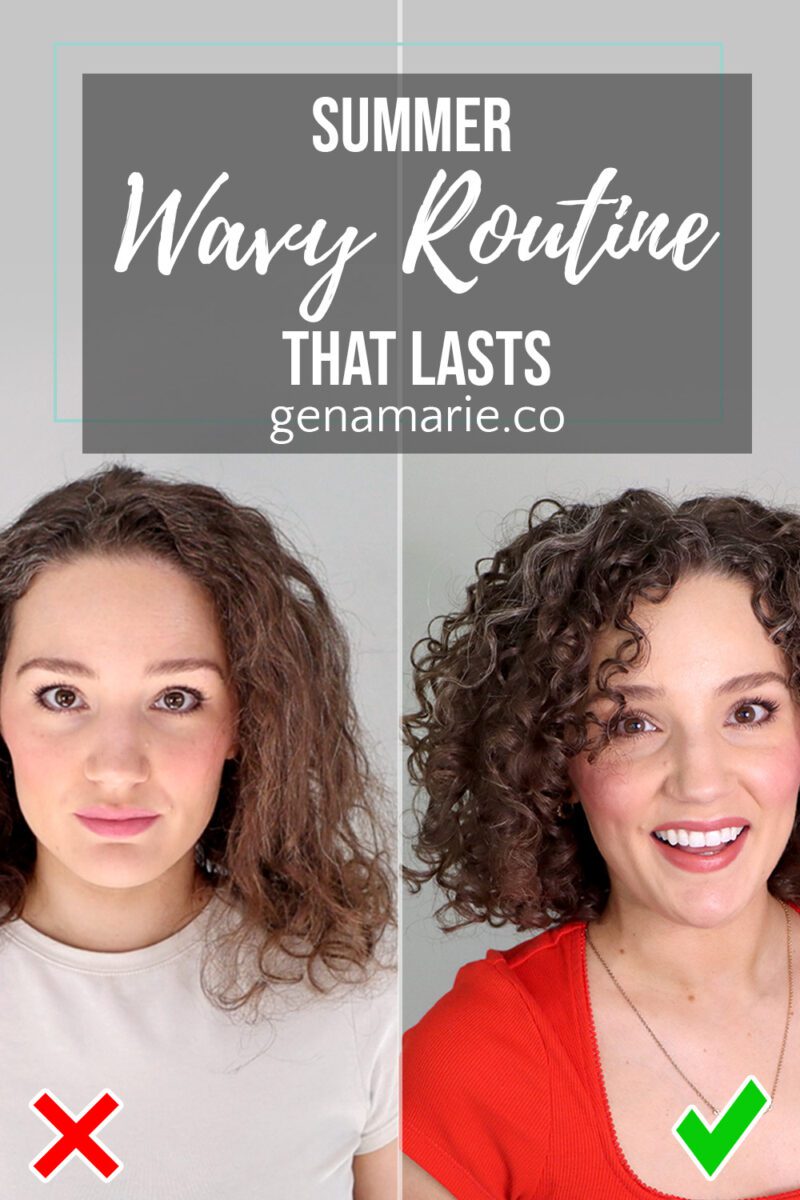
Wavy + Loose Curl Summer Routine That Actually Lasts
If your waves or loose curls fall flat every summer — losing definition by midday, never lasting past wash day — this routine is built
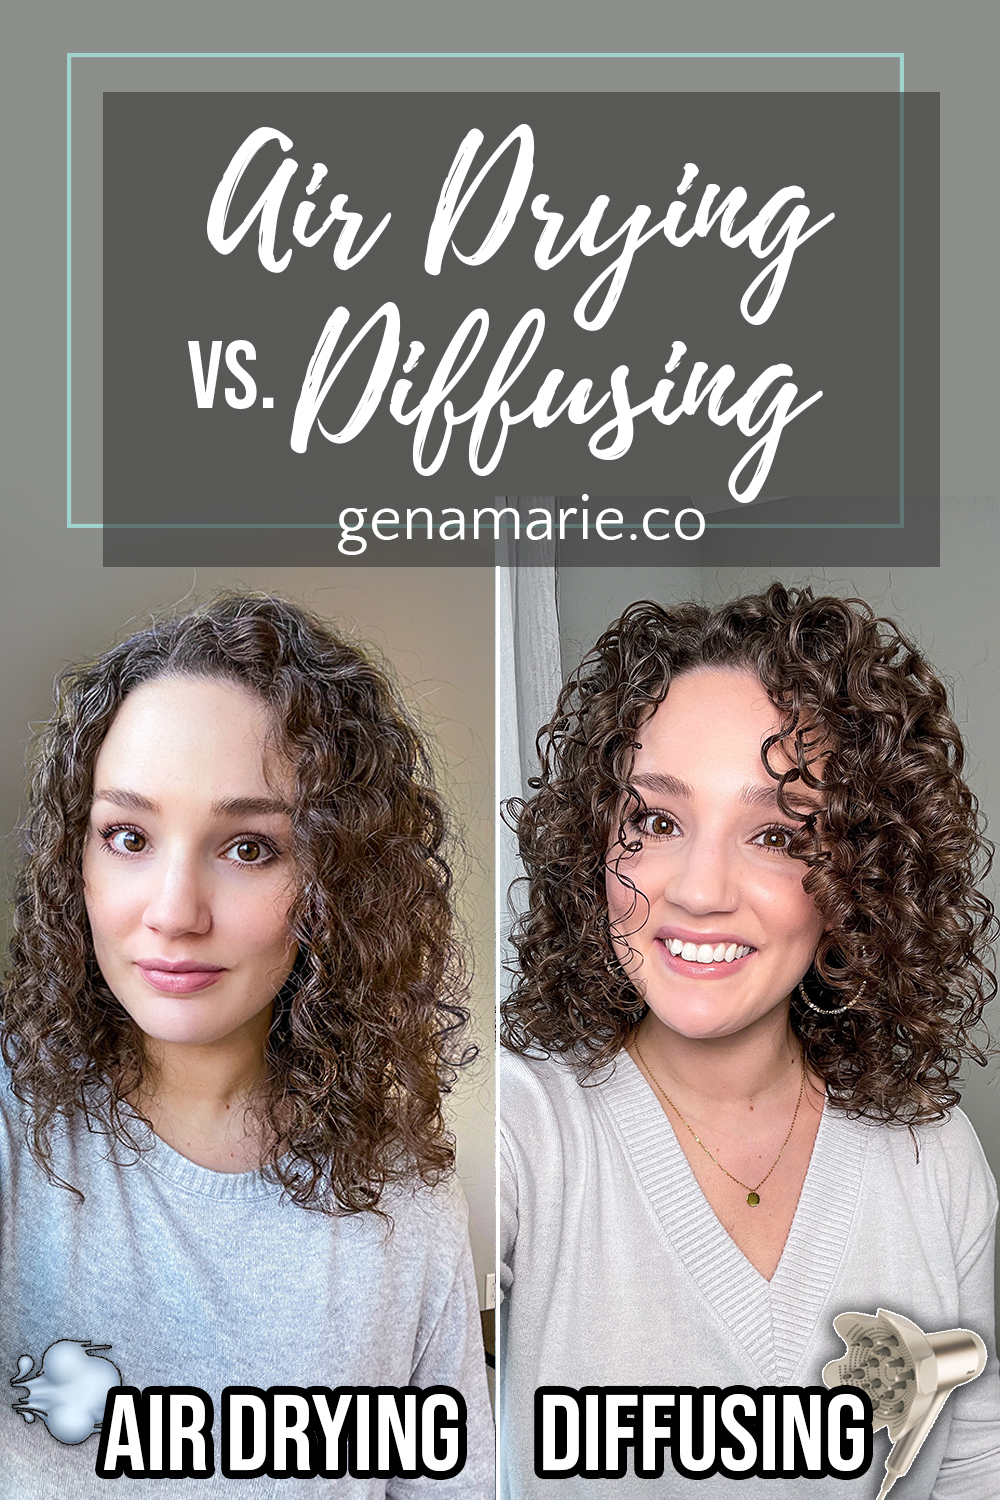
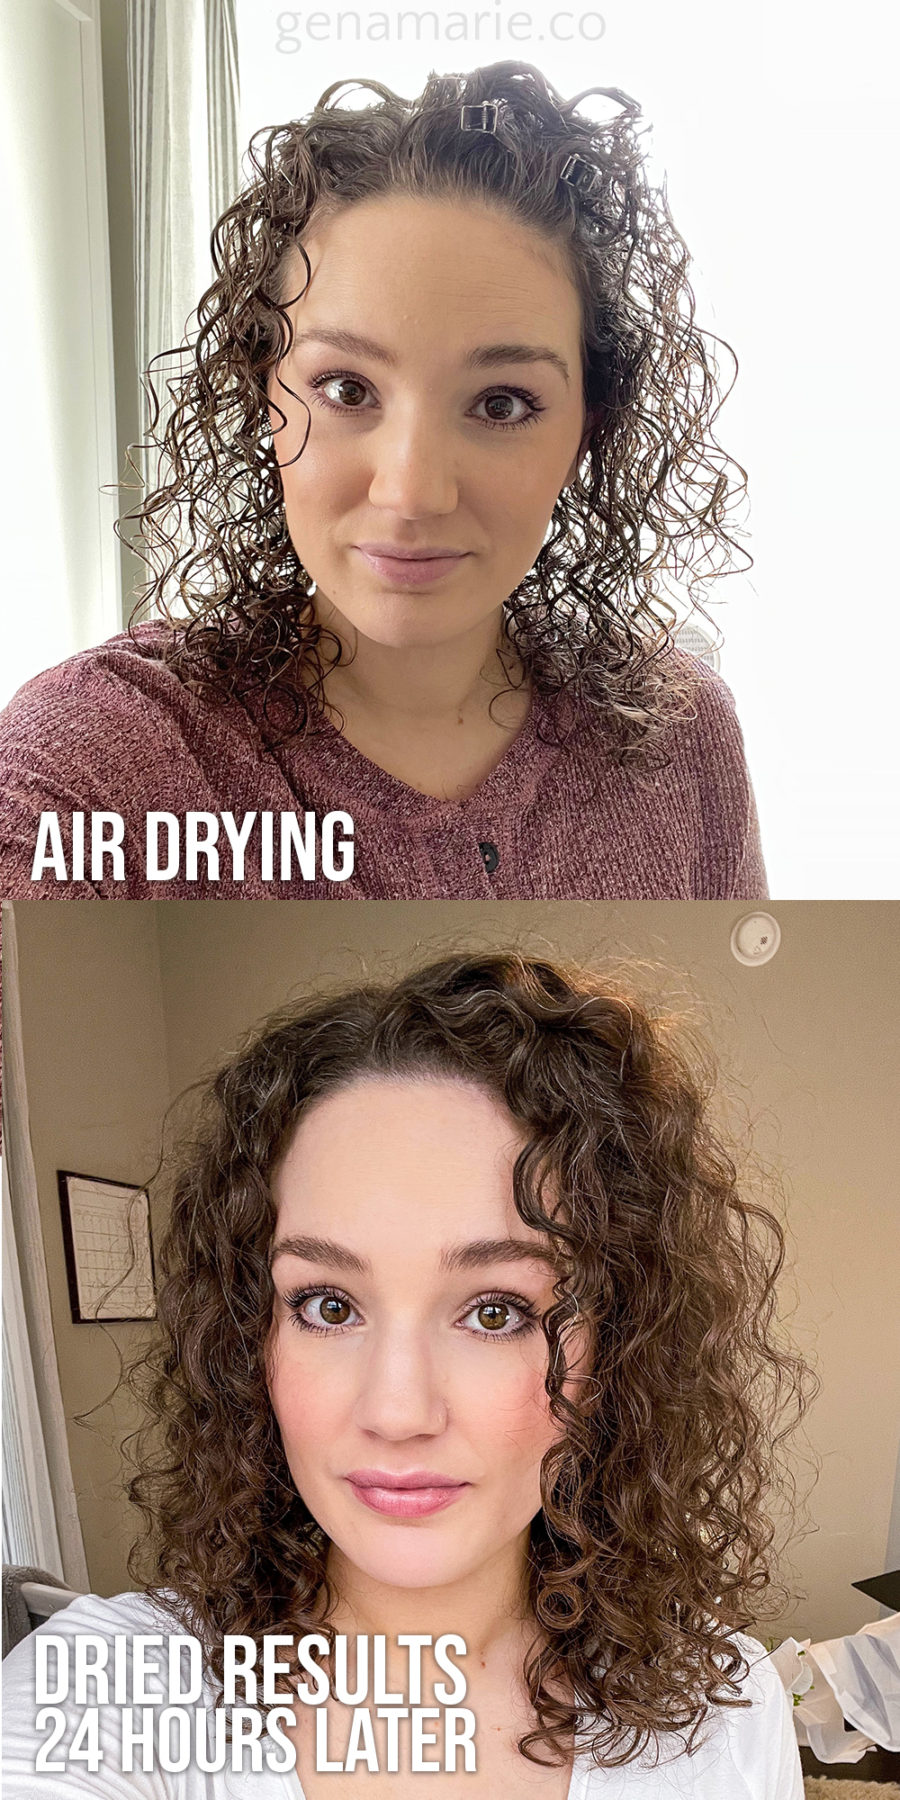
Do you prefer air drying, or diffusing your curly hair? Everyone has different preferences, and the results can be very different depending on your hair type, products, and technique.
In today’s video, I’m going to show you a styling routine where diffuse, and then another routine using the exact same products but with air drying. Then compare the results side by side and how long my curls last after wash day.
We’re also going to discuss the pros and cons of each, and which method is healthier for your hair type.
I first wanted to clarify that there is no right or wrong way to do your hair. If you like air-drying your hair, this is not intended to convince you that you need to stop air drying. My goal is to present the pros and cons that I had with both methods to help you identify if air drying or diffusing is causing any of your hair issues.
Get the Shark HyperAir & IQ-Curl Defining Diffuser here that I will be using in this video.

| Diffusing | Air Drying | |
|---|---|---|
| Dry Time | 10-30 minutes, depending on your hair’s density, products, styling techniques, & dryer temperature Hair is “done” and ready to go after diffusing | 2-10+ hours, depending on your hair’s density, products, styling techniques, & climate Hair appears wet, stringy, hard, and sparse while it’s drying |
| Cast | Gel cast is set right away, preventing frizz | Gel cast gradually forms and then dissipates as the hair dries |
| Frizz | Less frizz when done properly | More frizz due to the length of time the hair stays wet, allowing frizz to form with movement |
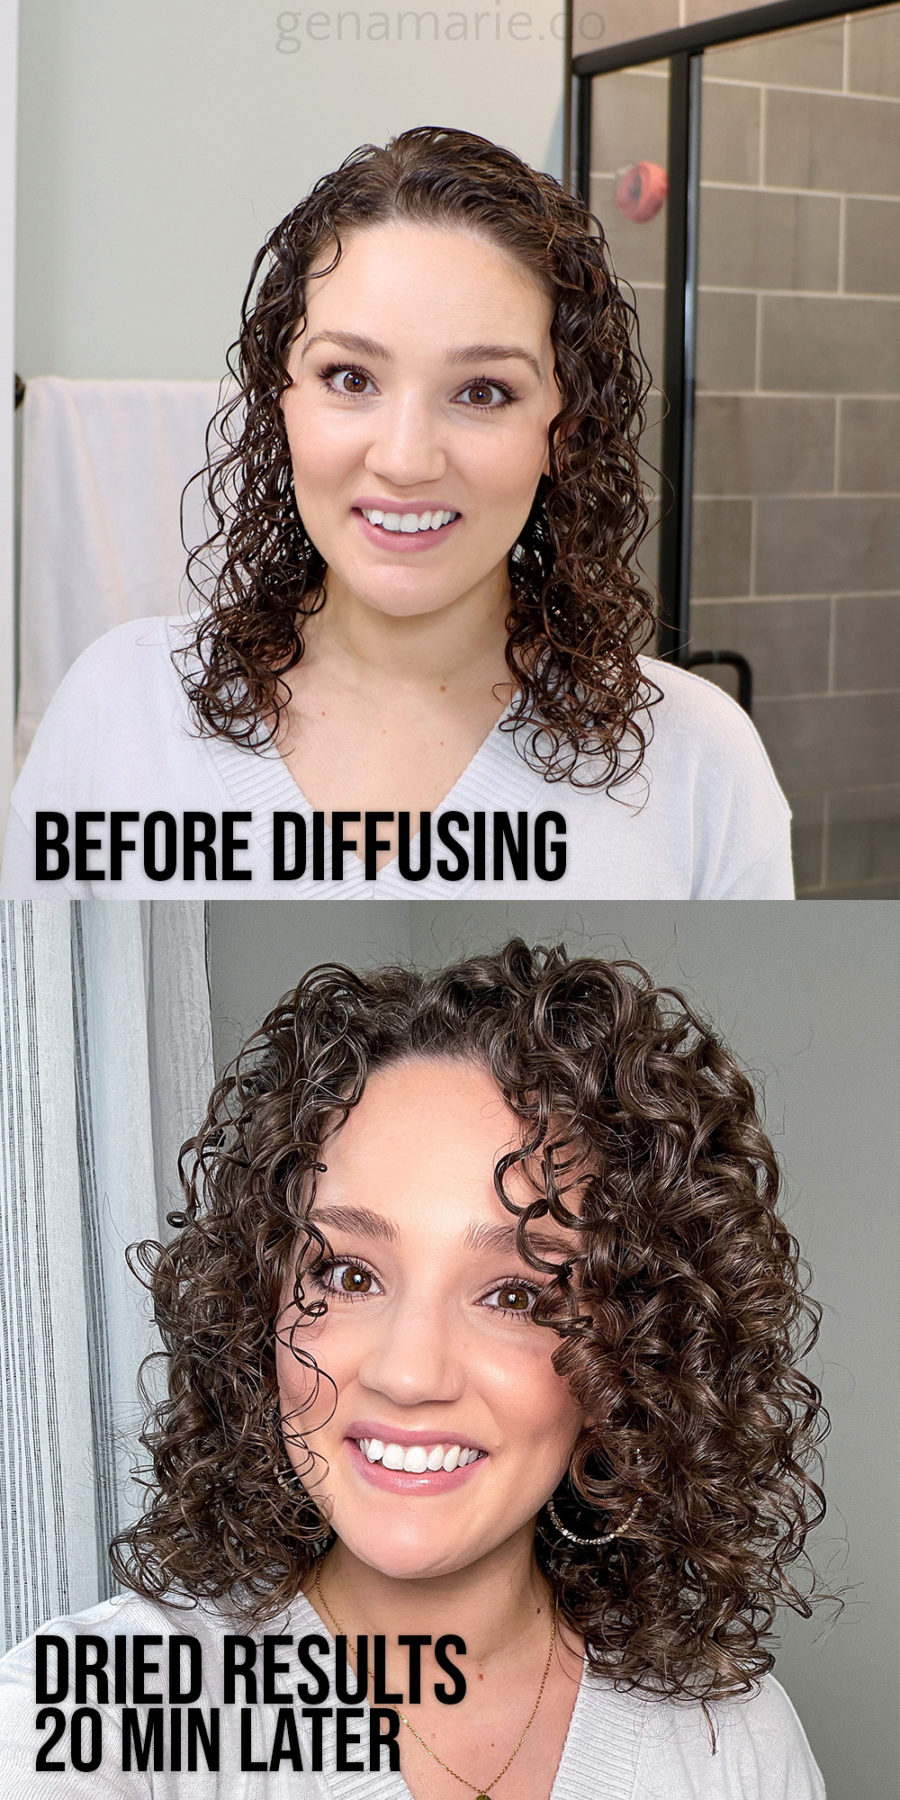
| Definition | More definition and shrinkage, or create elongation while diffusing.More even length of curls. | Curls become elongated due to gravity. Uneven, stringy curl lengths for those with varying curl patterns. |
| Volume | More volume and root lift | Less volume and flatter roots. Root clips can be used but the volume falls. |
| Longevity | Curls last longer due to more gel cast and the heat “setting” the curl shape | Curls fall and become frizzy by day 2 |
| Damage | Improper diffusing techniques or too high temperature can cause cuticle damage. Proper diffusing at a distance is not as damaging as prolonged air drying (source). | Hair staying wet for prolonged periods of time causes damage to the inner structure of the hair, the Cell Membrane Complex (source). |
| Cost | Requires $ to get a hairdryer and diffuser | Free |
| Accessibility | May not be possible for those without arm mobility, neck, or back conditions | Does not require movement |
Which do you prefer? There are pros and cons of both methods, and it depends on the look you’re going for and your preferences.
There are also ways to combine both methods to reap all benefits, such as diffusing for 5-10 and then finishing off with air drying. If I was short on time, this would be my preferred method to still get some of the volume and definition from diffusing, but not have to diffuse for too long.
If you’re struggling with frizz, I recommend checking out this video about How to Diffuse without Frizz for Beginners.
To reduce your dry time whether you air dry or diffuse, watch this video on How to Reduce Drying Time.
For my Shark HyperAir vs. Dyson comparison video, click here.
And lastly, to learn more about why diffusing may be less damaging than air drying, check out Manes by Mell’s video here and read this research study.

If your waves or loose curls fall flat every summer — losing definition by midday, never lasting past wash day — this routine is built
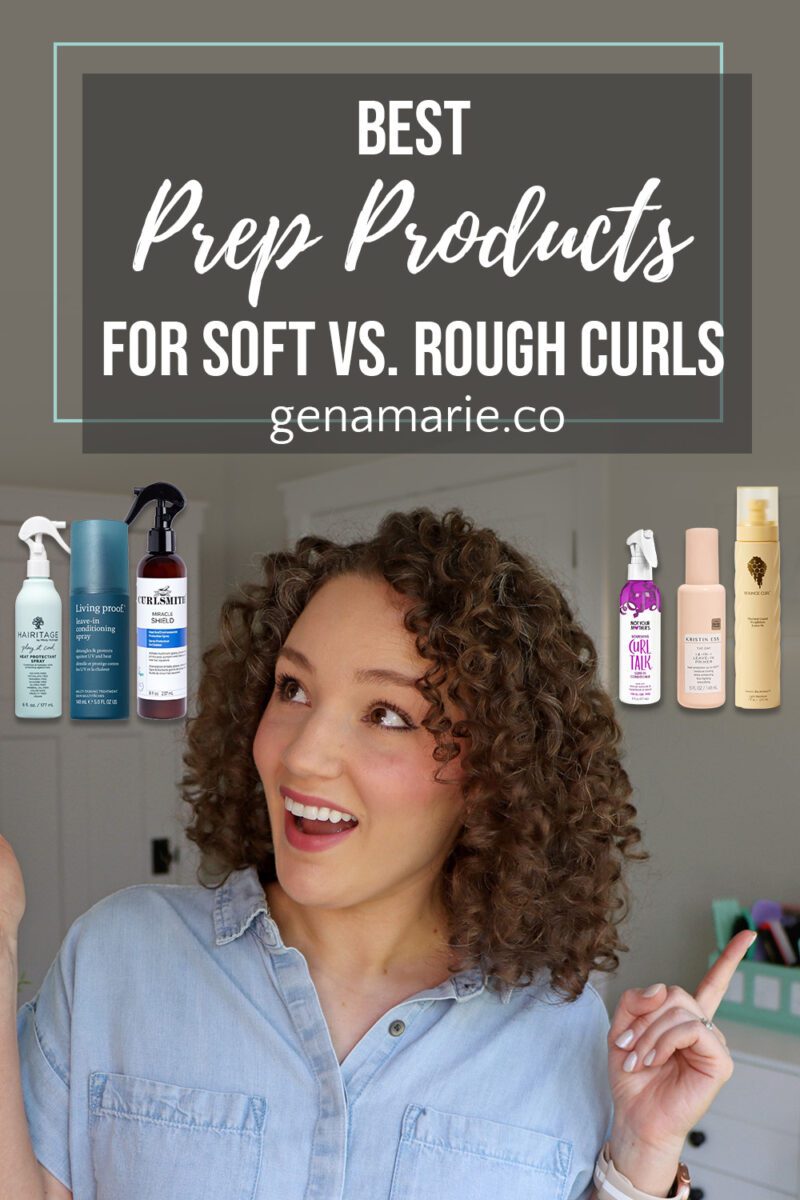
Are you using a heat protectant in your curly hair routine? If you’re diffusing or planning to be in the sun, you probably should. But
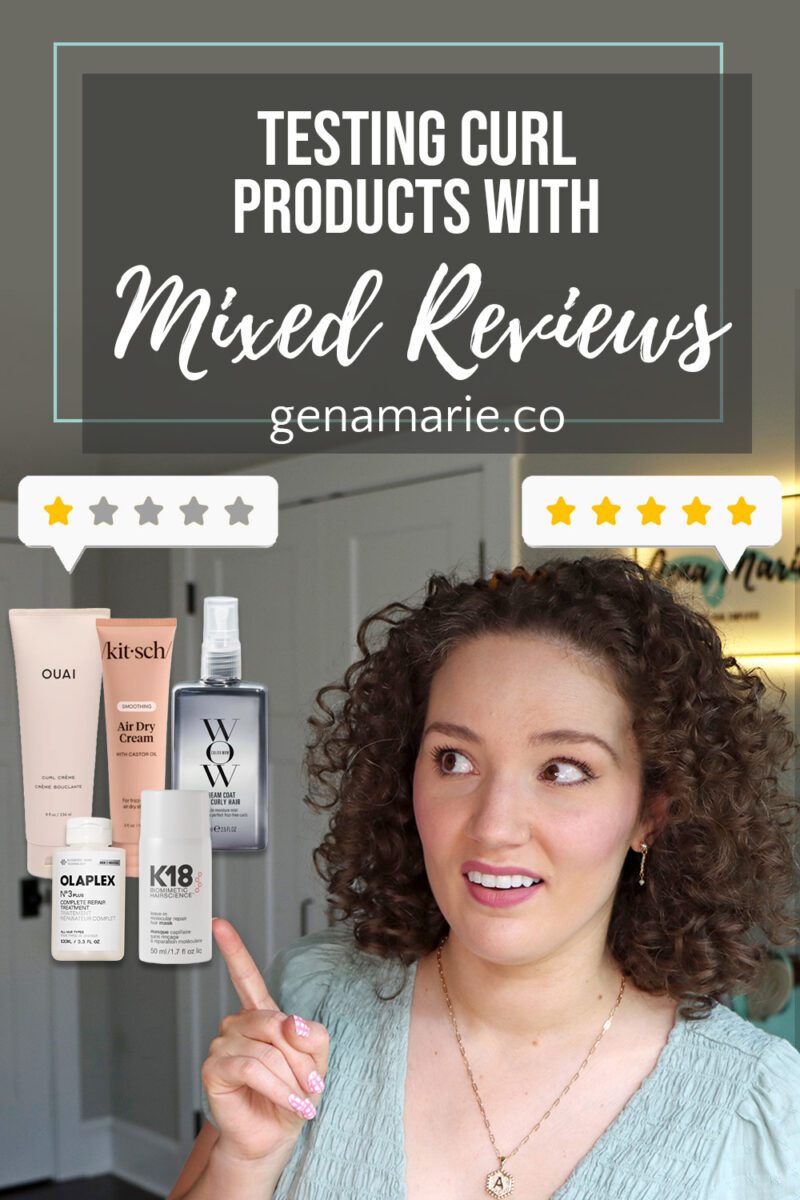
You read the reviews online. One person says a product completely changed their hair. Someone else says it’s the worst thing they’ve ever tried. And
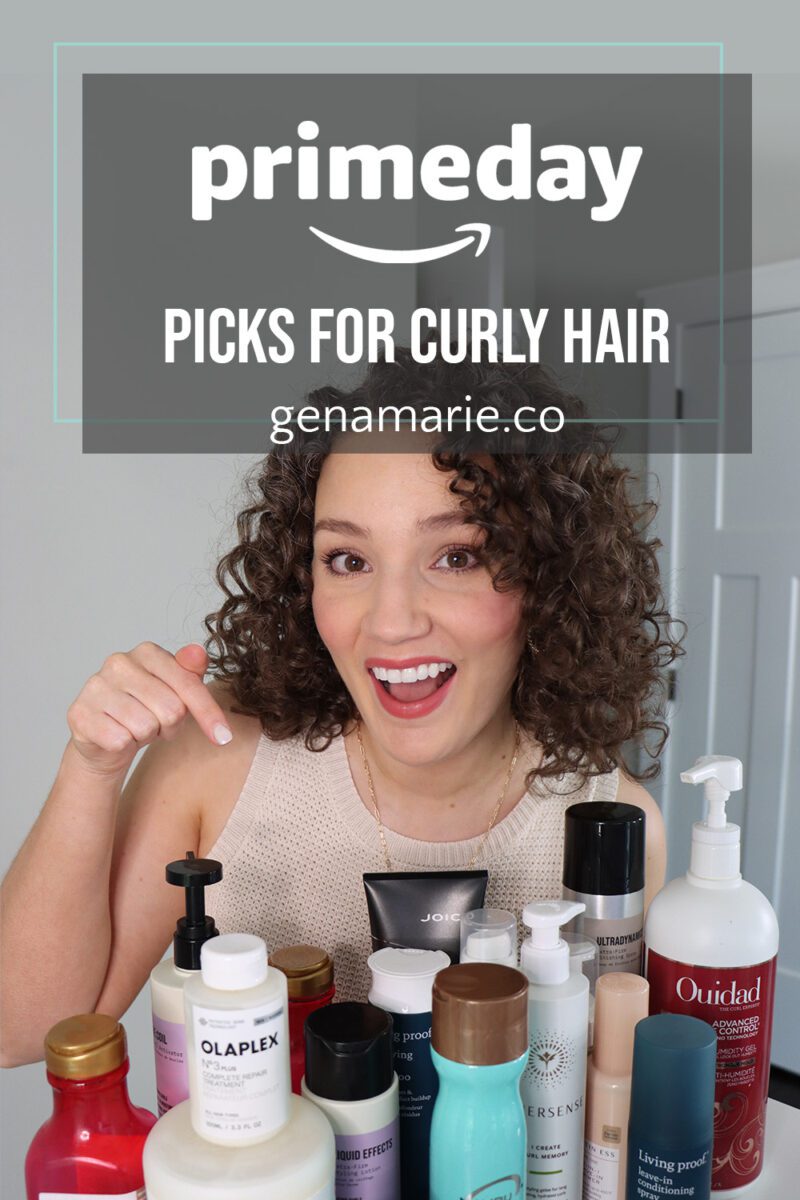
Amazon’s Prime Day Deals are happening today through Friday! I’ve rounded up my top curly hair picks on my Amazon storefront—plus shared quick notes below on each product’s key characteristics to help