
Contradictory Curly Hair Advice: Why It’s Confusing and What Actually Matters
Curly hair advice is full of contradictions — and no one explains how they’re supposed to work together. If you’ve ever tried to research curly
This post is sponsored by BioIonic. All opinions are my own. Affiliate links are used.
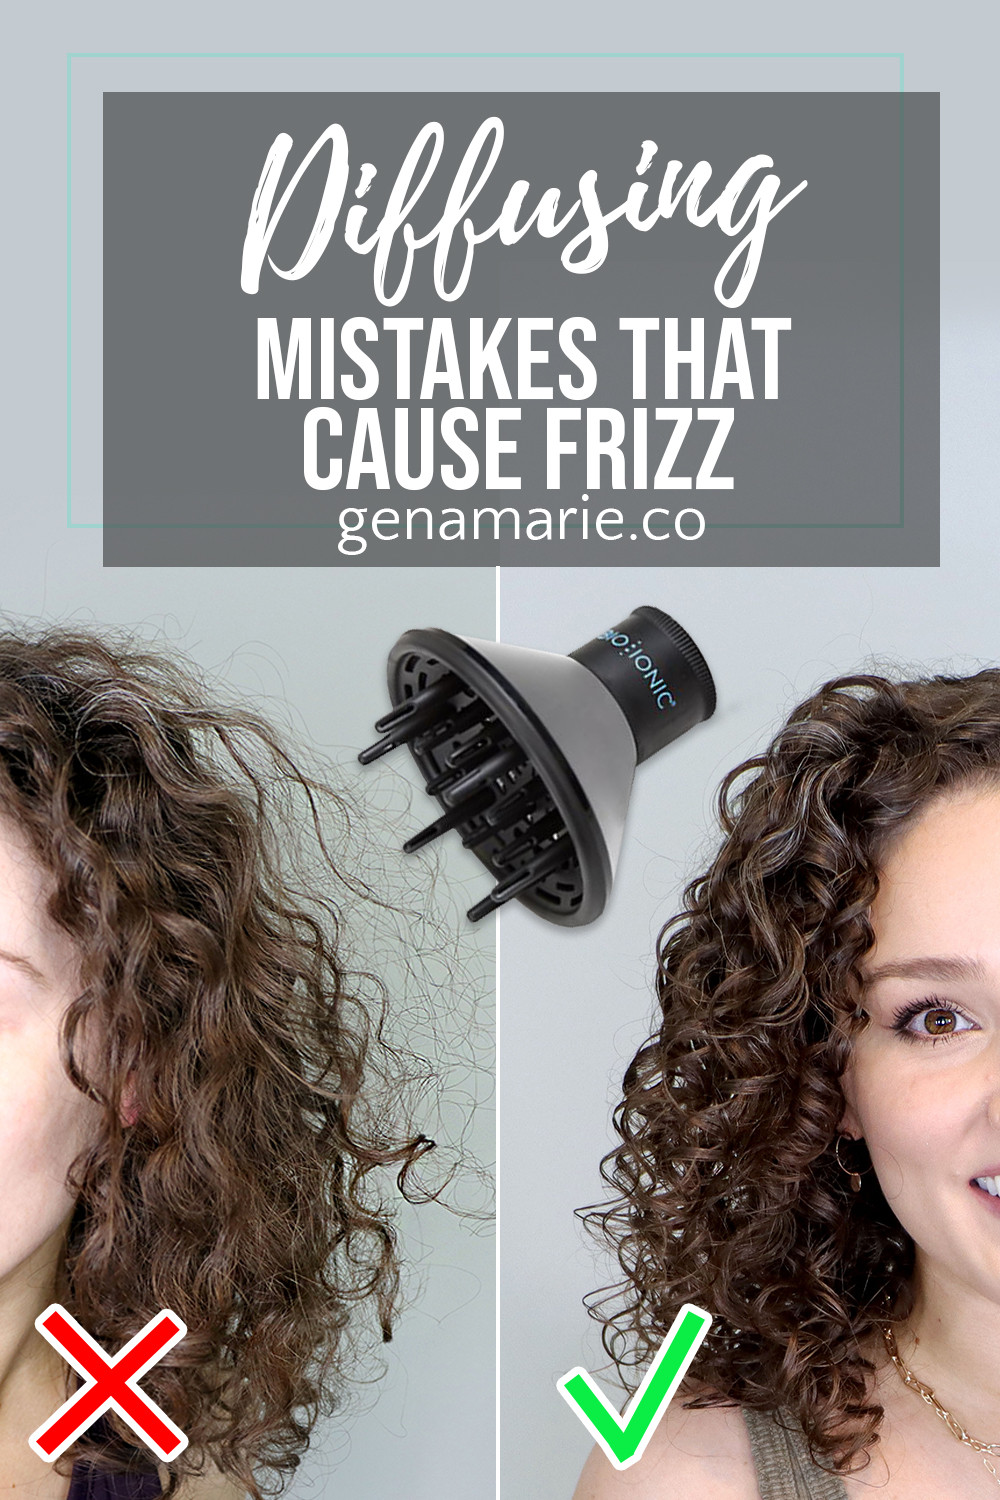
Do you end up with loads of frizz after diffusing your curls? Or maybe you struggle with wonky, misshapen curls, or you just can’t seem to master diffusing. In this video, I’m sharing 8 mistakes that are likely the cause of frizz when diffusing.
Disclaimer: There is no “right or wrong” way to diffuse your curls. If you’re doing any of these “mistakes” and you like your results, then keep doing them! These are just some tweaks that I’ve made that I noticed made a big difference in my routine.
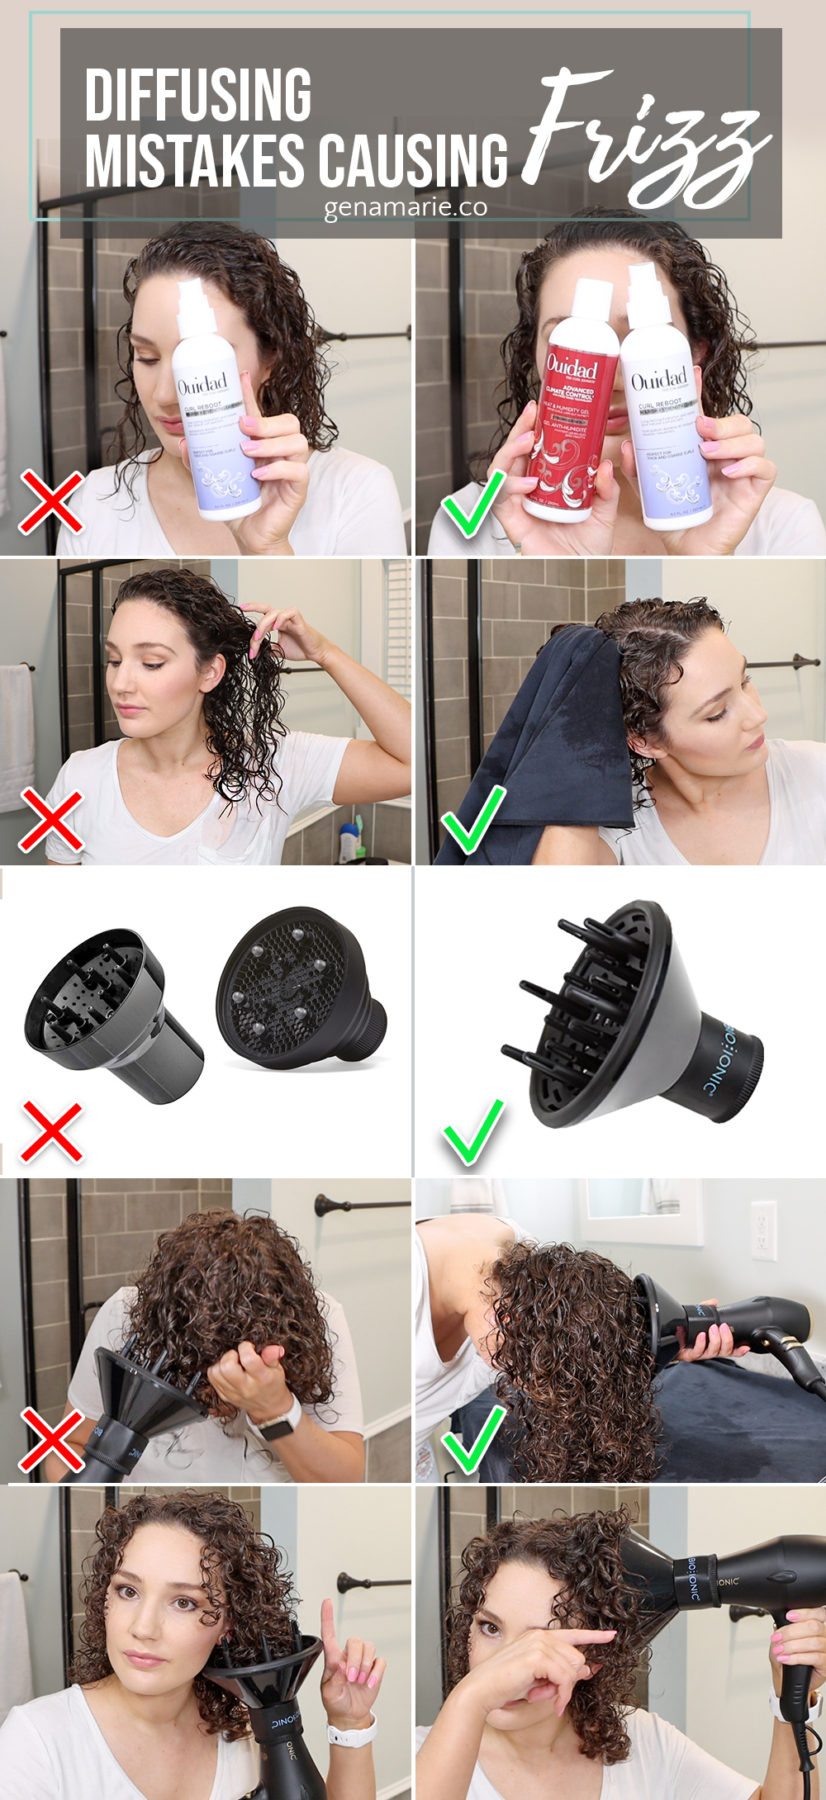
1. Not having enough hold in your hair from your products
Why? The “crunch” or the cast that forms from gel is what protects your hair from frizz when diffusing.
I used the Ouidad Curl Reboot Nourish + Strength Leave-In Mask for moisture first, then used the Ouidad Advanced Climate Control Stronger Hold Gel which provides a good cast once dried but can be scrunched out after for a softer look.
Click here for more gel recommendations.
If you’re struggling to get hold, watch my video on How to Get Stronger Hold.
You can also try adding more gel or hairspray in the middle of diffusing to tame any frizz, and continue diffusing.
2. Too much water in your hair before diffusing
Why? Soaking wet hair will take too long to dry and require too much heat, resulting in frizz.
I prefer to damp style because I get more volume and it doesn’t take my hair so long to dry. If you do like to style soaking wet, always remove the excess water by microplopping with a hair towel or T-shirt.
3. Not using a well-designed diffuser
Why? Diffusers with the short prongs that sit down inside the bowl can disturb the curls too much leading to frizz, and are not able to create volume and root lift. Also, diffusers that don’t minimize airflow enough can cause frizz.
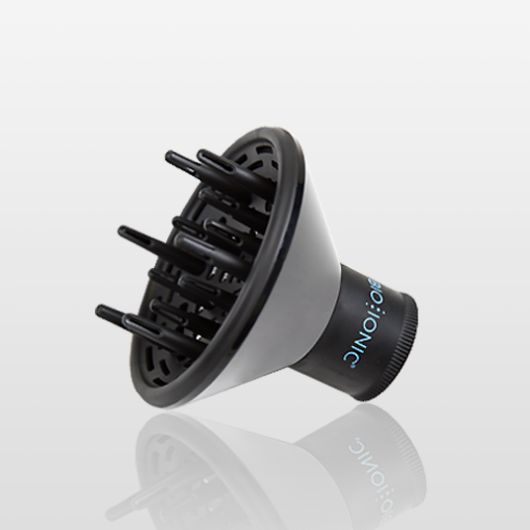
The Bio Ionic Universal Diffuser attachment is an ideal design because it has:
4. Using too high speed or too hot air
Why? Strong airflow blows the hair causing frizz. Strong heat is also damaging and dries the hair out faster, causing frizz.
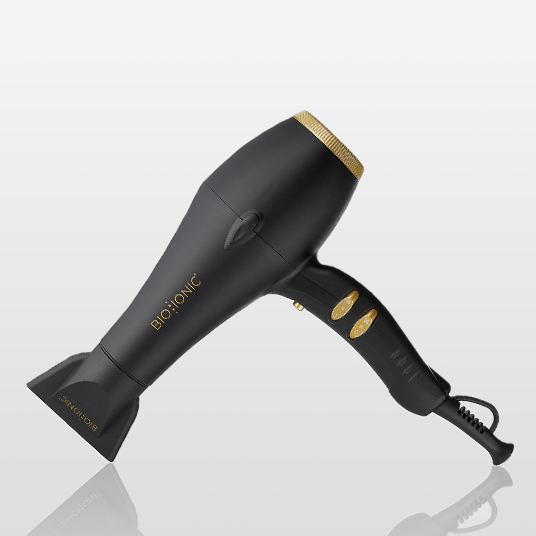
The BioIonic GoldPro Hair Dryer is ideal because it has:
5. Waiting too long to diffuse after styling, and letting your hair start to air dry
Why? If you’re trying to achieve more curl definition with scrunch diffusing, it will be hard to shrink your curls up with a diffuser if they’ve already set into place while air drying. Air drying can also cause frizz. If you’re not trying to achieve shrinkage and definition, air drying first is fine.
Instead start diffusing right after microplopping, or wait just 5 minutes or so. Don’t wait 30+ minutes to diffuse then try and scrunch diffuse.
6. Aggressively touching your hair and moving the diffuser too fast
Why? This friction causes frizz because of the movement disturbing the curls and possibly damage.
Instead, hover diffuse slowly first, then start to cup the hair into the diffuser bowl and lift up. Hold for a few seconds but not too long. You can also try “pixie diffusing” which is where you turn the dryer off and on in between sections.
7. Diffusing ends of the hair first or once already dried
Why? Diffusing the ends for too long can cause them to dry out and become damaged. Once an area of hair is dried, don’t keep diffusing it.
Instead, focus on the roots and lengths first, then ends. Don’t wait too long though if you want to encourage shrinkage. I alternate around but I don’t let the ends dry all the way at once.
8. Pointing the diffuser straight up the hair shaft
Why? The cuticle lays in the downward position, so when we scrunch diffuse we are blowing the hair up, against the cuticle which can cause frizz.
However, this method gives the best shrinkage and volume. Instead, allow your gel cast to set a bit by hovering to keep the cuticle sealed and protect from frizz. You can also point the diffuser towards your head, versus upwards.
Bonus Tip for More Volume and Shrinkage
Only diffusing upside down can result in the curls turning out looser underneath. Scrunch diffuse, then diffuse some upright. Waiting too long will make it hard to shape the curls so alternate between upside-down and right-side up.
Neglecting the roots can lead to flat roots. Use the prongs to lift the roots towards the end of your routine when they’re still a bit damp.
Once I’m done diffusing, I sometimes let my hair finish air-drying if it’s slightly damp in some places just to avoid over diffusing already dried areas. Once my hair is 100% dry, I scrunch out some of the gel cast.
I still get frizz, especially around the roots due to new growth. Frizz is inevitable and not necessarily something that needs to be “fixed.” However, these techniques can help reduce frizz and help you achieve better results when diffusing. If you make any of these tweaks to your diffusing routine, definitely let me know if they helped reduce your frizz!


Curly hair advice is full of contradictions — and no one explains how they’re supposed to work together. If you’ve ever tried to research curly

If your curls are falling limp, feel dry, or are showing signs of damage, it might be worth adding some targeted treatments into your routine.
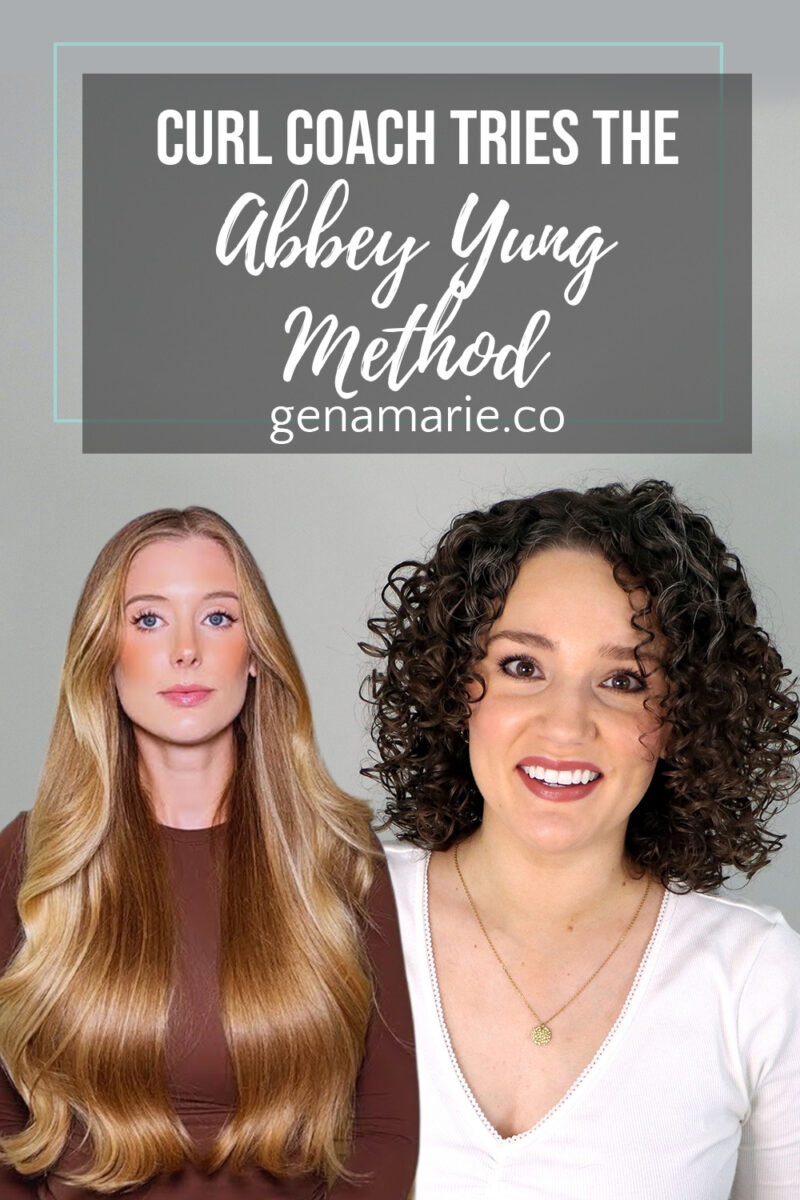
Does the viral Abbey Yung Method, primarily a straight hair routine, actually work for naturally curly hair? Abbey Yung is a beauty creator with a
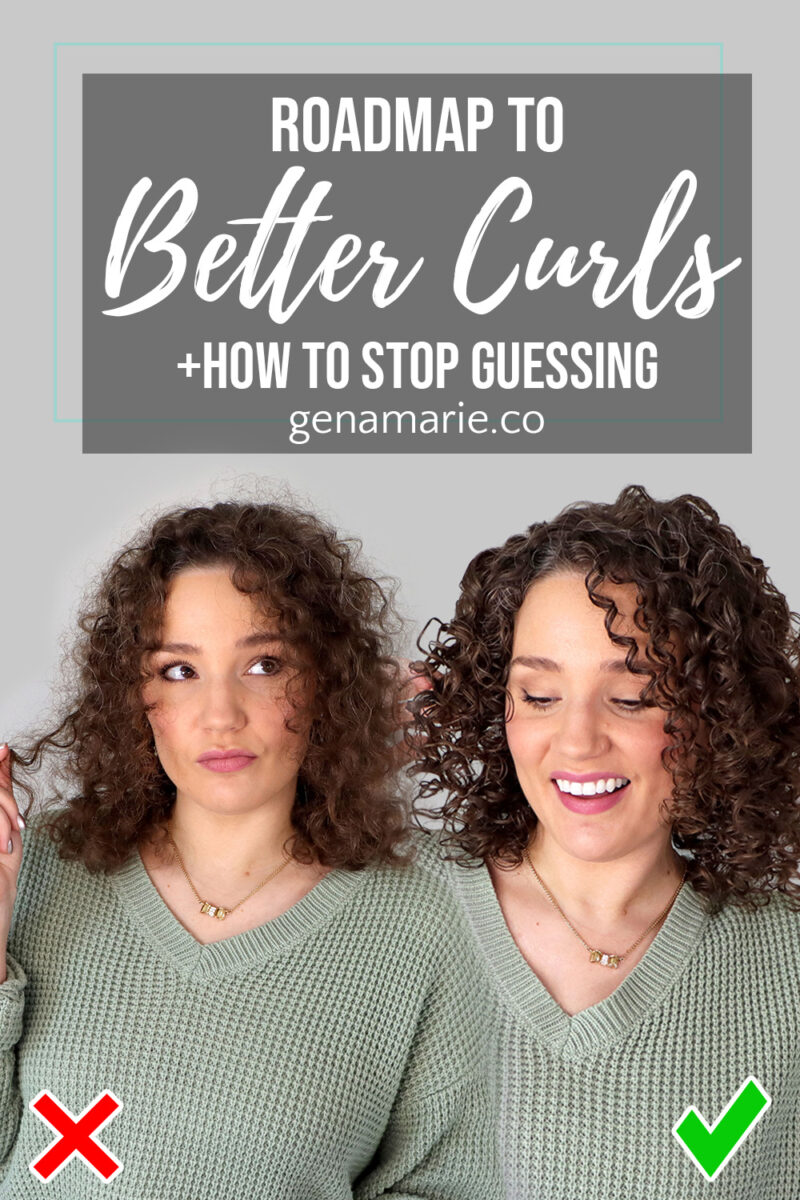
It’s 2026 — and we’re done with inconsistent curls, results we hate, and constant frustration. If you’re tired of never knowing how your hair is