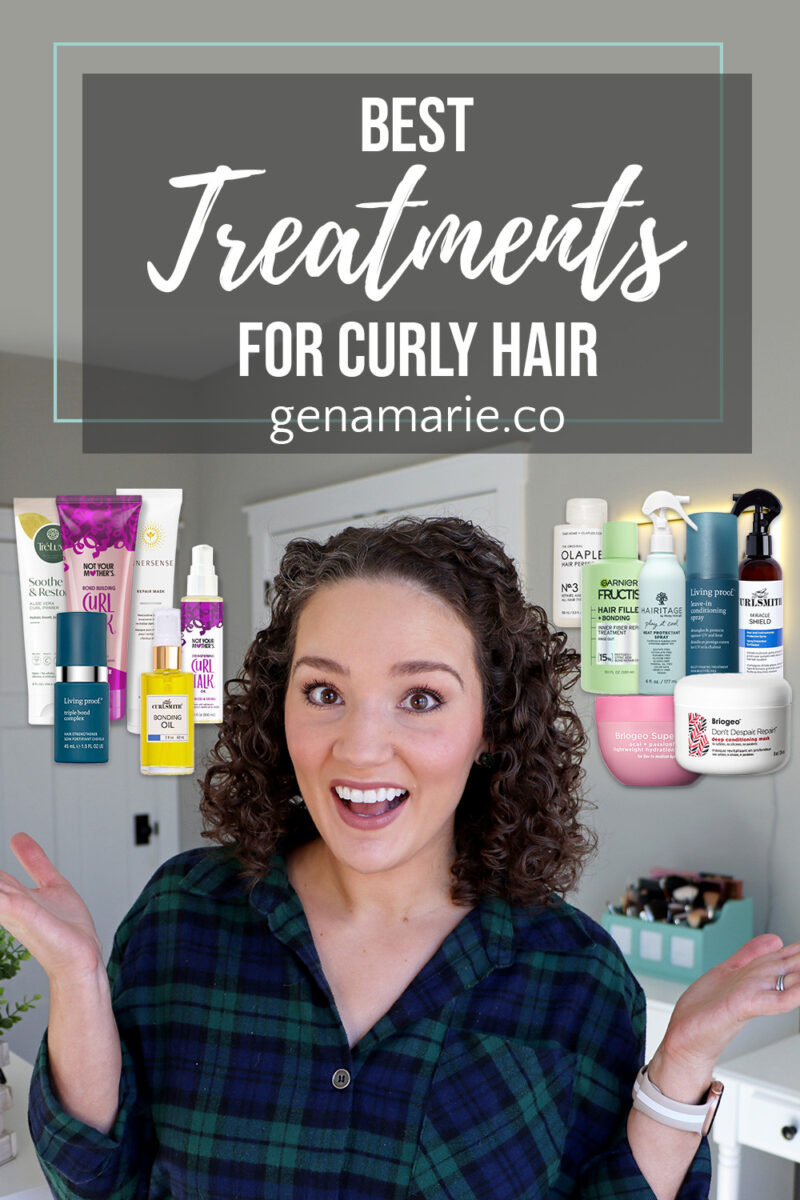
Best Treatments for Curly Hair: Pre-Shampoo Care, Bond Repair, Masks, and Heat Protection
If your curls are falling limp, feel dry, or are showing signs of damage, it might be worth adding some targeted treatments into your routine.
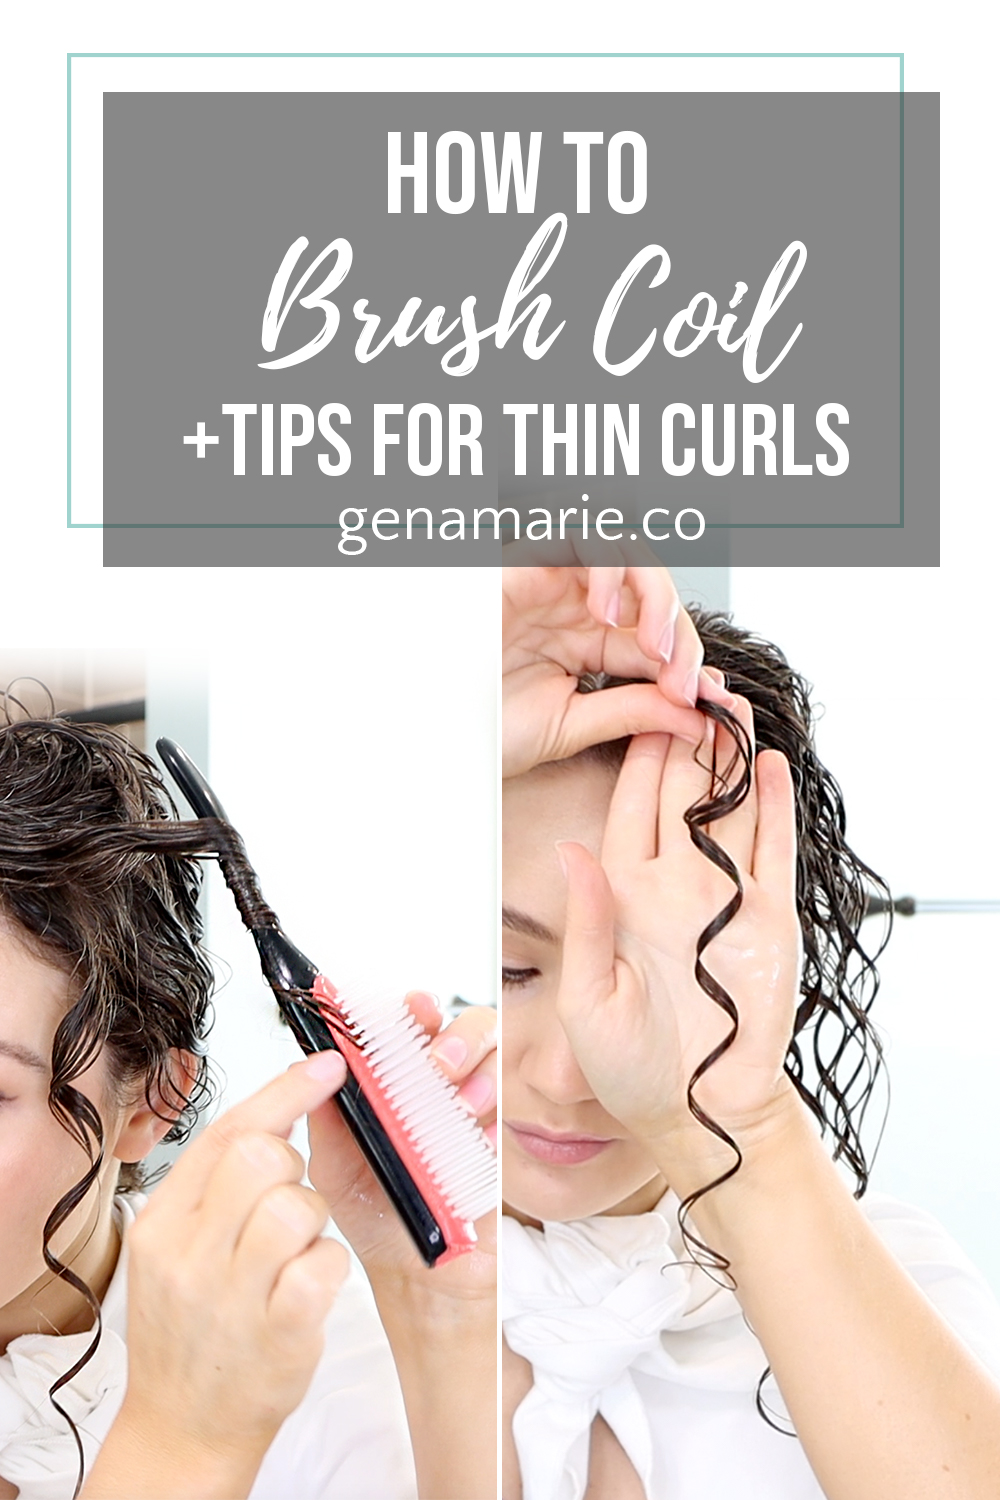
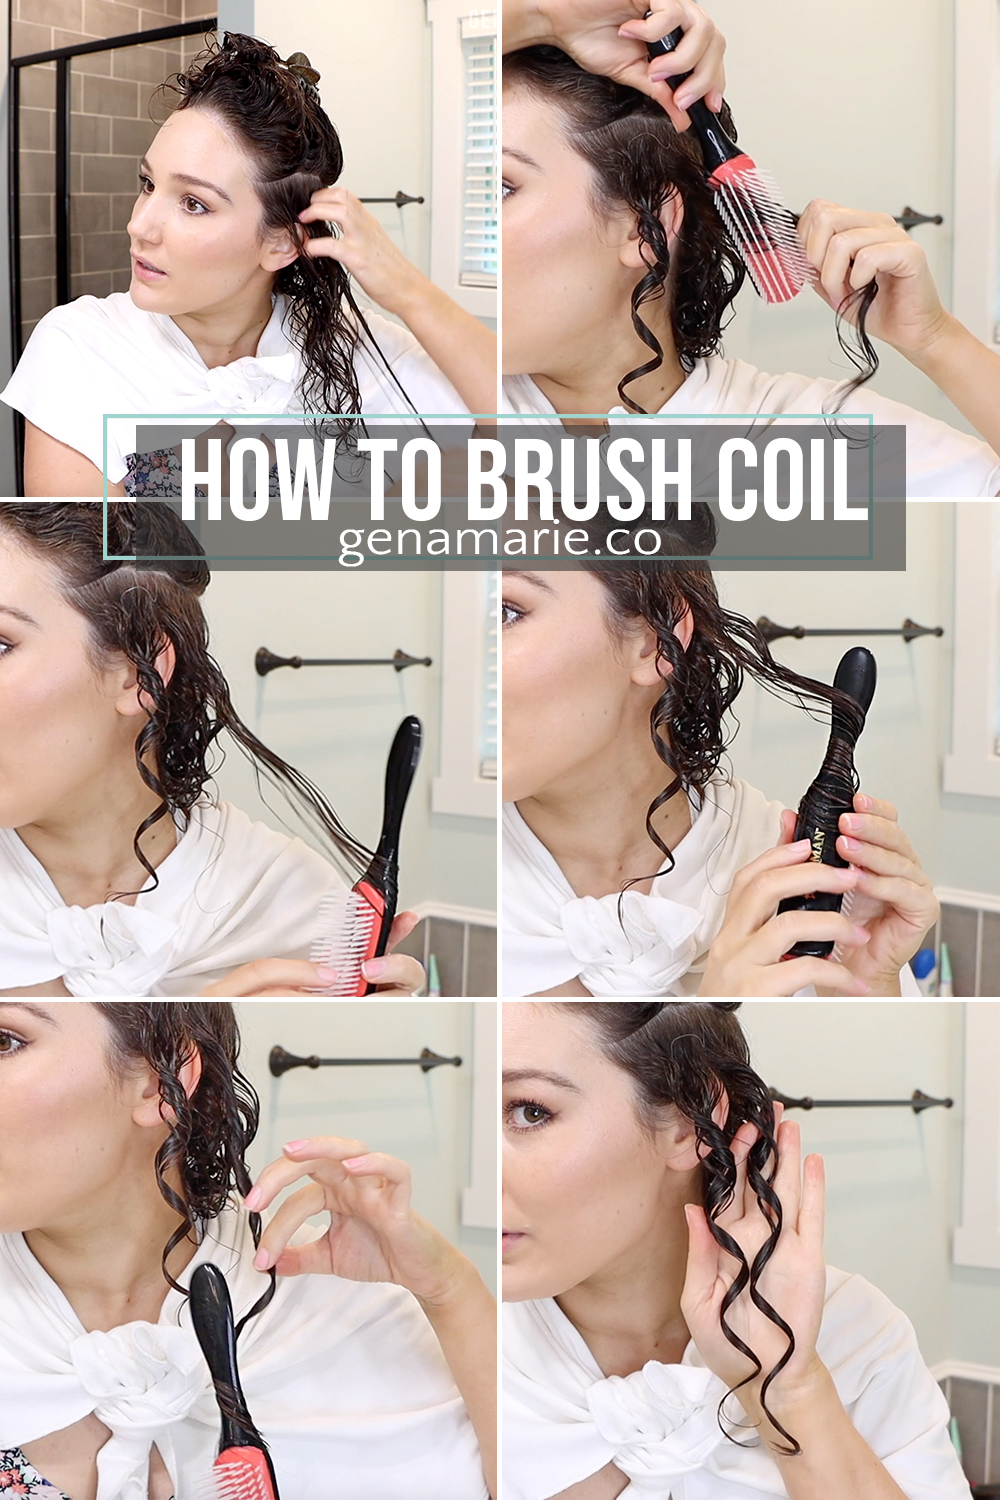
If you’re looking to get super-defined ringlets, brush coiling is definitely a styling technique worth a try. Today I’m sharing a step-by-step brush coiling tutorial and some tips for low-density hair to achieve more fullness in volume with curl clumps.
Brush coiling is a styling technique where the hair is wrapped around the brush handle to coil it into a spiral shape. It can be beneficial for those who are looking to encourage ringlets, create a more even curl, and even helps curls hold their shape longer.
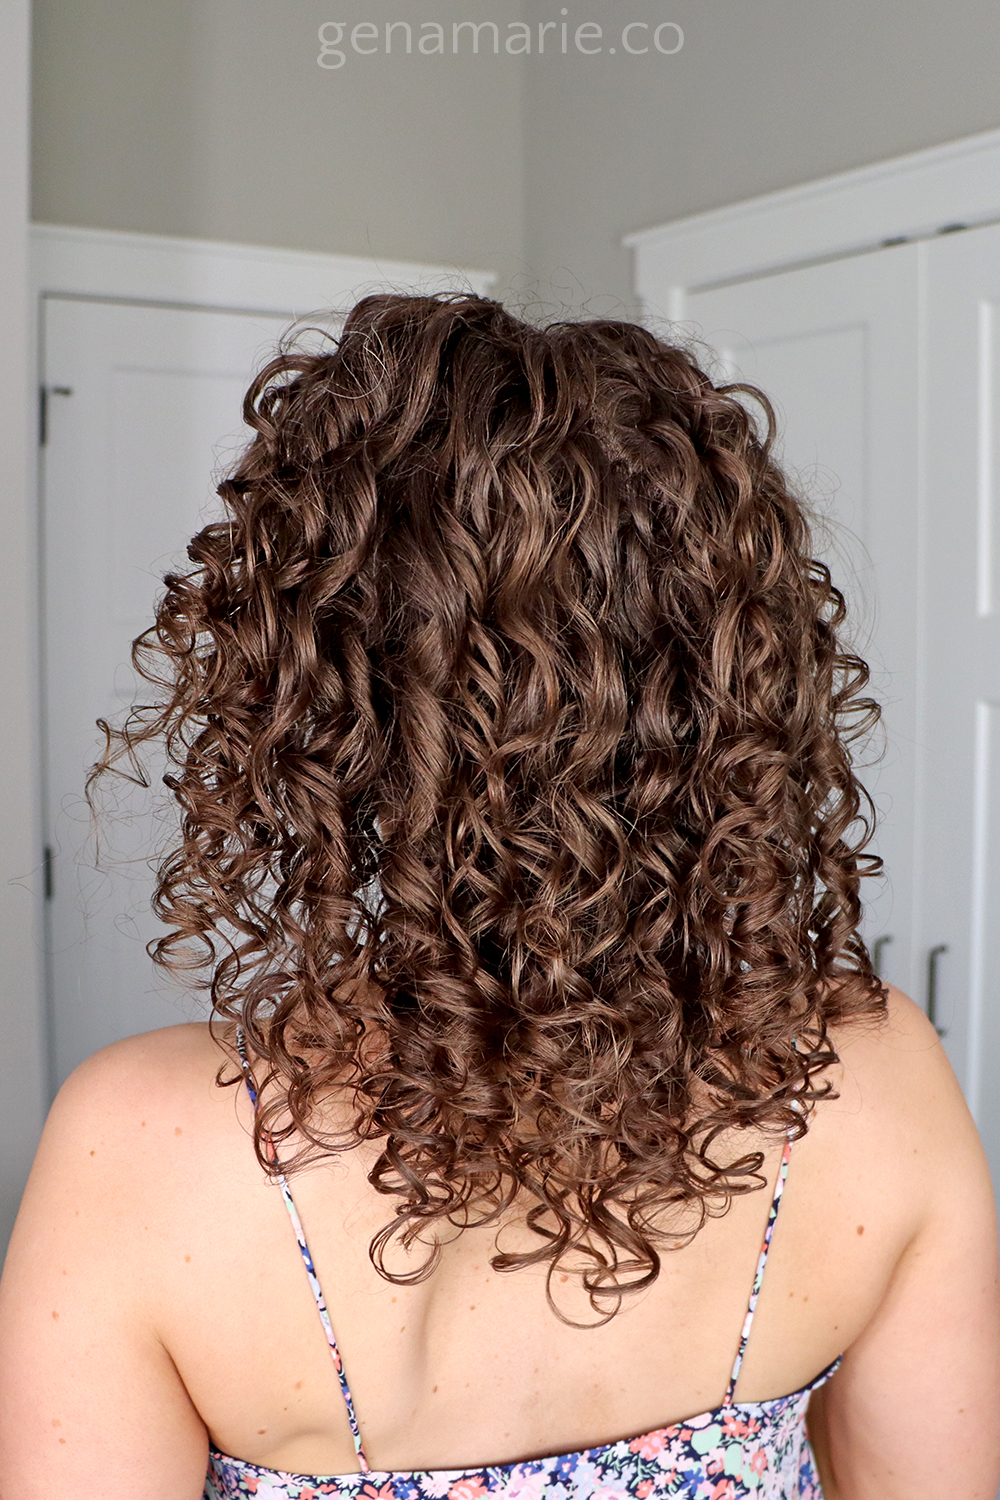
My curls were definitely more defined and I was impressed at how curly the areas of my hair were are usually more of a wavy pattern. I also noticed that the frizz was contained within the curl clumps and my gray hairs were much more hidden. My curls also lasted longer throughout the week and held their shape. I still had volume even with all the curl clumps because I separated the curls on the bottom section.
I think this method is great for those looking to get more long-lasting ringlets and more uniform curls. Brush coiling should be used with caution because it does apply tension to the hair. If you have weak, damaged hair, or are prone to breakage I would avoid brush coiling and any type of tension from styling techniques. Also, if you have excessive shedding or hair loss I would not use brush coiling.
If you want a similar technique without using a brush, check out my video on How to Finger Coil.


If your curls are falling limp, feel dry, or are showing signs of damage, it might be worth adding some targeted treatments into your routine.
Does the viral Abbey Yung Method, primarily a straight hair routine, actually work for naturally curly hair? Abbey Yung is a beauty creator with a
It’s 2026 — and we’re done with inconsistent curls, results we hate, and constant frustration. If you’re tired of never knowing how your hair is
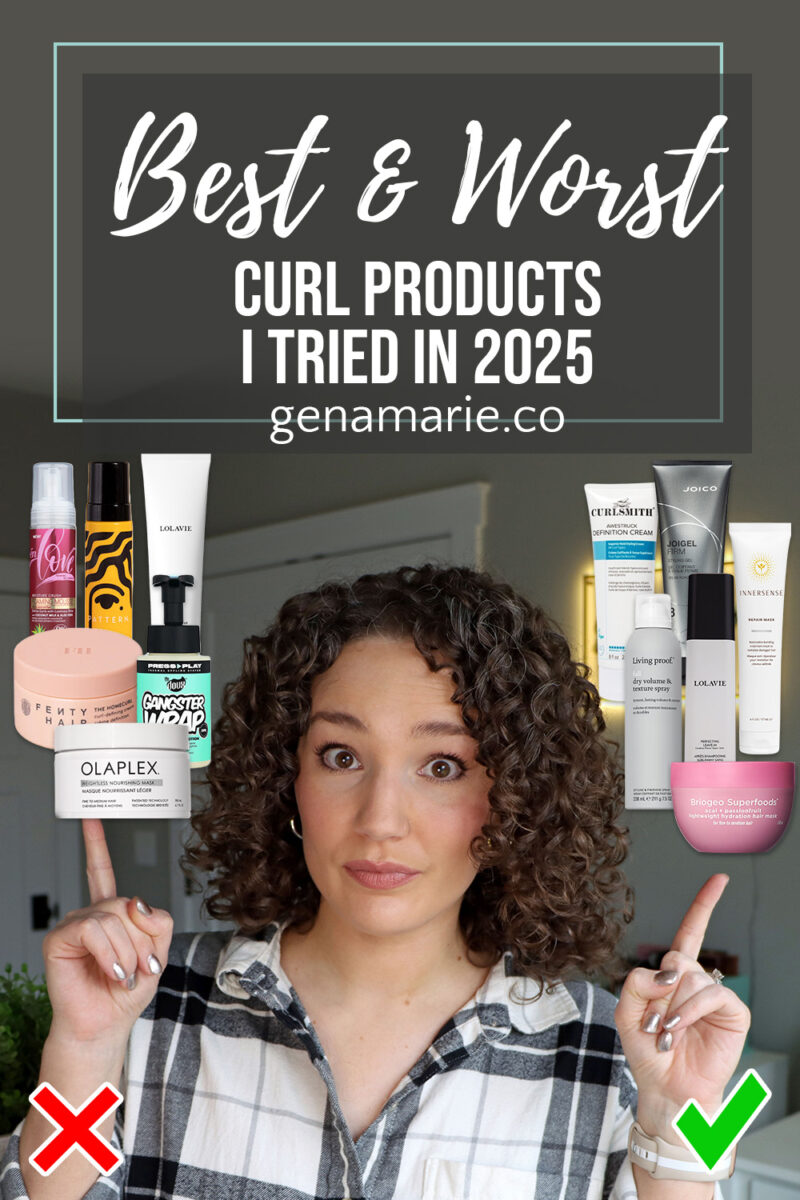
In 2025, I tested a large number of curly hair products across real wash days, different routines, and different styling approaches. Some of those products