


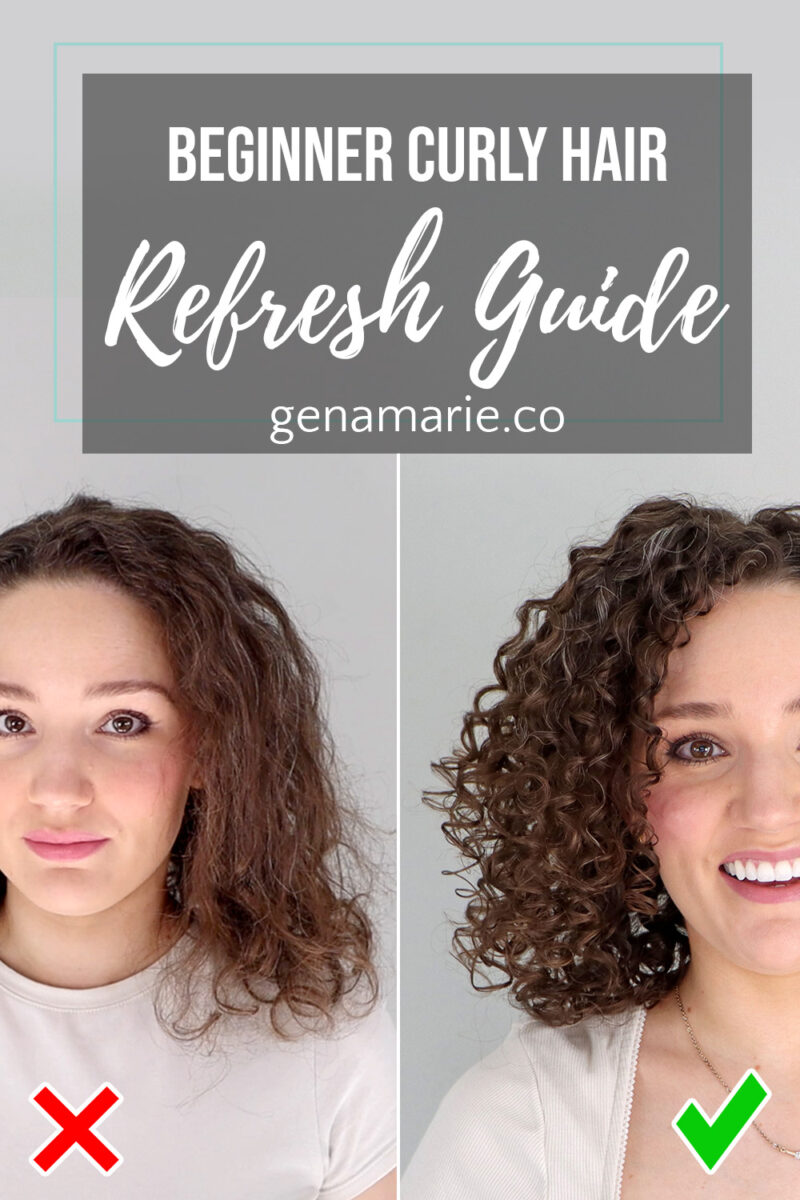
Curly Hair Refresh Guide for Beginners: When to Leave It, Fix It, or Wash It
If your curls look worse every morning and you feel like you have to restart your hair every day, that’s exactly when curly hair starts
This post is sponsored by Umberto Giannini. Products are gifted. Links are affiliate links, which means I earn a small percentage when you order through my links. This does not impact the price you pay and is a way to support my channel in exchange for helping you discover the product.
This affordable curly hair routine will help you achieve volume, clumps, and prevent frizzy stringy curls. I’m using affordable products from Umberto Giannini, who is kindly partnering with me for this post.
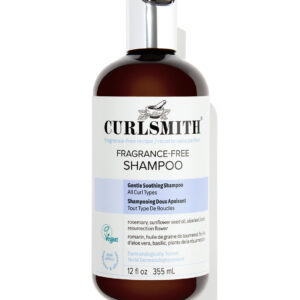
Did you know buildup on the hair can make the hair look stringy and dull? I recommend clarifying a couple of times a month, on regular wash days, use a shampoo that is gentle but still effective at cleansing the hair with a good lather.
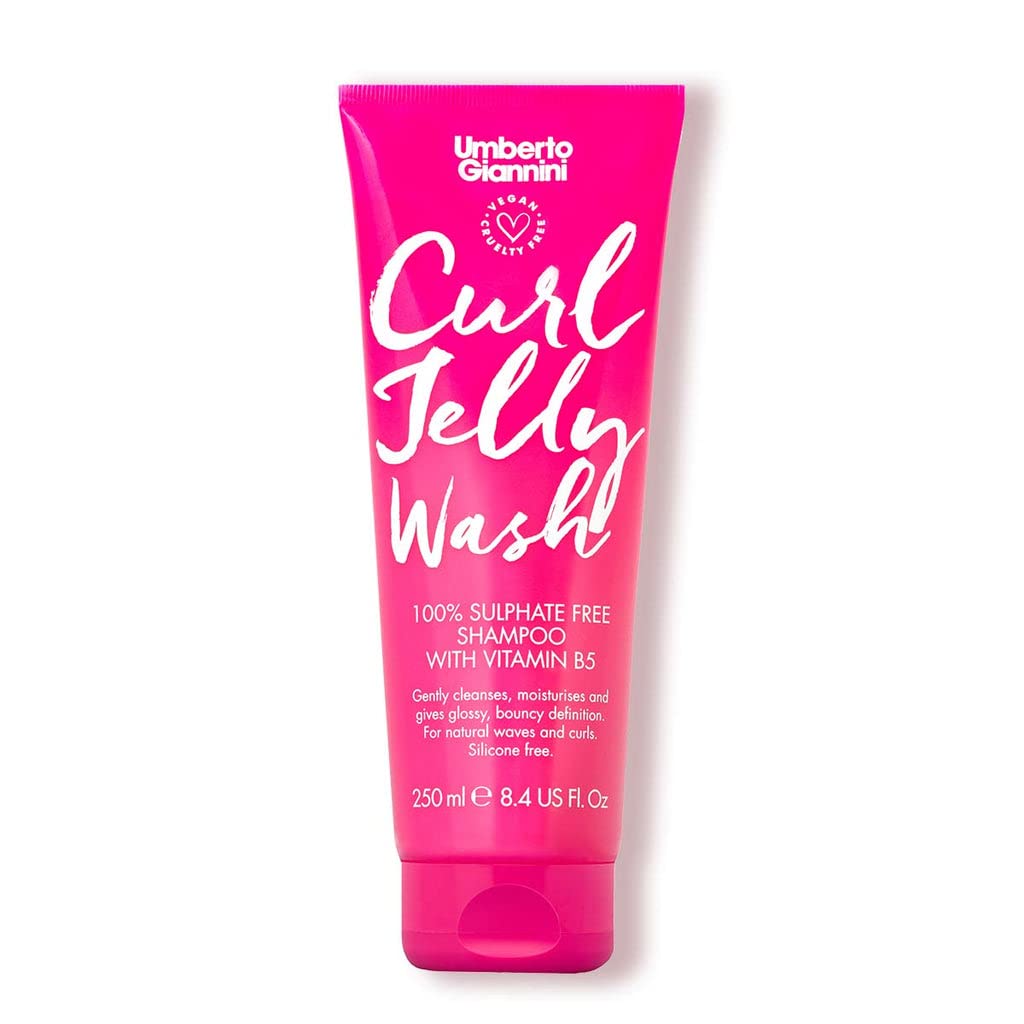
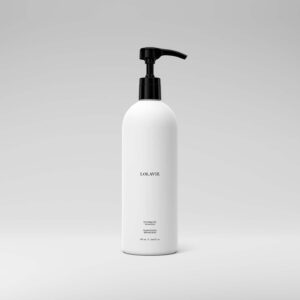
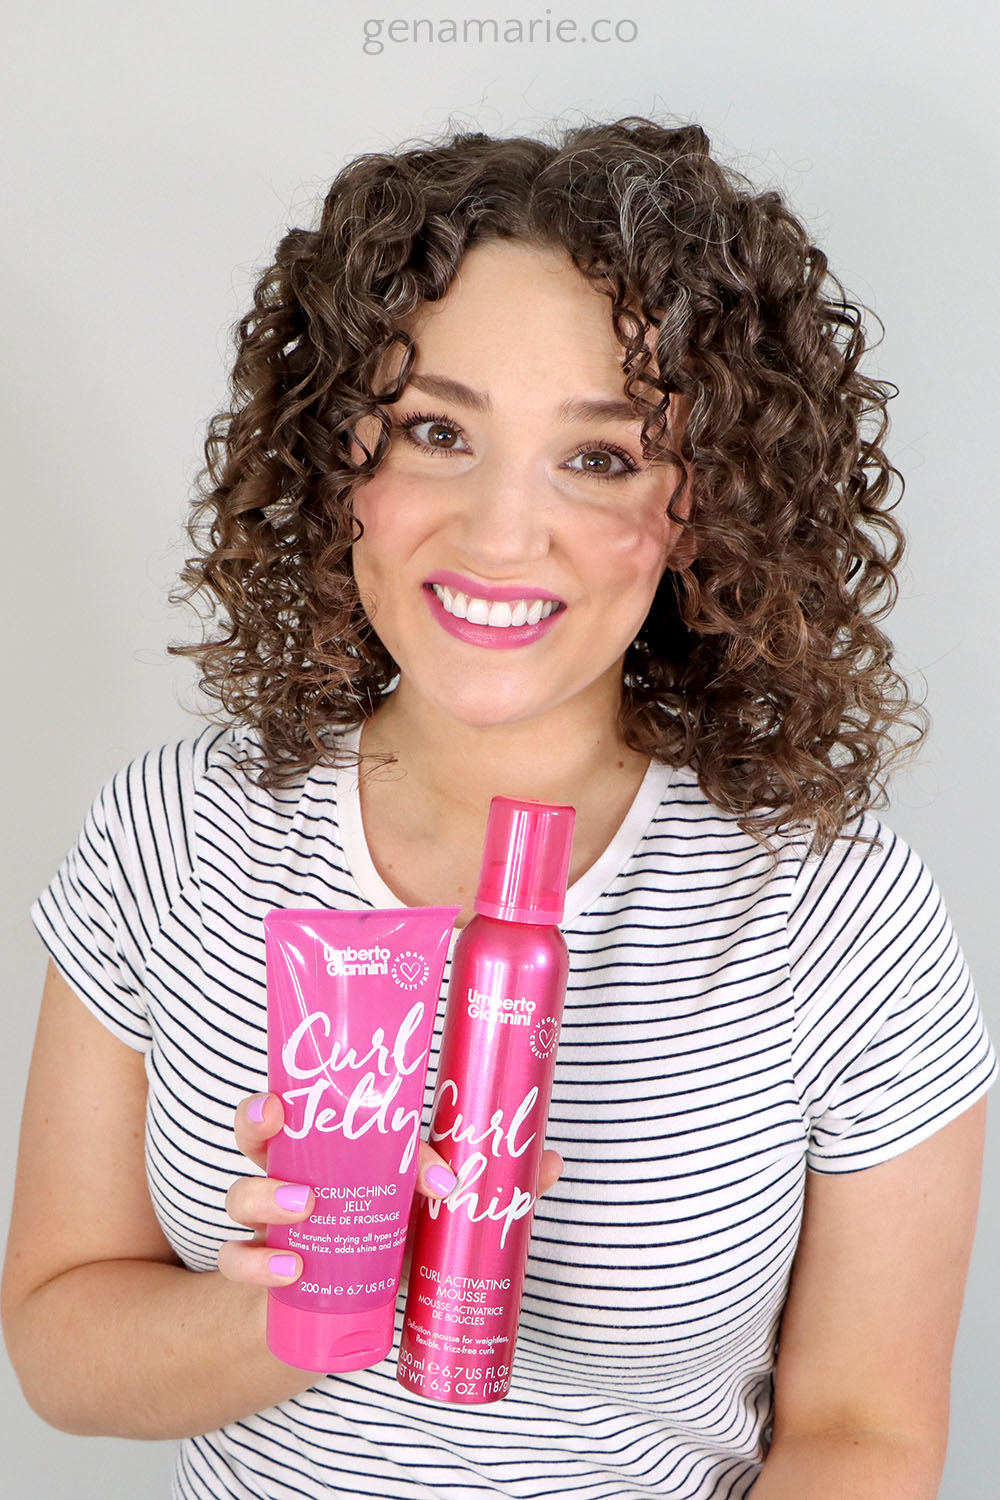
I started with the Umberto Giannini Curl Jelly Wash, which is one of my favorite affordable shampoos. It gives a really nice lather which makes it easy to spread around.
Ensure you’re thoroughly cleansing the hair and really getting down to the scalp. I will often go in with 2 rounds of shampoo to make sure it’s fully clean.
Luckily this shampoo is pretty moisturizing so my curls don’t become dry. It removes all product residue and also helps with shine.
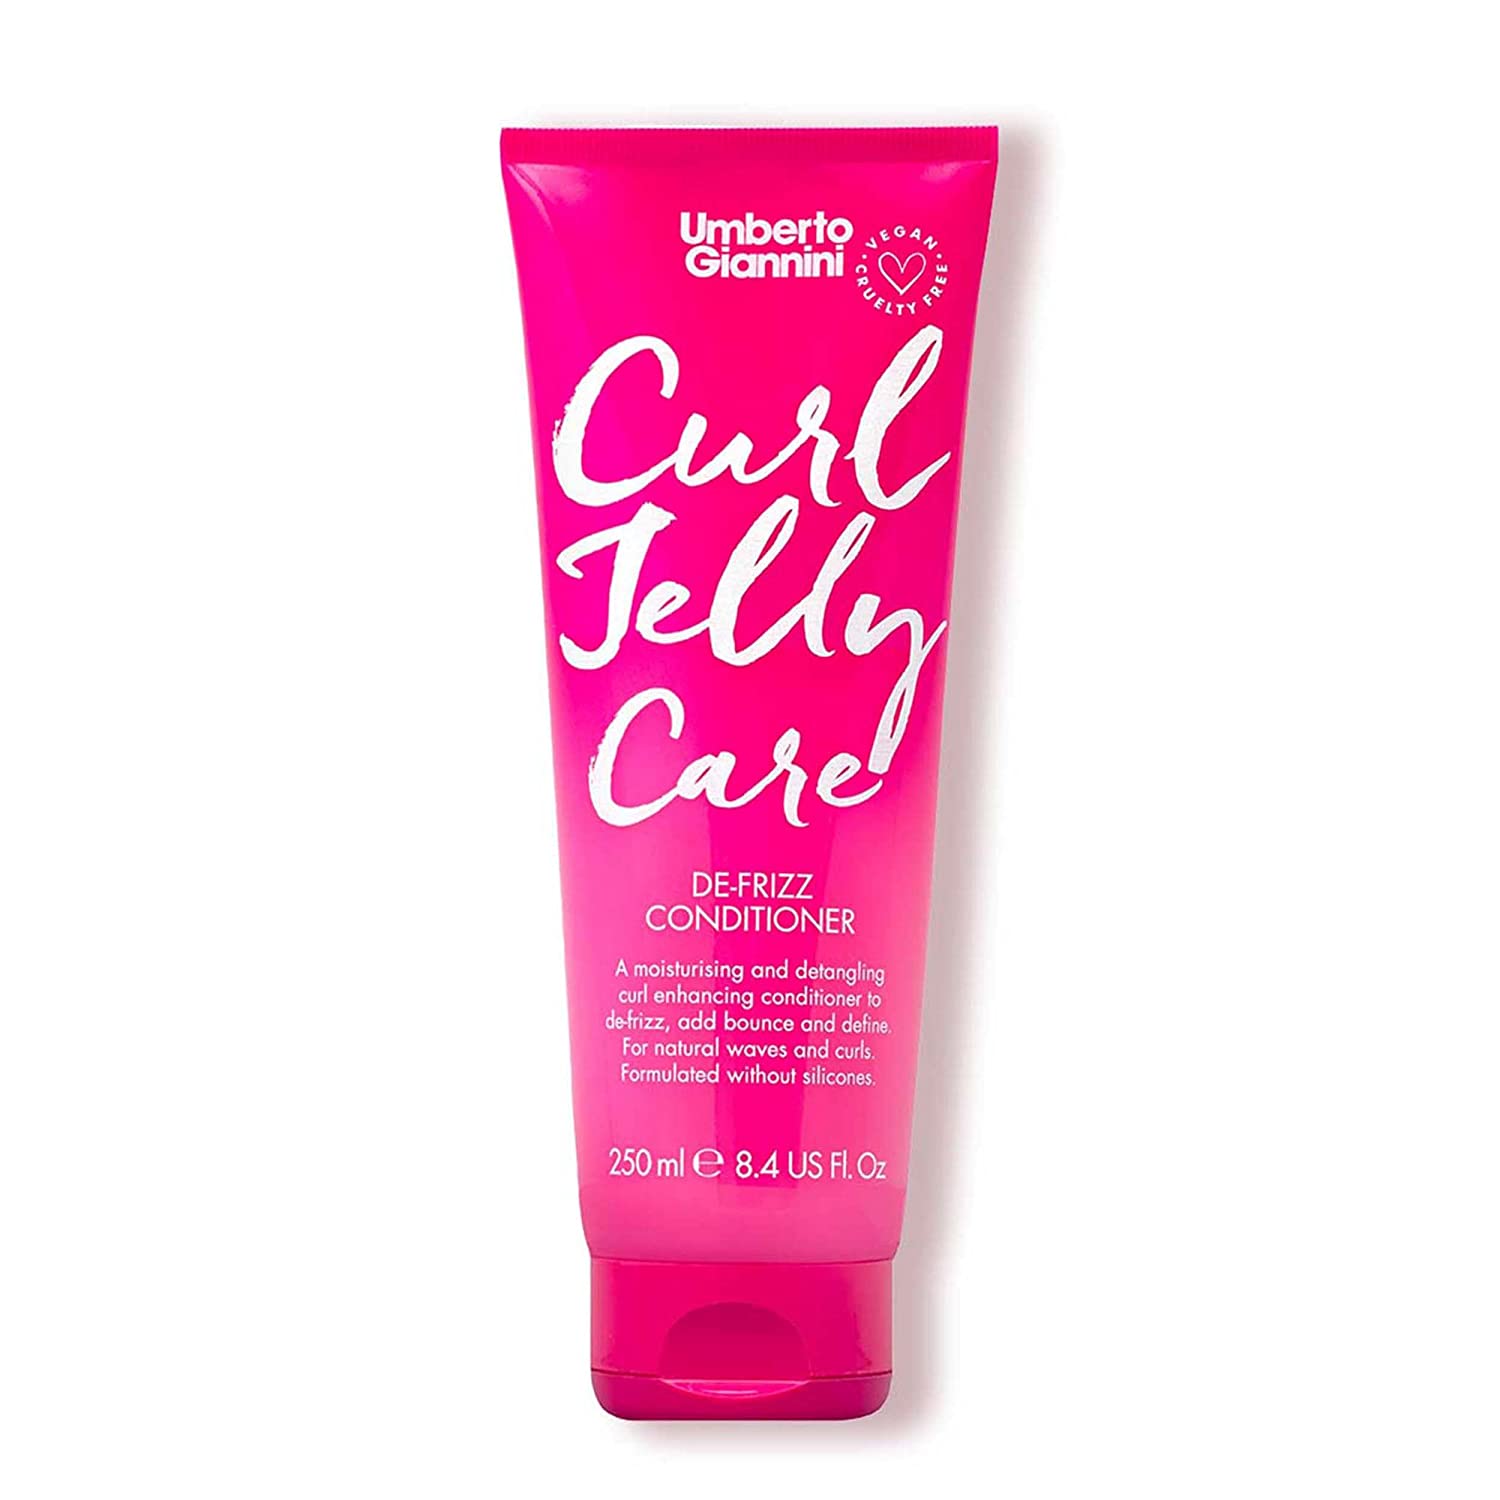
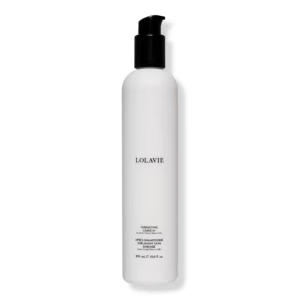
Clumped curls require moisture, so the next step is to condition with the Curl Jelly Care De-frizz Conditioner.
This is going to moisturize the hair without weighing it down. It’s silicone-free and contains several of my favorite ingredients, including polyquaternium. These create a lightweight conditioning film on the hair to help smooth out wet frizz and humidity-proof the hair.
I love to brush it through to ensure it’s evenly coated, and scrunch it in with some water. This can help increase absorption and plump up the curls.
Rinse it out fully and we’re ready to style.
Before applying styling products, mist hair down with water. I prefer to style damp but my hair is not stringy and dry. If you hair is too dry, it will be difficult to clump and look stringy and frizzy. Soaking wet will give you more clumps, but since my hair is low-density, I want to achieve more volume so I don’t use too much water. It’s definitely a fine line, so I aim for my hair to be evenly wet but not dripping.
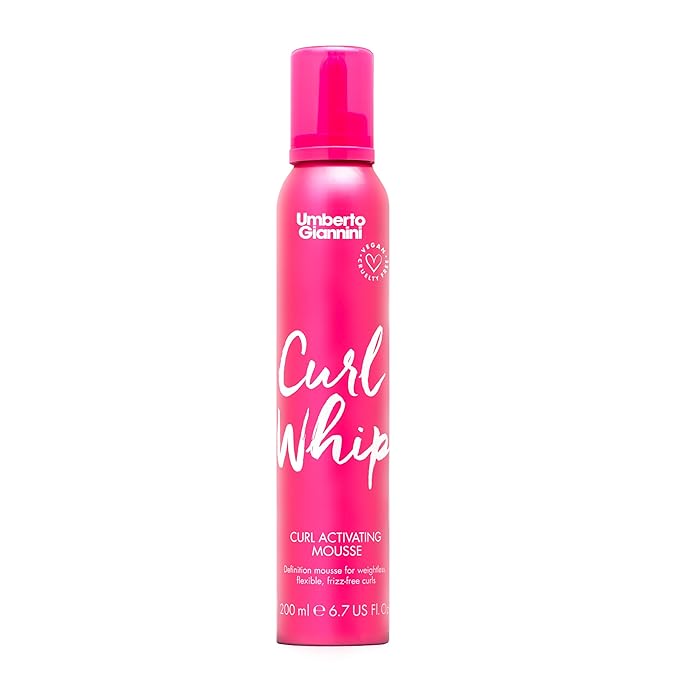
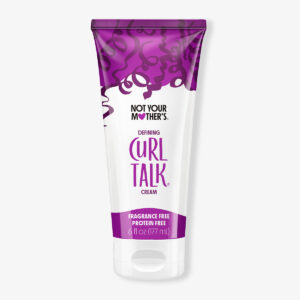
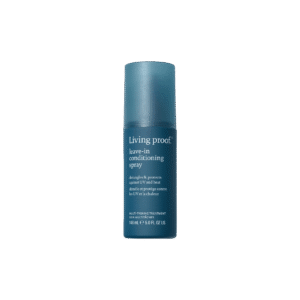
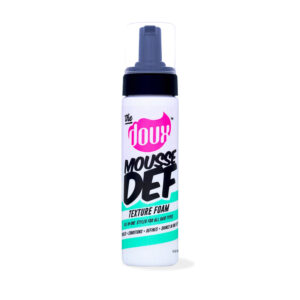
Start with something that is moisturizing to clump your curls. I usually go with a curl cream or a leave-in, but I wanted to share a very lightweight routine today for those of you who struggle with everything weighing down your hair, so I opted for the Curl Whip Curl Activating Mousse.
This provides a medium hold and is moisturizing so it’s an option for a base product if you struggle with creams weighing down your hair.
Creams and leave-ins are ideal if you have dry hair because they will moisturize the hair to prevent stringy curls.
Note, this mousse does contain a water-soluble silicone to help condition the hair, but if you prefer a silicone-free option, I recommend the Banana Butter Leave-In.
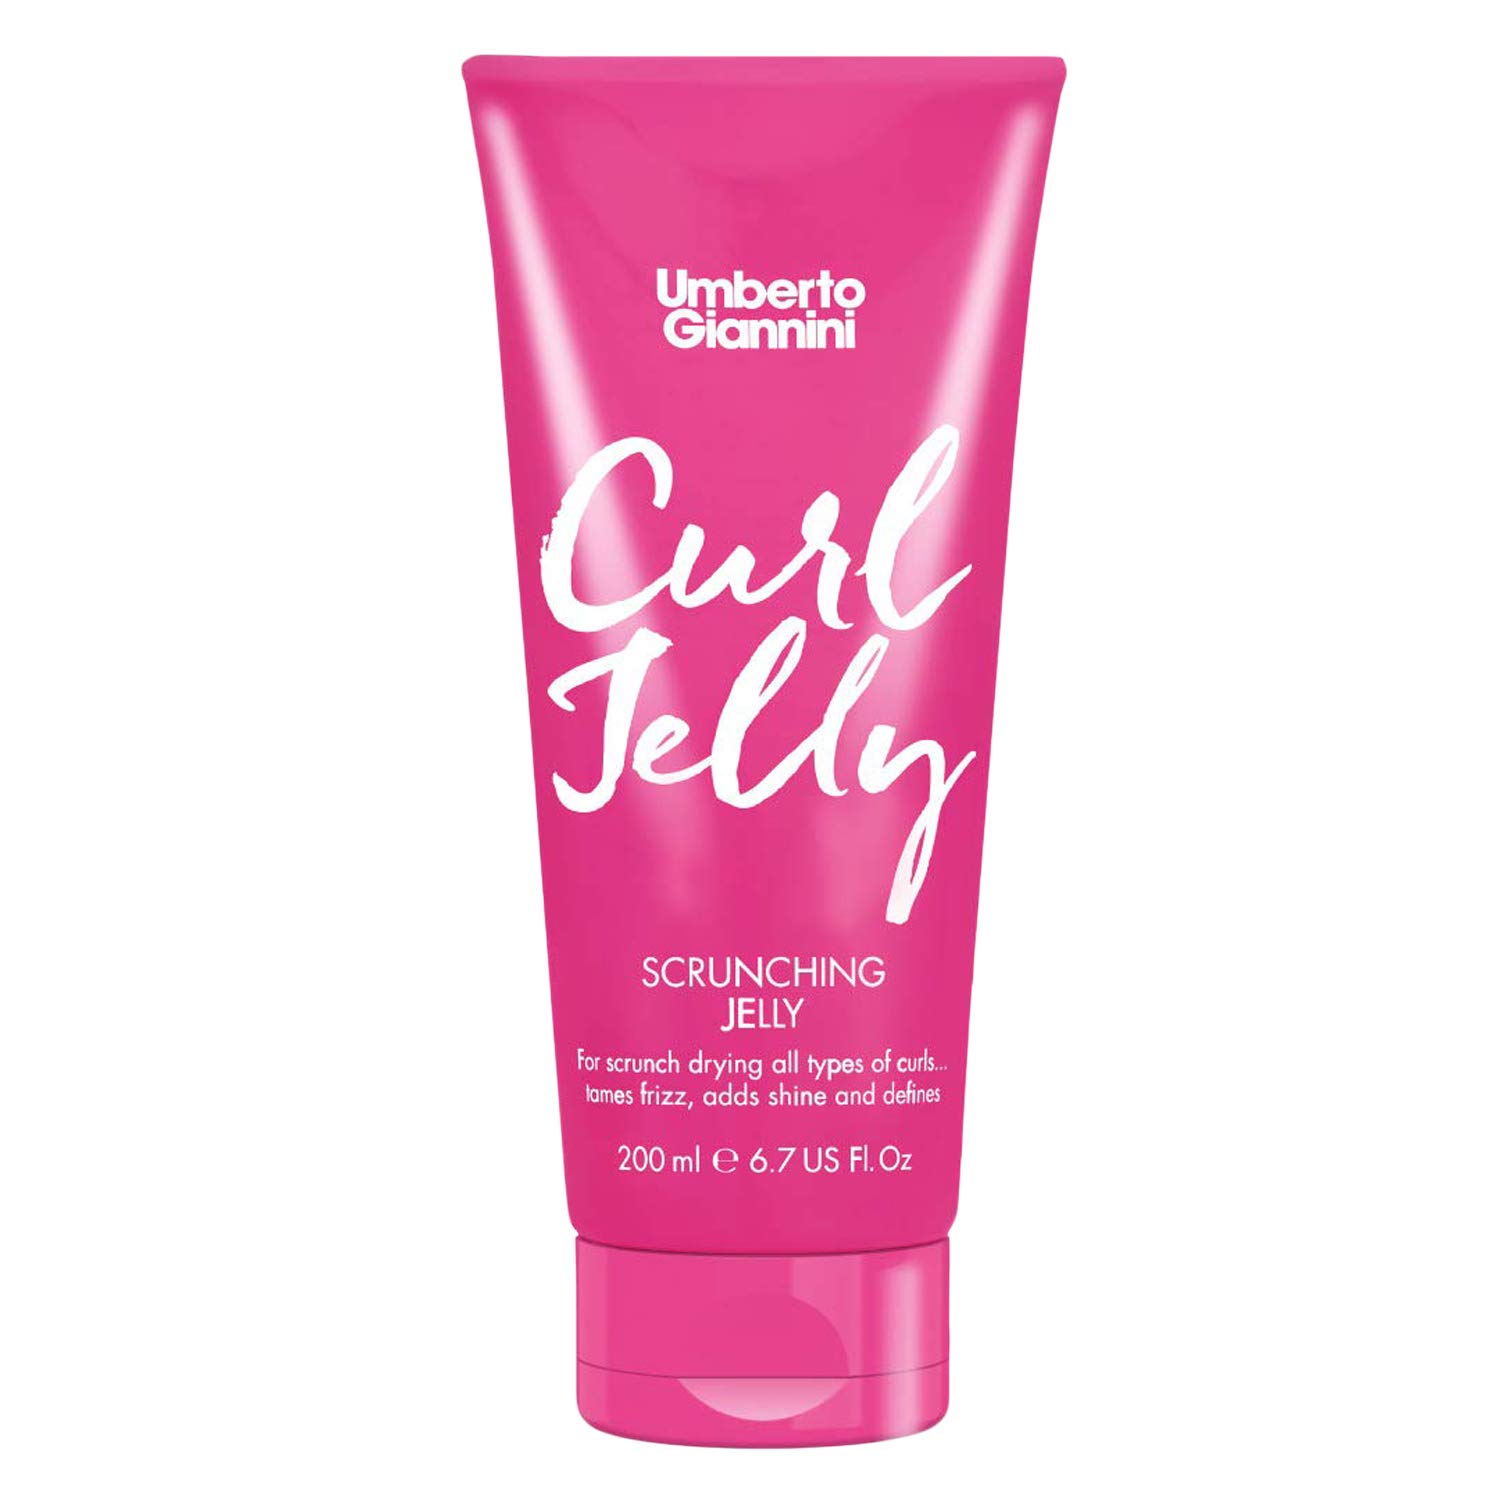
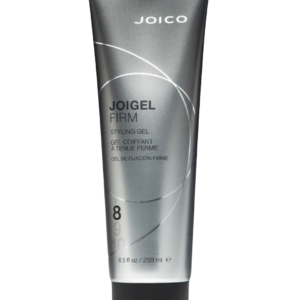
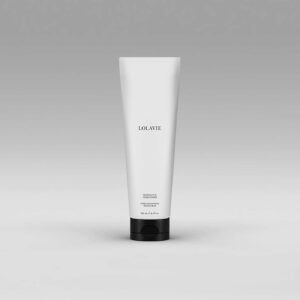
Next step is critical if you want long-lasting frizz protection, and that is to apply a gel. I used the Curl Jelly which is a medium hold gel with humidity-blocking ingredients.
This is silicone free, add loads of shine, and is and non-drying.
If you want mega definition, apply your gel before doing any styling techniques like brush styling. This ensures the gel is evenly coating the hair.
However I wanted to maintain some volume today, so I scrunched in the Curl Jelly on top of my hair after styling. The mousse still provides great hold and the curl jelly just adds a bit more.
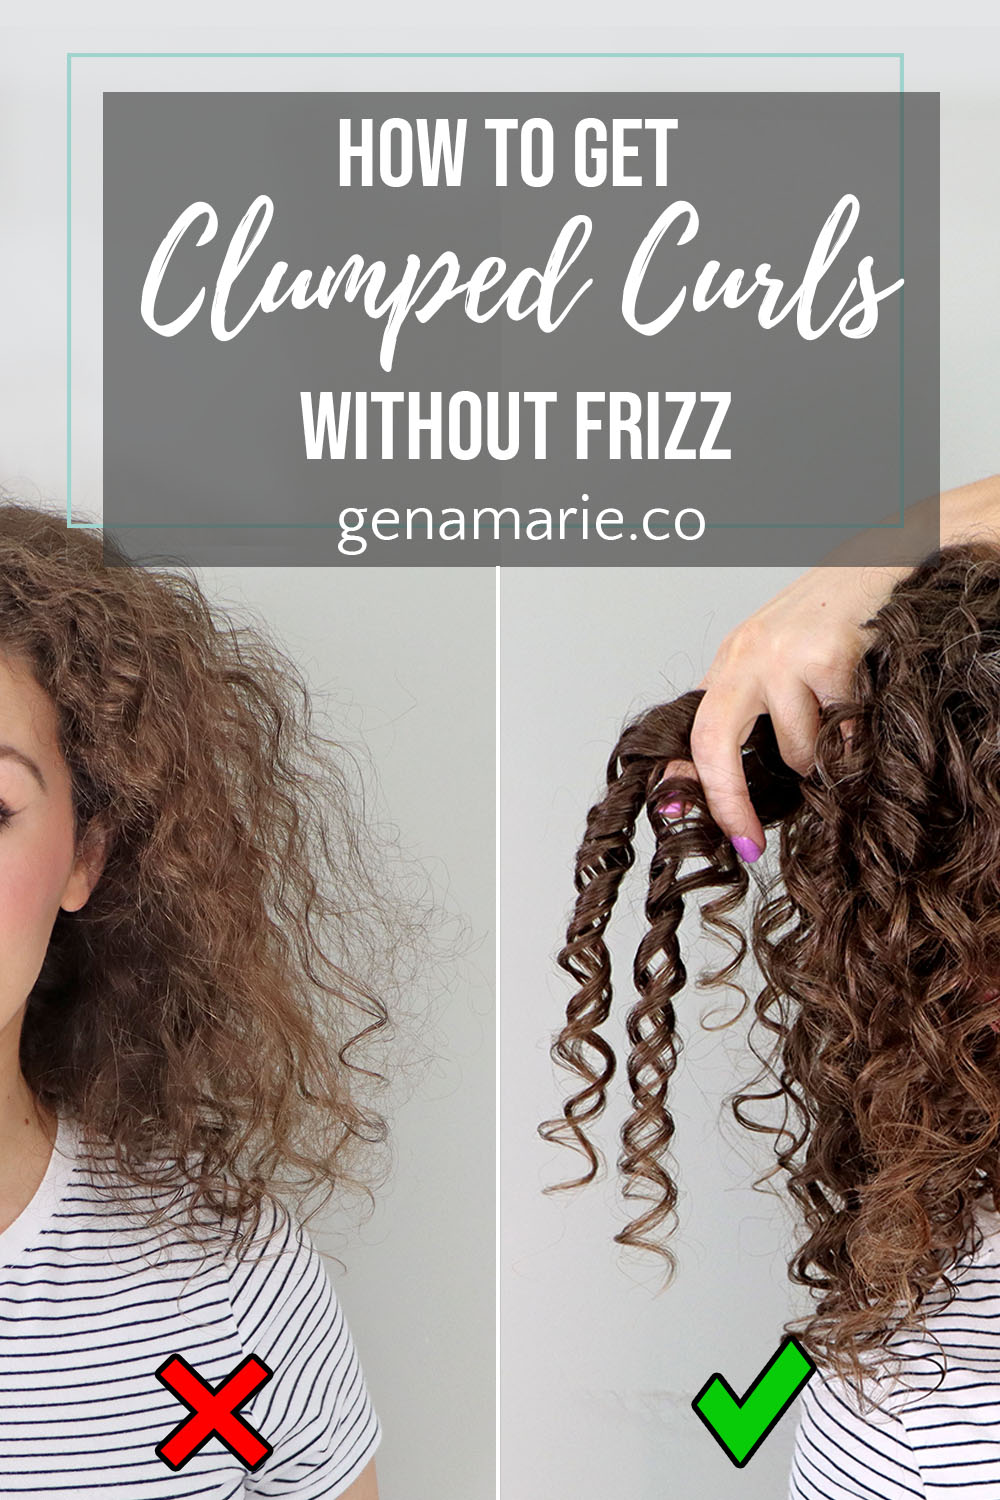
If your curls don’t magically clump naturally, then you’ll need to do some sort of styling technique.
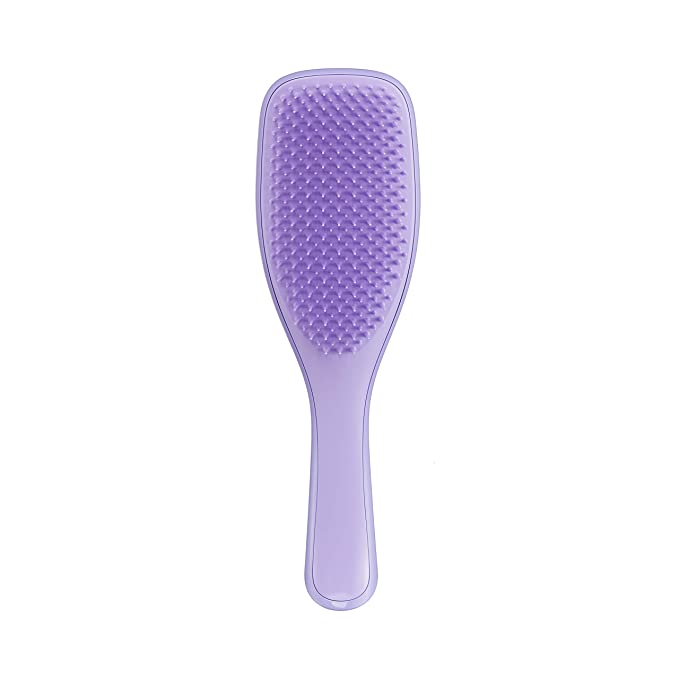
There’s are several methods you can try to encourage curls, some require a brush and some don’t. My preferred method is brush styling because it’s quick and effective.
Any brush will do, but you basically need a bit of tension against your hair.
Pick up a section no larger than the width of your brush, and press your other hand against it as you glide down the strand. I also turn my wrist a bit so it encourages the curls to spiral.
I also like to separate any large curl clumps to maintain more volume in my curls since they’re thin.
Brush styling may not work for everyone, especially if you have loose curls or waves, you may want to try other techniques like praying hands or rake & shake.
Around my hairline, I prefer to brush coil which is just where you wrap the hair around the handle. This creates extra clumped curls which helps around my gray areas and where I have baby hairs to tuck them into curl clumps.
Then I use praying hands on my problem areas around my face to really clump up stringy areas.
If your hair is very stringy on the ends, it’s likely time for a trim. Getting haircuts regularly has significantly improved the clumping in my curls. Since my hair low-density, I need to keep it short because once it grows long the ends become sparse and stringy.
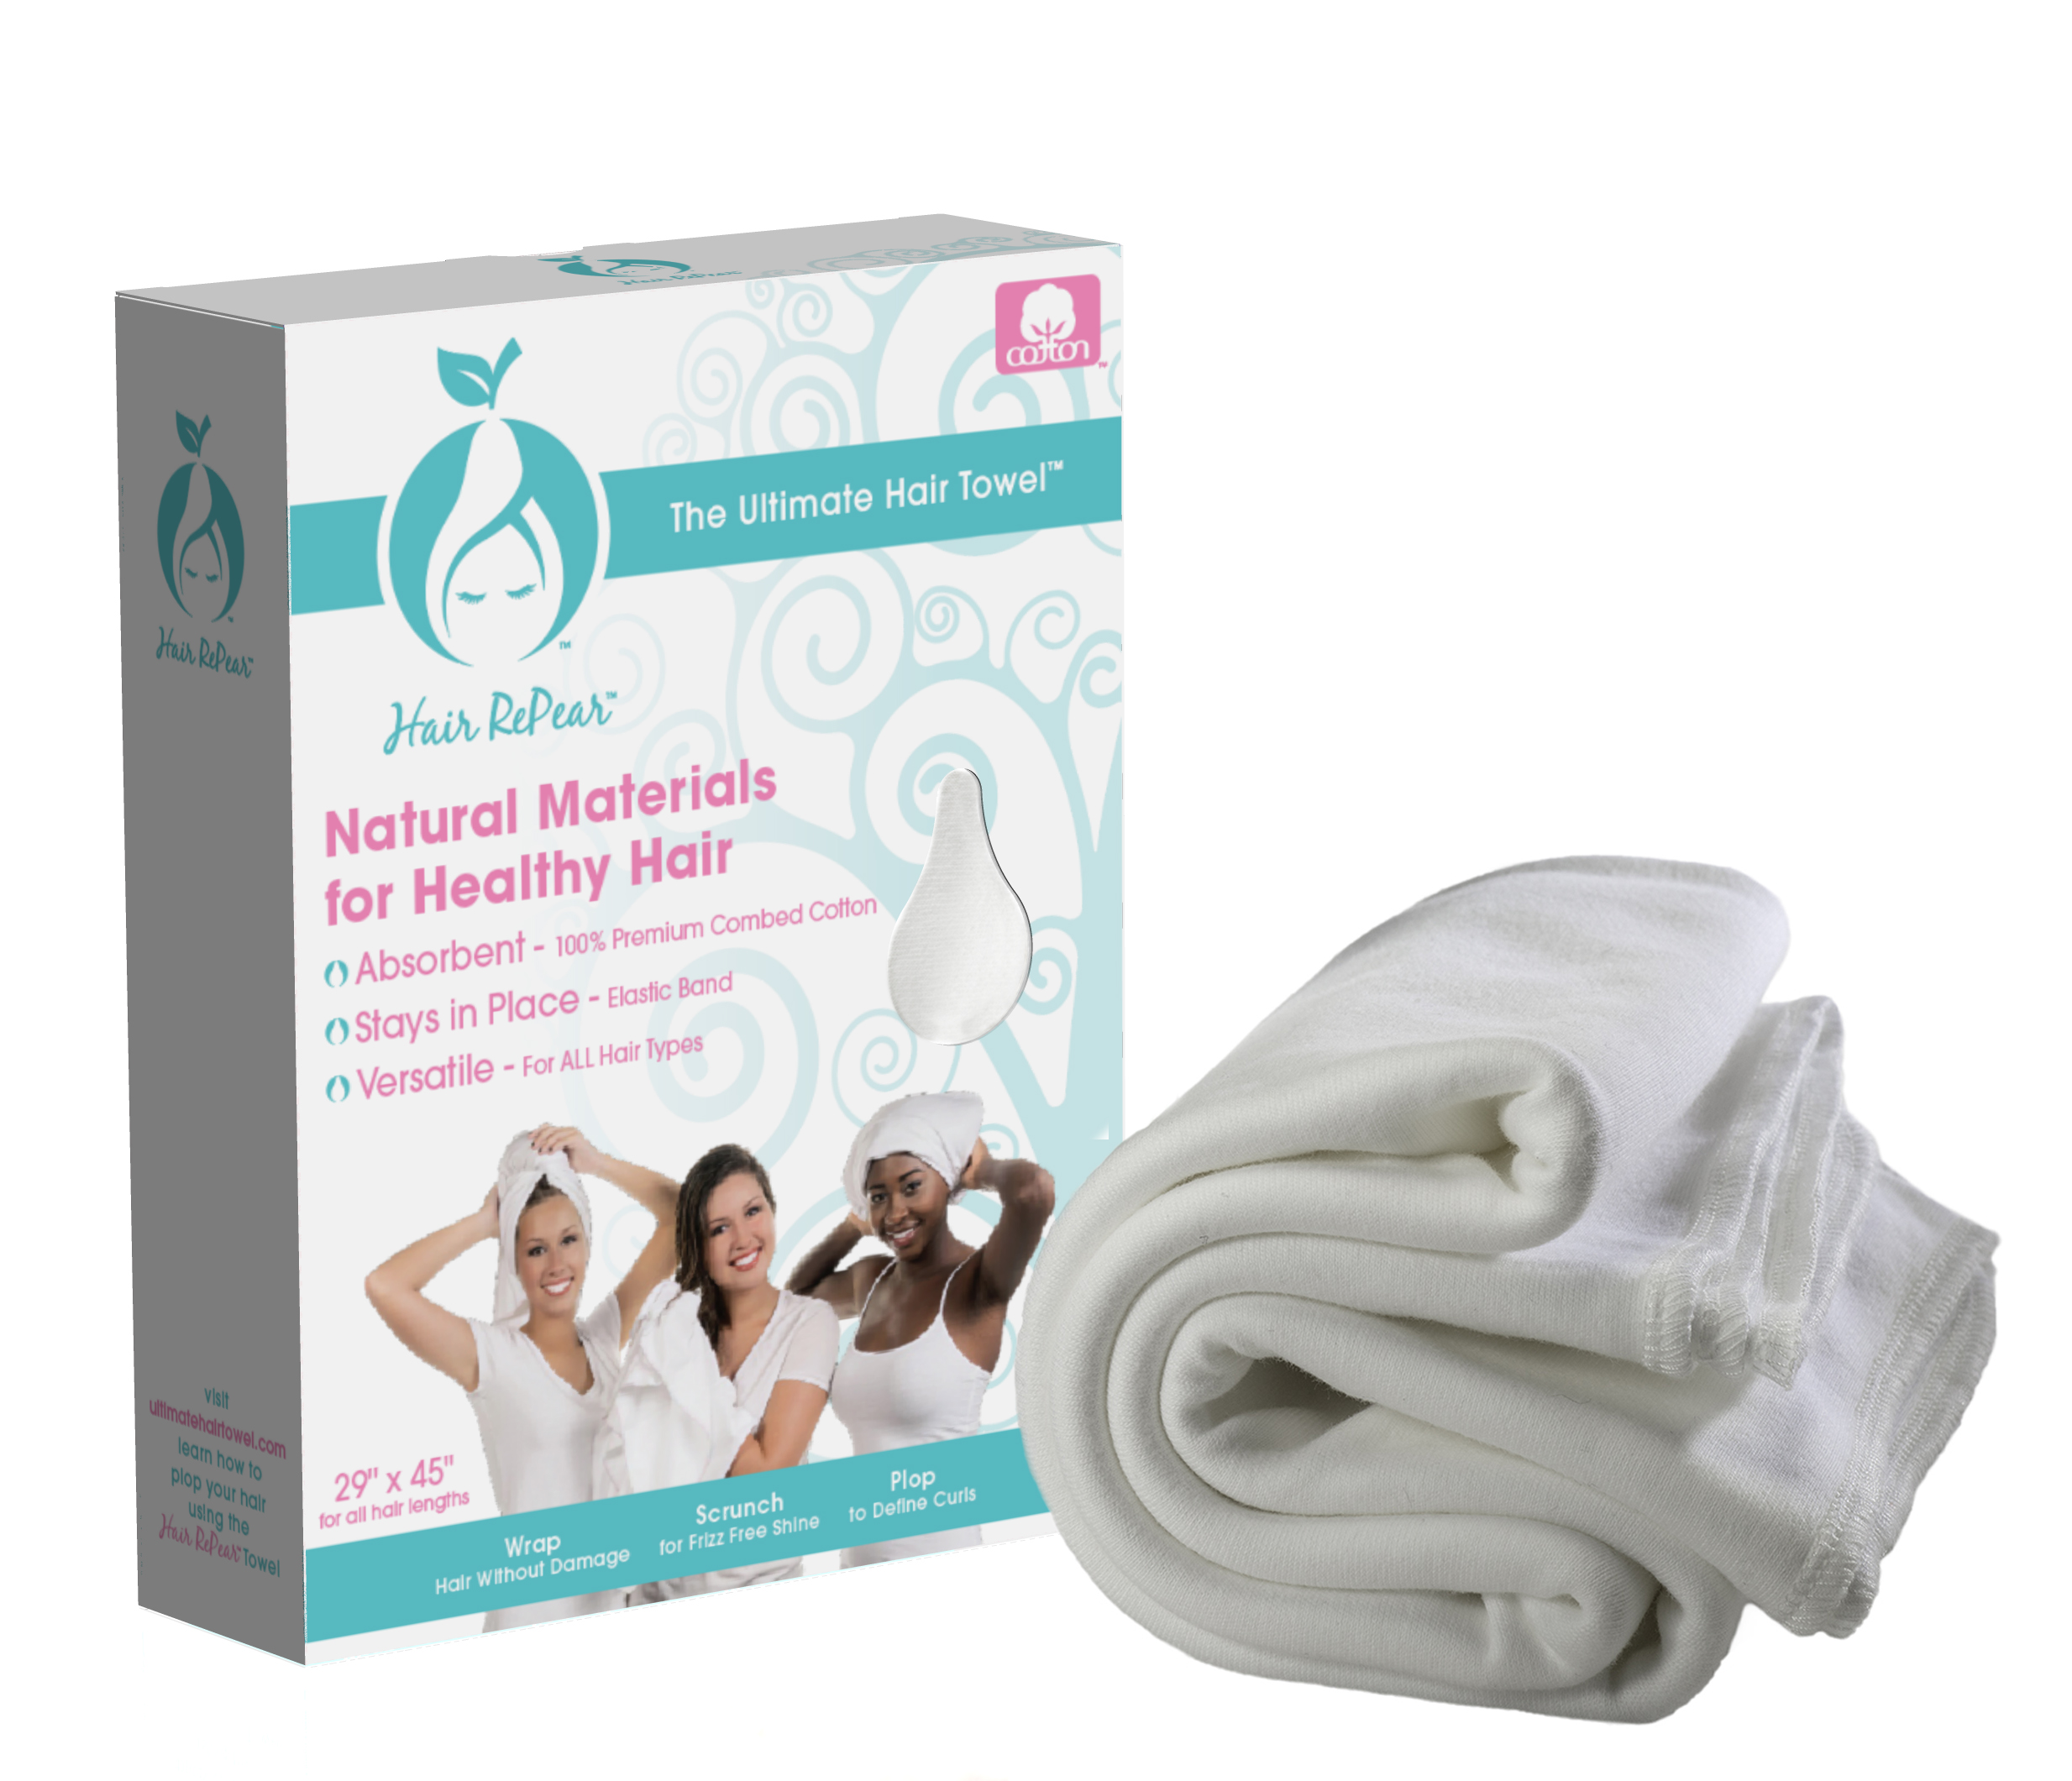
This is optional, but it can really help to speed up your dry time and enhance your curl clumps. Take your hair towel, ideally where it’s still wet, and scrunch your hand gently. Pinch the roots with your other hands so you can get all the way to the top to encourage root curls.
Diffusing is my preferred drying method because I get the most definition, shrinkage, and volume.
Diffusing gives you more control over the outcome of your curls and they are “done” right away versus with air drying, the curls can become frizzy and mishaped during the long air drying process.
If it’s humid where you live, definitely opt for diffusng to prevent the humidity from ruining your curls as they dry.
Once your hair is completely dry, you can scrunch out the gel cast for even more volume. Make sure your hands are also dry so you don’t cause frizz. I reach from underneath and shake out my roots, and scrunch.
You can use an oil or serum if you want, but I prefer to retain some of my gel cast for more longevity.
Gently unravel any large curl clumps from the bottom up. This can also be done on refresh days if your curls clump back together. Ideally, you want to separate large clumps while you’re styling and your hair is still wet because frizz can form when separating dry clumps. Smooth a bit of gel over dry frizzy areas to tame frizz.
I was so impressed with this wash day! I definitely had more clumping with these techniques and products, and I still had volume, which is difficult with having low-density hair. Since many of you will ask how this routine or these products differ from my other recent videos, this is a very lightweight routine and it uses affordable products. The mousse is also more of a moisturizing mouse and not one that leaves a texturized feeling.

Day 2 did not disappoint either! I did have frizz, which is normal for using medium or light hold products. It was very humid outside so I wasn’t surprised. I still think the curls looked great with the amount of definition and volume I had, so the frizz was fine.
What do you think?
Watch this video for more help with How to Fix Stringy Curls when Refreshing.

If your curls look worse every morning and you feel like you have to restart your hair every day, that’s exactly when curly hair starts
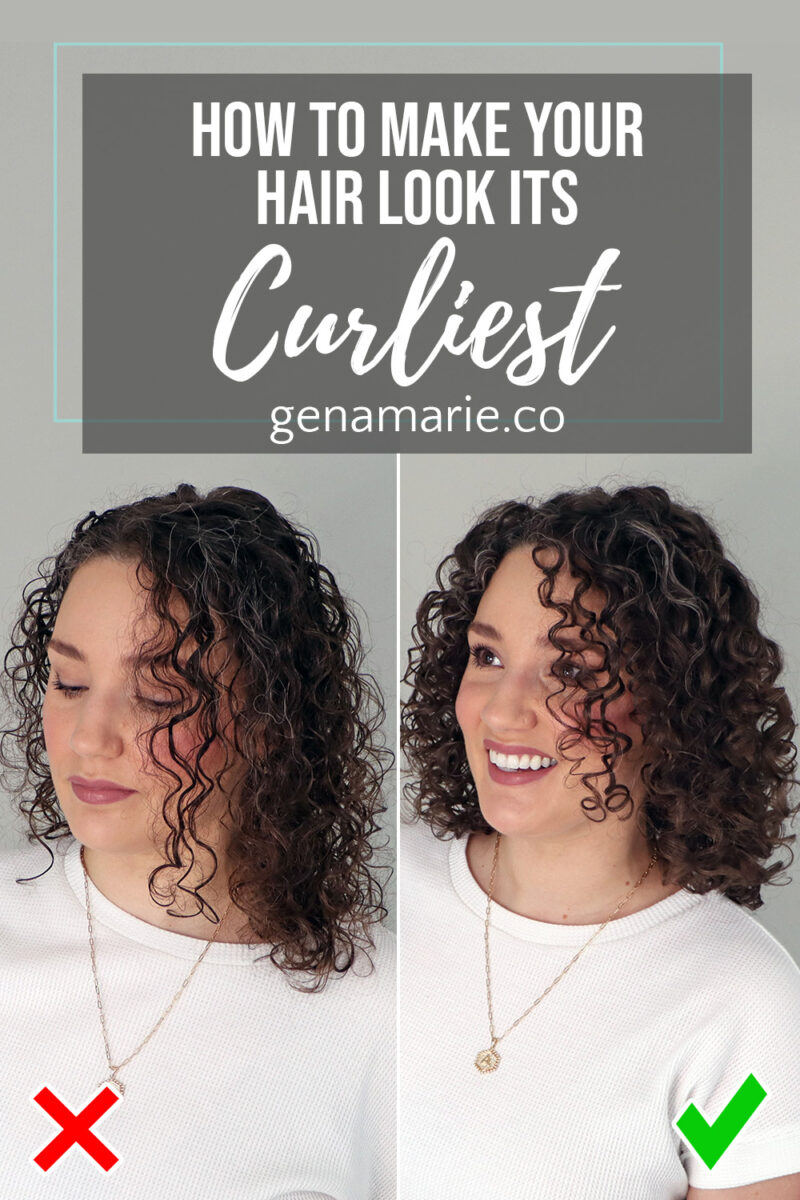
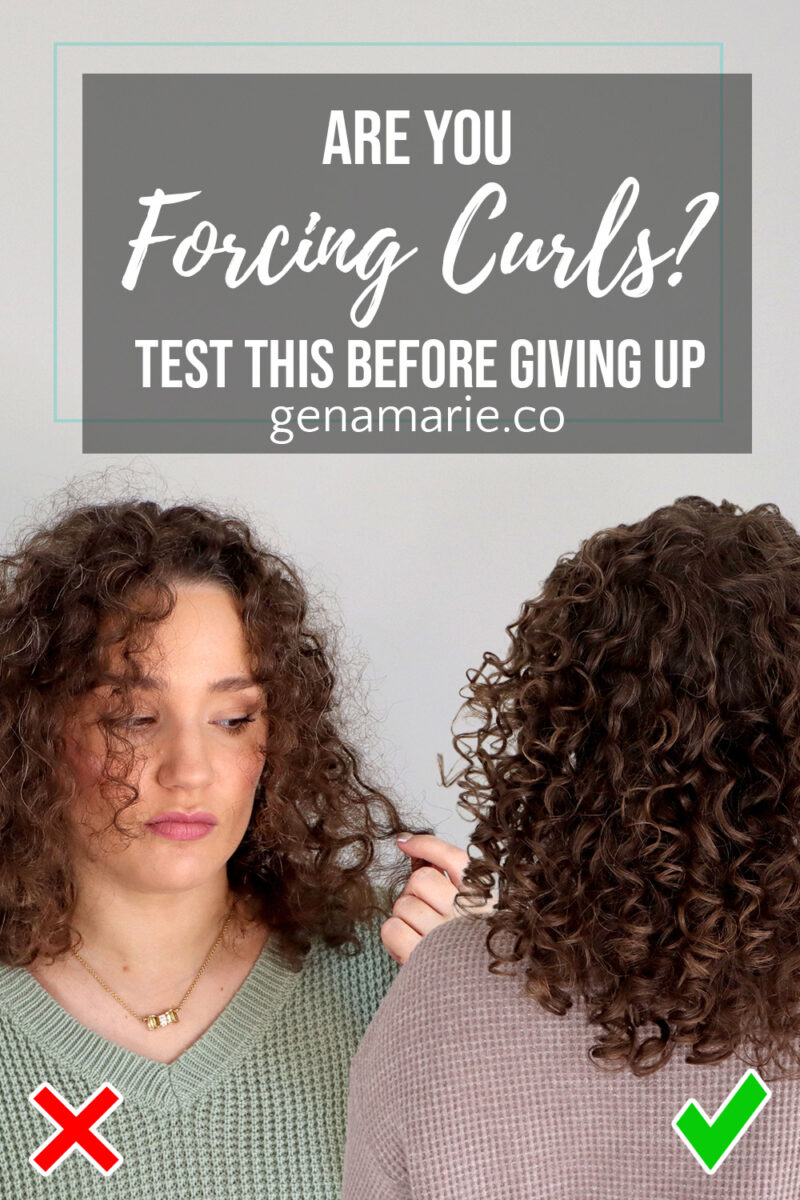
If your curls aren’t curling up the way you want and you’re starting to feel frustrated or ready to give up, it’s probably not your
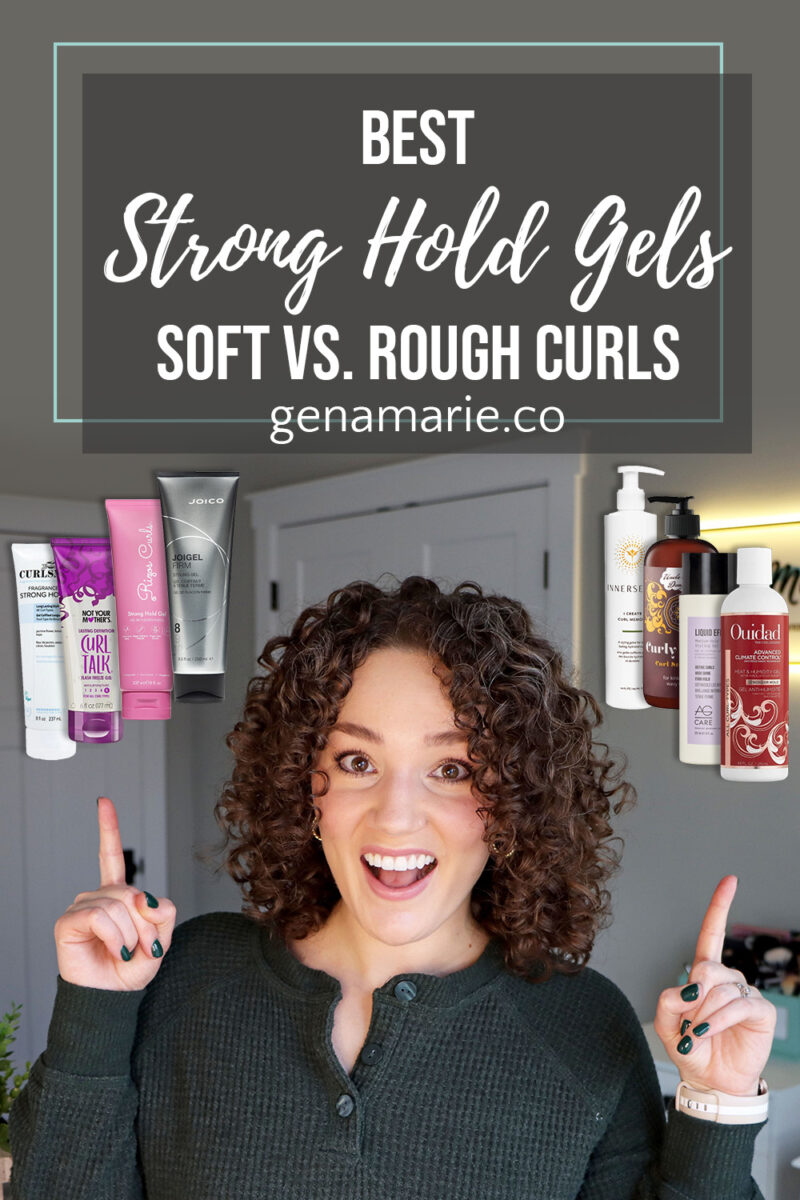
If you’ve tried “strong hold” gels but your curls still don’t last, you’re not alone. Strong hold isn’t one-size-fits-all. Some gels are higher in texture
Feeling discouraged, frustrated, or unsure whether wearing your naturally curly or wavy hair is even worth it? If you’ve been following this Beginner Curl Series,