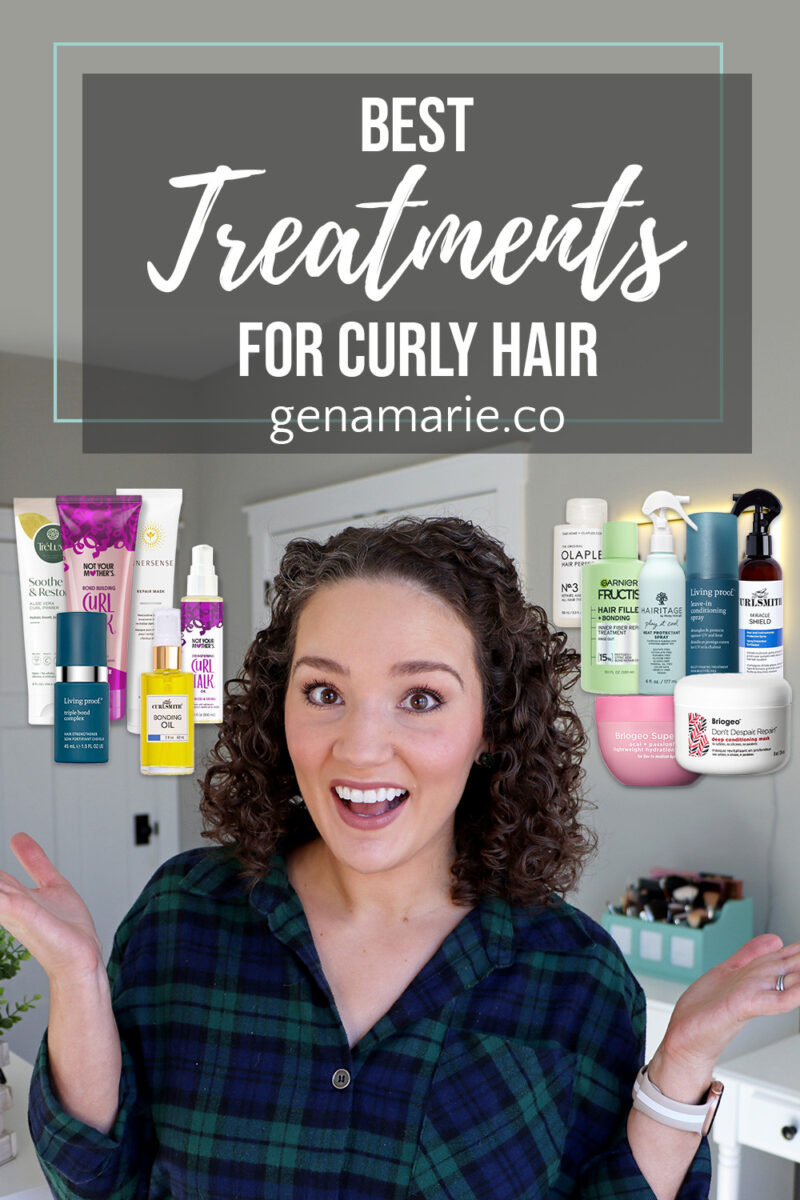
Best Treatments for Curly Hair: Pre-Shampoo Care, Bond Repair, Masks, and Heat Protection
If your curls are falling limp, feel dry, or are showing signs of damage, it might be worth adding some targeted treatments into your routine.
This video is sponsored by Curlsmith. Products are gifted. Links are affiliate links, which means I earn a small percentage when you order through my links. This does not impact the price you pay and is a way to support my channel in exchange for helping you discover the product. #Curlsmith
There’s no doubt that curly hair is inherently high maintenance, but I’m going to share some things you can do in your routine to make it easier to deal with both on wash day and throughout the week.
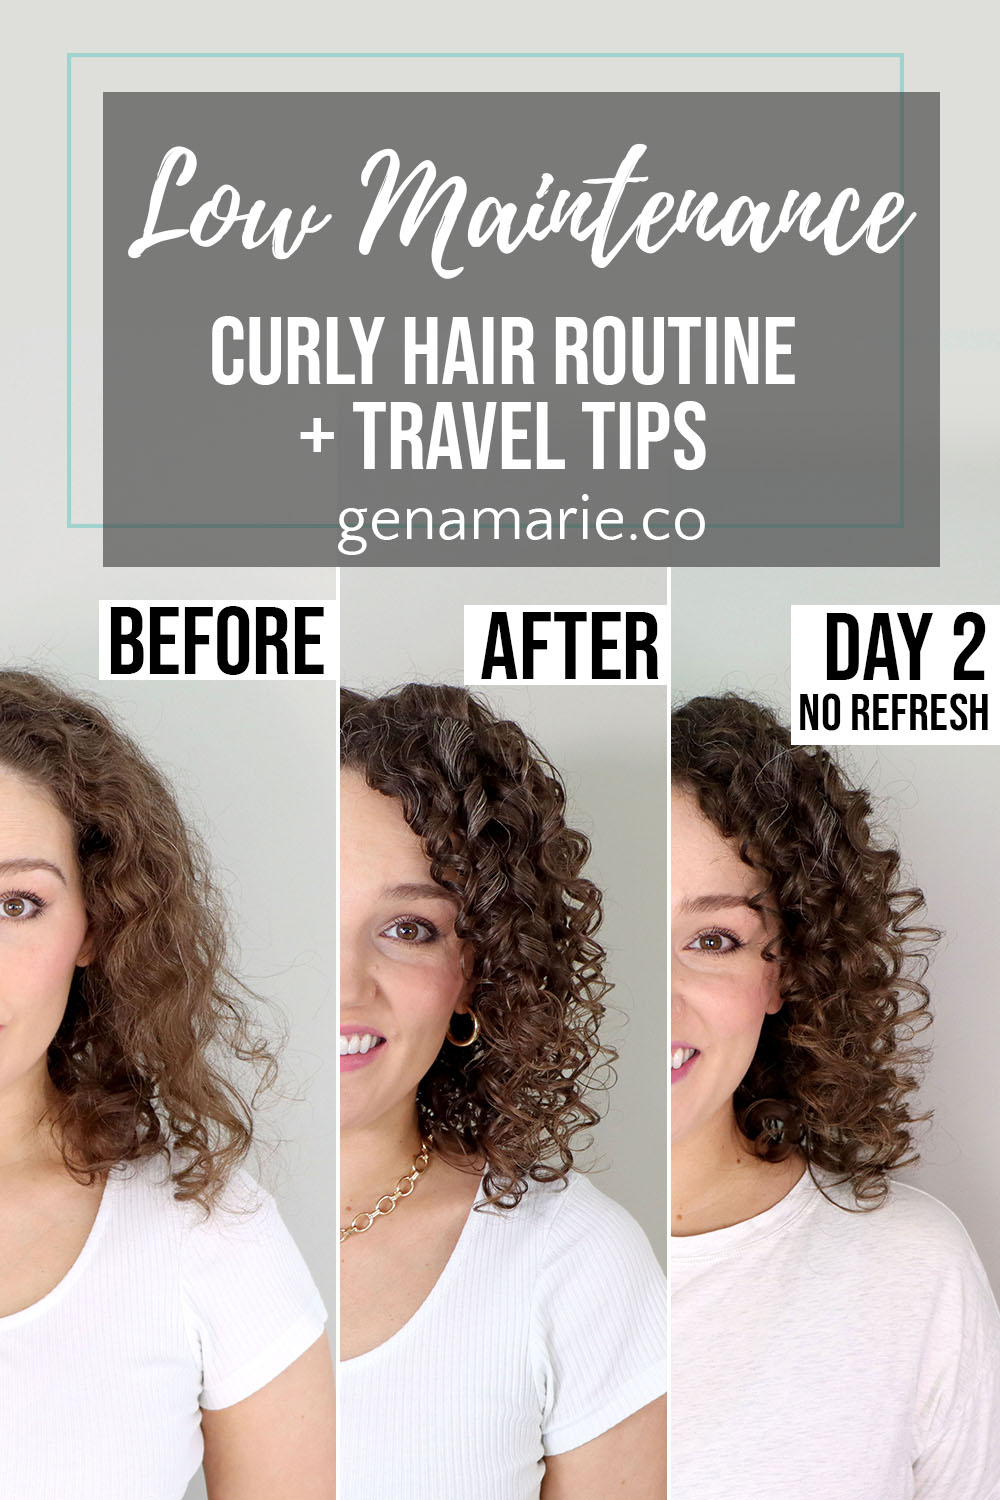
This low-maintenance routine is perfect if you’re going on vacation or traveling and you need curls that last, or if you’re just super busy and want to cut down on the time spent on your curls. Special thanks to Curlsmith for partnering with me for this video.
It’s all about what you do on wash day.
Most of us don’t wash our hair every day, so when are going to take the time to wash, you want it to last.
You may have seen my last video all about 10 Reasons Your Curls Don’t Last, and I showed you how my hair looks when I don’t put in effort. It’s frizzy, flat, and undefined which requires refreshing if I want it to look better.
I have 2 wash day routines that I usually do.
Usually before a trip, I would do the more in-depth routine to prep, however today we’re doing the quick mid-week wash.
If you have tangly hair that you spend way too much time detangling, then you need to try detangling before your shampoo.
I know it sounds backward, but it’s game-changing!
Shampooing makes tangles worse so why would we go straight to shampoo on already tangled hair.
I used the Curlsmith Multi-Tasking conditioner which is one of my favorite products to bring with me while traveling because it’s multi-purpose. You can use this as a protein deep conditioner, rinse-out conditioner, or a leave-in.
The next step is to shampoo. This is where I would go with either a clarifying shampoo if I had buildup or a mild shampoo for a regular wash day. When it comes to mild shampoos, I prefer something with a good lather and a bit stronger but not too much.
Most of the regular shampoos from Curlsmith are around the same cleansing level, but I went with the Shine Shampoo today because I wanted to give you some options that come in mini sizes if you’re planning to wash while traveling. This is also part of the fragrance-free line which I love.
If you’re not using a shampoo that thoroughly cleanses like a cowash, this may cause your hair to become oily more quickly.
Ensure you’re really getting down to your scalp for a thorough cleanse, and double cleanse if needed.
Back to the Multi-Tasking conditioner, I applied this to restore moisture and also remove any remaining tangles and loose hairs. I start at the ends and work my way up.
This is a lightweight conditioner so if you struggle with conditioners or deep conditioners weighing down your hair, this is a good option. It also contains light proteins which will strengthen and prevent damage, but won’t cause protein overload because it’s balanced and very moisturizing. It’s great for all hair types and is especially a good option for fine high porosity hair.
I left a bit in so it doubled as my moisturizer before my gel, but you’ll only want to do this if your conditioner specifically states that it can be left in. I don’t advise leaving in just any conditioner or deep conditioner because you don’t want to cause moisture overload.
This is also a great method if you have fine hair because then you can go straight to gel and not weigh your hair down with a full-on curl cream.
Don’t skip the heat protectant if you want lower-maintenance hair. Did you know that hair that is damaged is going to inherently be more maintenance?
Our hair can become damaged and therefore have a higher porosity from things like heat, the sun, chlorine, and more.
The Miracle Shield protects from all of those and is essential for summer and if you’re going somewhere warm for vacation. And it comes in travel size!
Improve your hair’s health if you want to reduce maintenance.
The next step is the most important one of the whole video, and that is to use a styling product that provides long-lasting hold. Usually this is a strong hold gel, but I actually find the Shape Up Aqua Gel to give me the best results throughout the week even though it’s considered a light hold gel.
You cannot just use a curl cream or a leave-in and expect your hair to last longer than a day.
I’m pretty heavy-handed with it too because I want thorough, even coverage. I also prefer to apply it before I brush style for even more coverage and frizz protection.
Another one of my most important tips for less maintenance is to use a gel that makes refreshing easier. Nothing is worse then having producty, tangly hair on refresh days.
Look for a gel that has a thin consistency, and some slip. Slip is that slippery slimy feeling that also reactivates with just water in your hair.
I prefer to avoid refreshing as much as possible, especially when traveling.
Styling techniques make the biggest difference in how long my hair lasts. Whenever I don’t style, my curls end up stringy and frizz by day 2, requiring time spent on refreshing to fix it.
The more clumped your curls are, they longer they will last. This is because the frizz stays tucked into curl clumps and the curls hold their shape.
There are various methods you can use, such as brush styling which is my preferred method because it’s fast, finger coiling, or just using your hands to clump and scrunch the curls.
If you’re short on time, you can just brush style problem areas or brush entire sections at once and separate the clumps with your hands or a comb.
My top section is the most problematic so I usually will just focus styling on that area.
Once I’m done styling, I like to microplop which is just when you scrunch your hair with a hair towel. This will significantly speed up your dry time because it’ll soak up the excess water and help to bounce up your curls.
This is especially crucial if you like to style with your hair soaking wet.
Add a second light glaze of gel to realy amp up the hold. This is a great technique to add hold if you’re using a light or medium hold gel
Now it’s time to diffuse, which is going to make your curls last so much longer. If you’re short on time, you can just diffuse for a few minutes until the cast is set and then finish air drying.
This is the Curlsmith Defrizzion hair dryer and XXL diffuser which enables me to dry my hair in about 10 minutes using less heat because it covers so much surface area all at once.
It also comes in a travel size which is perfect for taking on trips.
Diffusing gives you more control over your results because you can create volume, and shrinkage, and set your gel cast right away preventing frizz.
This is especially helpful in humidity because you don’t want to air dry in humidity as it will cause frizz.
If I’m styling my hair at night and about to go to bed, leaving for a trip, or going to be out in the humidity, I will leave my gel cast in. It will protect your hair from frizz and will gradually release throughout the day. If you’re styling at night or before a trip you can just scrunch it out in the morning or wait until you get where you’re going.
Since I used a lighter hold gel and really wanted these curls to last, I misted some of the Curlsmith Flawless Finish Flexible Hold Hairspray. This is best used on dry hair. It’ll tame frizz, and flyaways, and help increase your longevity.
This is the flexible hold version which enables more movement so refreshing is still easy.
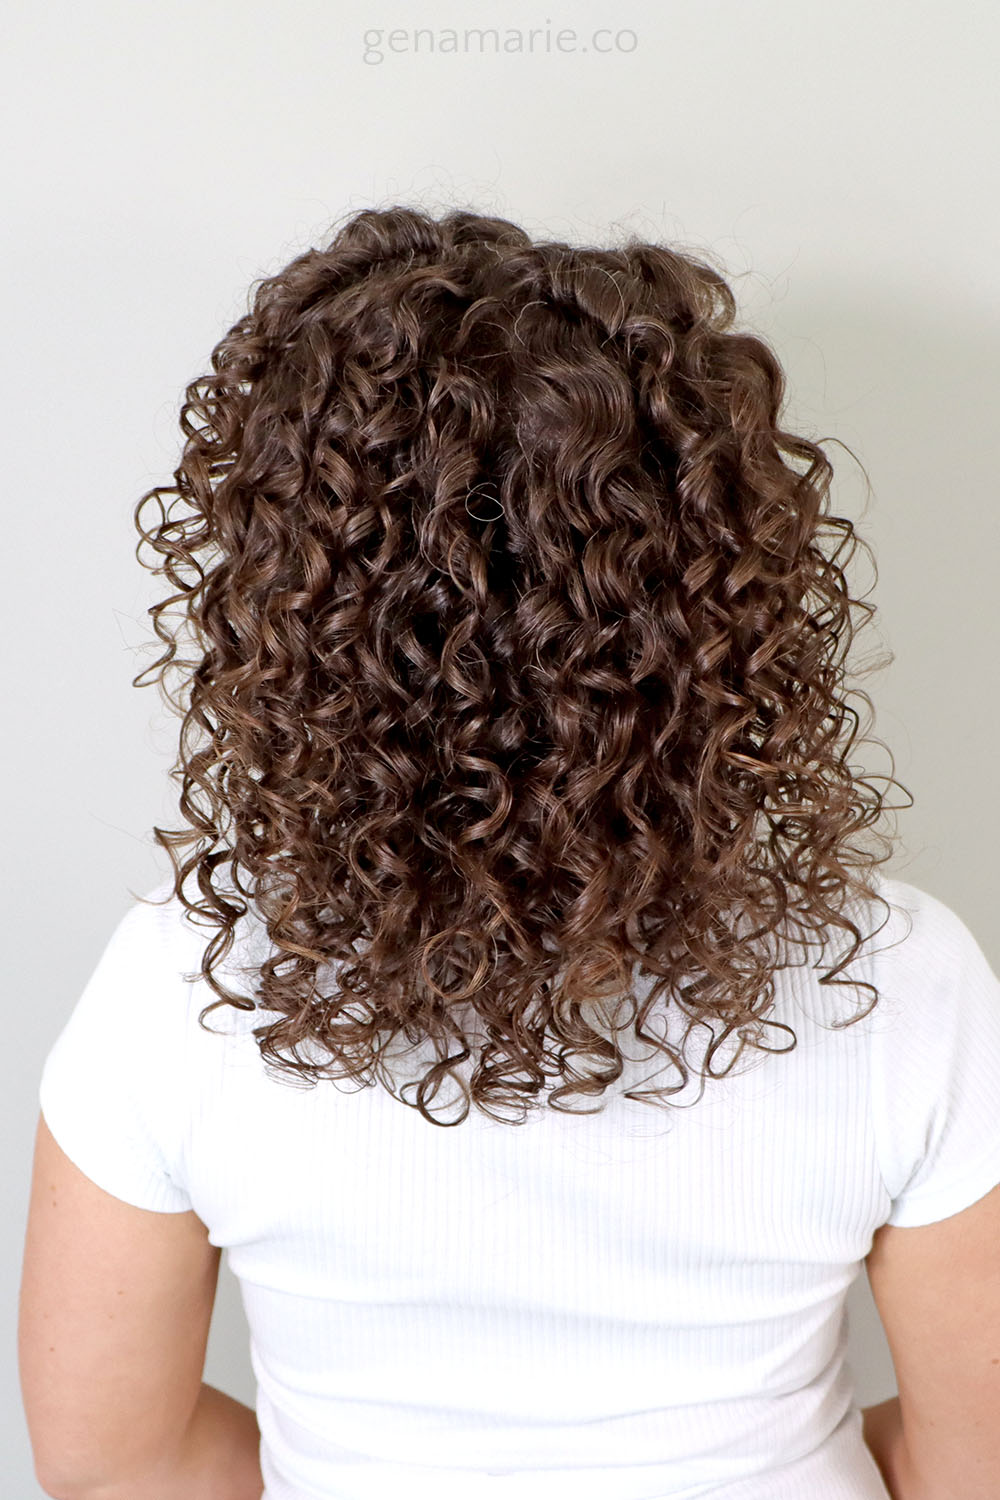
Can you believe the amount of hold I had for using a “light hold” gel?! I definitely found the Shape Up Aqua Gel to be more of a medium hold, and perhaps it’s my application and styling methods that help with hold. My curls felt soft without being hard and crunchy and are still defined. I had a small amount of frizz and a little stringiness on my face-framing problem areas where I am due for a trim soon. My hair was very shiny and very moisturized. Overall I was very happy with these results and knew they were going to last awhile.
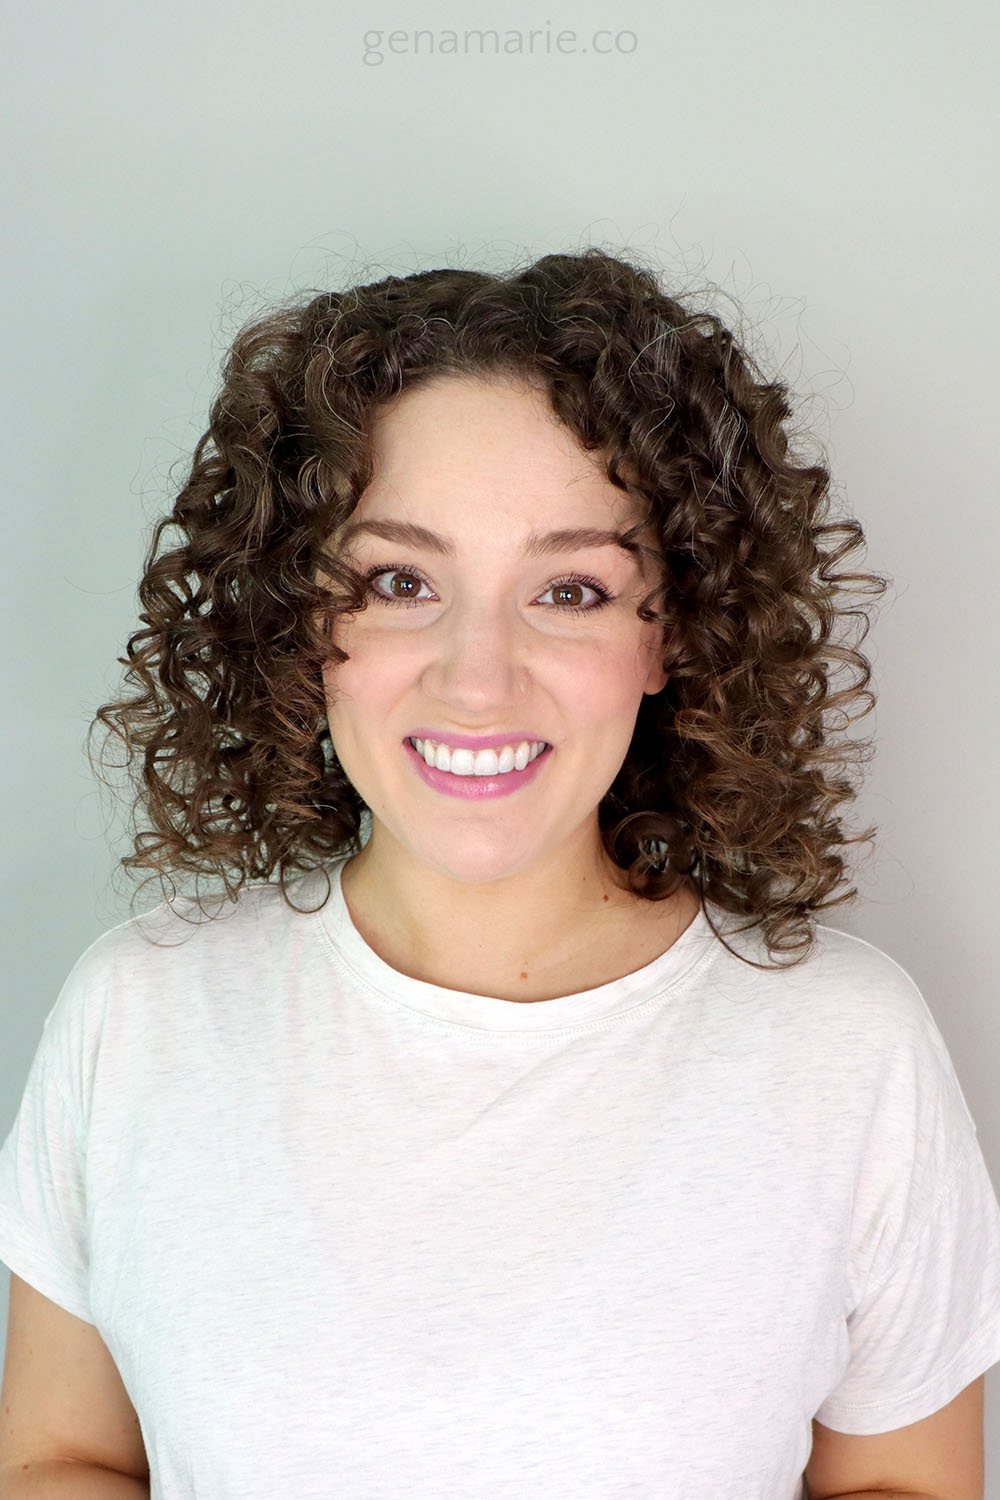
My day 2 curls did not disappoint! My curls were definitely very clumped and still had great definition. The hold softened up which gave me more fullness and volume. I love it when products look even better after wash day. I had a bit more frizz but nothing that bothered me enough to need to refresh. My curls were still moisturized which was great. If I were to refresh, I could just use water since this gel can be reactivated by water.
Curlsmith also offers a travel-size edition of the Defrizzion hair dryer which is smaller and folds up. It also comes with a travel bag making it easy to store in a suitcase. The diffuser attachment is a bit smaller compared to the original, but it’s still larger and better than most standard diffuser attachments I’ve found. I prefer my results with this compared to using those silicone universal diffuser attachments so packing it is worth it to me.
I also recommend a silk or satin scarf because it’s the best way to entirely protect your curls from the sun, wind, and humidity while looking cute. It can double as your sleep protection if you don’t want to pack a bonnet or satin pillowcase.
Need more help with reducing the maintenance of your curls? Watch my previous video on how to get longer-lasting curls and some mistakes you may be making that are causing you to have to refresh every day.


If your curls are falling limp, feel dry, or are showing signs of damage, it might be worth adding some targeted treatments into your routine.
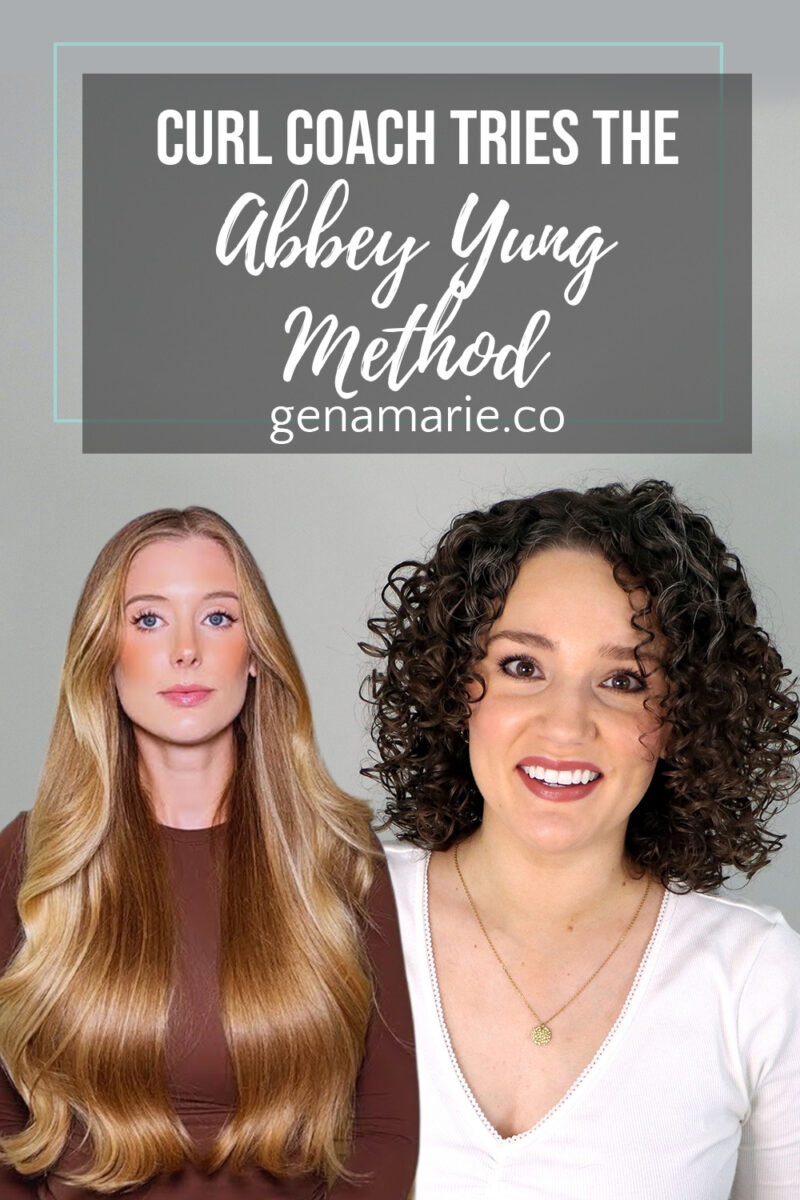
Does the viral Abbey Yung Method, primarily a straight hair routine, actually work for naturally curly hair? Abbey Yung is a beauty creator with a
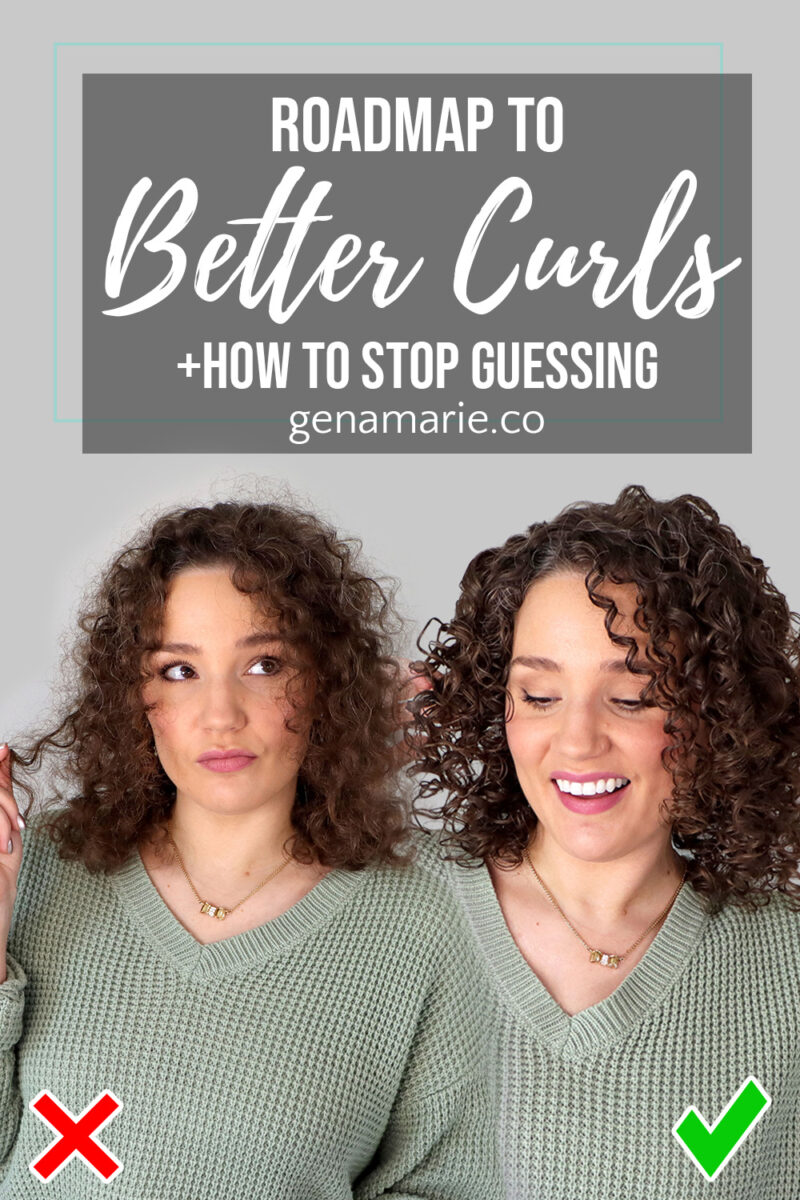
It’s 2026 — and we’re done with inconsistent curls, results we hate, and constant frustration. If you’re tired of never knowing how your hair is
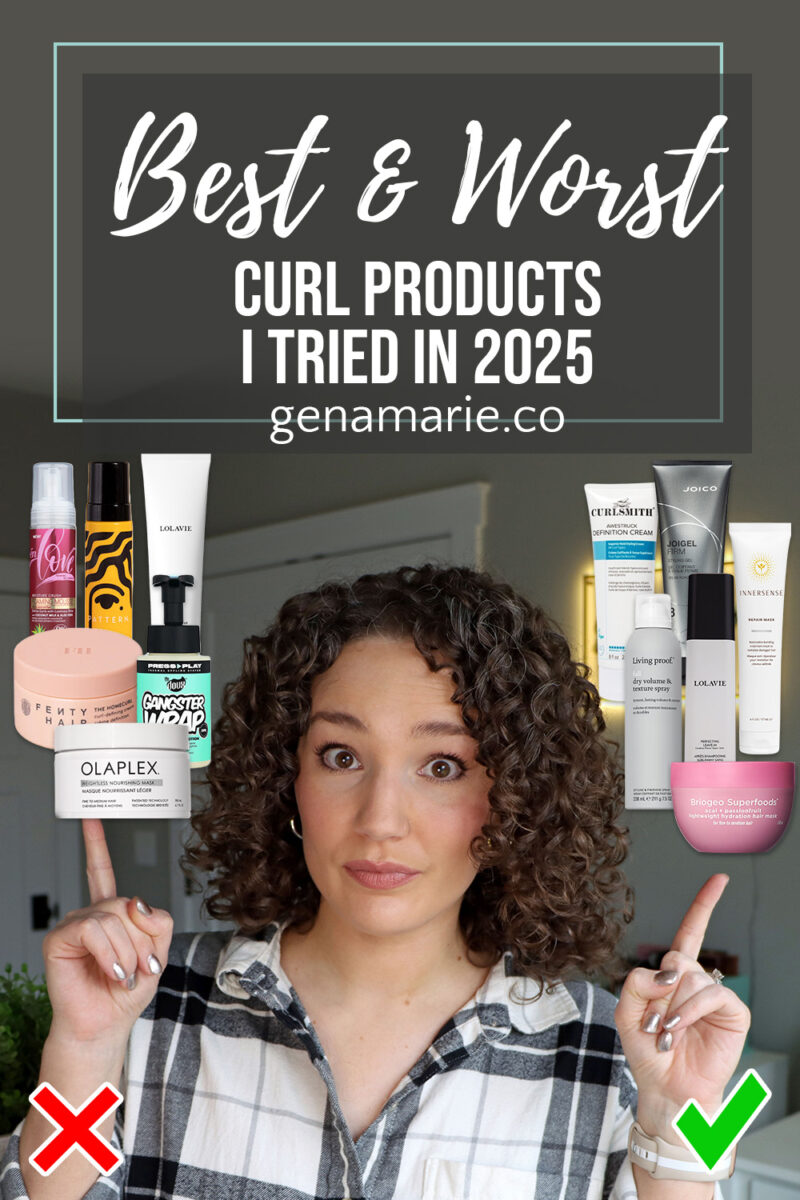
In 2025, I tested a large number of curly hair products across real wash days, different routines, and different styling approaches. Some of those products