


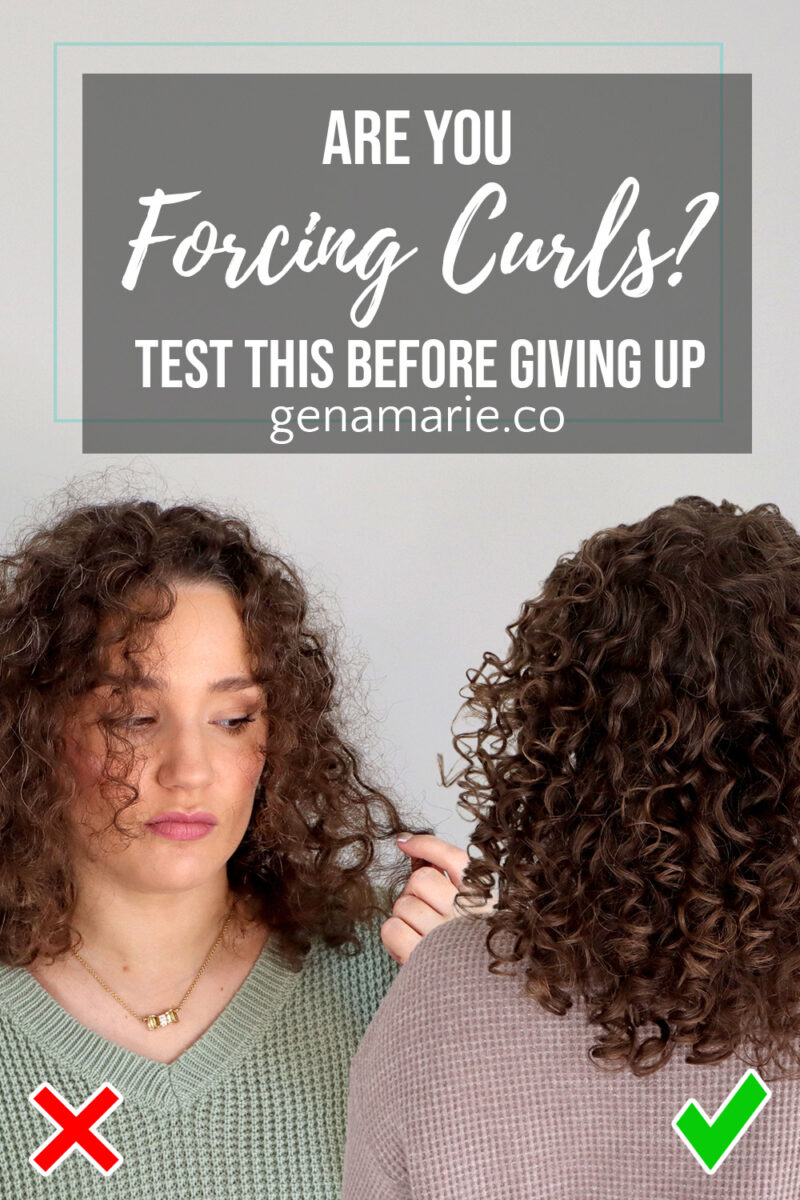
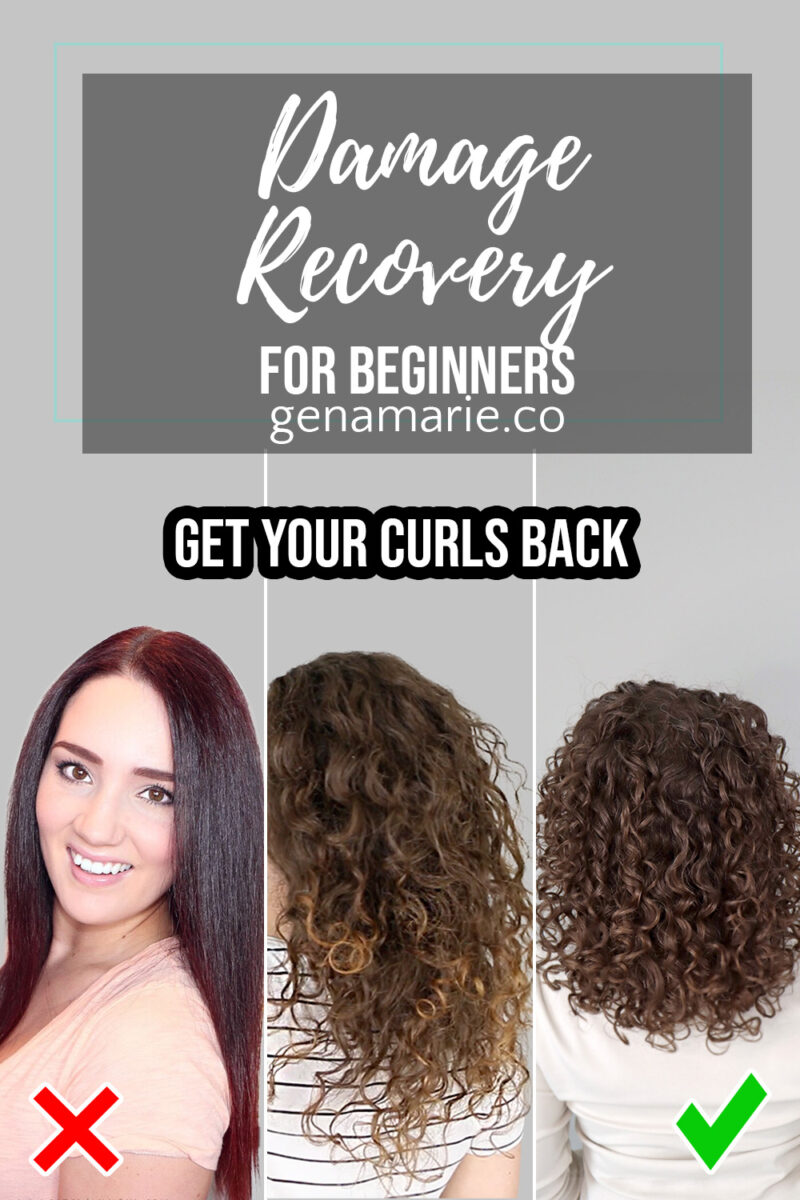
Are You Forcing Your Curls? How to Know If You’re Giving Up Too Soon
Feeling discouraged, frustrated, or unsure whether wearing your naturally curly or wavy hair is even worth it? If you’ve been following this Beginner Curl Series,

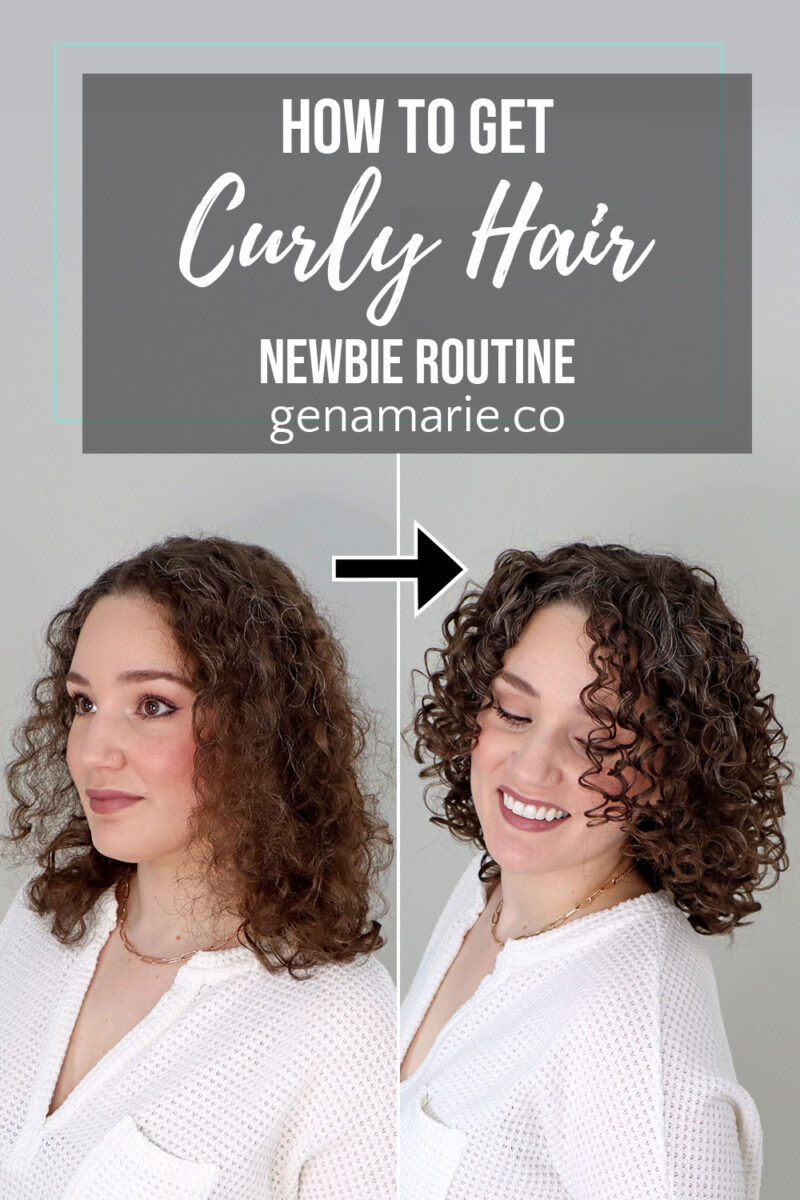
Diffusing is critical if you want to achieve more defined curls and root volume. But what if your curls turn into a frizzy mess when you diffuse? In this video, I share exactly how to diffuse for beginners to prevent frizz, flat roots, and spring up your curls.
There’s a few important steps we need to cover before you begin diffusing that will prevent damage and frizz.
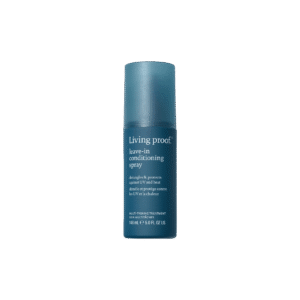
Purpose: Protects from heat, UV rays, chlorine & more
Prep your hair with heat protectant to prevent damage from heat when you’re diffusing. Fortunately, the hair dryer I use does not get too hot, but for an extra layer of protection I always use a heat protectant. The Curlsmith Miracle Shield is nice because it will also protect from UV rays and chlorine.
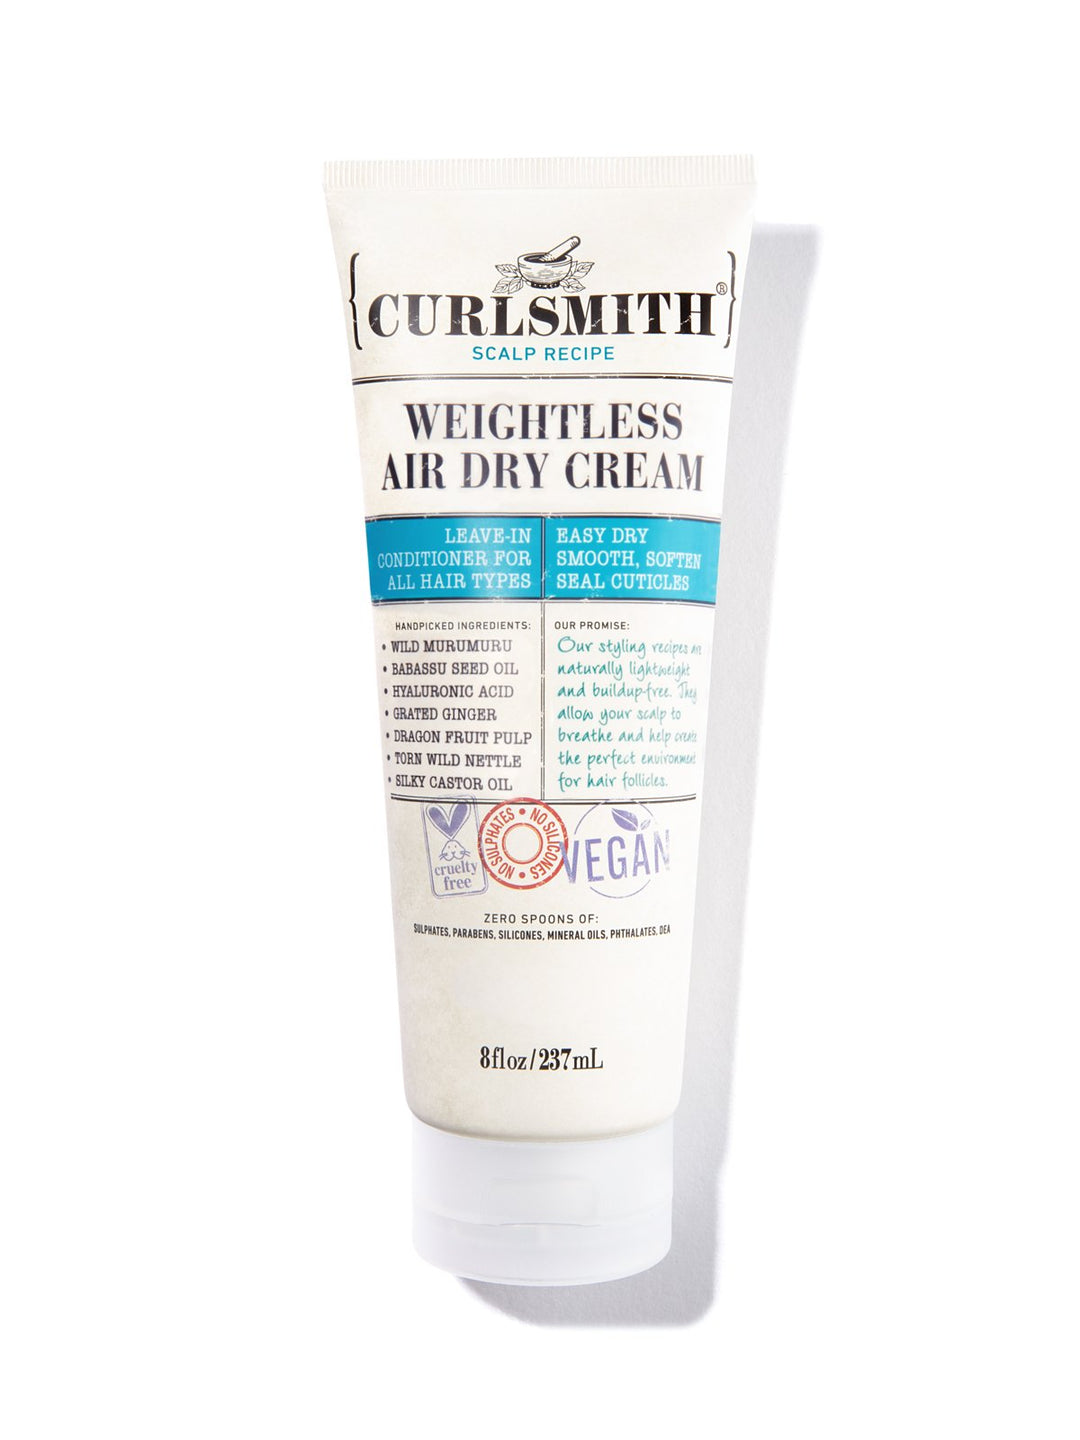
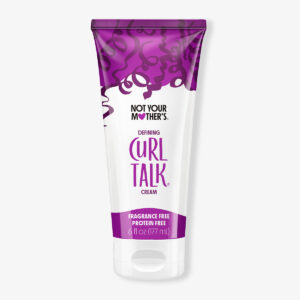
Purpose: Provides moisture
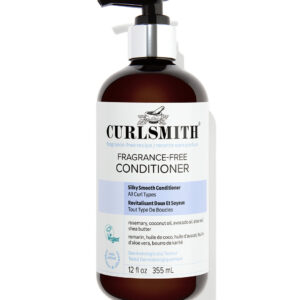
Opt for a lightweight leave-in or a curl cream to reduce your dry time. Using rich curl creams can cause your hair to take longer to dry.
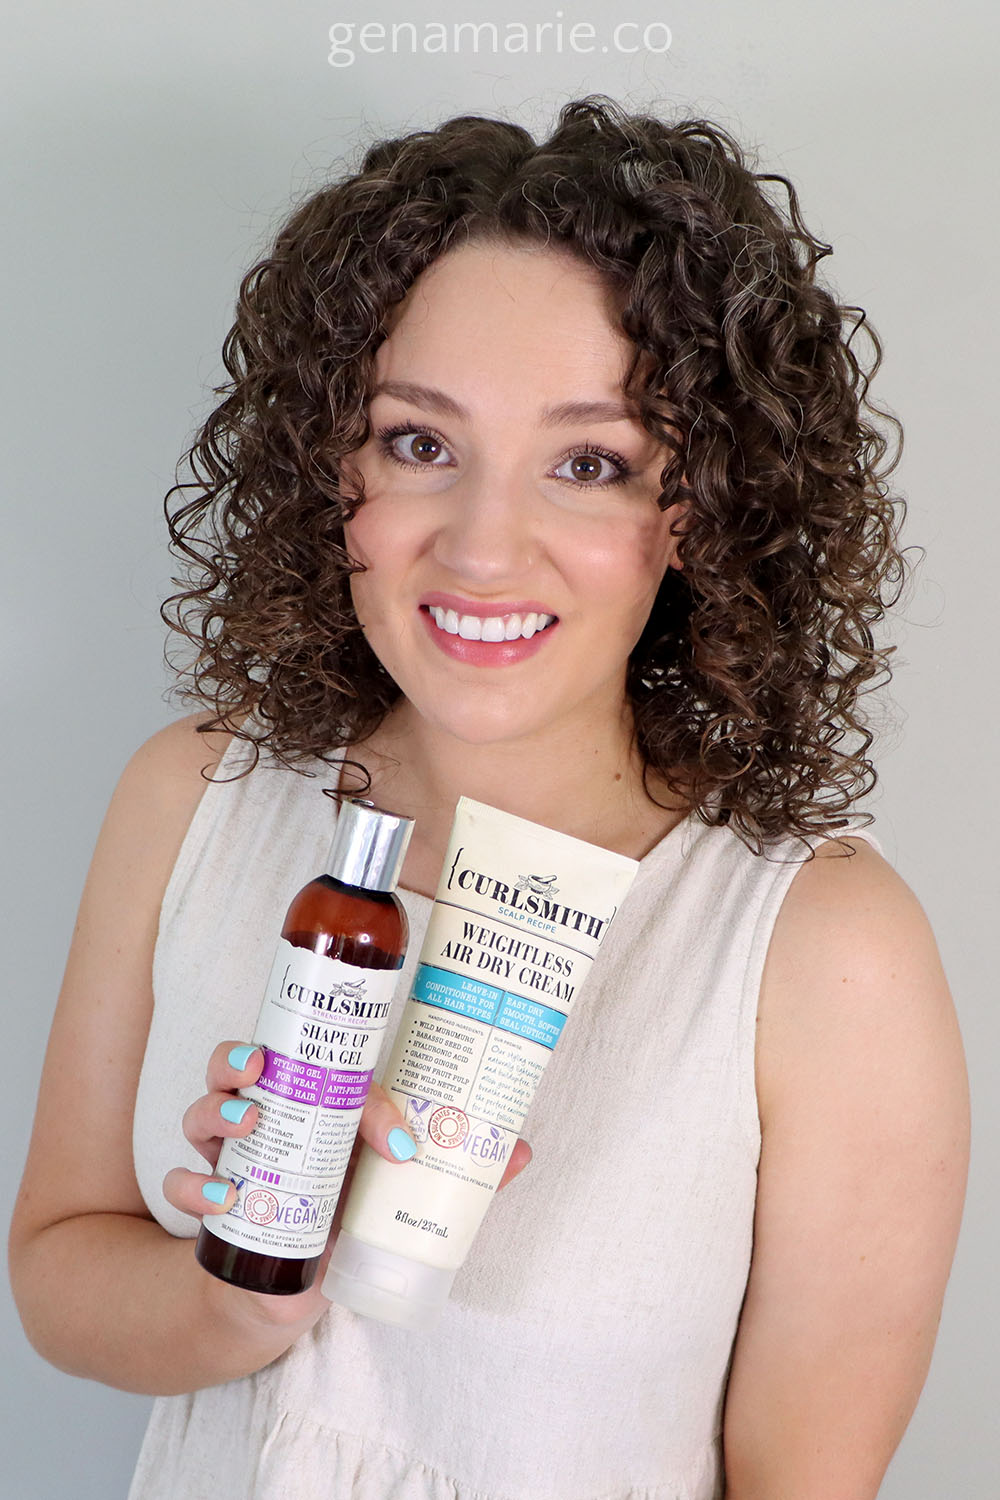
The Curlsmith Weightless Air Dry Cream has properties that help the hair dry faster. It even gives a light cast when used on it’s own.
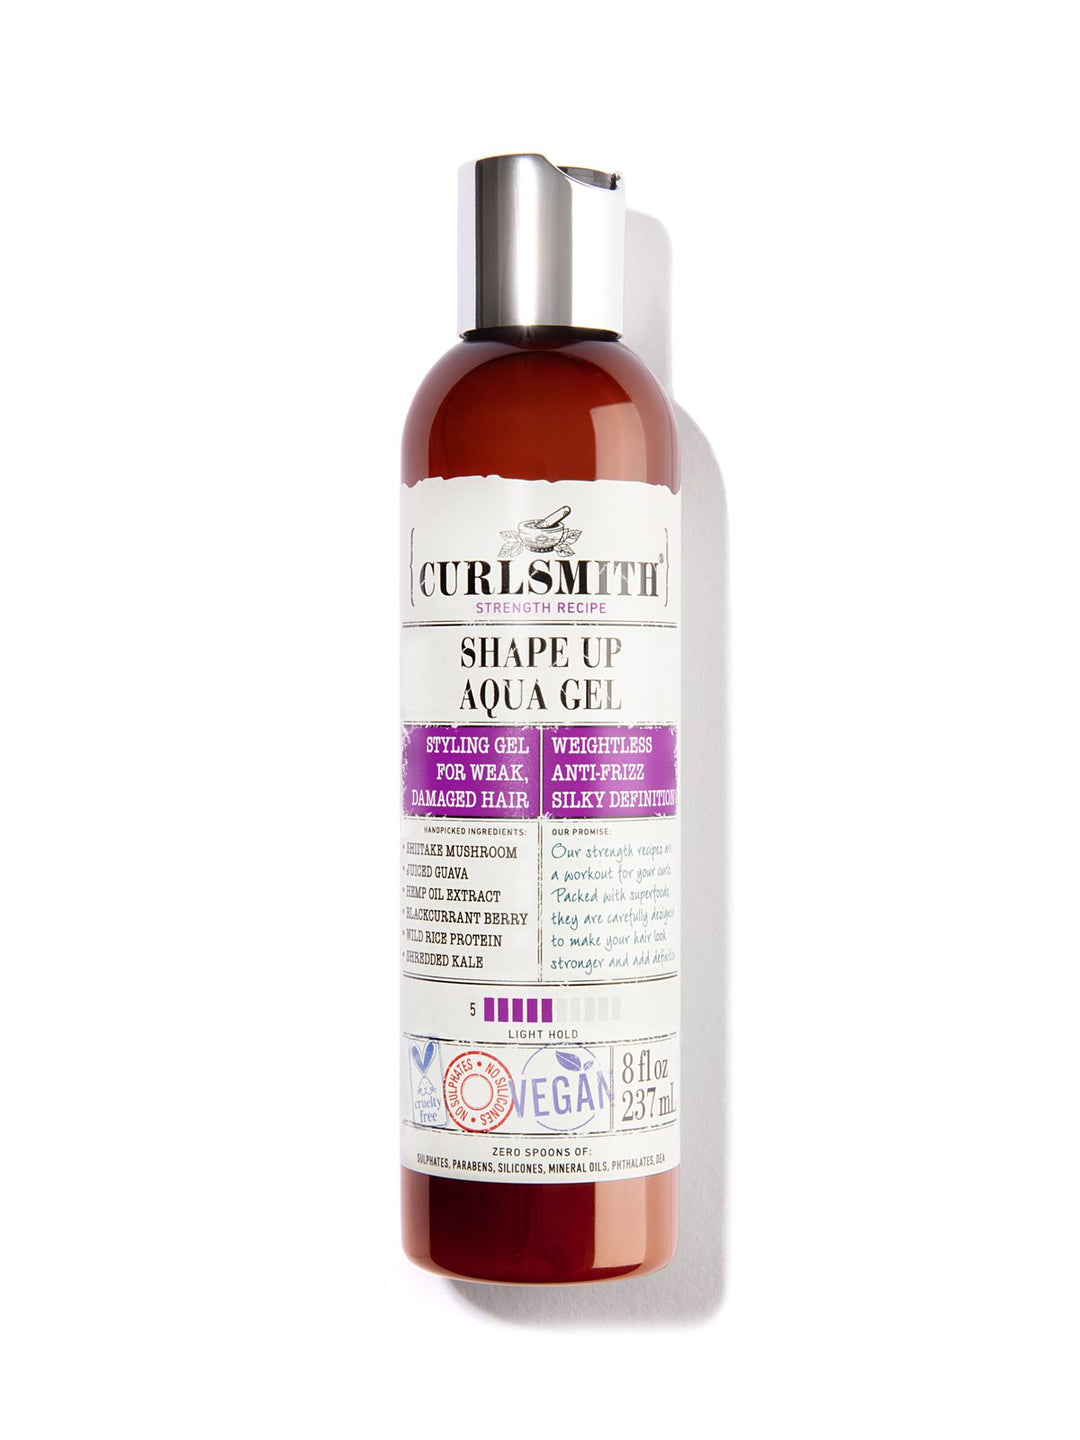
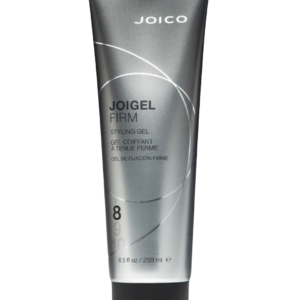
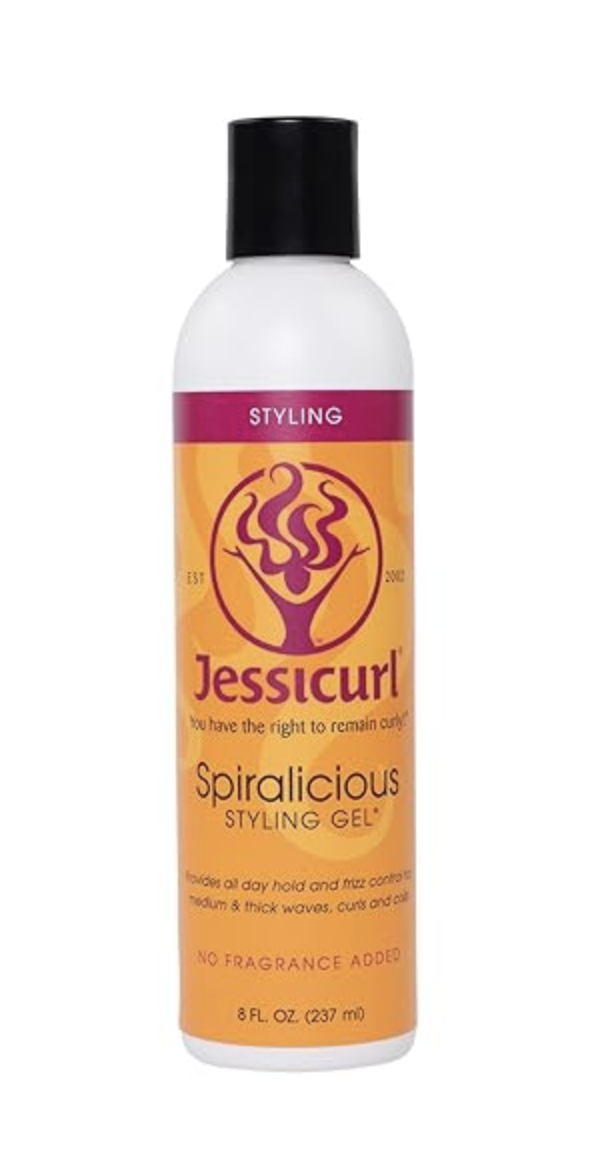
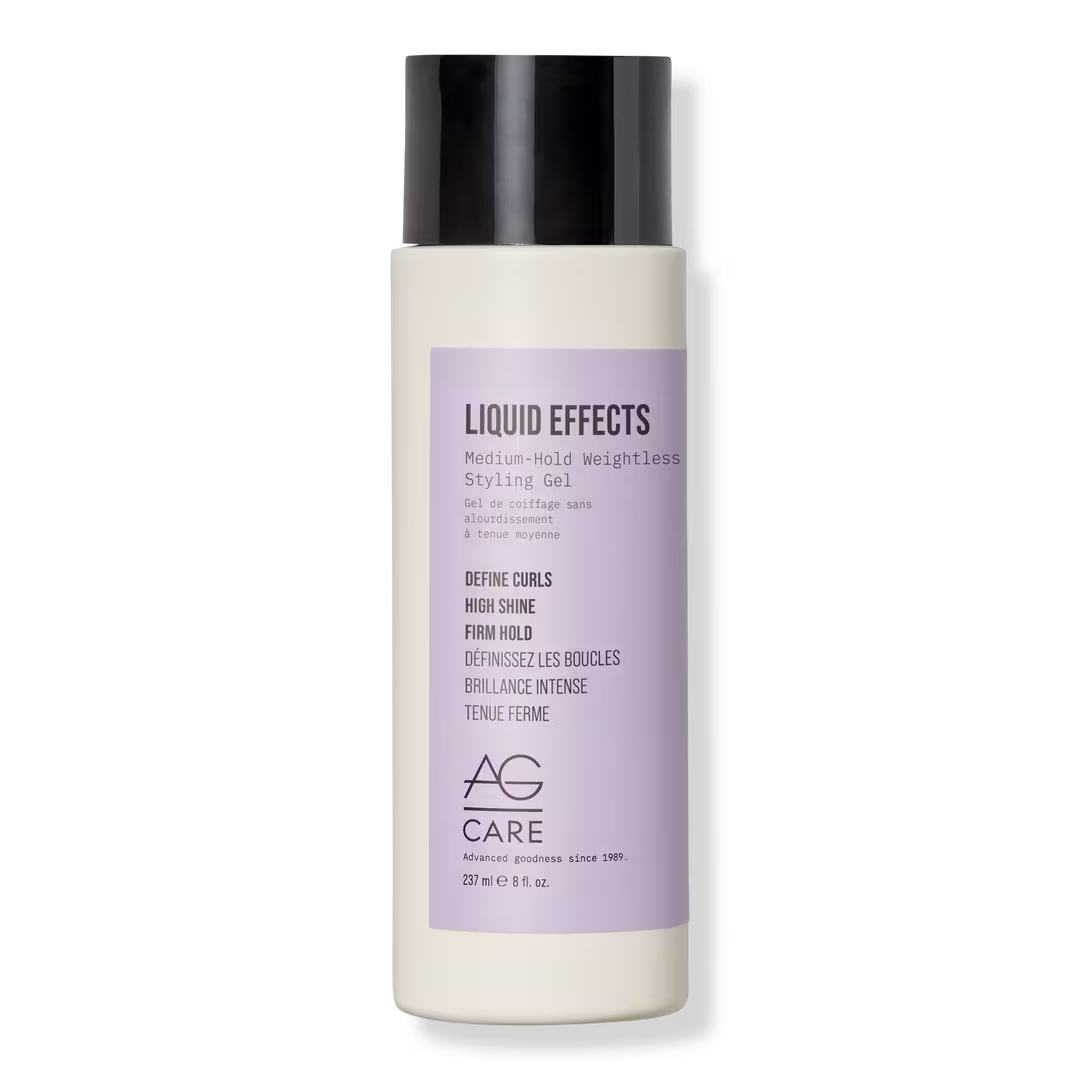
Purpose: Provides hold and prevents frizz
Apply styling products that have hold. This is the #1 cause of frizz during diffusing. If your curls do not drying with a crunchy cast or if they frizz right after the cast is scrunched out, then your gel does not provide enough hold and you will likely get frizz when diffusing.
I’m using the Shape Up Aqua Gel from Curlsmith which is actually more of a medium to light hold but I’m pretty heavy handed with it so I get a good cast.

Purpose: Absorbs excess water to speed up dry time
After stylers, I scrunch with a hair towel to speed up the dry time. This soaks up the excess water and is important if you like to style soaking wet.
For extra hold, glaze a light layer of gel on top.
For maximum shrinkage and volume, I recommend going straight to diffusing after styling. If you wait and let your hair air dry, it’s going to start to dry in a more elongated state.
If you plop your hair up in a towel, this will just press your hair onto your scalp, getting your products on your scalp and smushing your roots, reducing your root volume.
We want to avoid the time that our hair is wet, which is why I find plopping unnecessary. Diffusing right away will give you more control over how your hair turns out.
Once the hair dries, the shape is set, so whichever position your hair is while it’s drying is how it will stay. There are several different diffusing techniques you can use that will give you different results. Anything that will dry your hair while it’s in the scrunched position will create more shrinkage, tighter curls, and volume. Anything that lifts the hair at the root up will result in more root lift.
Touching the hair too much while it’s wet can also result in frizz. This is one of the reasons we use a strong hold gel which creates a cast to protect our curls during diffusing and hold them in place.
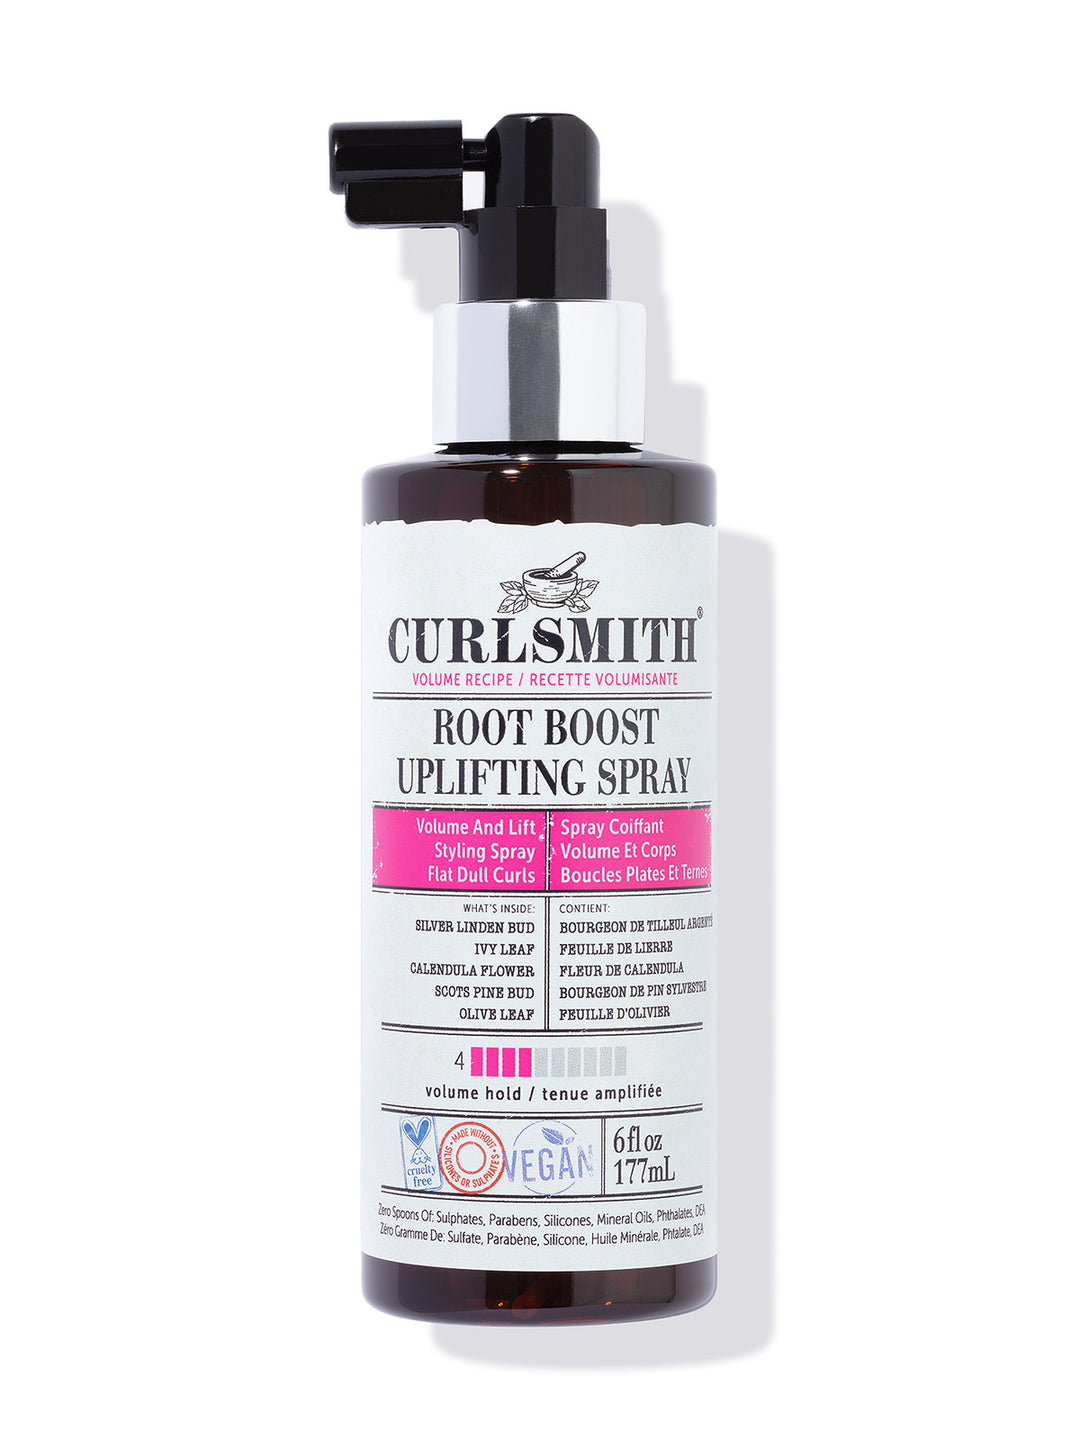
This is just a bonus step but I wanted to try out the Curlsmith Root Boosting Spray again, so before I started diffusing I just misted my roots with it.
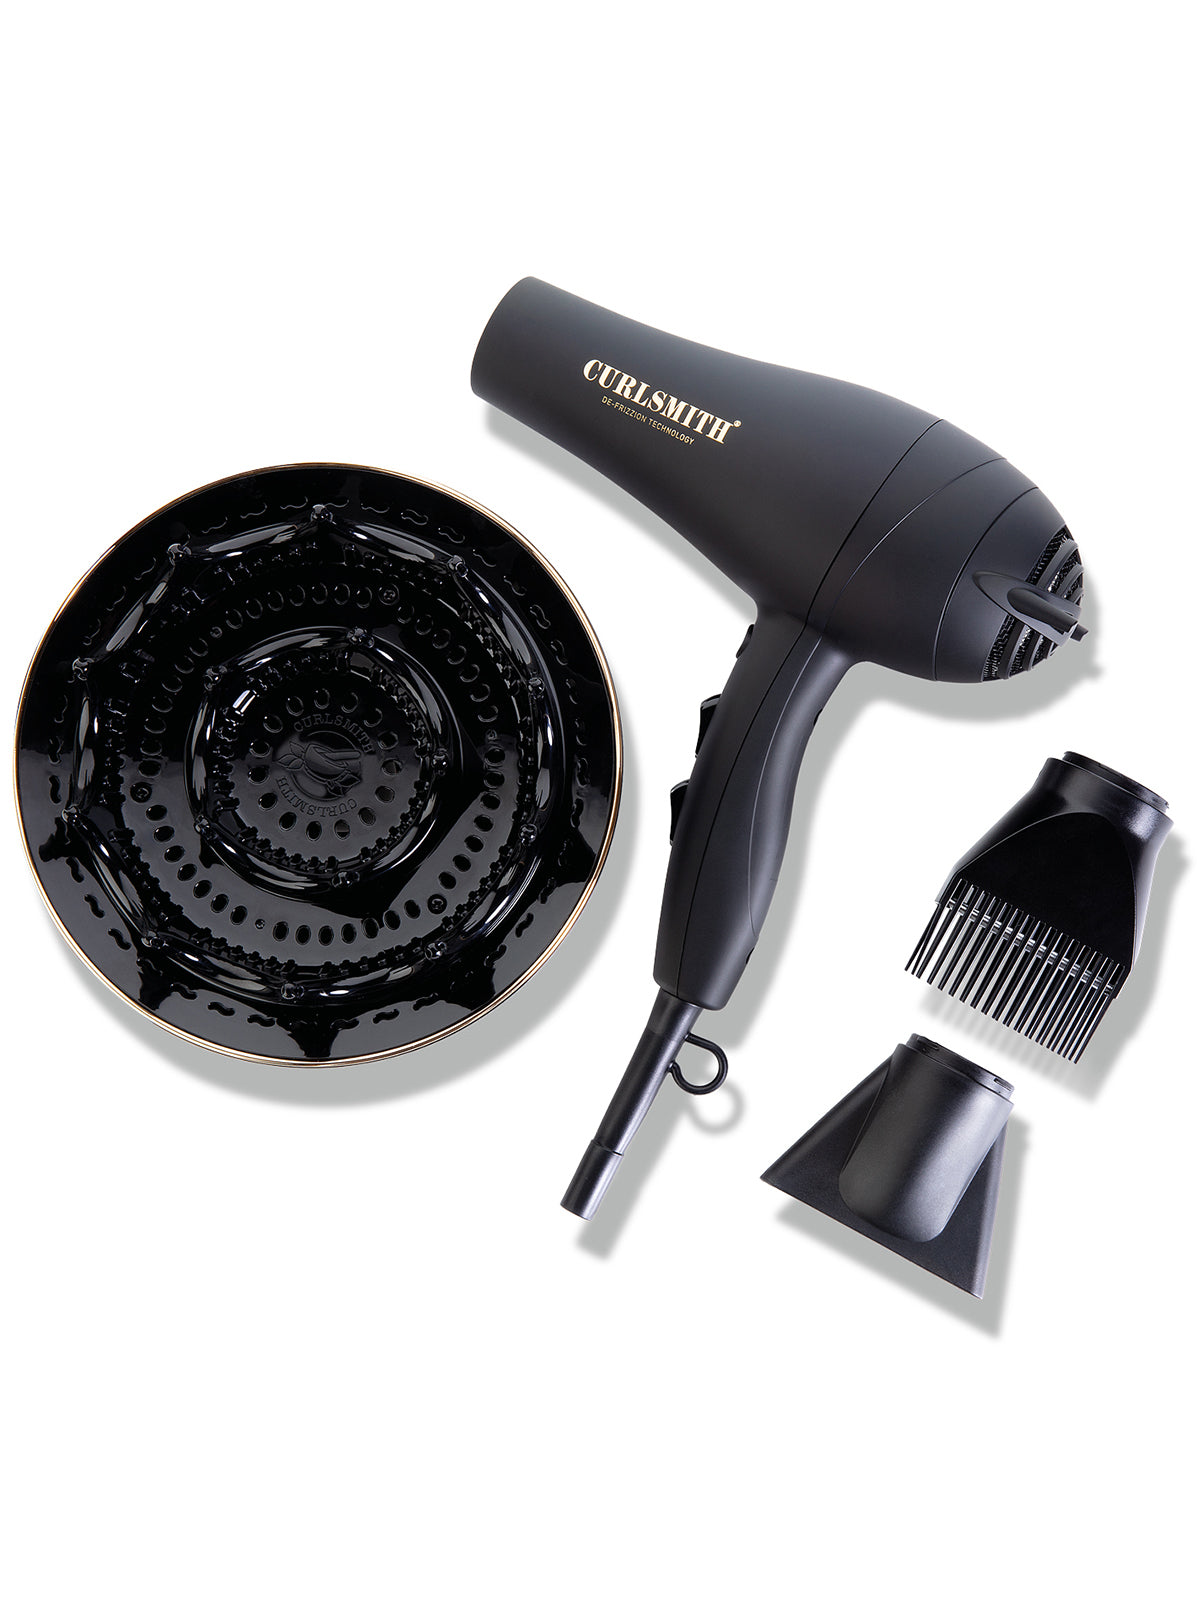
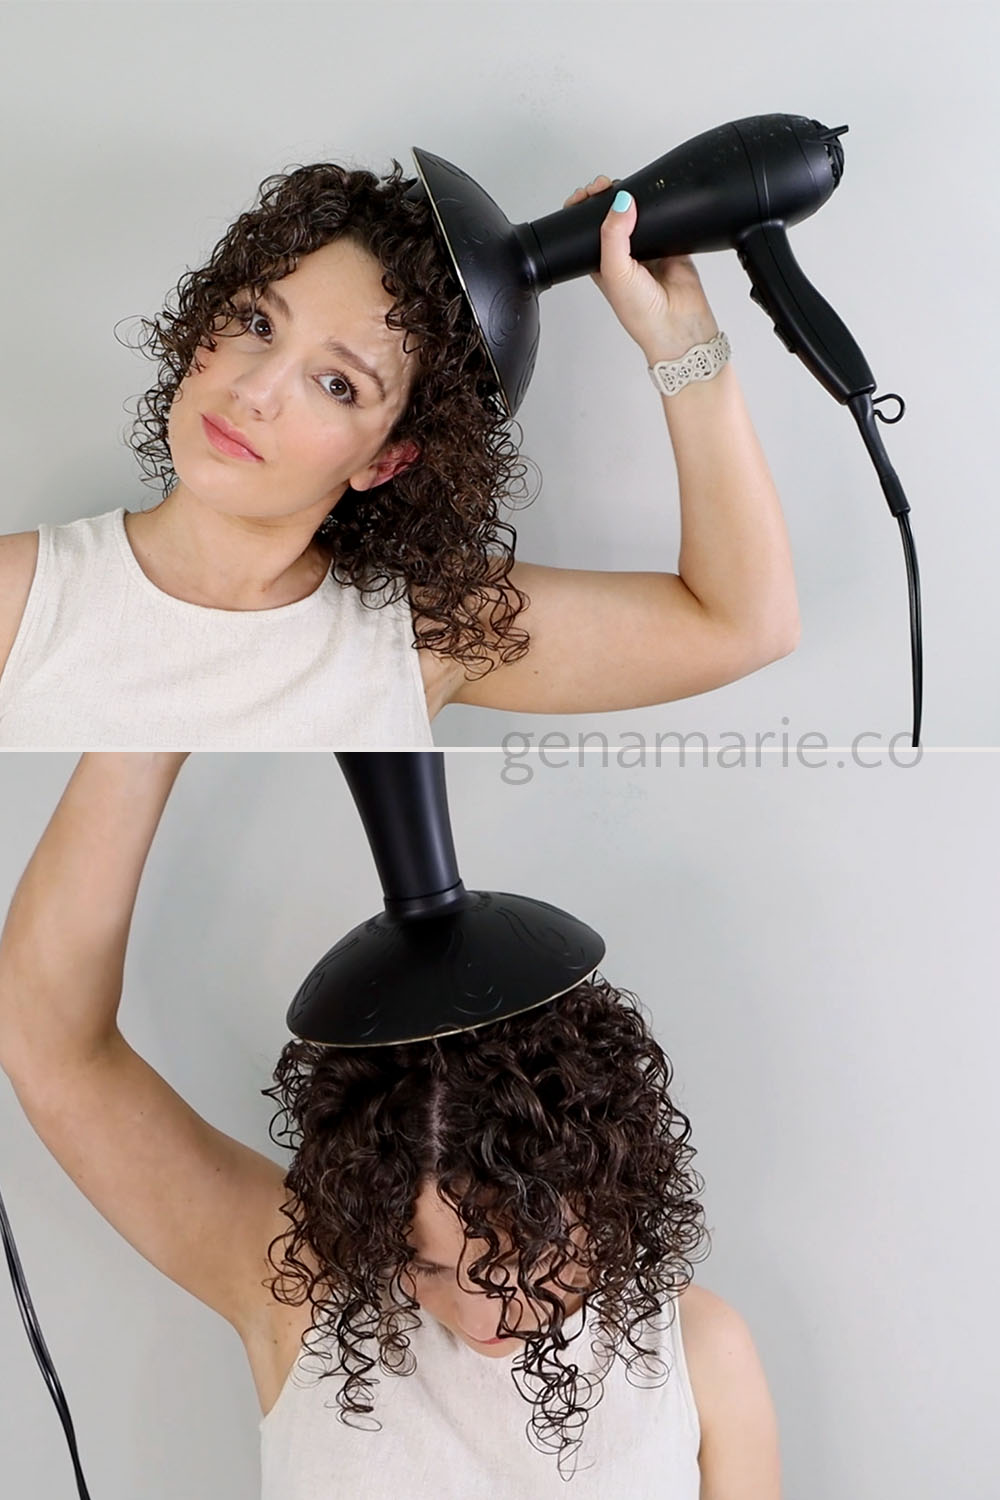
The Curlsmith Defrizzion Hair Dryer + XXL Diffuser is my go-to because it doesn’t get too hot for curls and still dries my hair in 10-15 minutes. The large size of the diffuser covers more surface area at once, and the flat design creates maximum shrinkage. You also want one that has prongs that extend out past the end of the diffuser bowl and have holes in them.
The settings I use for most of the diffusing routine are high heat and low speed. I sometimes will switch to medium heat towards the end.
The Curlsmith hair dryer has a kickstand which allows for hands-free diffusing.
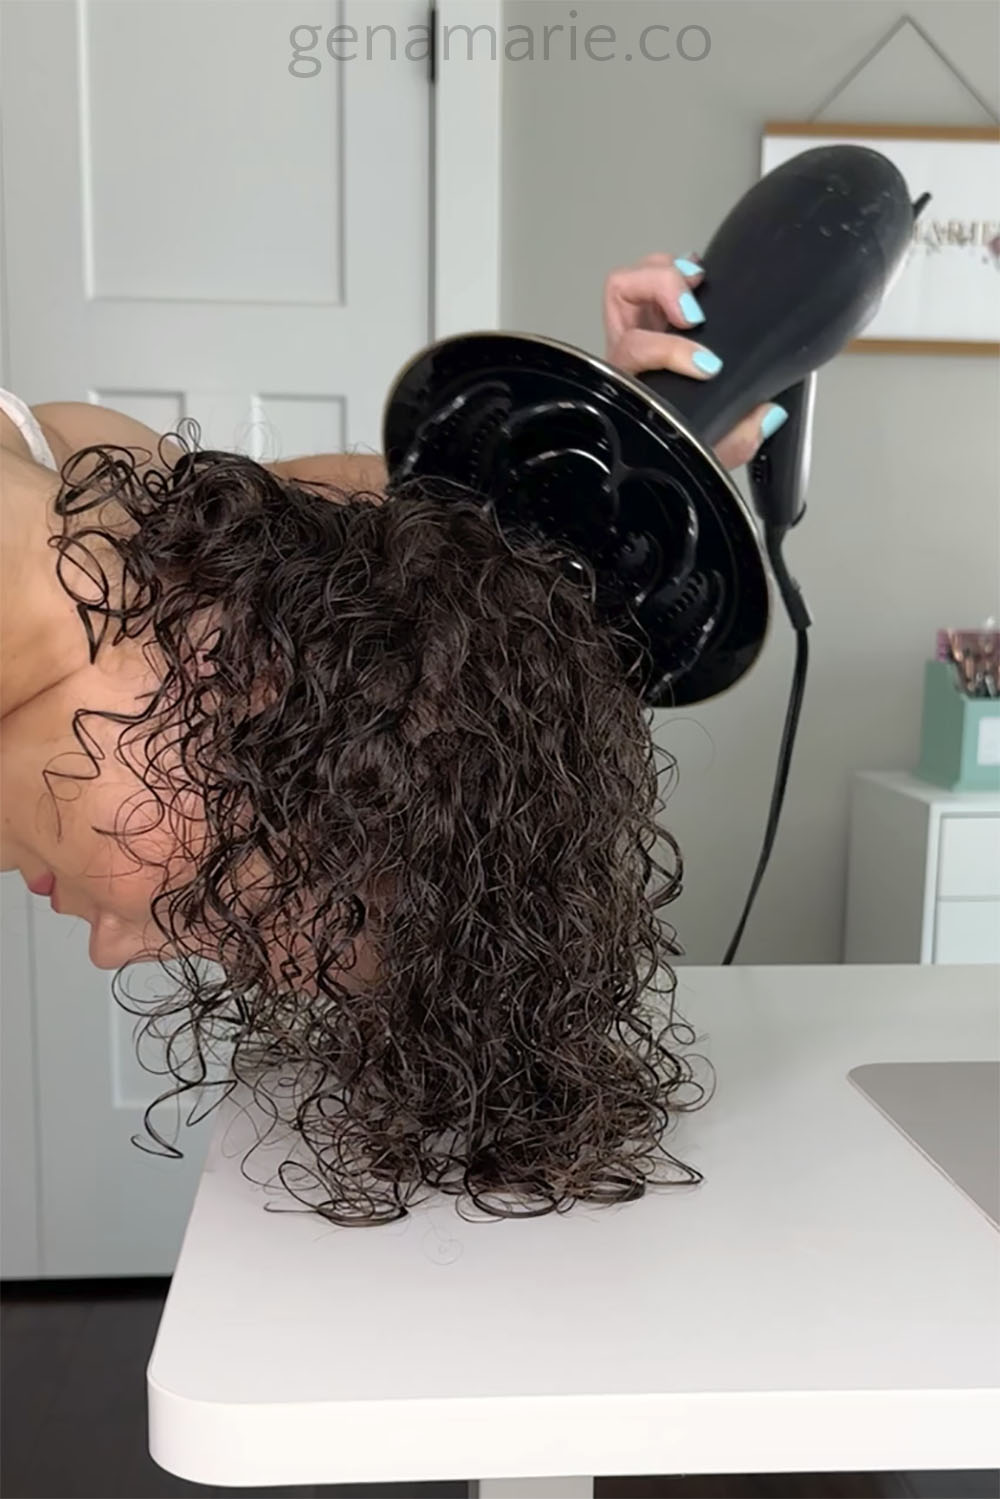
Purpose: Prevents frizz and elongation
The hover technique is the best way to avoid frizz and damage because the diffuser is not touching the hair. Simply hovering will dry your hair in a more elongated position, so to prevent that, I like to plop my hair over a flat surface or gently cup it in my hands so it starts to dry in the scrunched position.
Usually I will just hover for a few minutes, until I feel the cast begin to form.
I don’t like to let it form completely though because I still want to diffuse upright to really be able to scrunch the underside all the way up to the roots.
However if you’re really trying to prevent frizz, you can do this method the whole time if you want.
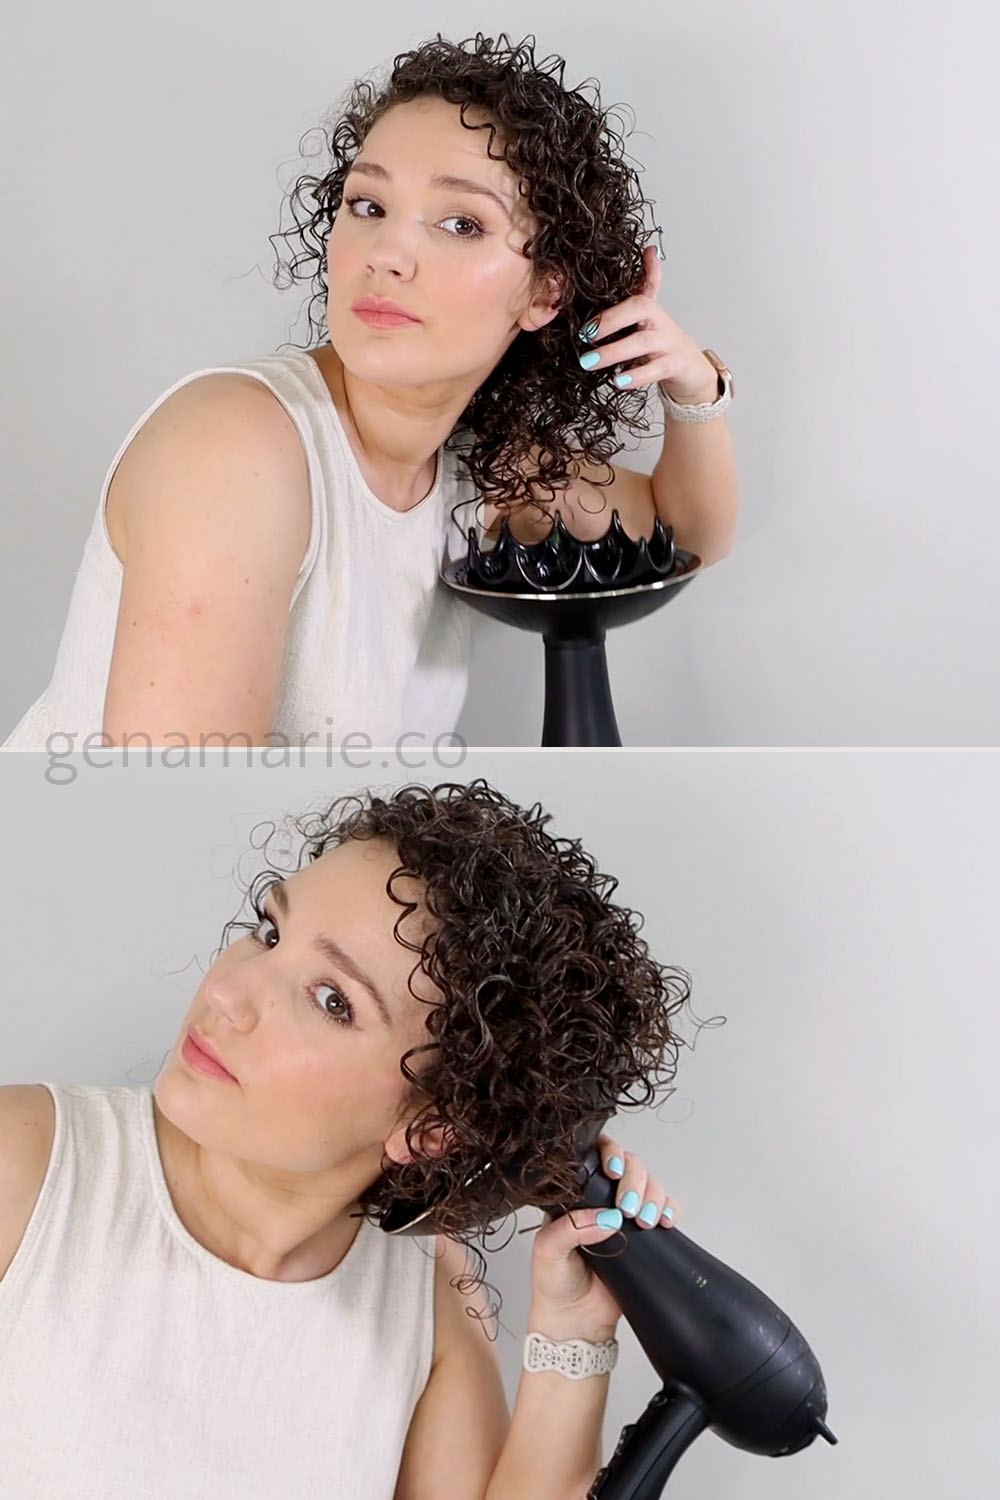
Purpose: Creates tighter curls/shrinkage
Then I flip right side up and focus on cupping the hair in the diffuser and pressing the hair all the way to the root. Pay attention to how the hair gets scrunched into the bowl if you’re prone to wonky curls.
Don’t hold it too long either because we want to gradually dry all areas around the same time versus fully drying one section then moving on to another. This will prevent wonky curls.
A little tip to prevent frizz to point your diffuser towards your head once you scrunch it up to your scalp versus keeping it pointed straight up. This can reduce frizz because the air is blowing in and not up.
I also make sure to get the underside because I am prone to stringy curls along my hemline especially when I’m due for a haircut. This is why diffusing upright some is helpful to reach the back versus diffusing upside down the whole time. I also diffuse some upside down which helps to get the front section fully scrunched up to the roots.
Upside diffusing is one of the best way to get root volume because the hair is drying away from the scalp. You can also flip the hair side to side when you’re upright to create root lift.
Purpose: Creates root lift and root definition
Once I’m happy with the shrinkage throughout I start focusing more on the root area. I find that it’s easier to create root lift when your roots are damp versus soaking wet. Place the prongs of the diffuser right at the roots, lift, and hold for a bit. Don’t forget the crown area!
This is why I recommend diffusers that have prongs that extend out past the end of the rim. This not only dries the roots faster because the air is going straight to the scalp, but it lifts the hair away from the scalp as it dries. The Curlsmith diffuser also has holes in the prongs which allow the air to reach the scalp.
You can play around with the order of the techniques that you use. It doesn’t make a huge difference, but I find it helps to switch around throughout your diffusing routine. I don’t always do the exact same steps in a certain order.
One thing to keep in mind is the amount of time that the ends of the hair is exposed to the heat. The ends are the most fragile and prone to split ends and frizz, so avoid over-diffusing your ends. This is why a lot of people like to start with their ends and then focus on the roots so they aren’t touching the ends the whole time.
Your hair dryer should not be so hot that it’s burning your hair or your scalp. This is why I don’t recommend the Dyson because it gets way too hot for the curls and its diffuser is really small.
The Curlsmith dryer is able to dry my hair faster while using less heat because of the large diffuser size covering more surface area at once.
Once my hair is dried, I like to leave the cast in for a bit to let it set. You don’t have to do this, but I find it helps prevent frizz. If you’re short on time, you can let your hair finish air drying.
The reason I recommend starting with diffusing and then air drying is because the diffuser allows you to control the curl shape. Once it’s set and you feel a cast, you could finish air drying if you need to run. Don’t touch your curls while they’re setting and avoid wind.
Purpose: Creates volume and fullness
After my hair is set, I fluff my roots and scrunch out the cast. You can leave it in for longer-lasting results. If you notice your hair feels damp, diffuse it a bit more.
If you’re in the market for a new diffuser, you can check out my diffuser comparison video where I share the differences between all the dryers I’ve tried.

Feeling discouraged, frustrated, or unsure whether wearing your naturally curly or wavy hair is even worth it? If you’ve been following this Beginner Curl Series,
If you’re trying to wear your hair curly and you feel like you’re doing everything right but your hair still doesn’t look how you want,
If you think you might have curly hair but don’t know where to start — or you tried before and your curls were frizzy and
Curly hair advice is full of contradictions — and no one explains how they’re supposed to work together. If you’ve ever tried to research curly
One Response
Thanks for the tips! Your direction with clear photos are soooo helpful! I hope to have beautiful curls like you one day! Takes a long time to train your curls while learning how to embrace your curls!