Best Treatments for Curly Hair: Pre-Shampoo Care, Bond Repair, Masks, and Heat Protection
If your curls are falling limp, feel dry, or are showing signs of damage, it might be worth adding some targeted treatments into your routine.

This post is sponsored by Curlsmith. Click here for the full disclosure.
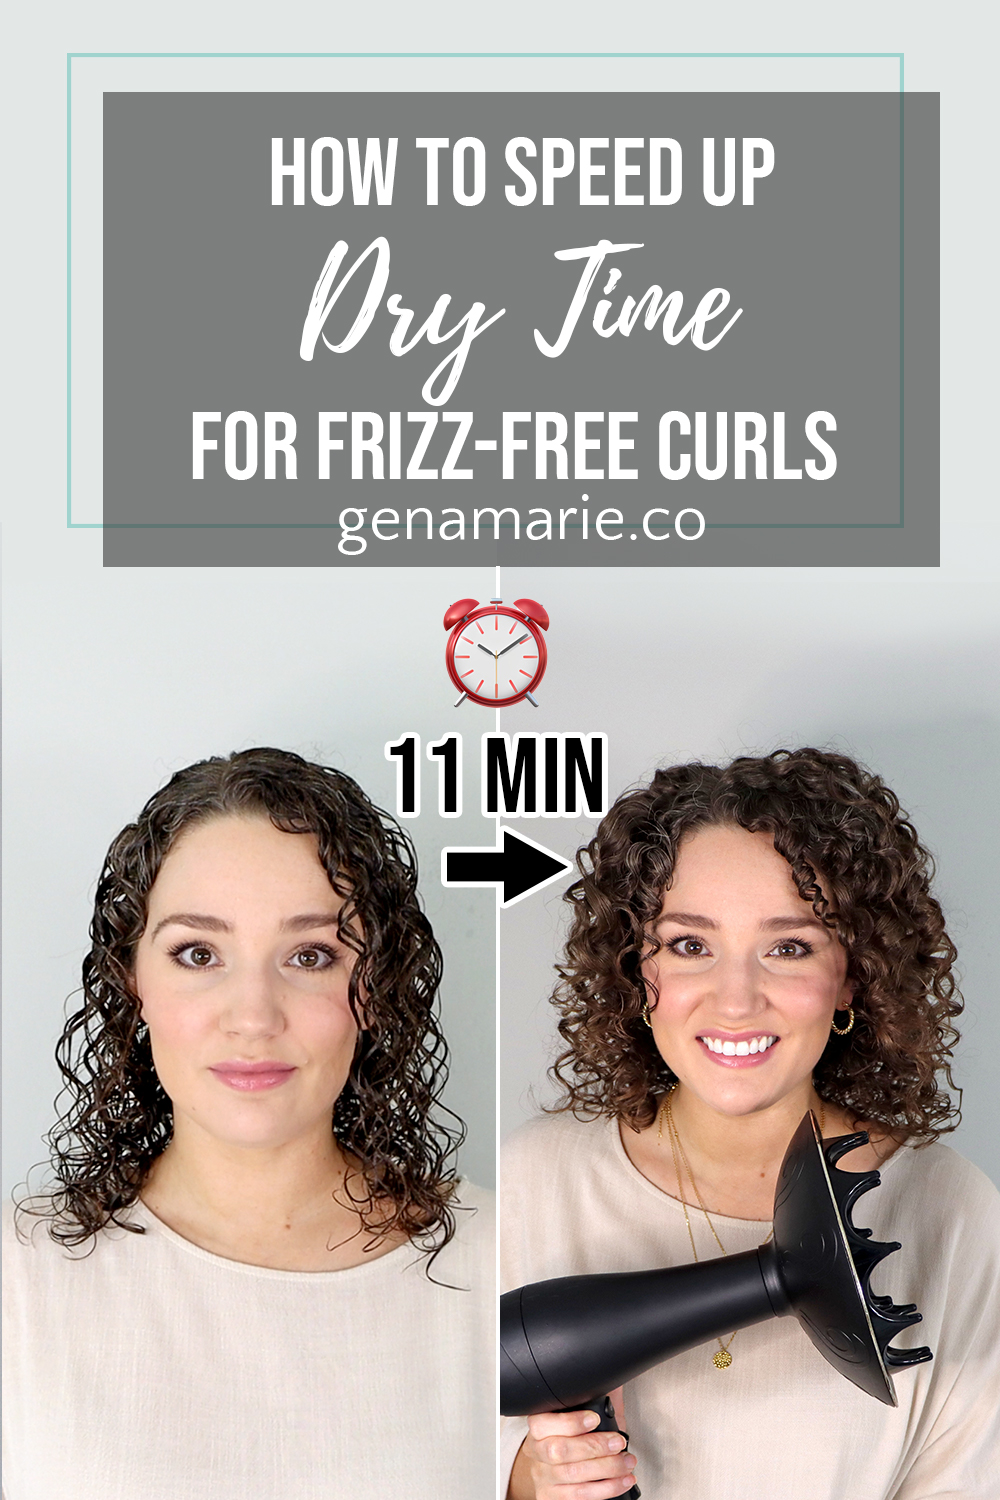
Does it take forever for your curls to dry? You should not have to spend more than 30 minutes diffusing or hours air drying! I’m going to show you exactly how I get my hair dry in under 15 minutes.
Curlsmith has a Black Friday sale going on where you can save 40% on their hair dryer and products, plus 50% off select items. Sale ends December 1, so don’t wait because you only have through tomorrow to shop.
Their Defrizzion dryer (see link below) rarely goes on sale and this is their biggest sale of the year.
How long our hair takes to dry starts right after washing it, so we have to consider everything we do during styling, the products we use, and how we dry it.
I washed my hair using the Detox Kit from Curlsmith which has a pre-shampoo primer for detangling, exfoliating detox shampoo, and conditioner.
The primer and conditioner are both 50% off through tomorrow. They can be used alongside any clarifying shampoo you have to prevent tangles and dryness when clarifying.
Purpose: Reduce the amount of water weight when styling for faster dry time and more fullness.
First I wrap my clear hair in the Curlsmith Microfiber towel. This is to soak up excess water at my roots so that way my hair isn’t dripping, soaking wet.
Then I mist the lengths of my hair with a spray bottle. I do this so I can customize the amount of water in my hair because it’s something that you need to tweak.
The more water in your hair, the longer it’s going to take to dry. However we don’t want it so dry that it’s frizzy or stringy. It should be evenly wet but not dripping or soaking your shirt.
When should you style soaking wet?
Those with wavy and looser curls often benefit from having more water in their hair when styling, but that doesn’t mean it needs to be drenched.
I will show you a technique on step #5 if you still want to style soaking wet so that you can still reduce dry time.
Purpose: Prevent damage when diffusing with heat. Also protects from the sun, chlorine, and salt.
Apply the Curlsmith Miracle Shield or any heat protectant you prefer. This one goes on clean hair, before any styling products. In addition to protecting the hair from heat, it also protects from the sun, chlorine, and salt water.
Purpose: Reduce the moisture and weight to reduce dry time.
The Curlsmith Shape Up Aqua Gel is lightweight, moisturizing, and provides a light but buildable hold.
Skip your leave-ins and curl creams and instead use just a gel or a mousse to really speed up dry time. This will also increase your gel cast and the longevity of your curls.
This gel has moisturizing ingredients in it and a good amount of slip so that way your hair is not dry.
The more heavy creams and leave-ins you use, the longer your hair is going to take to dry and it will reduce your hold. This is especially the case for those with very fine, silky, or overly soft hair.
If your hair is just super dry, use a little bit of leave-in that is lightweight first, then gel or mousse.
Purpose: Thick clumps trap moisture, thinner clumps allow for more airflow.
Just like using too much water and too much cream, the thicker your curl clumps, the longer your hair will take to dry. If your hair still feels damp after breaking your gel cast at the end of your routine, then this is likely the cause.
I use a brush that doesn’t give too much tension so it’s safe for curls and won’t over lump them. You can customize the clump size by adjusting the size of the section or the amount of hair you pick up, and the amount of pressure/tension you apply.
If curl clumps are too large still, just separate them with your hands while they’re still wet.
Purpose: Absorb excess water to greatly reduce dry time. Extra gel increases hold and tames frizz/flyaways.
This is most important step, especially if you styled more on the soaking wet side. Take your hair towel or T-shirt, and gently scrunch your hair. This is called the microplopping technique. I do not recommend the traditional plopping technique where you tie your hair up in your hair towel because that just presses the product onto your scalp.
This is an alternative, faster method that won’t cause scalp buildup or flat roots.
Pinch your roots or lean to the side so the roots are away from the scalp, and gently scrunch all the way up. Be very gentle and avoid aggressive pulsing which can cause frizz.
Then add a bit more gel, mousse, or even a hairspray. This step is critical if you struggle with getting good hold or if you see frizz form after microplopping.
Using a little bit of the Fragrance-Free Shine Gel will boost hold and humidity protection. If you’re someone who struggles with overly soft hair, use a gel like this as your main styler all over.
I like using it as a topper, just glazed or smoothed on without disturbing the curls we just style.
Purpose: Dry more of the hair and the roots at once. Holes in the prongs allow air to reach the roots and scalp.
I recommend going straight to diffusing versus air drying first, which can just cause the hair to elongate and start to frizz. Diffusing helps to freeze the hair in position and set your gel cast right away.
I’m using the Curlsmith Defrizzion Hair Dryer with the XXL Diffuser, which is currently on sale.
While you can still implement all these tips to reduce dry time and whichever dryer you have, there are some things to note that I think make the biggest difference in dry time.
One is the large size of the diffuser head. This is 8 inches in diameter so it covers a lot of surface area at once.
The dryer is designed for curly hair, so it doesn’t get too hot like most hair dryers. It’s able to still dry fast using lower heat because of the size. It also has ionizing defrizzion technology to reduce frizz.
I use the highest heat setting and the lowest fan speed, and sometimes switch to medium heat towards the end.
Another thing you want to look for is long prongs that have holes in them so the air can reach the roots. I love using the long prongs to lift the roots and hold for volume.
There is also a kickstand on the back so you don’t even have to hold your hair dryer if you’re unable to or if your arms get tired.
It takes about 11 minutes for my hair to dry with this dryer.
The following factors will impact your dry time:
Purpose: Create a softer look & feel, add volume & fullness.
You can leave your cast in if you’re going to bed or want longer-lasting curls, but most people prefer to scrunch it out for a softer look.
This is one of the biggest advantages of diffusing over air drying because you’re able to be “done” with your hair quicker and you have more control over how it turns you. With air drying, you have to walk around with crunchy, damp curls and are likely surprised after you’re finally able to break the cast if you don’t like your results or get frizz.
Next I check to see if I need any touch ups, or if I’m good to go. You can use an oil at this step, but I often skip it to keep it simple.
If you break your cast or after your hair cools you still feel some dampness, you can diffuse for a few more minutes. Sometimes breaking the cast will help it finish drying since the cast locks in moisture.
However you don’t want to avoid breaking it when it’s still very damp as this will cause frizz. A lot of time I will just finish air drying this part if needed.
If it’s been 30-40+ minutes and you’re still not even close to being dry, then you need to change up something else in your routine or try a better hair dryer if you’re not already using the Defrizzion.
I would be happy to help diagnose your specific issue in a curl coaching session.

Don’t forget to check out the Curlsmith Sale before it ends on December 1.
If you’re feeling frustrated with your curls and you can’t find that balance between having good looking curls and a realistic timesaving routine, I want to help diagnose what is causing the issues. I can take deep dive into your routine, analyze your specific issues, and help you find solutions that fit your needs. Book a curl coaching session here.
You can reach out to me by sending me a message on IG or Facebook with the word “coaching” or email info@genamarie.co to discuss if you’re a fit and which package you need.


If your curls are falling limp, feel dry, or are showing signs of damage, it might be worth adding some targeted treatments into your routine.

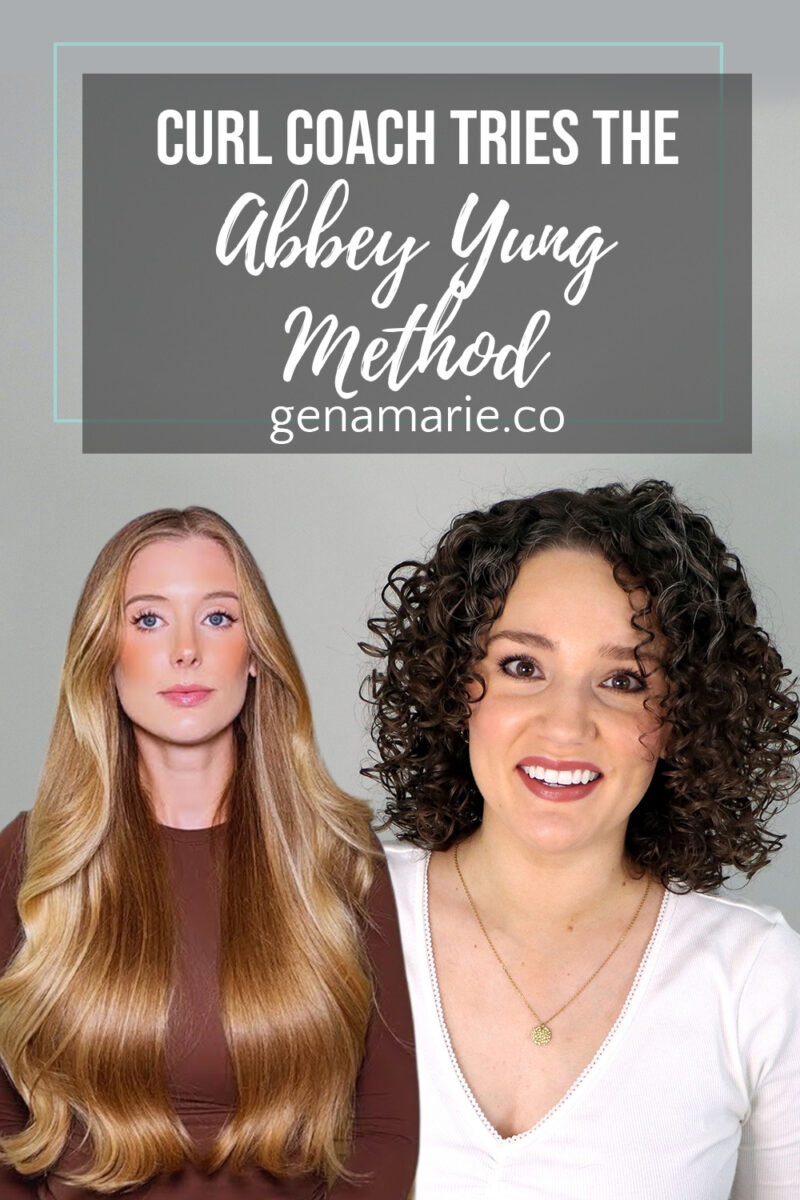
Does the viral Abbey Yung Method, primarily a straight hair routine, actually work for naturally curly hair? Abbey Yung is a beauty creator with a

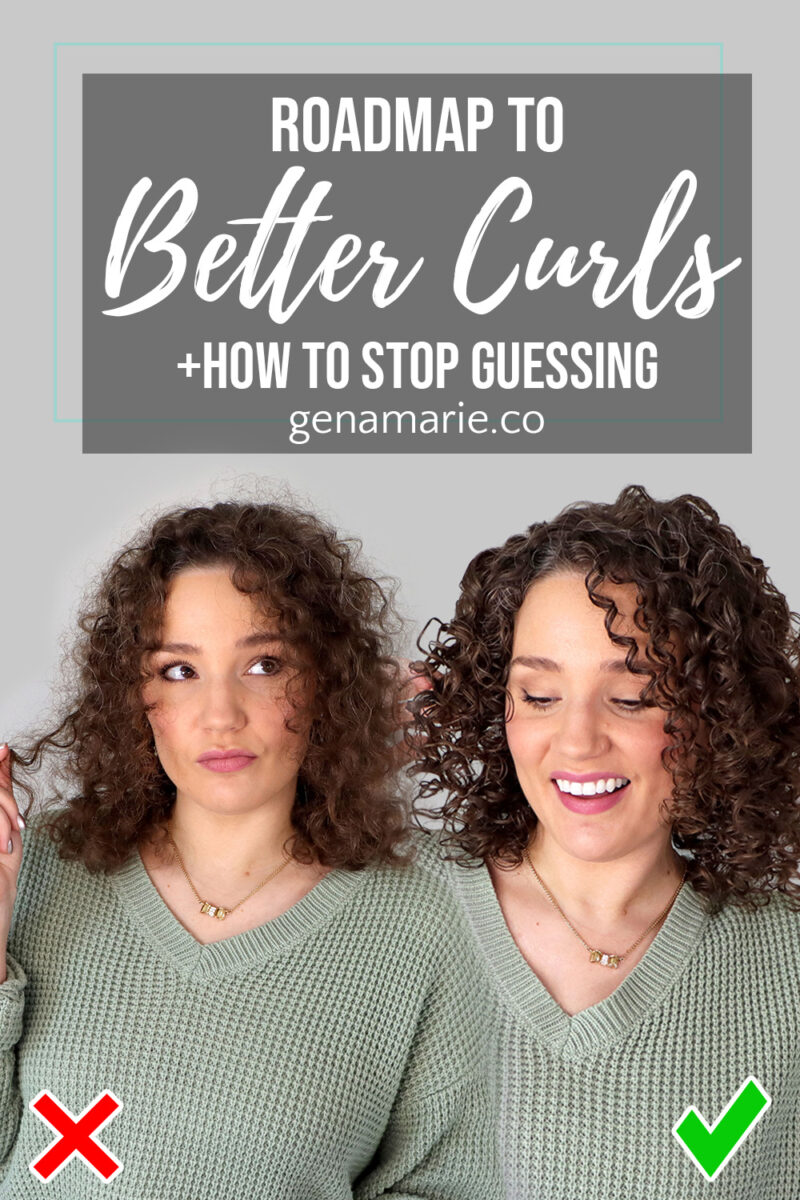
It’s 2026 — and we’re done with inconsistent curls, results we hate, and constant frustration. If you’re tired of never knowing how your hair is

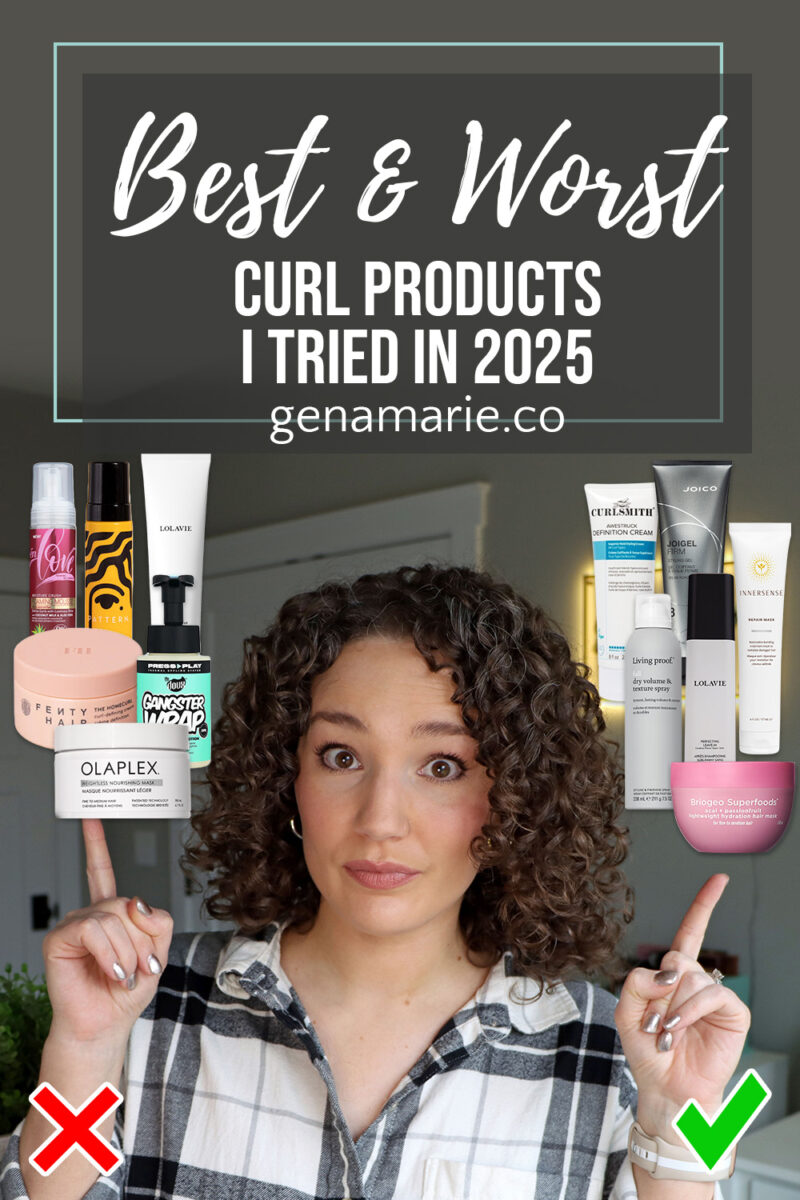
In 2025, I tested a large number of curly hair products across real wash days, different routines, and different styling approaches. Some of those products