


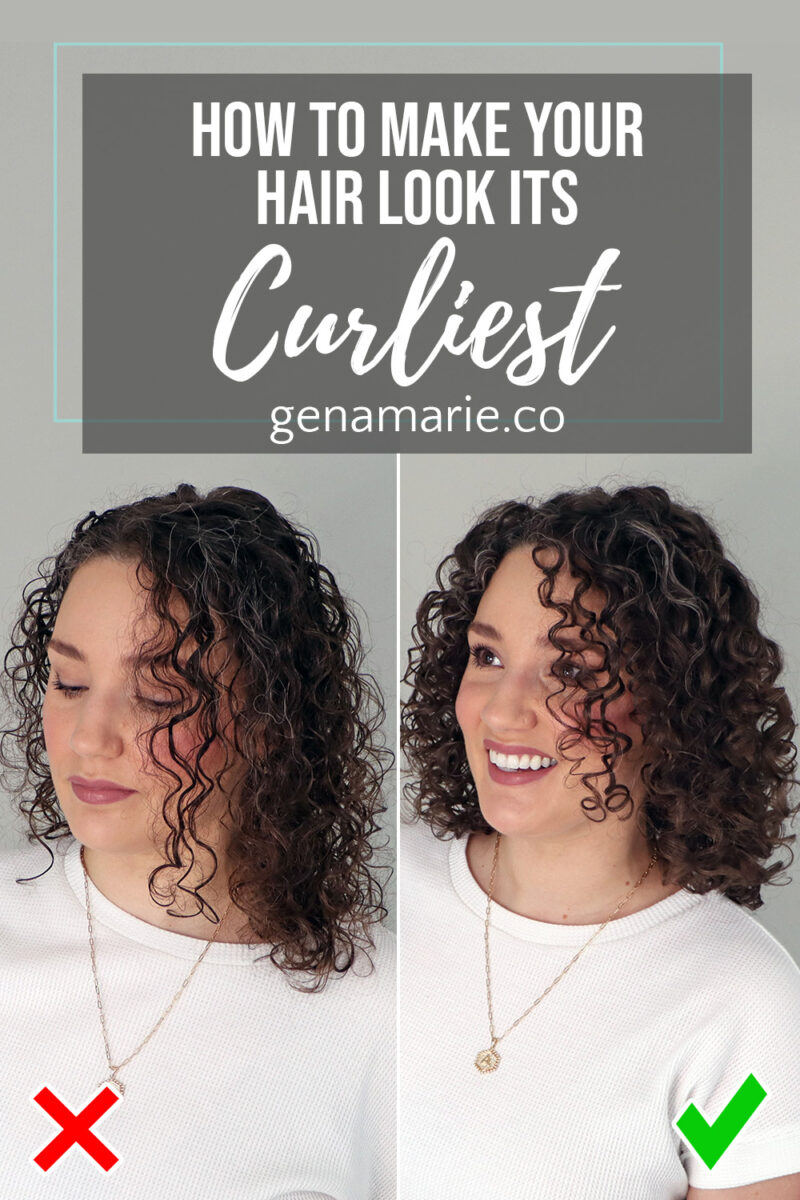
How to Make Your Hair Look Its Curliest (Without Forcing It)
If your curls aren’t curling up the way you want and you’re starting to feel frustrated or ready to give up, it’s probably not your
Do you use a brush when styling AND struggle to get enough volume? If so, you could be brush styling away your volume!
Today I’m testing to see how my results differ if I skip brush styling altogether. But since I know my curls need some help to look their best, I’m still going to be putting effort into styling my curls, I’m just not going to use a brush.
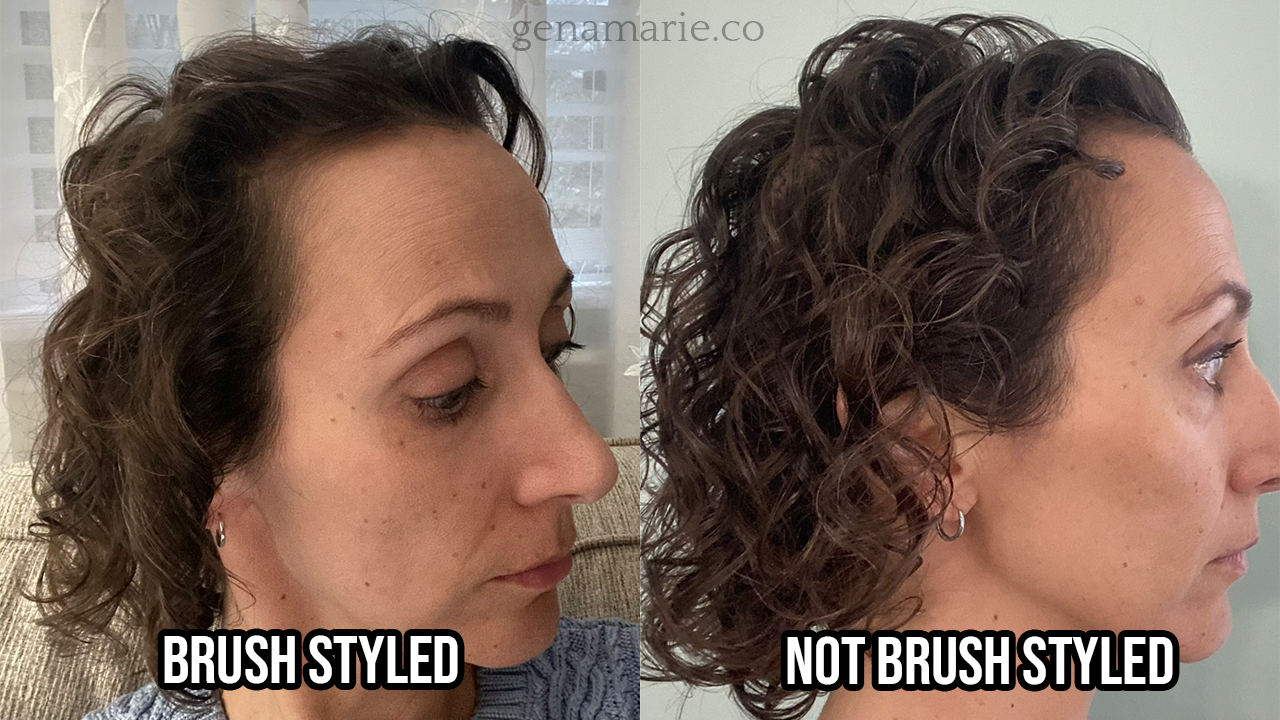
If you’ve been watching me for a while, you know how much of a fan of brush-styling I am. But something I’ve learned from working with so many very-low-density clients is that brush styling isn’t for everyone.
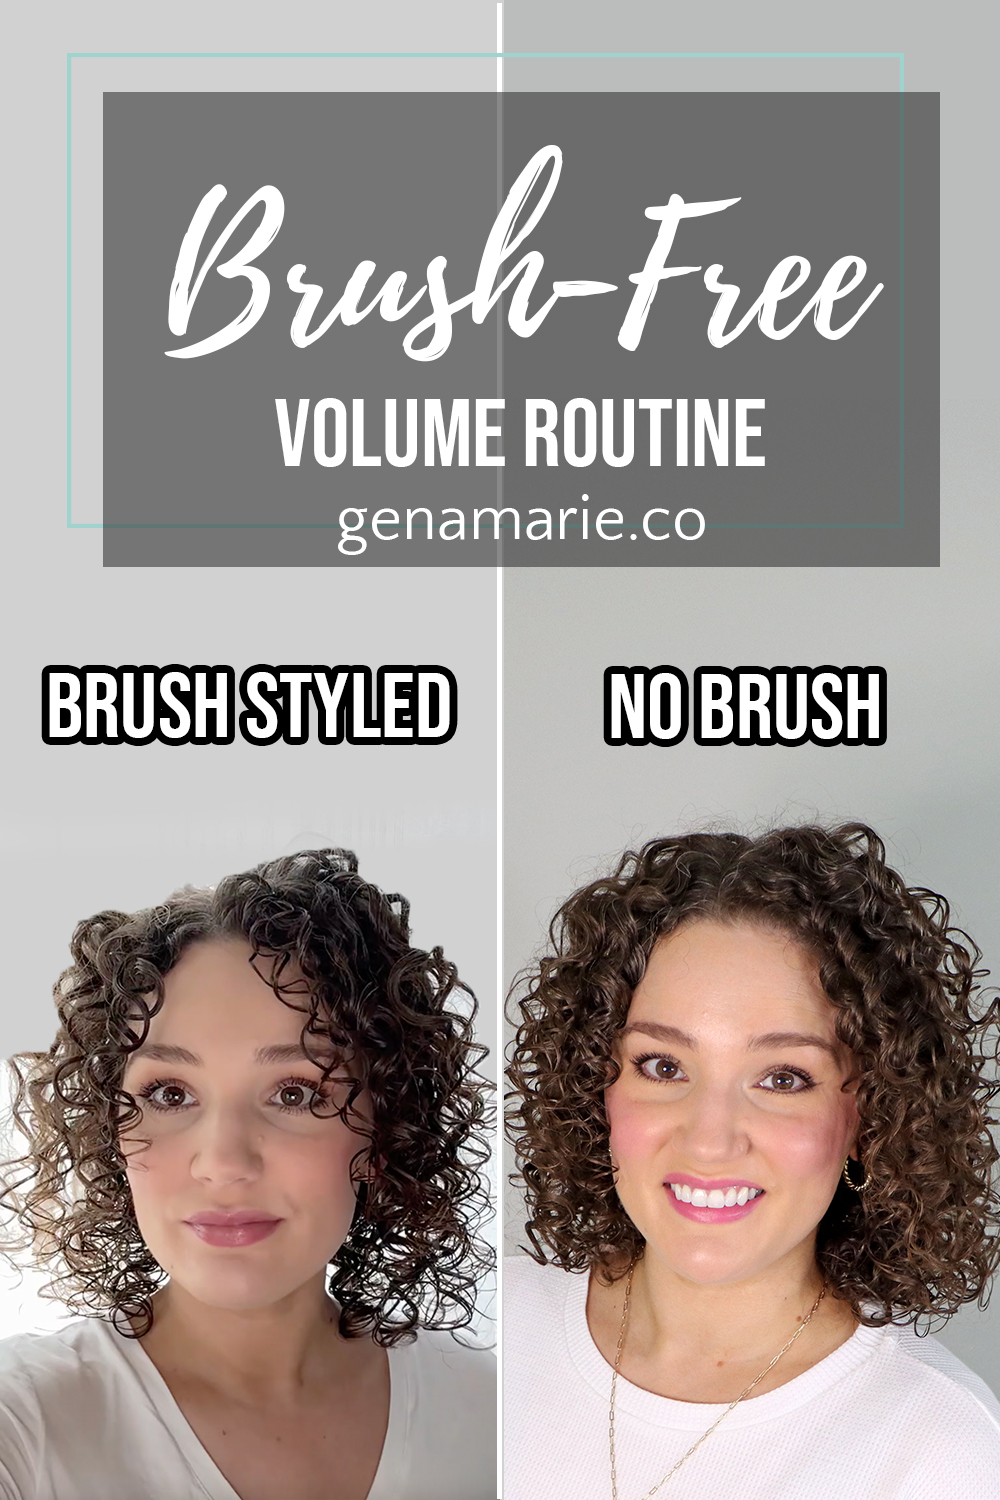
Many of my group coaching clients have been trialing NOT using a brush to style. They, and I, have been shocked at how much volume they get when they skip brush styling. So let’s get started with a no-brush routine!
Prior to filming, I washed and conditioned with the Innersense products below.
Lift hair off the scalp before adding water—don’t start with it stuck down. Avoid soaking the hair—too much water = too much weight.
Section the hair strategically so you can style intentionally without a brush. To do this, you’ll want to create small sections to make sure your styling product gets applied throughout. If you’re short on time, even doing 2-3 sections will help you get product applied evenly and your hair will last much longer.
Since the goal is still volume, you’ll want to choose minimal, lightweight products—a moisturizing gel is enough.
If your hair doesn’t need extra softness, skip leave-ins or creams and opt for a styler with some grit.
Apply product evenly, section by section, working with your fingers.
Smooth and rake with tension—press fingers together to create clumps. Tension is the key to get the most bounce/shrinkage from your waves/curls. You can also use praying hands to clump the hair.
I always check when I finish a section to makes sure my clump size is good. If it’s too clumped, you won’t have much fullness if your hair is low density.
Intentionally create your part for volume. Lift sections up and out as you rake, especially on the crown.
Avoid long or deep parts—short front part only, or zig-zag for fullness. Take horizontal sections on top to build lift. Finger coil right from the root to boost volume if your curls start there.
Once styling is complete:
Skip air drying, which results in flat roots – diffusing is where the volume happens! Use prongs to lift and hold the roots away from the scalp. Diffuse leaning fully to the side or upside down—not half-tilting.
Be intentional when diffusing, you don’t want to move it around haphazardly. But you also need to be sure not to stay in any one section or position too long with your diffuser. You want to make sure your hair dries evenly for the most consistent look.
Don’t leave your hair stuck to your scalp! Scrunch out the crunch—don’t skip this step unless you’re styling at night and going to bed.
Fluff at the roots. Get your fingers in there. You can even go in and gently break up any larger curl clumps. Use a light mist of hairspray to hold volume and texture.
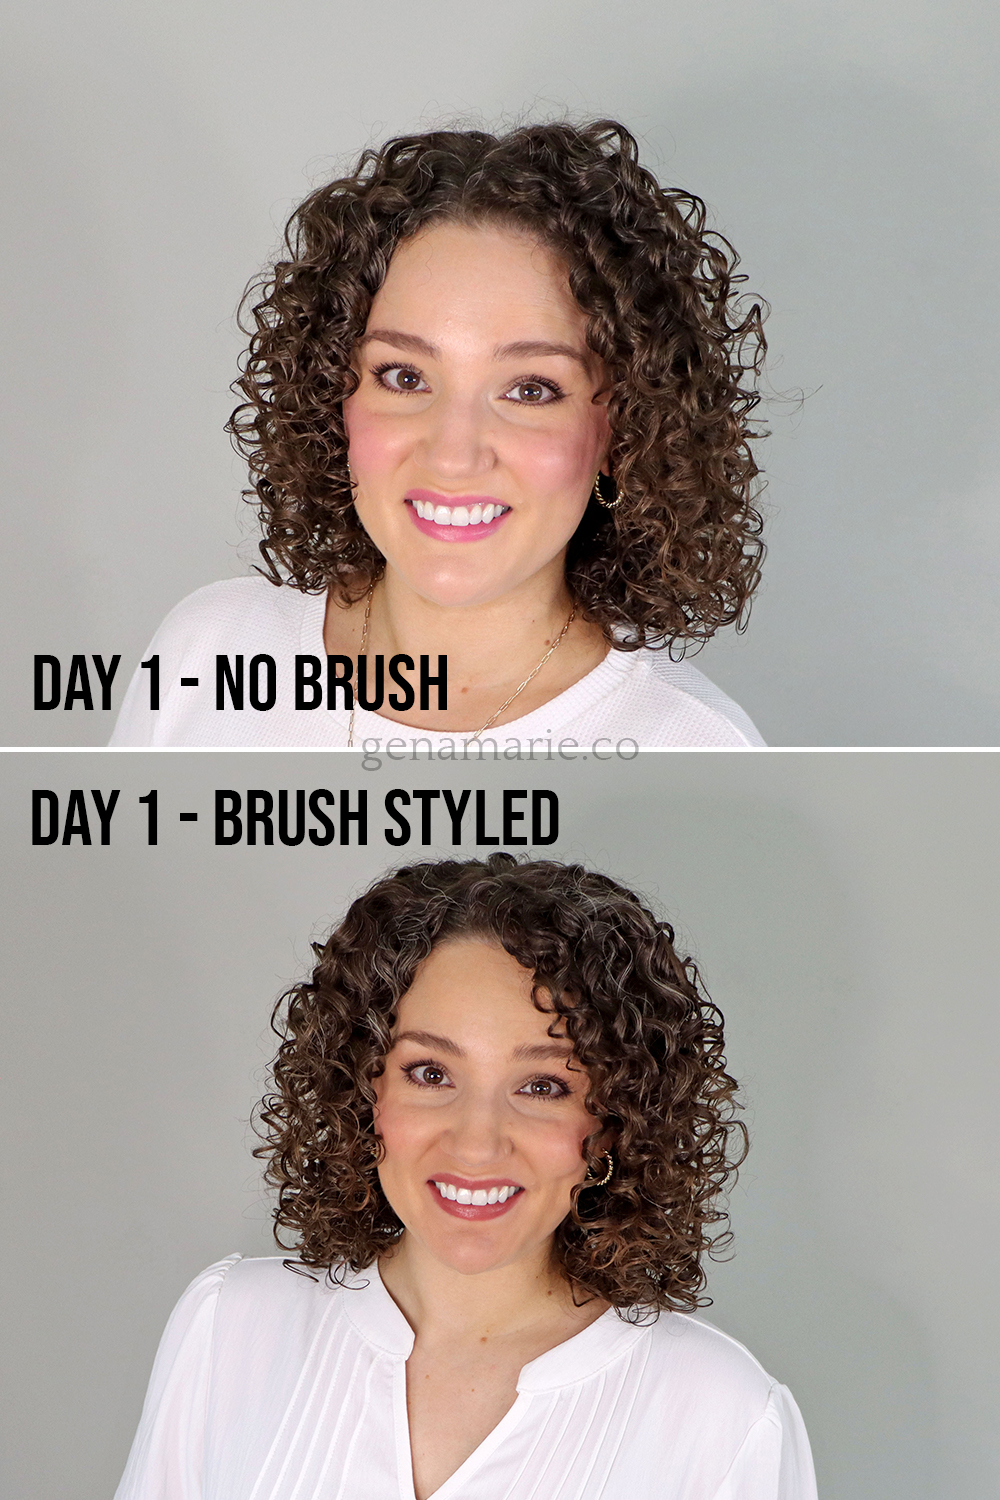
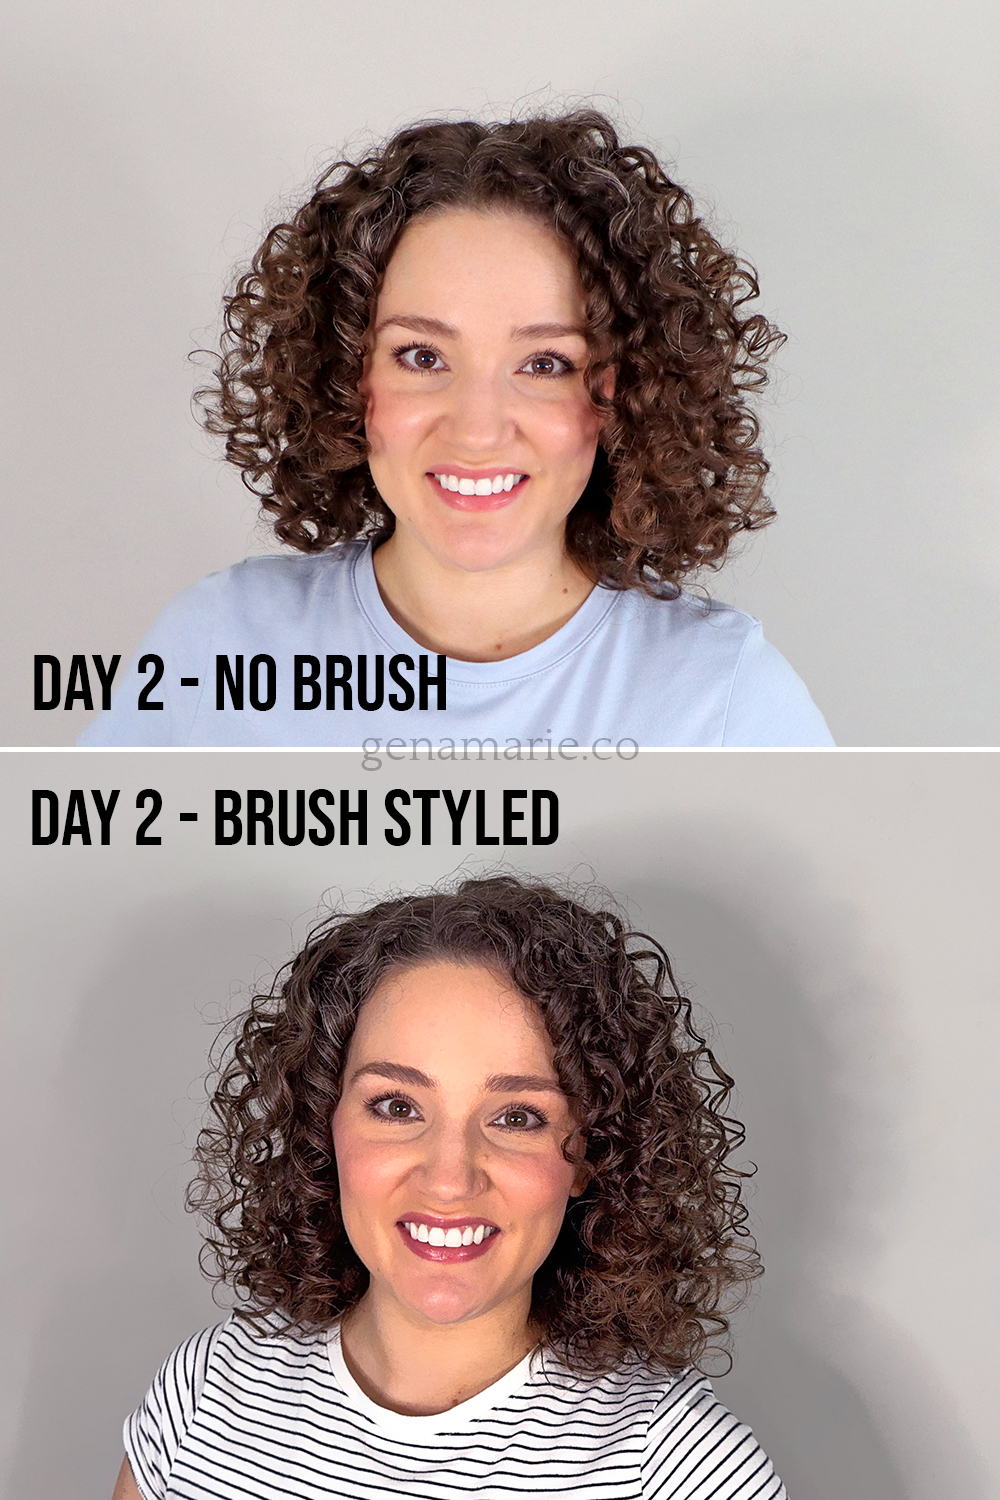
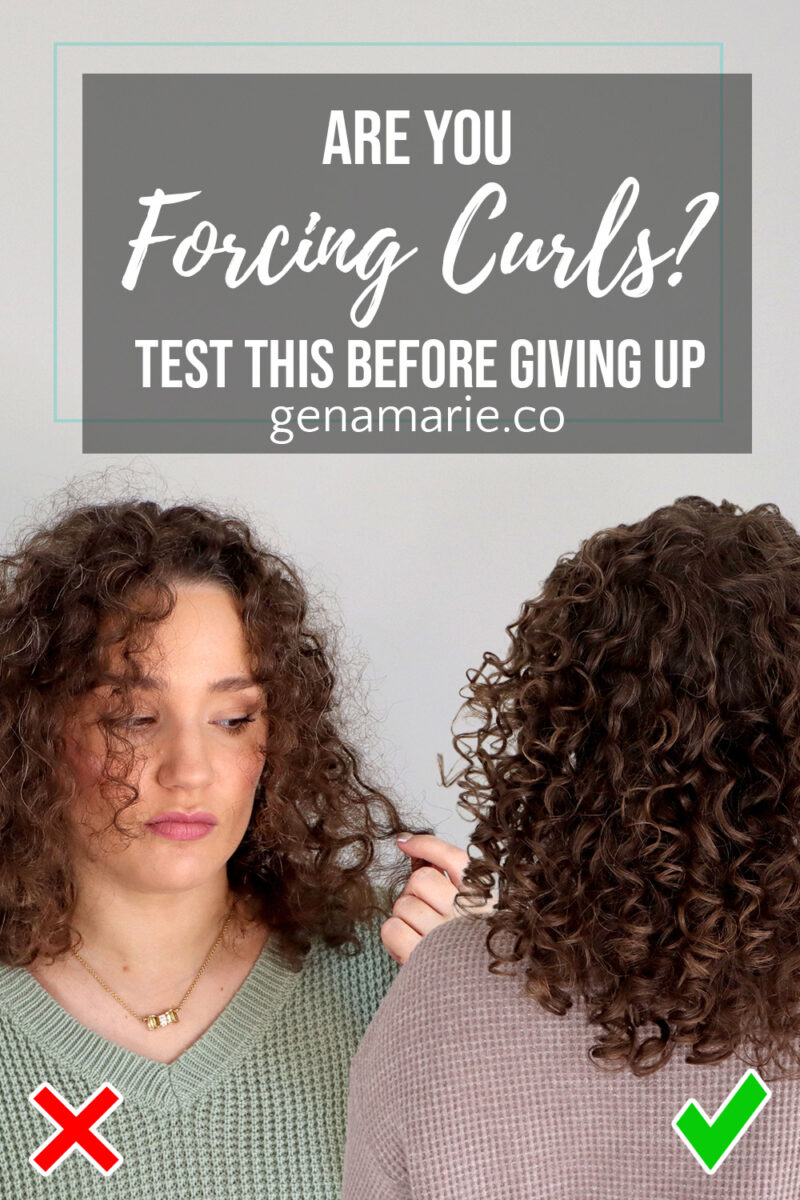
As you can tell, there isn’t much difference in my hair between styling with my hands and using a brush. This just goes to show that you can still clump and define curls, smooth frizz, and enhance volume using only your hands.
In terms of time, I think using a brush is a bit quicker because you can smooth out frizz in just one swipe. With your hands, you really have to work through the tiny tangles, crossed-over hairs, and wet frizz in sections.
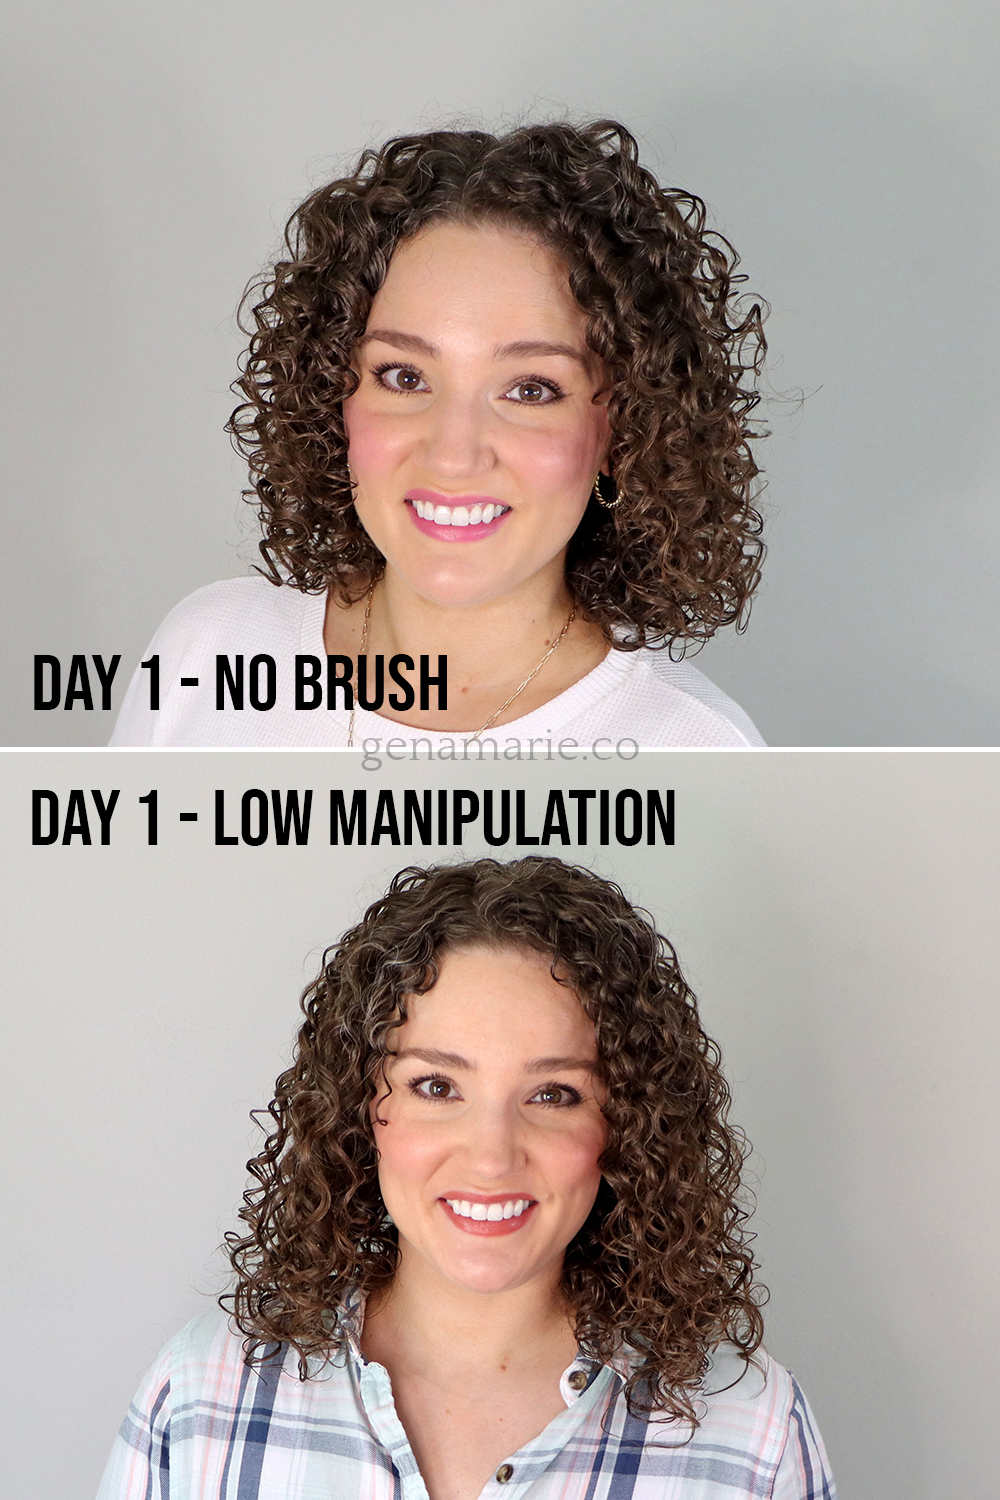
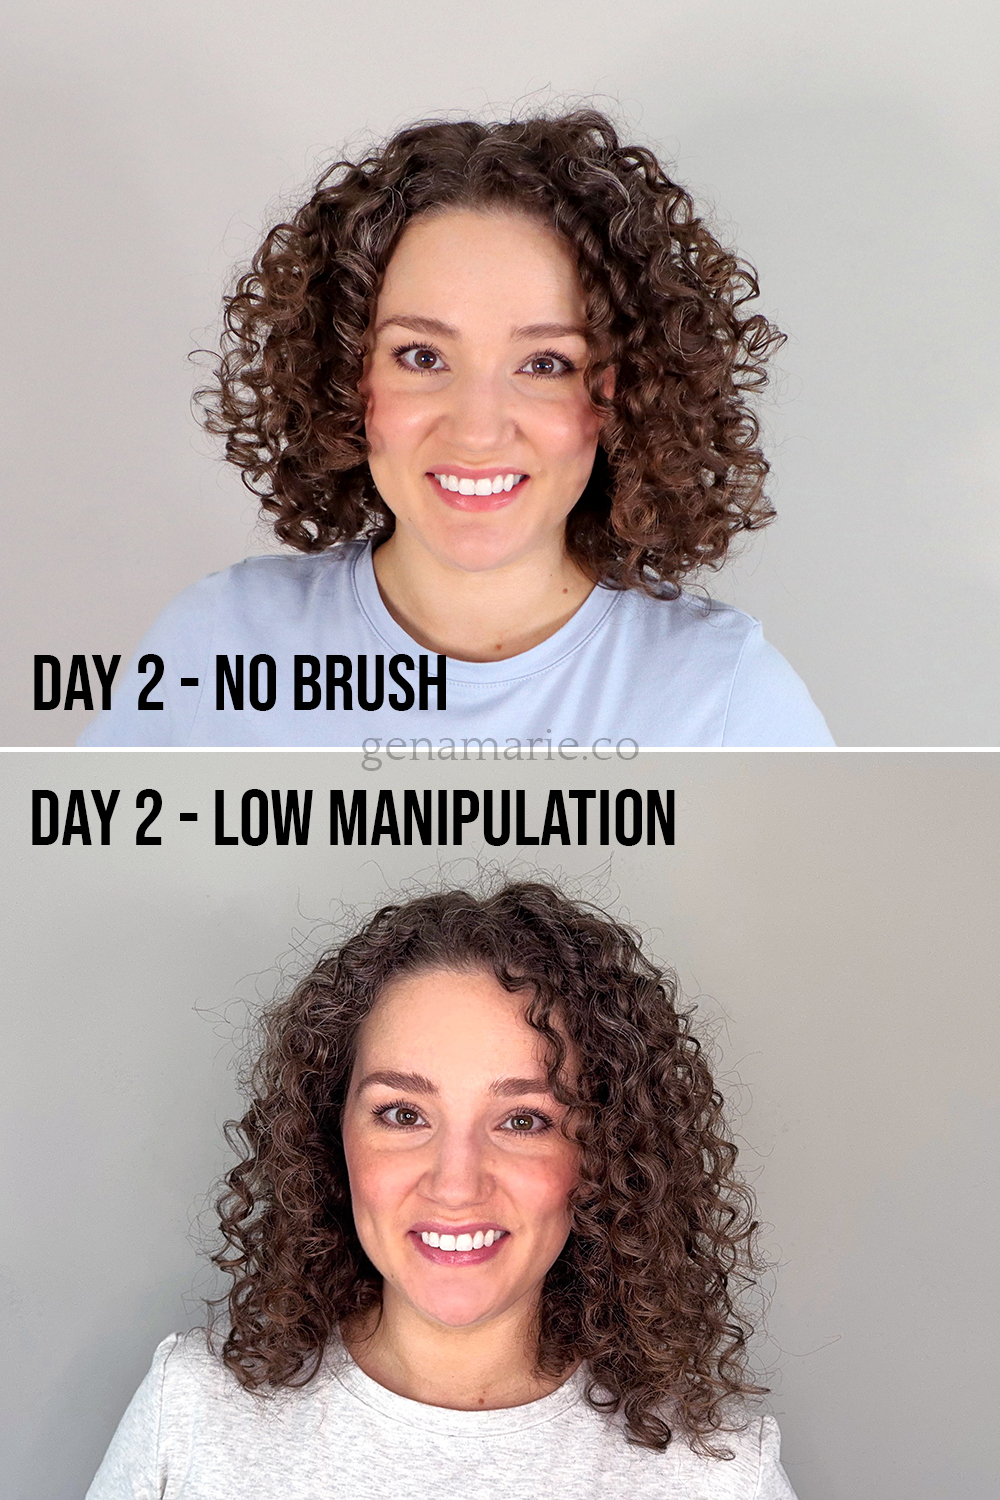
I also wanted to compare this brush-free styling routine to the results from my low-manipulation routine. In that routine, I only raked in my products with my hands and didn’t use any curl-enhancing techniques like finger coiling or scrunch diffusing. I only hover diffused, which is why my curls are more elongated and my shape is less round.
There’s a clear difference here, especially on day 2. When I don’t use curl-enhancing styling or diffusing techniques, my hair is noticeably frizzier—mainly due to all the short baby hairs and root frizz. This is typically what I smooth out with a brush and finger coiling.
In the brush-free routine, my day 2 results still looked great, and those problem areas around my temples stayed tamed—thanks to the finger coiling. My curls are still very clumped on day 2, which is why they look a little see-through. This is common in healthy curls that naturally group together. All I’d need to do is gently separate them with dry hands to get more volume.
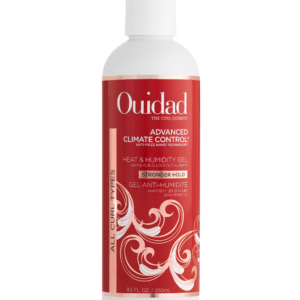
The Ouidad gel softens up beautifully while still holding definition into day 2. I can usually skip refreshing entirely, and by day 3 or 4, I just touch up with a little water. If you’re not able to get to day 2 without a major refresh, email or DM me about joining my membership. I’ll help you cut down on time and effort by working backward from your refresh days.
You don’t necessarily need a brush for great curls—and it’s not worth the time if the payoff isn’t there. That means some trial and error with different techniques until you find what works best for your hair.
If you need more help figuring out what fits your lifestyle and curl pattern, I’d love to have you join the summer session of my group curl coaching program.
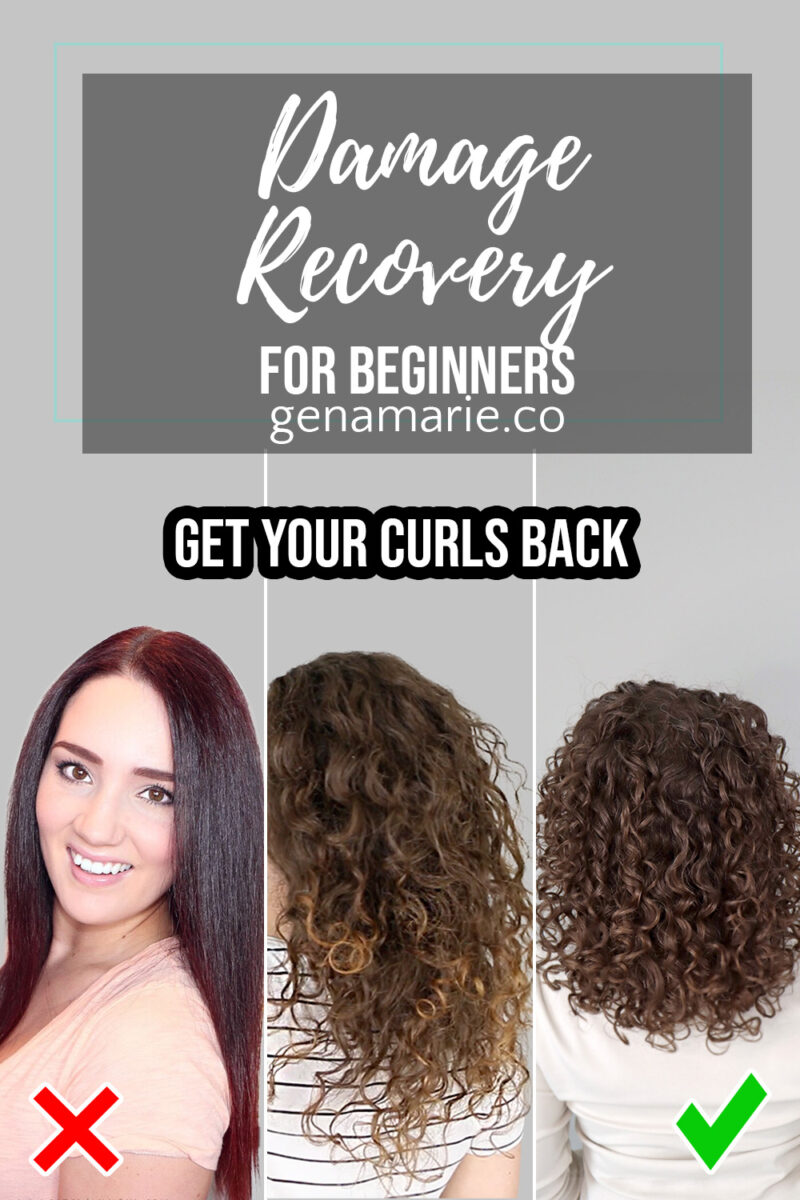
We do guided styling, diffusing, and refreshing sessions together. Just look at the photo at the beginning of this post to see a client’s before and after after making the tweaks I suggested.

If your curls aren’t curling up the way you want and you’re starting to feel frustrated or ready to give up, it’s probably not your
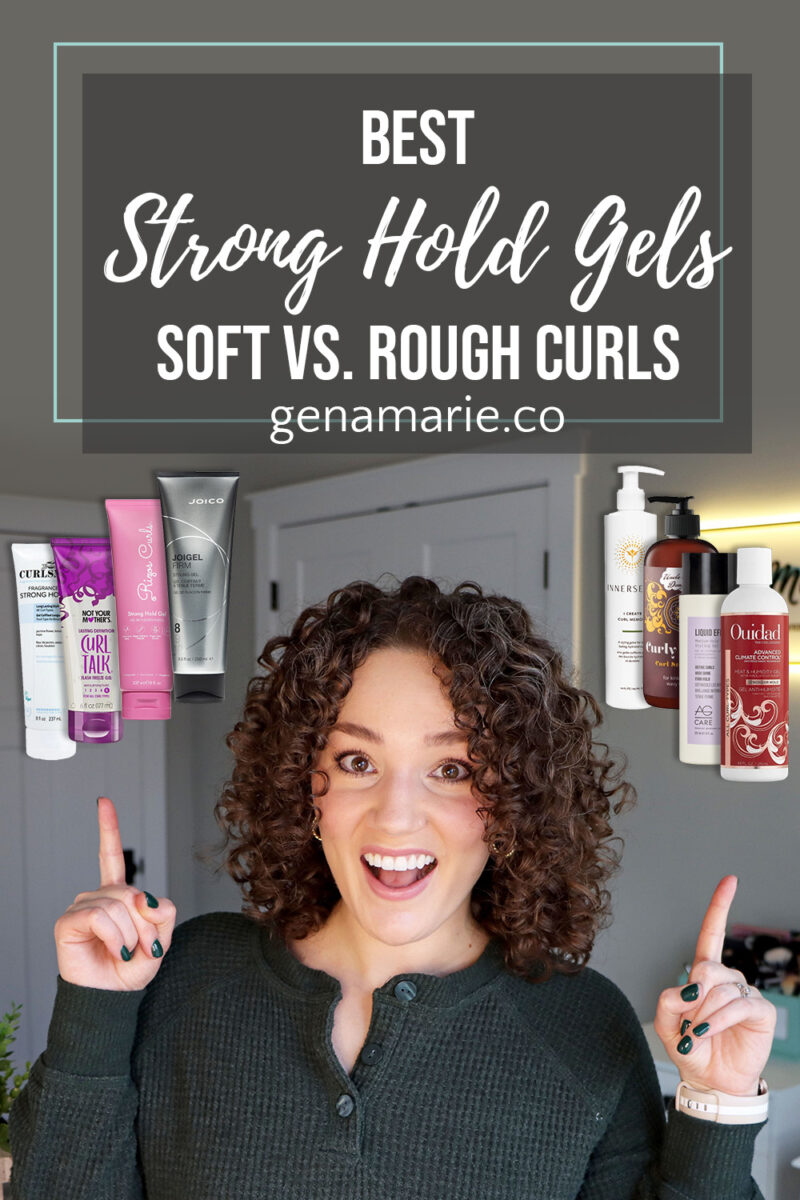
If you’ve tried “strong hold” gels but your curls still don’t last, you’re not alone. Strong hold isn’t one-size-fits-all. Some gels are higher in texture
Feeling discouraged, frustrated, or unsure whether wearing your naturally curly or wavy hair is even worth it? If you’ve been following this Beginner Curl Series,
If you’re trying to wear your hair curly and you feel like you’re doing everything right but your hair still doesn’t look how you want,
Notifications