


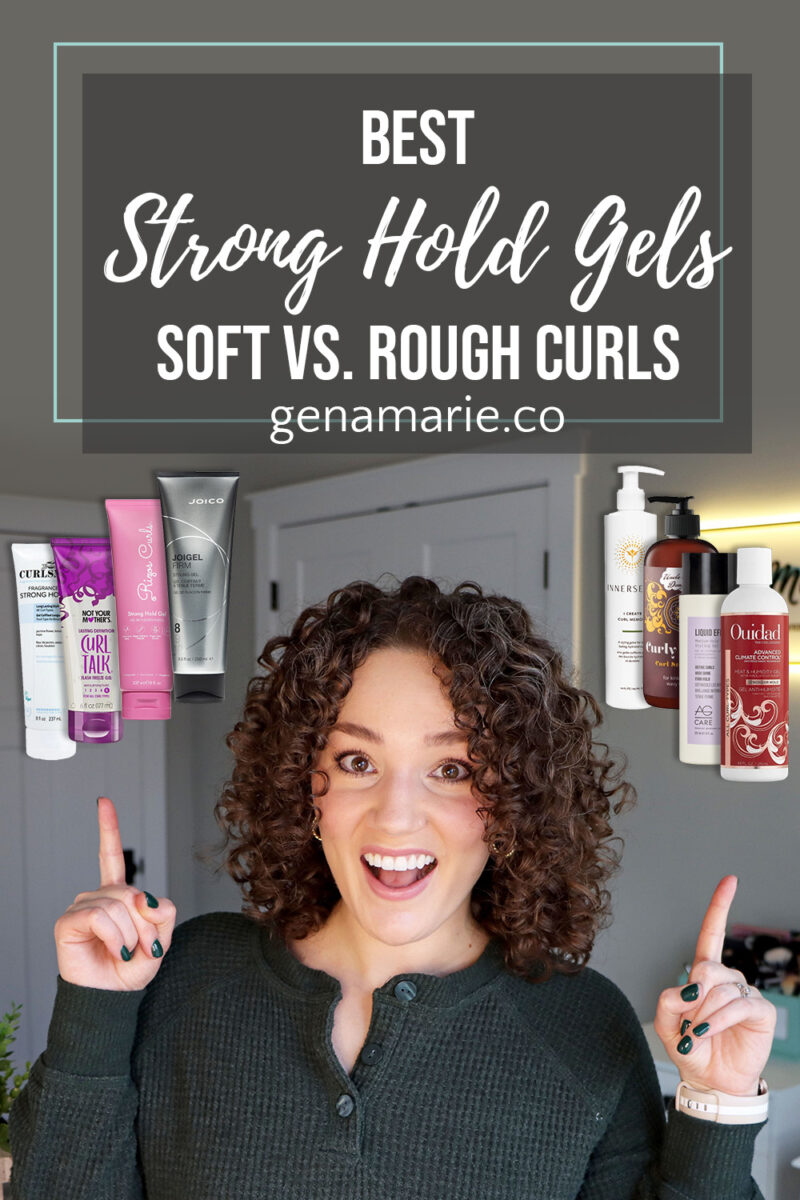
Best Strong Hold Gels for Curly Hair | Soft vs. Rough Finish
If you’ve tried “strong hold” gels but your curls still don’t last, you’re not alone. Strong hold isn’t one-size-fits-all. Some gels are higher in texture
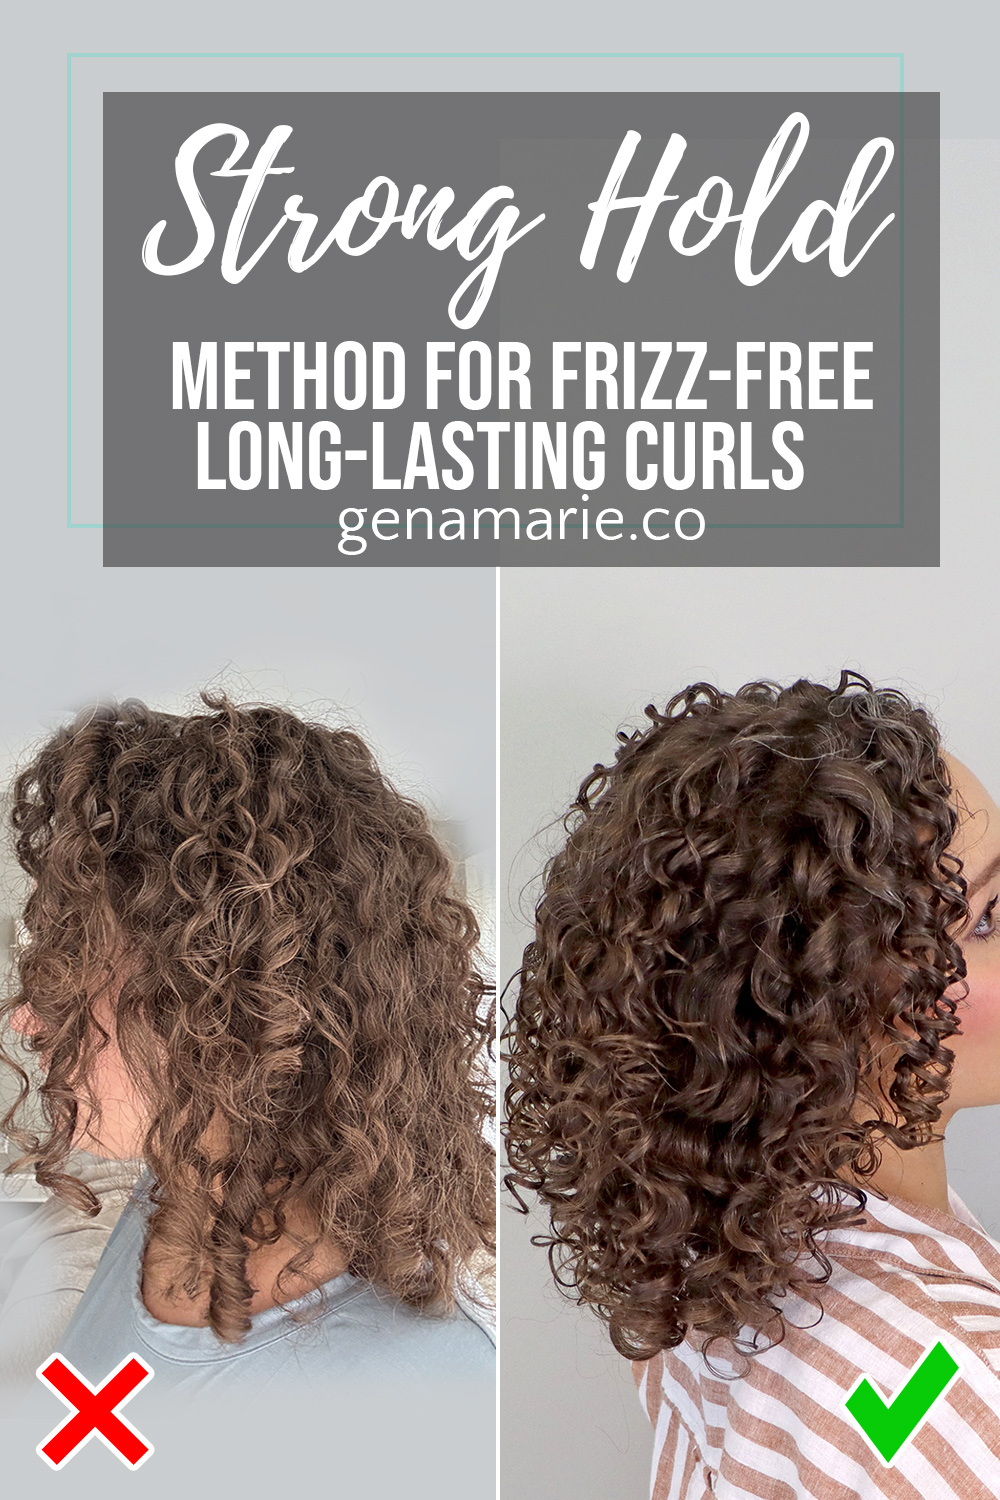
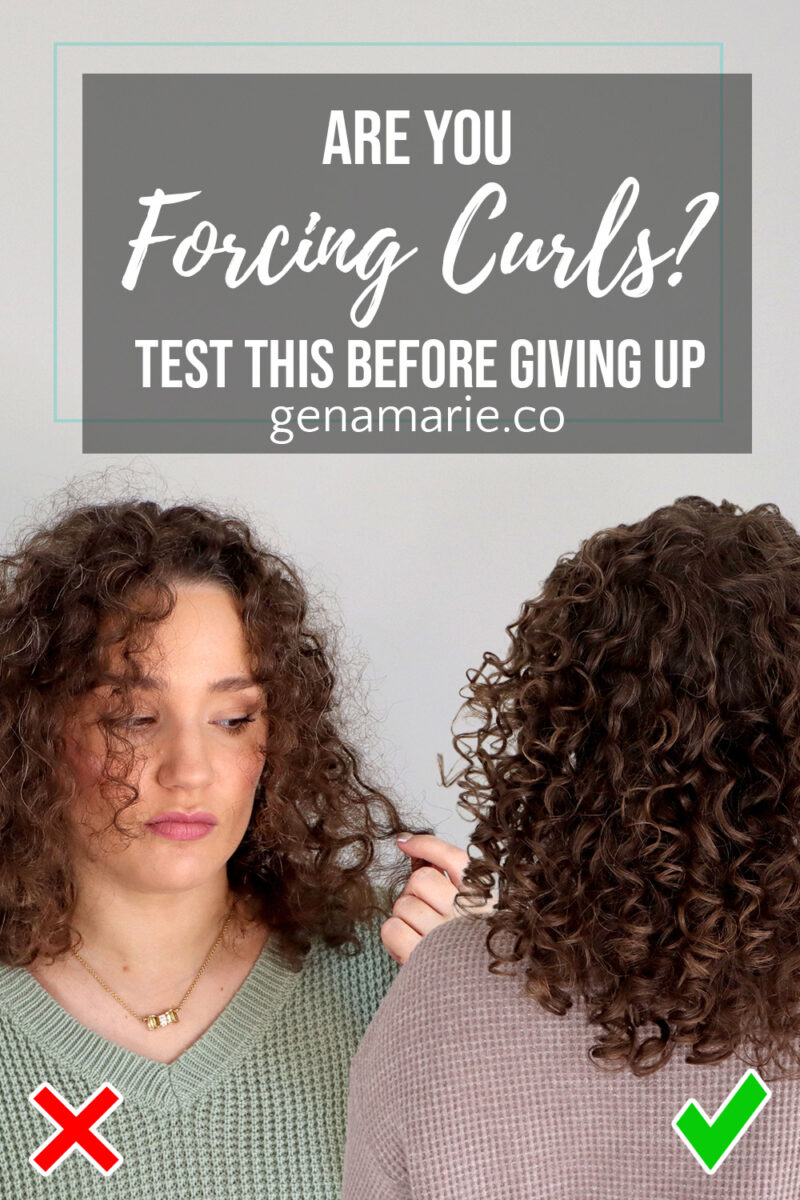
If your waves and curls frizz quickly, fall flat before the day is over, or you struggle to get a cast, your gel might not be the problem – it could be how you’re using it. Today, I’ll show you my best tips and tricks for how to get the most hold and longevity out of your gel.
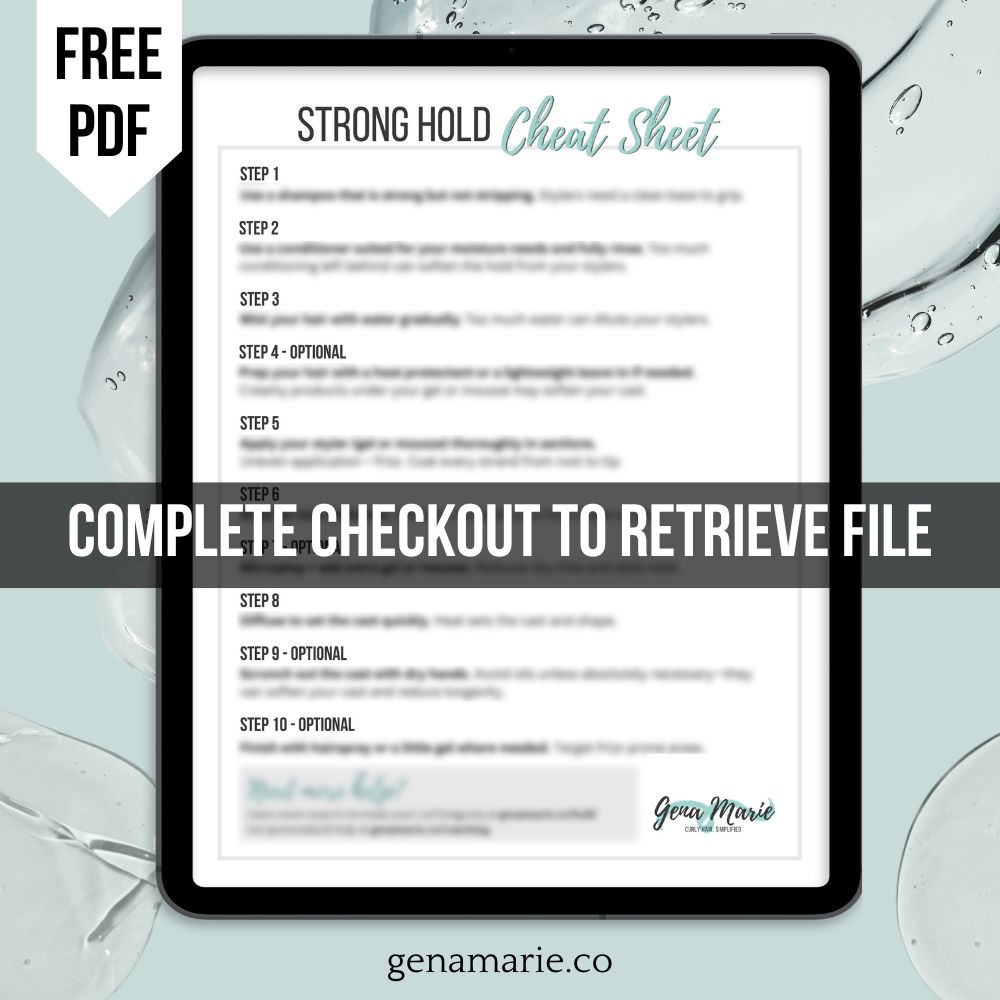
Download the free Strong Hold Cheat Sheet for a shortened guide to keep on hand with you during wash day.
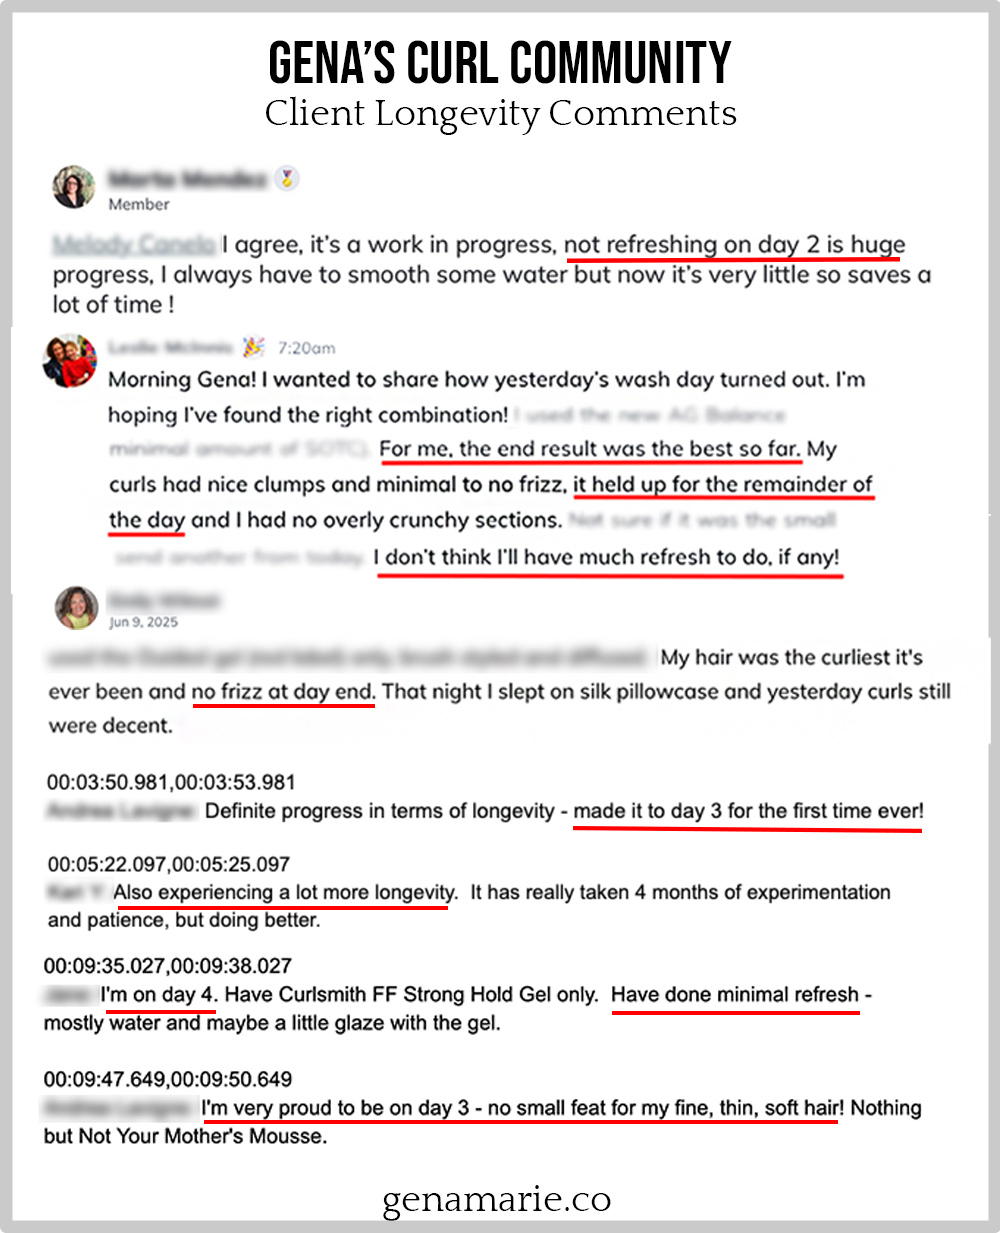
I’m also a curl coach, and I’ve tested these methods not just on myself, but with the clients in my group coaching membership. So many of them are now getting longer-lasting results—and saving a ton of time and frustration in the process. Just take a look at what some of them have said recently about their longevity now!
Did you know everything you do before your gel or mousse impacts the hold you get out of your routine? And that includes your shampoo/conditioner! You don’t need to spend a ton of money on shampoo and conditioner. I always tell my clients that investing in a good gel is most important. If you’re using a shampoo that is too rich in moisture and not cleansing enough, your curls may get weighed down and not last.
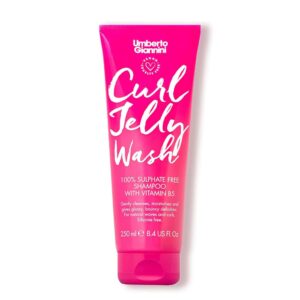
Today I used the Umberto Giannini Curl Jelly Shampoo & Conditioner.
Look for a shampoo that is low in oils and butters on the ingredients list. Shampoos that are clear or slightly opaque, not creamy, tend to be strong enough and provide a good lather. Avoid co-washes and mild cleansers that don’t lather because they will likely leave behind conditioning ingredients on your hair’s cuticle.
For the deepest clean, opt for a clarifying shampoo. It’s important to use this at least once a month (or more if your hair is prone to build-up). And if you have hard water, you will want to work a chelating shampoo into your wash days.
You can shampoo twice to really ensure a good clean base for your stylers.
Next you want to condition your hair. Today I used the Umberto Giannini Curl Jelly Conditioner. Be sure to pick a conditioner with the right amount of moisture and conditioning for your hair.
Remember, though, the goal here is to not over-condition your hair which could prevent your gel from forming that cast. Avoid butters, oils, or deep conditioners if you really want your gel to last. If your hair has a soft finish, is low porosity, or fine, you likely don’t need much moisture and can use something very lightweight. For the lightest weight way to conditioner, use a leave-in spray in place of your conditioner. You can even rinse it out if you don’t need much moisture at all.
For rough and coarse hair types, you can use any conditioner or deep conditioner. I would still avoid ones that contain a lot of heavy oils and butters if you’re really trying to maximize hold.
Start at the ends, working your way up to the roots. Take this time to gently detangle any hairs that got matted while shampooing.
Regardless of your hair type, spend some time thoroughly rinsing it out. If you leave conditioner on your hair, it will impact your hold because your styler can’t stick as easily.
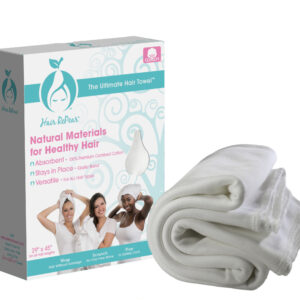
After getting out of the shower, I’m taking down my hair from my Hair RePear Towel and adding back in some water to make sure it’s evenly wet.
Applying gel on dripping wet hair is a major reason people struggle to get a gel cast. This is because water dilutes your gel, reducing its hold.
The reason I use a spray bottle is it allows me to customize the amount of water in my hair.
By wrapping my hair in my towel, that absorbed the excess water at my scalp and roots. There is no need for my roots to be soaked.
Then, I mist my hair until it’s evenly wet. It sometimes gets my shirt damp, but it’s not dripping all over it and soaking the floor.
Next, I add a heat protectant because I diffuse later. I like to spray it in my hands to apply it, then brush it through to make sure it’s evenly distributed.
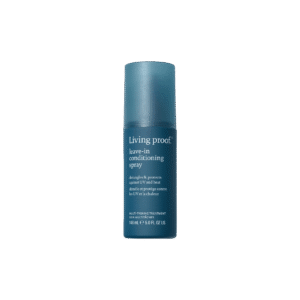
Today I used the new Living Proof Leave-In Conditioning Spray. This product is very lightweight because it’s a clear water spray. It provides both heat and UV protection.
Like I mentioned previously, be mindful of how much conditioning products you apply under your gel or mousse. Opt for something very light.
For most people, the next step would be to add a leave-in or curl cream. The heat protectant I used is a leave-in, but if your hair is dry or really needs that added conditioning, consider a creamy leave-in conditioner or a lightweight curl cream. Leave-ins generally provide more lightweight moisture and curl creams are a bit more moisturizing.
BUT, since the goal here is maximum hold from our gel, you can skip this step since these can soften the cast.
Probably the most critical step in this process is how you apply your gel. Choosing the right gel or mousse is also important because you need something that will provide adequate hold.
If you need to find a gel that withstands humidity, I recommend checking out my free Anti-Humidity checklist. Even if you don’t deal with humidity, I find that these properties tend to provide long-lasting results.
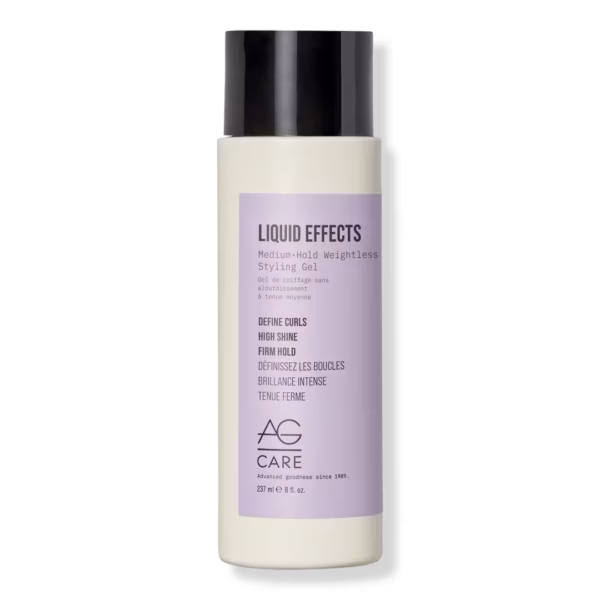
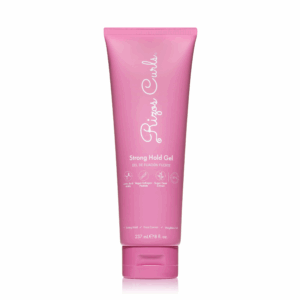
Today I used the AG Liquid Effects Medium Hold Weightless Styling Gel, however you can use these techniques with any gel to get more hold out of it.
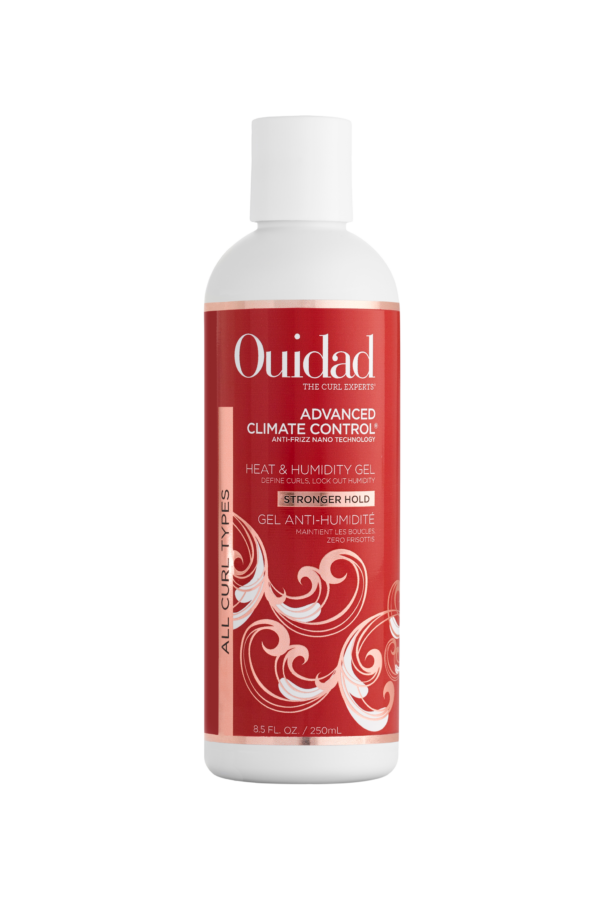
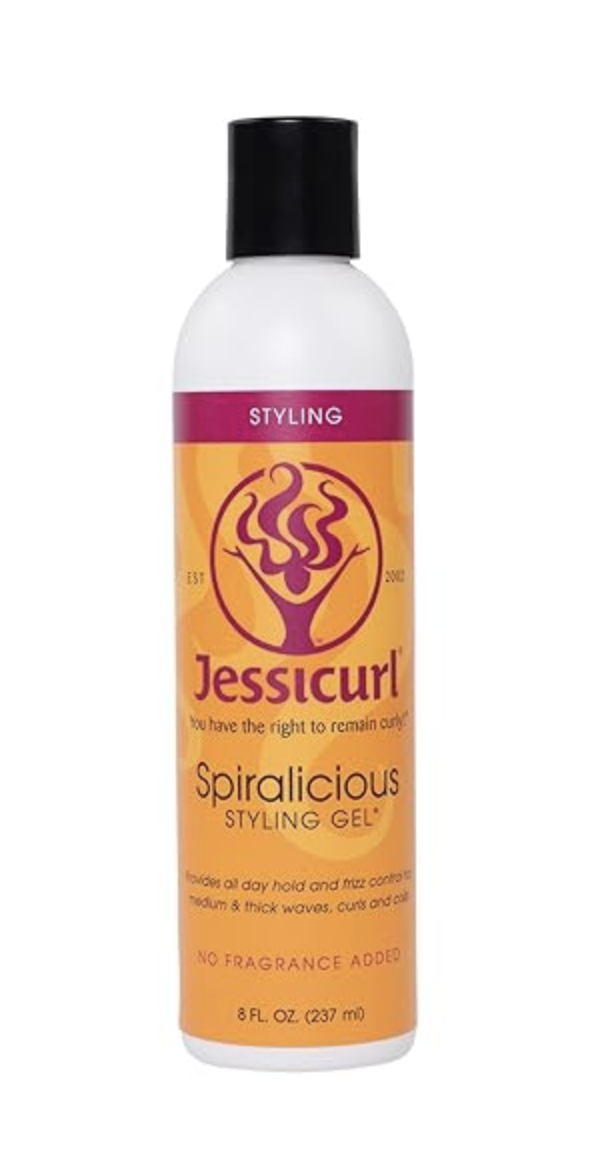
I went with this gel because it has buildable hold. I can get a strong but flexible hold with it. Many of you have told me that you’re unable to get a cast with this gel, and others that are similar, like the gels from Ouidad and Jessicurl. All of those types of gels are buildable hold, so it depends on how you use them and how you apply them.
A major cause of people not getting a cast is that they don’t use enough product. The optimal product amount is going to depend on your hair type and your density. In general, the more gel you apply, the more hold you’ll get.
To really get the most longevity from your wash day, you will want to apply your gel in sections and coat your hair from root to tip. This does take some time, but I find the payoff is well worth it. Having that even application of gel helps my hair hold up, especially in the summer humidity.
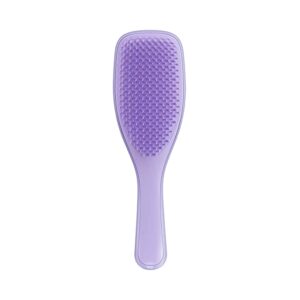
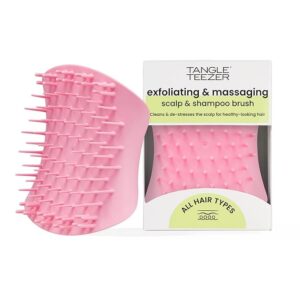
An easy way to make sure your products are evenly applied is to use a brush, such as the Tangle Teezer.
I recently did a routine here where I did not section my hair, and you wouldn’t believe how much more frizz and undefined curls I had, especially on day 2.
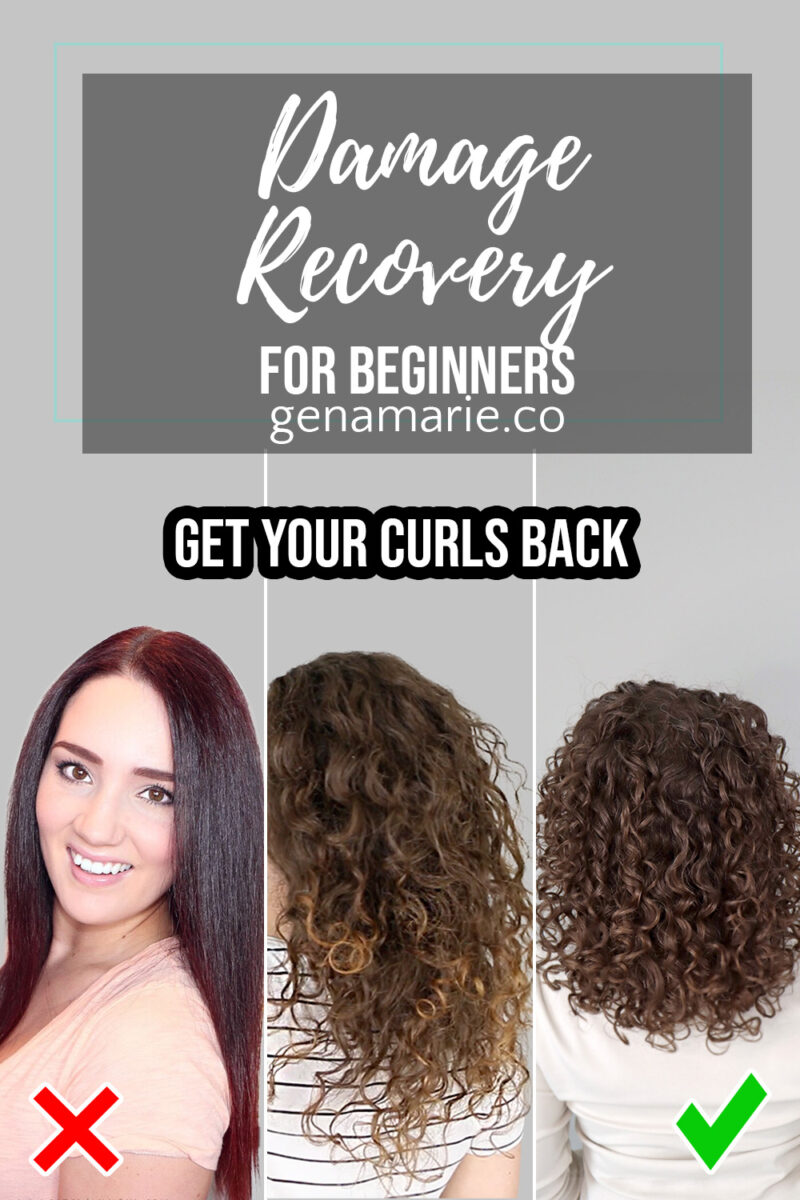
The next critical step is choosing styling techniques that enhance and define your curls. The more clumped and defined your curls are, the more they will hold their shape and keep frizz tucked away. This is especially helpful if you have damaged hair or struggle with a lot of root frizz from re-growth.
I find the quickest way to do this is with brush styling. Today I’m using my Tangle Teezer brush.
First, I give a few passes of the brush to smooth down any frizz. Then, I place the brush under the hair and apply some light pressure. That tension is what is going to define the curls and allow them to bounce to their fullest potential.
You don’t have to spend a ton of time styling every single curl. Instead, just focus on your problem areas or the top section that shows.
My top section is frizzier and more problematic, so I style that a bit more precisely, incorporating brush styling and finger coiling, especially on my face framing pieces. I also take some time to style my crown section to help give my low density hair some volume.
If you don’t want to use a brush, you can use your hands to create tension by doing the praying hands technique or just finger coiling.
Finger coiling is especially great for defining areas where you have a lot of root frizz or short baby hairs. Here’s an example of a routine where I did not brush style or finger coil. Take a look at how my hair looks on day 2 to see the difference!
In my opinion, even if your hair does get frizzy or lose hold, such as in humidity, if your curls are still holding their shape and clumped, then it looks fine! The frizz can help create fullness. It’s when the curls completely lose their shape, are undefined, and it’s frizzy is when it’s harder to embrace the frizz.
If your hair takes forever to dry or you find that you can never get a gel cast, try this step. Take your hair towel, using an area that is still damp, and gently scrunch from the bottom up. Be careful not to rough up the curls too much.
This absorbs the excess water to significantly cut down on dry time. Doing this does remove some of the product though so you can add some extra gel by glazing it in and gently scrunching. This extra coat increases the hold and tames stubborn frizz because the hair is drier when you apply the gel. Adding this extra layer of gel is really my secret-weapon step. I find doing this makes all the difference!
If my hair is not that wet and I already feel like it’s starting to dry, I will skip microplopping and go straight to diffusing.
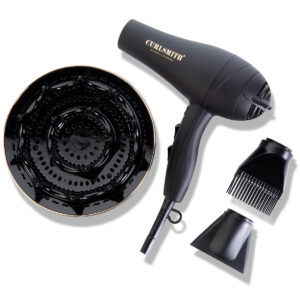
Diffusing is important if you’re someone who struggles with your curls falling or frizzing up quickly. Diffusing sets the gel cast and freezes the curl shape in whichever position it’s in while drying.
This is why I like to gather the hair in the diffuser and press it up towards my scalp. Then, I use the prongs to lift the roots to create volume. Diffusing helps my curls to dry more defined and last longer, so I always diffuse.
If you’re dealing with humidity, you’ll definitely want to diffuse. Avoid going out in humidity and air drying because the moisture in the hair will just cause frizz. If you don’t have the time to fully diffuse, just diffuse for a few minutes to set your cast, then finish air drying. Don’t over-diffuse or frizz can form.
TIP: If you see frizz forming while you’re diffusing, you can stop and add some extra gel, mousse, or hairspray then continue diffusing. This gives a lot of extra hold because the hair is now starting to dry.
Once your hair is dry, you can leave the cast in if you want it to last longer, or scrunch out the cast for a softer look. With dry hands, reach underneath and shake out the roots. Gently scrunch the lengths until it softens up.
If your hair is coarse or you live in a dry climate, you can use an oil when breaking the cast. I would avoid this if possible, though, because adding oil on top of your gel prevents it from lasting as long. I have also found that when I go to refresh, I struggle to get my hold back with the oil in the way.
Remember: conditioning ingredients and oils soften hold.
This bonus step is for those of you who STILL didn’t get a cast, or maybe you have really stubborn frizz or flyways. Finish off your routine with a hairspray or a little gel. The hairspray option is going to give you that texturized feeling, which will help very soft hair and give you volume.
Today I went with the Living Proof Flex Hairspray because it provides flexible hold and just a little bit of texture without feeling too sticky and texturizing.
If you don’t like that feeling or just want to target certain frizzy areas, try adding a little gel mixed with water to your palms and smoothing them down. Because the hair is fully dry, this is really going to give you a cast.
This is similar to the method that some people like to do, where they stop in the middle of diffusing and add hairspray or extra gel. You can try that too but I prefer to do it at the end so I can see my results and if I really need it.
For a summarized version of this method that you can print out and keep on hand, download the free PDF below.
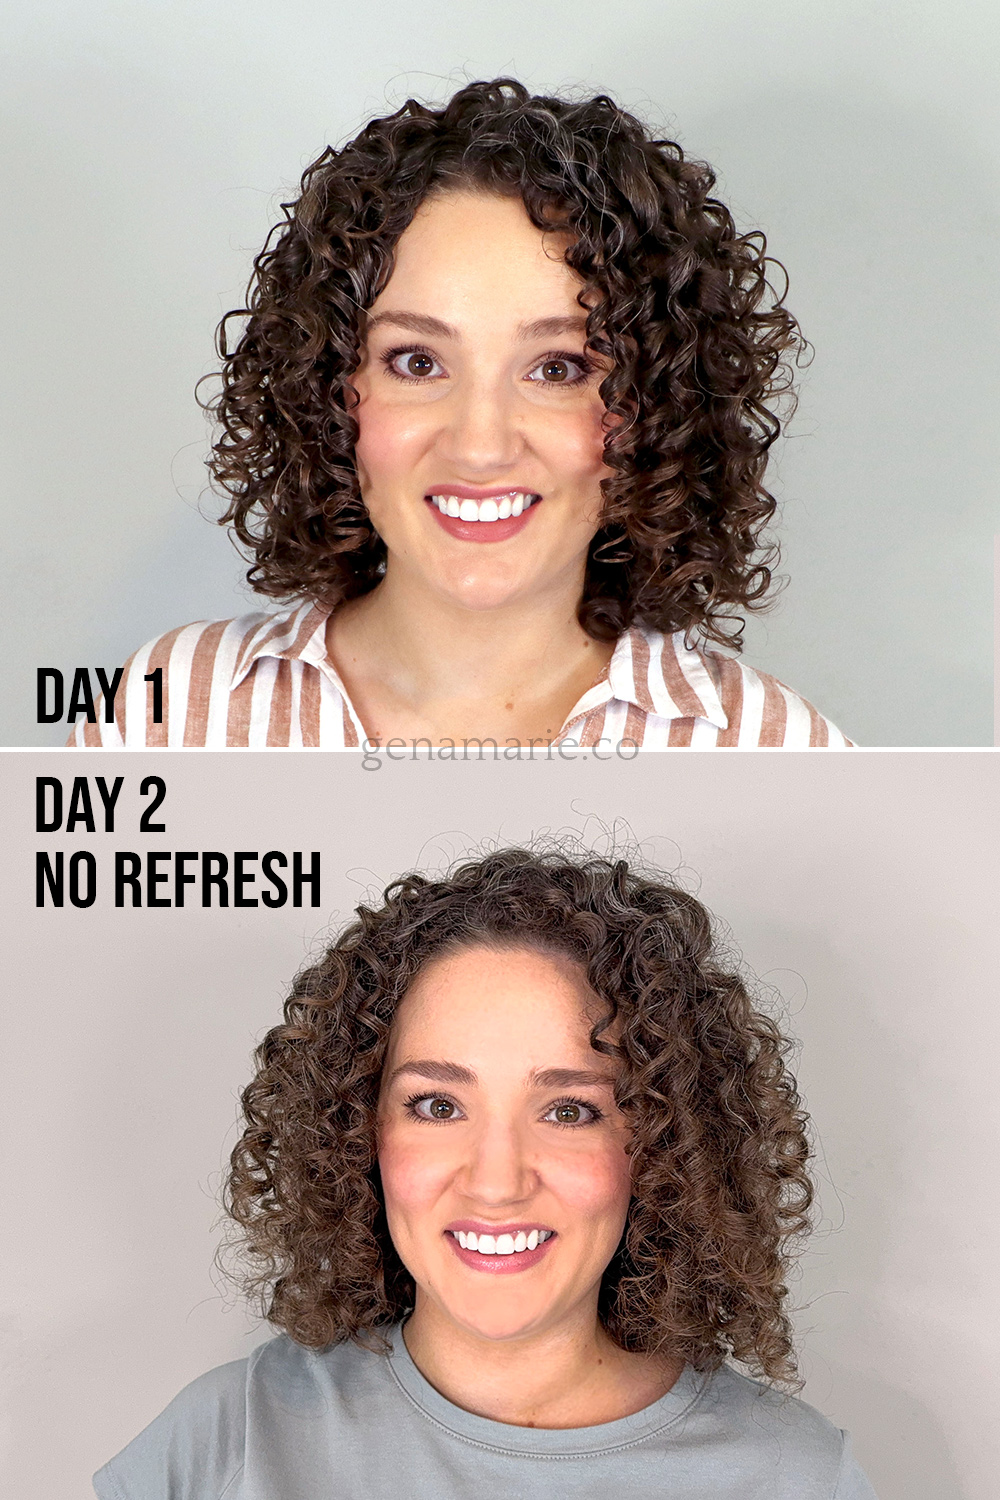
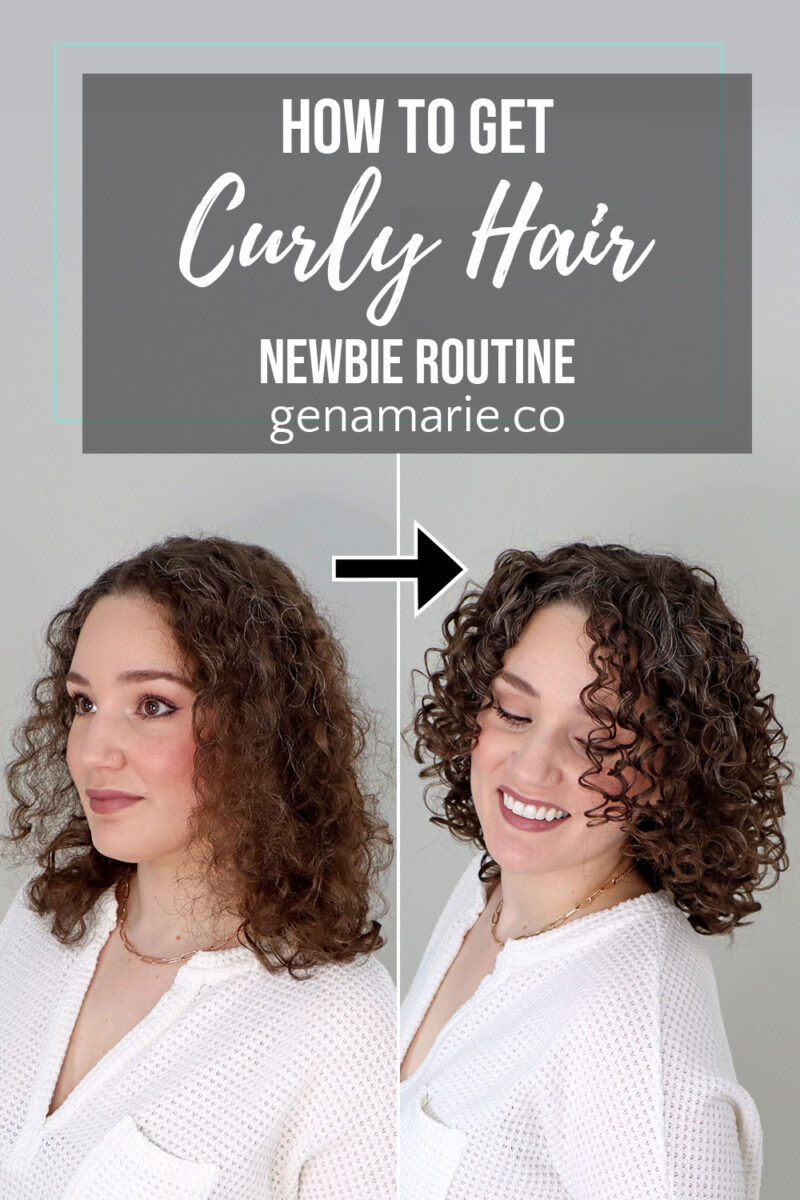
As you can see, my curls are defined with very little frizz. I also maintained volume and adequate moisture in my hair.
By the next day, my curls softened up and looked even fuller and more “lived in,” which I love. This is without any refreshing! I do have some natural frizz from the humidity and the nature of my higher-porosity areas, but overall, the curls are still clumped and defined. I often do some touch-ups and light refreshing by day 3-4, which is normal.
Getting long-lasting hold takes more than just choosing the “strongest” gel. It’s about starting with a clean slate, using smart application and styling techniques, AND using a strong hold gel. With the right approach, you’ll get the consistent results you want – even in humidity or between wash days.
It’s important to note that curly hair will never be completely frizz-free. Additionally, the amount of hold that you get is going to depend on your hair type. I might get a cast from one gel applied the exact same way as you and you may not get a cast. However, many of my clients and viewers have found success with these methods.
Don’t forget to download the free Strong Hold Cheat Sheet to have a step-by-step guide on hand during your wash day routines.
If you’ve tried everything and you still can’t seem to get curls that last through the end of the day, then I’d love to audit your routine. This is something offered in my group coaching membership, which opens for enrollment the first week of September. Get on the waitlist now to be the first to access the early bird discount!

If you’ve tried “strong hold” gels but your curls still don’t last, you’re not alone. Strong hold isn’t one-size-fits-all. Some gels are higher in texture
Feeling discouraged, frustrated, or unsure whether wearing your naturally curly or wavy hair is even worth it? If you’ve been following this Beginner Curl Series,
If you’re trying to wear your hair curly and you feel like you’re doing everything right but your hair still doesn’t look how you want,
If you think you might have curly hair but don’t know where to start — or you tried before and your curls were frizzy and
Notifications