


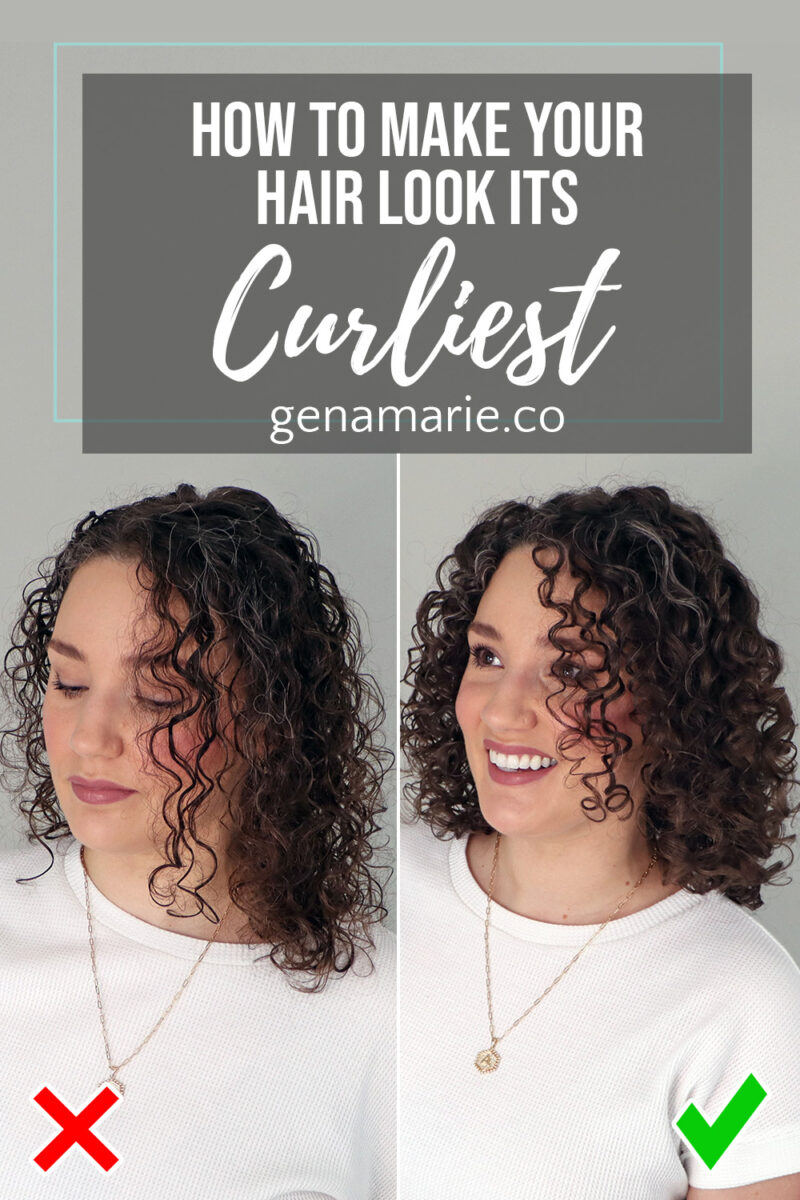
How to Make Your Hair Look Its Curliest (Without Forcing It)
If your curls aren’t curling up the way you want and you’re starting to feel frustrated or ready to give up, it’s probably not your
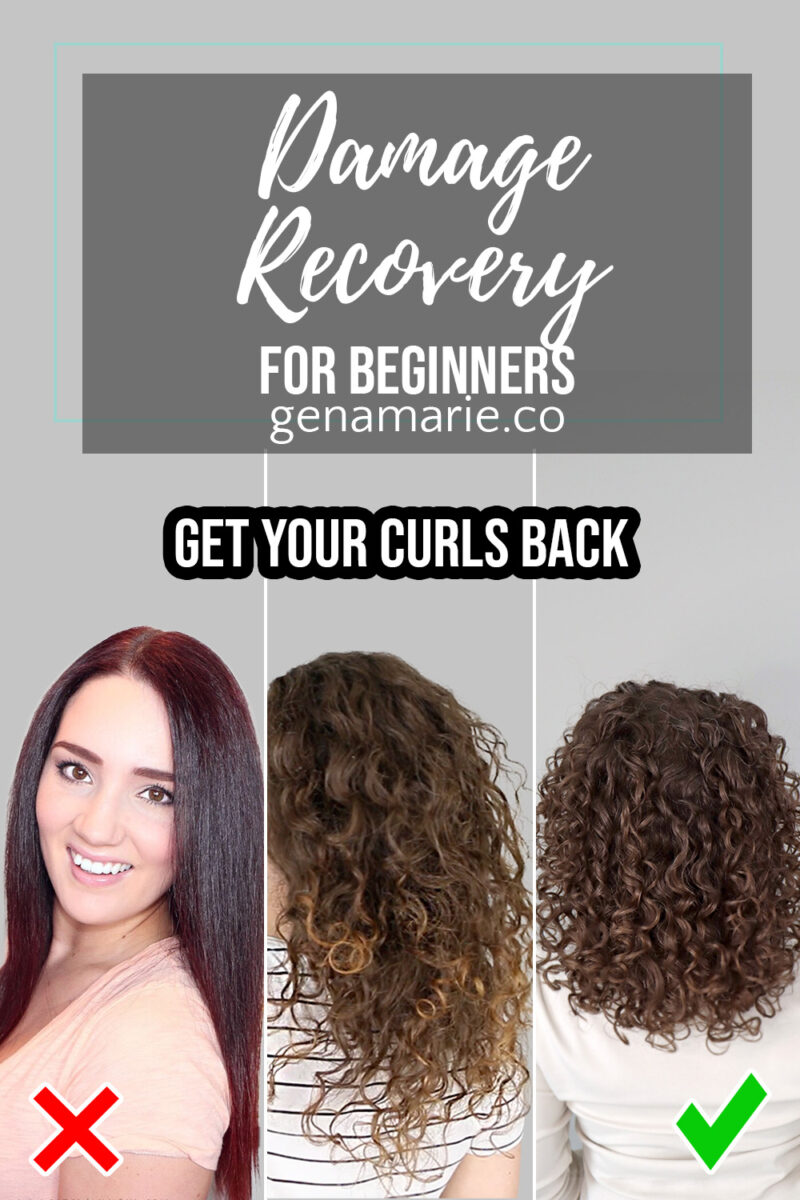
Frizz, flat roots, and curls that won’t last — finger coiling can fix all three and more. But is it really worth the time?
Today, I am sharing how to finger coil step-by-step for mega definition and frizz control, the common mistakes to avoid, and how to focus only on the areas that matter most so you’re not stuck coiling your entire head. I’ll also show you how much longer my curls last when I do this compared to when I don’t.
Many of my coaching members used to struggle with finger coiling, but once I walked them through this method, it finally clicked. This is the kind of hands on guidance I offer inside my Curl Coaching Program.
I consider simply spinning your finger around your hair to be finger coiling. This is not the same as similar techniques you may have seen before, such as finger rolling or wrapping your hair from the bottom up. Once you get the hang of it, anyone can do it. And once you get the hang of it, it really doesn’t add a lot of time to your routine.
Depending on your hair type and your hair’s needs, you can evaluate if it’s worth the time. If it is worth your time, I’ll share how to make it as quick as possible below.
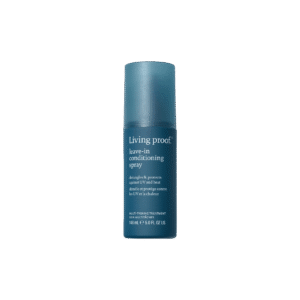
You’ll always want to start with freshly washed, conditioned, and detangled hair. First, I applied my Living Proof Leave-In and Heat Protectant spray and brushed it through. This is a very light watery spray, so it adds a touch of slip while protecting the hair.
Sectioning is optional, and you can apply your stylers and then wait and finger coil some pieces at the end. However, if you’re trying to achieve maximum definition, you’ll need an even application of gel. You may also find it easier to work in sections when finger coiling. I sectioned my hair like I normally do, so I can make sure my gel is applied evenly, and really hone in on the areas that need the finger coiling to be at their best to save time.
One of the keys to finger-coiling is making sure your hair has enough “slip” in it. What I mean by that is that your hair has that kind of seaweed-y and slippery feeling to it. If you can’t smoothly run your fingers down the hair, finger-coiling won’t work.
Slip can come from anything that is conditioning, such as a leave-in, curl cream, or a moisturizing gel. I usually recommend just using one product, such as a moisturizing gel to keep it simple and maximize hold.
If you’re using a gel that doesn’t have any slip, consider finger coiling your hair before you apply your gel, either your bare hair or with a little leave-in, then scrunch in your gel. You may need to add more water too for slip when using thick gels.
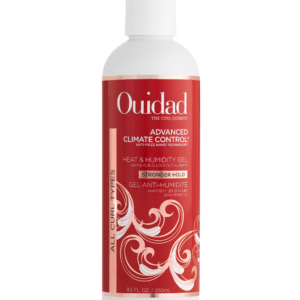
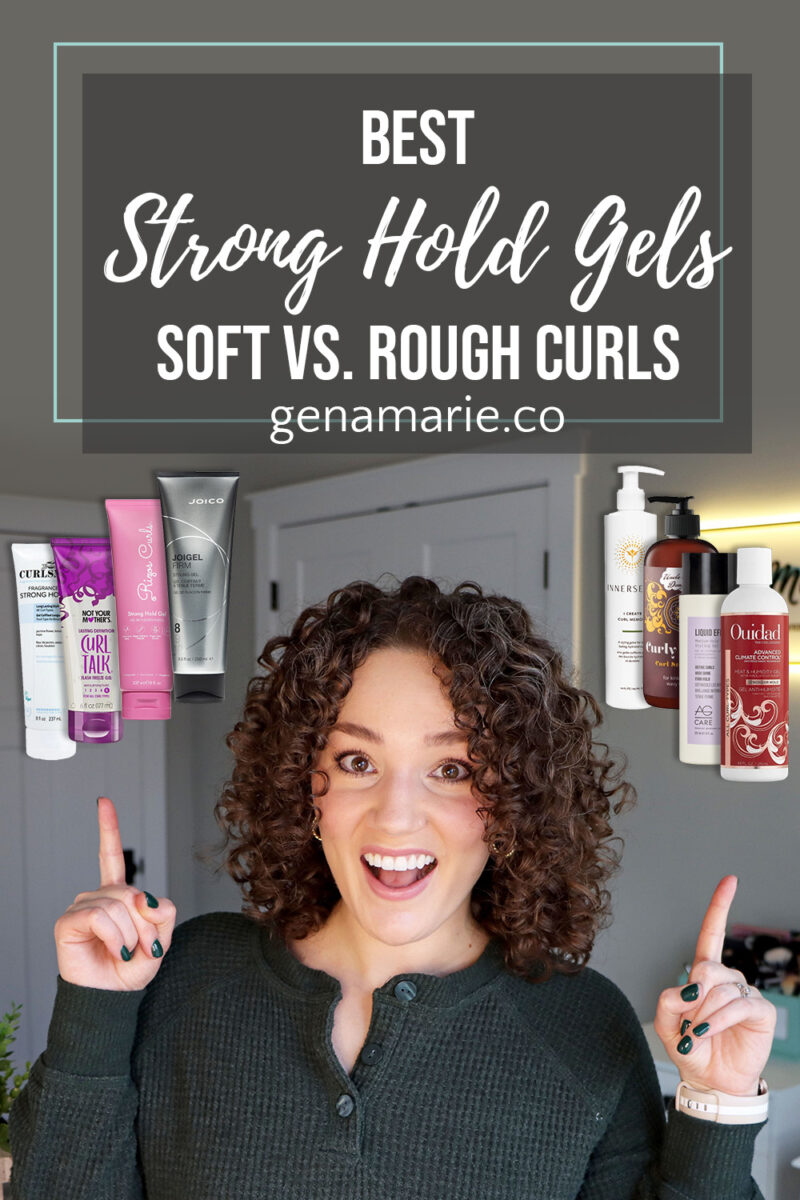
Today I used the Ouidad Advanced Climate Control Stronger Hold Gel. If you’re using a moisturizing gel like this one, you can finger coil with your gel in your hands. This route is going to give you maximum frizz control and definition because you’re applying the gel very precisely and thoroughly.
With finger coiling being more of a precise styling method, it does take some time. One of the easiest ways to save time is to only focus your efforts where needed. I’m all about simplifying your routine. When I watch my clients’ style and give them feedback, I’m often telling them that they can do less.
For my lower sections, I simply brushed my gel through with a bit of tension. I usually don’t do a ton of styling here.
For my top section, I focused on this to really define my curls. Other areas I targeted:
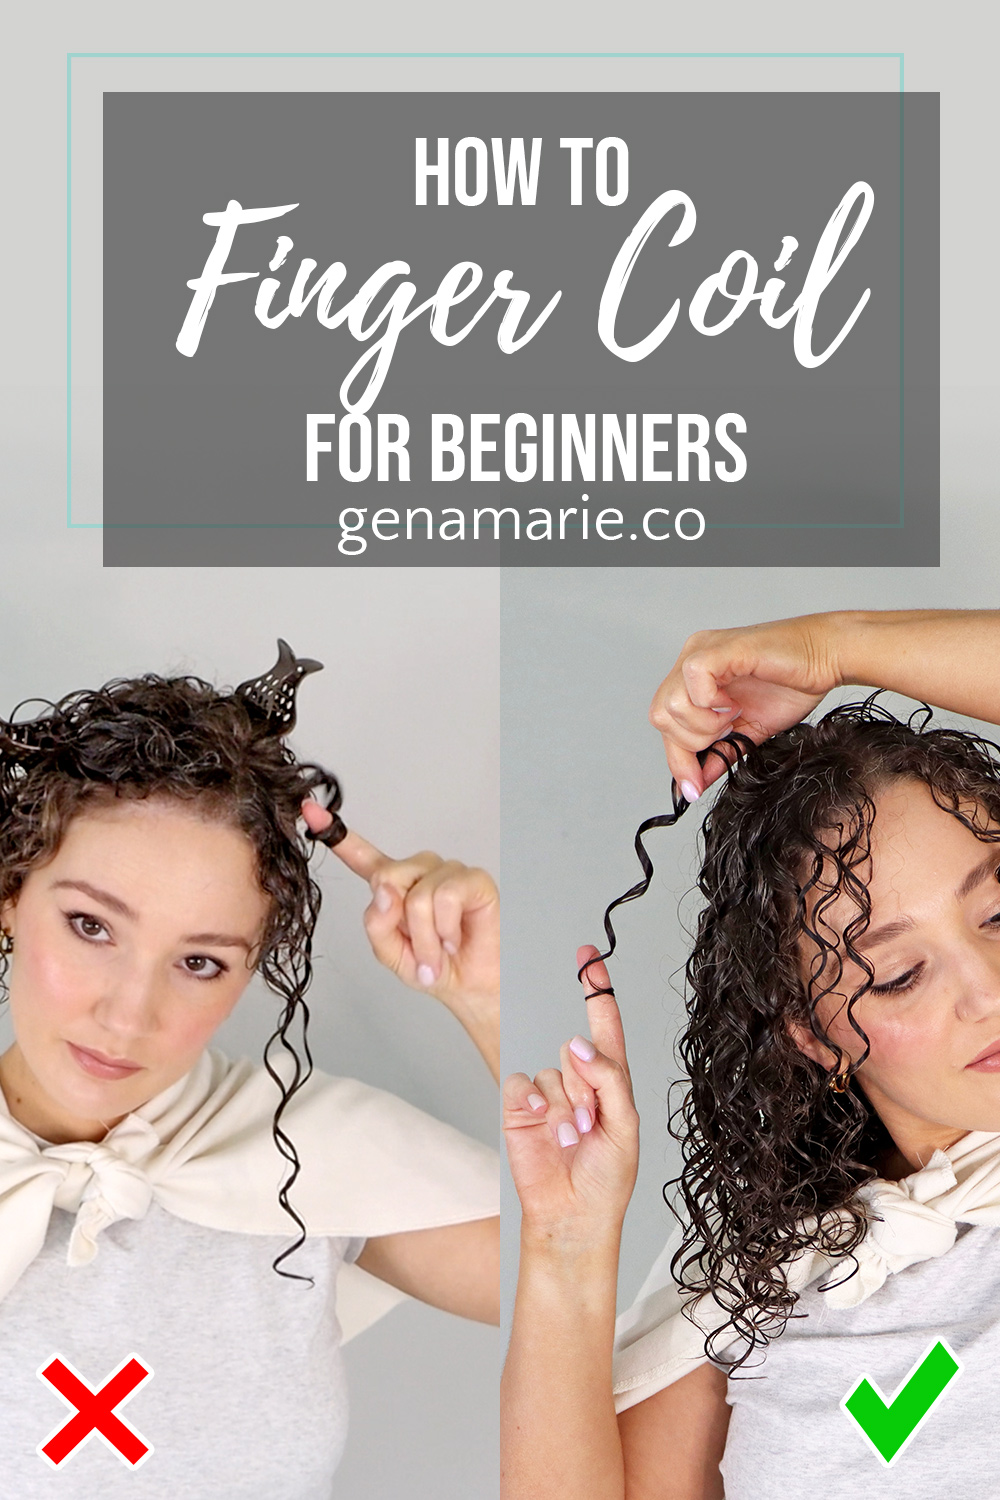
❌ Wrapping the hair all the way up your finger.
✅ Instead, it’s a fluid motion as you pull your hand down the section of hair.
❌ Pulling the hair straight down which can cause it to get too tight and get stuck.
✅ Instead, direct the hair out or upward which prevents too much tension.
❌ Finger coiling tangles or hair that is not smoothed out. Even tiny hairs that are looped out of the clump or crossing over can get hung up or snagged.
✅ Instead, use your brush to smooth the section first or use your hands like a comb to rake through them.
This quick method is often what I use when styling. After styling and taking your clips down, assess your part and roots. If you see any curls that could use a boost at the root or any flat areas, pick up a small section and finger coil.
For the best root curl and root lift, focus finger coiling on your part. Alternate the sides that your curls sit on to avoid a defined part for maximum root volume.
If you see any frizzy areas, pick up a section there to tuck it in as you finger coil. If you’re short on time, this is a great way to only finger coil a few key pieces and you don’t even need to section your hair.
After styling, I recommend microplopping if your hair is very wet. This will soak up the excess water and speed up your dry time. With your damp hair towel, gently scrunch your hair from the bottom up.
You may see a little frizz form, so I recommend adding an extra glaze of gel on top. This will really amp up the hold and tame stubborn frizz. Glazing or gently scrunch should not mess up the styling you just did if you’re careful.
You can skip this if your hair is not very wet or already starting to dry.
Once your curls are in place, you have to set them. Diffusing is the best way to lock them in and prevent unraveling.
In my guided styling calls, I actually walk members through their styling and diffusing routine live so they can see exactly how to get more lift, definition, and longevity.
It’s been so rewarding to see members have those styling wins after I help them refine their techniques. Sometimes it’s a small tweak such as adjusting the angle of the diffuser which makes the biggest difference!
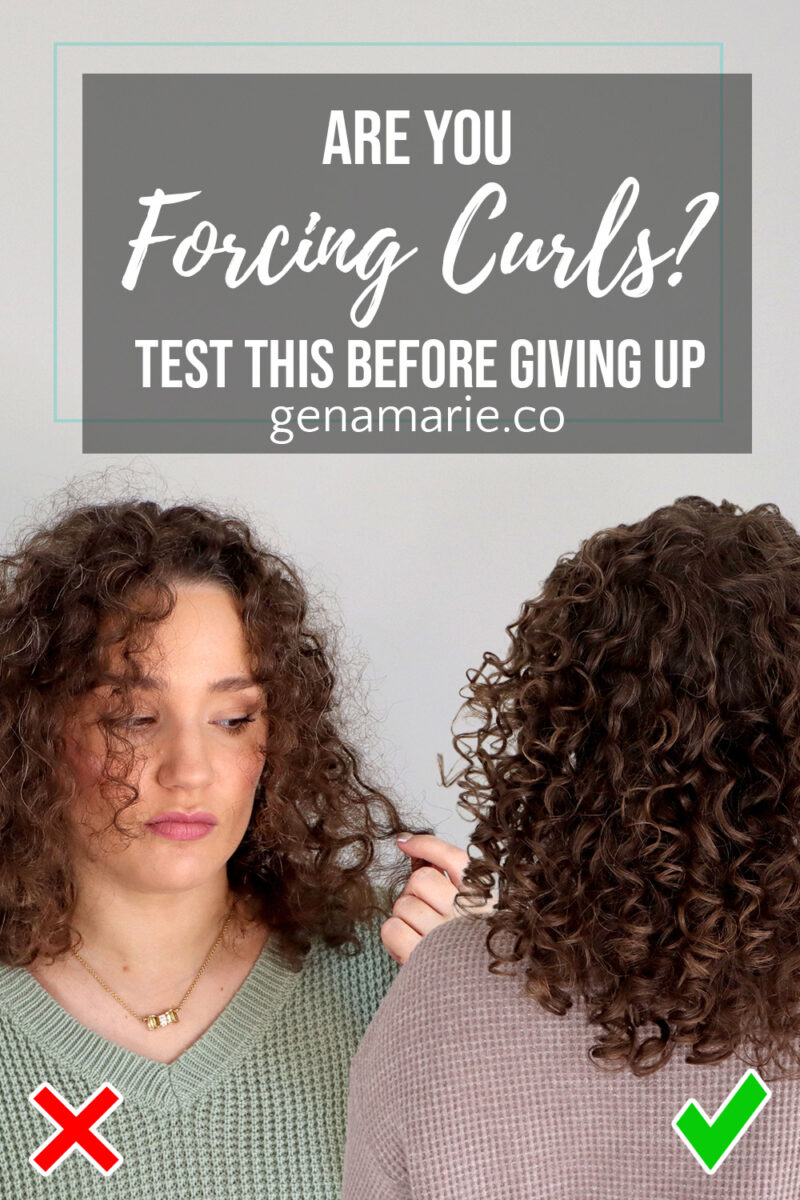
These are the little details I teach in coaching – not just what to do, but how to do it correctly for your hair. It’s important to remember, though, that all of this is based on your particular wave/curl pattern. Some people’s texture starts right at the root (like mine), while others’ start mid-shaft. In that case, no amount of finger-coiling will help get your hair to curl at the root – we can’t create a texture or curl pattern that doesn’t exist – we can only enhance it.
Watch the video embedded above to see a clip from a curl coaching session where I guided a client on how to finger coil based on her natural curl direction to get a peek at what our guided sessions are like.
If you really want your washday results to last, the longer you leave that cast in the better. I prefer to scrunch out most of it for a softer and fuller look.
For me, the benefits of finger coiling outweigh the effort. I am able to tuck in some grays, give the illusion of volume at my roots, and enhance the pieces right around my face to their fullest potential without adding too much time to my wash day. But, that’s because it has become muscle memory for me. If you follow these steps, finger coiling can become second nature to you, too!
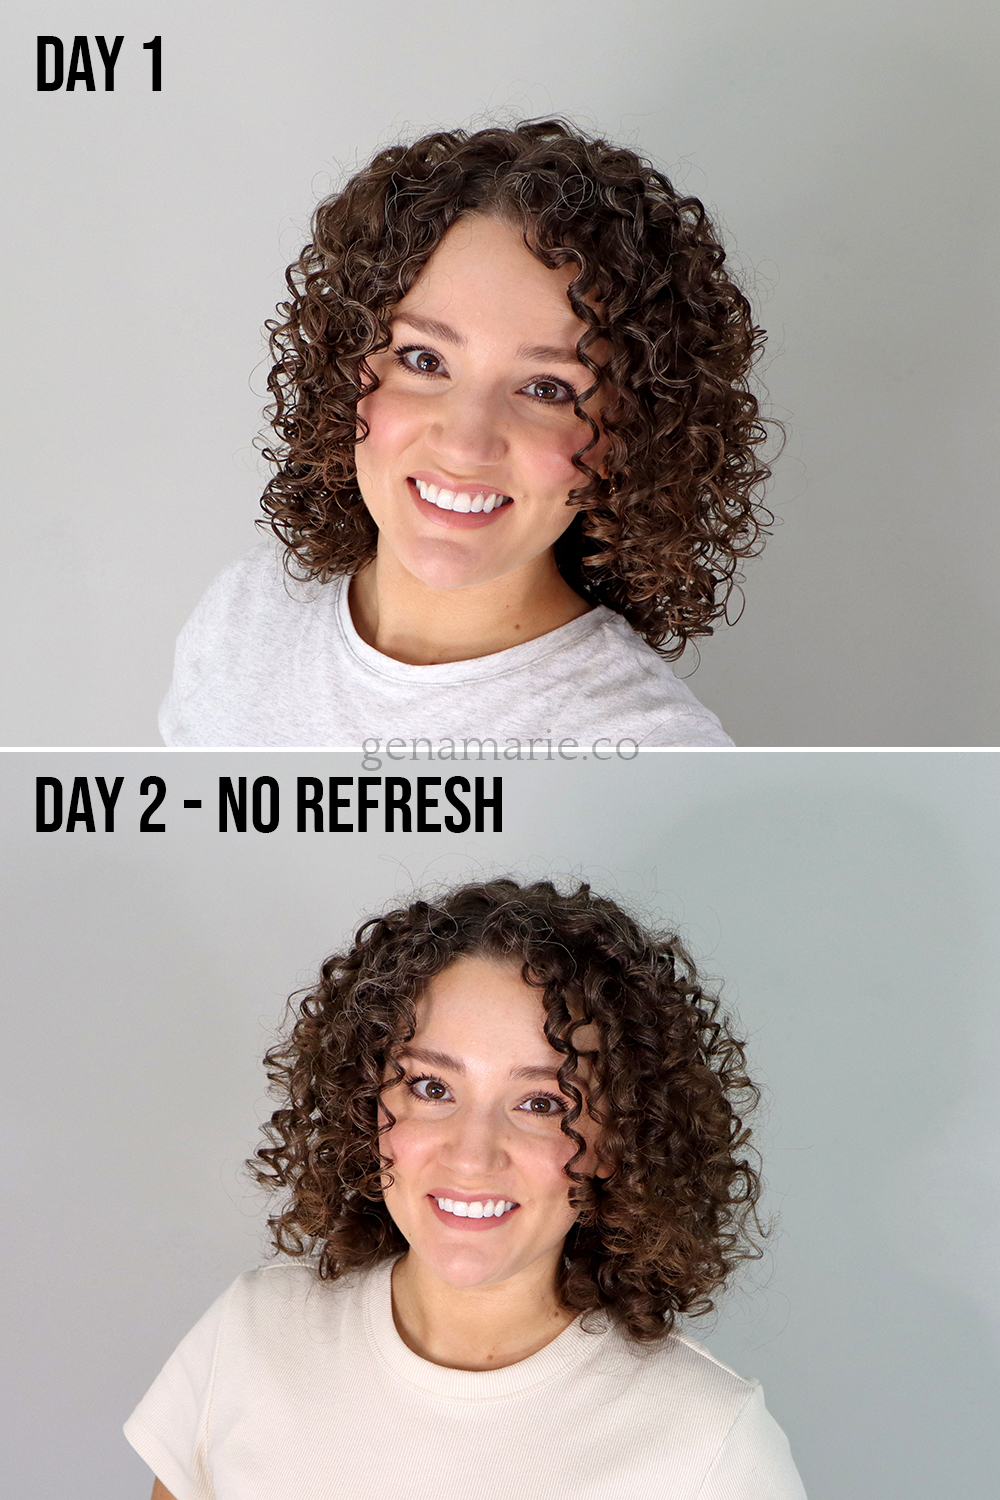
Thanks to finger coiling and My Strong Hold Method, I didn’t have to do any refreshing! The curls are softer but still intact. I have natural, normal frizz, but it’s not excessive. I still have great volume due to the curls being defined at the roots.
Finger coiling can also be a great technique to revive frizzy curls on refresh days. If you used a gel like the Ouidad, you can do this without any water or product and just use dry hands to wrap frizz back into the coil. You’ll notice the curl’s reform. If they don’t you can use a little water, and your gel cast will come right back once it dries.
In this example from my Low Manipulation Wash Day, my day 2 results are much different. Specifically looking at the temple areas, you can see I have much more frizz. These short hairs and grays are what love to pop out when they’re not finger coiling and make frizz when the rest of my hair looks fine. I also have less volume on top without finger coiling.
Remember, the goal is never to have perfectly defined curls all over. Finger coiling can only enhance your curls to their natural full potential. We cannot create a curl pattern that you do not naturally have.
If this breakdown was helpful, imagine what it’s like to actually go through the whole process with me step-by-step on a live call where I can help direct you through it. That’s what you get inside my Curl Coaching Program – guided styling sessions, live Q&A, and on-going support from me and other members. I also offer options to record your routine on your own time and submit it to me for feedback.
The Fall Group Coaching Program is officially open right now, but spots are limited. If you want to finally stop guessing with your routine and actually see lasting results, I’d love to have you join. DM or email me (in**@*******ie.co) the word GROUP if you want more details, and we can discuss if you’re a fit.

If your curls aren’t curling up the way you want and you’re starting to feel frustrated or ready to give up, it’s probably not your
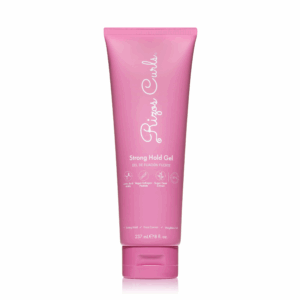
If you’ve tried “strong hold” gels but your curls still don’t last, you’re not alone. Strong hold isn’t one-size-fits-all. Some gels are higher in texture
Feeling discouraged, frustrated, or unsure whether wearing your naturally curly or wavy hair is even worth it? If you’ve been following this Beginner Curl Series,
If you’re trying to wear your hair curly and you feel like you’re doing everything right but your hair still doesn’t look how you want,
Notifications