


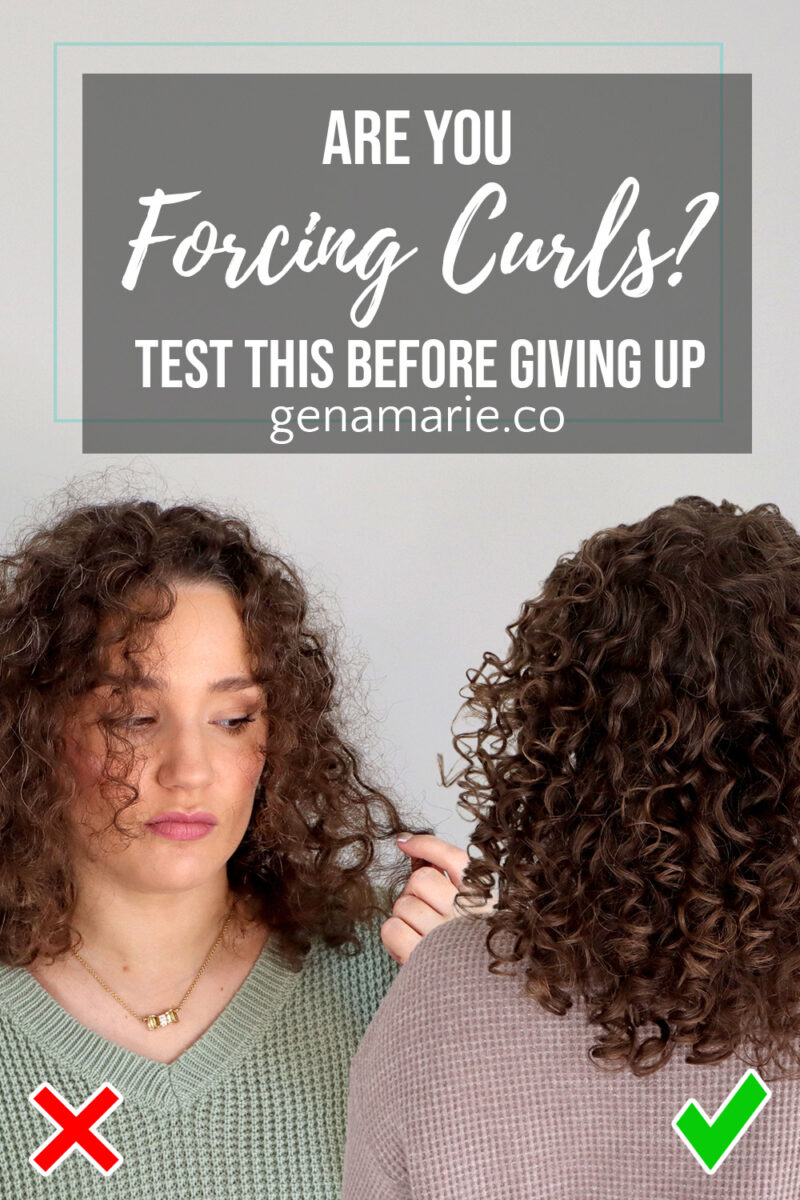
Are You Forcing Your Curls? How to Know If You’re Giving Up Too Soon
Feeling discouraged, frustrated, or unsure whether wearing your naturally curly or wavy hair is even worth it? If you’ve been following this Beginner Curl Series,
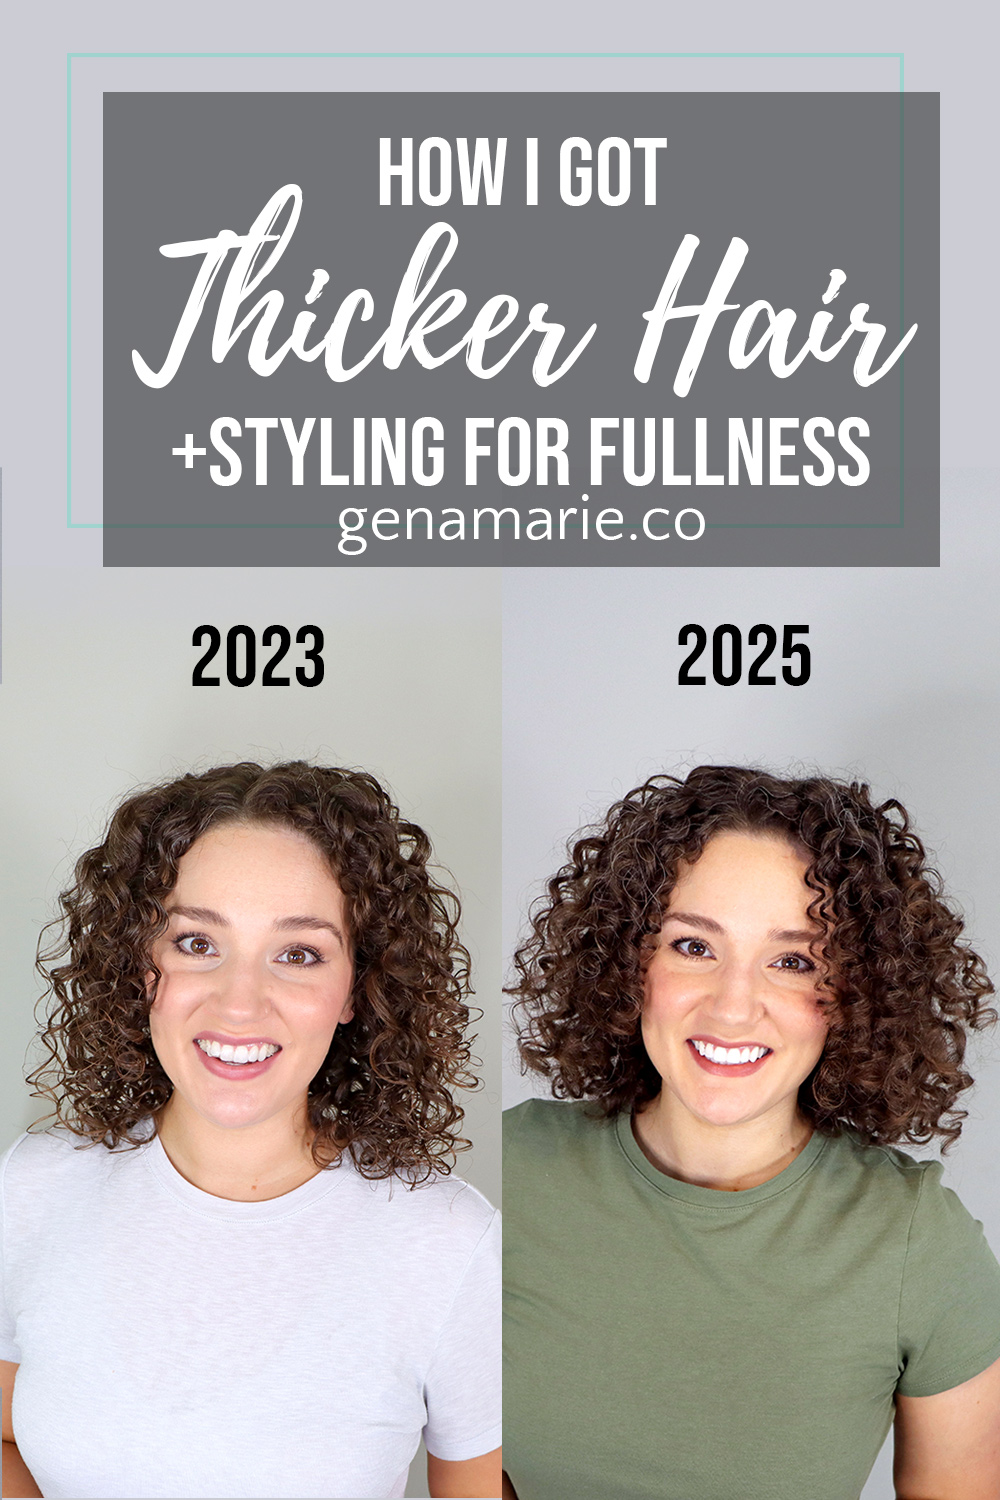
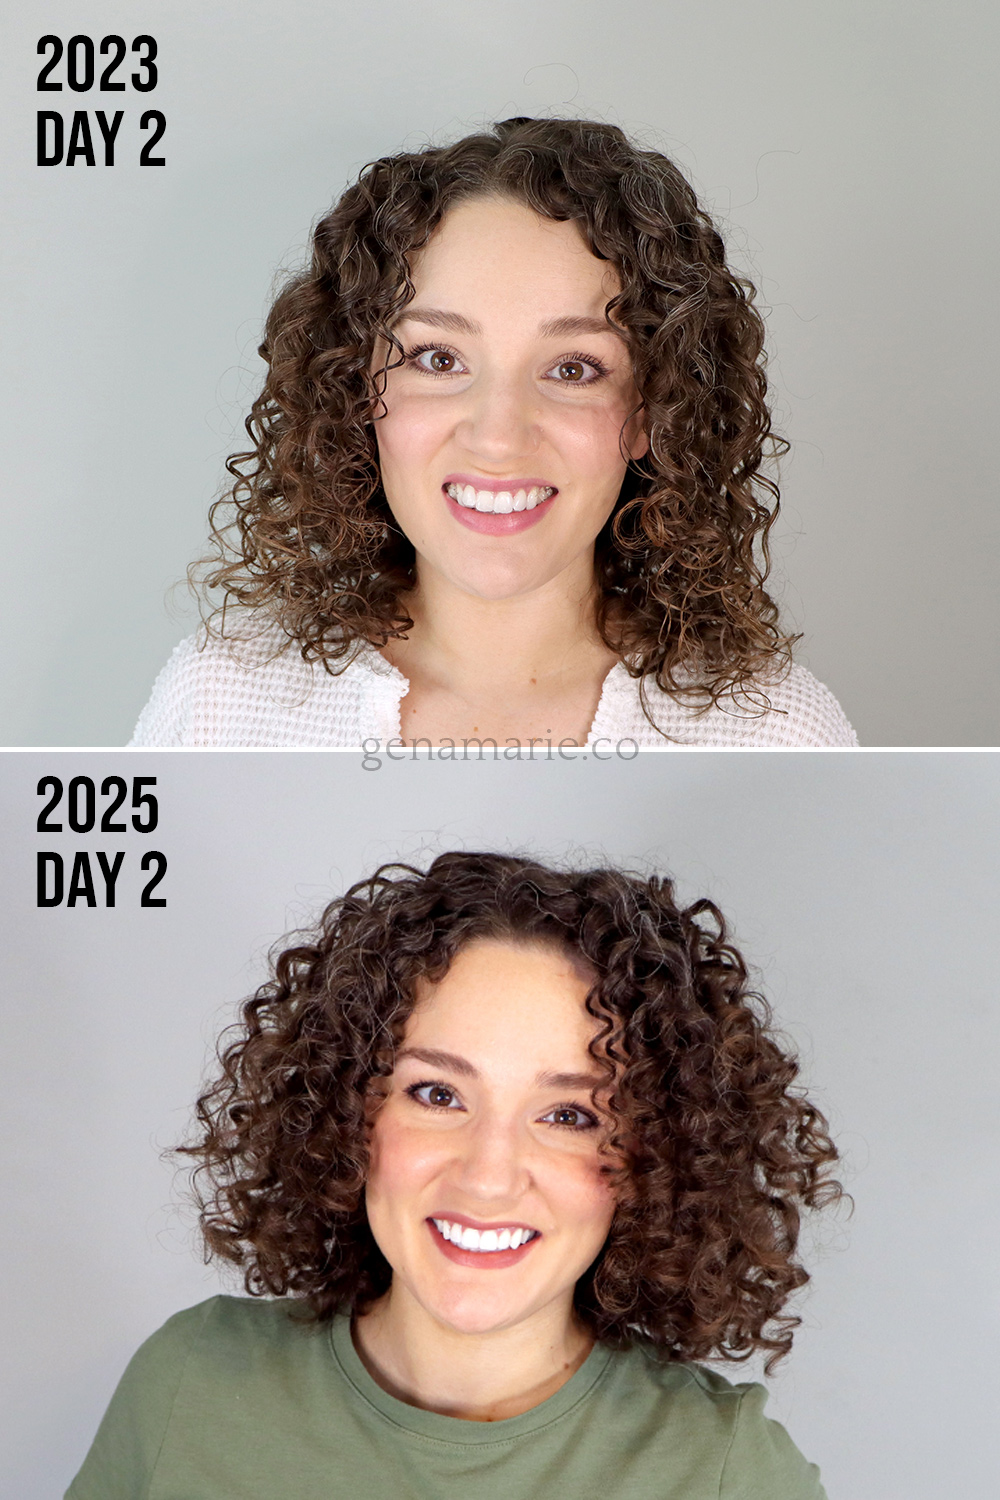
Over the last few years, my hair has become noticeably thicker — some might even say it looks twice as full. I get messages every week asking what changed, so I wanted to share both my health journey and the styling techniques I now use for fuller curls.
Here, I re-created my past routine but styled for fuller curls, and I’m sharing with you what has actually made the biggest difference in doubling my hair’s density.
And I want to remind everyone, I’m not a medical professional, I am just sharing my personal experience and what I have found to make a difference.
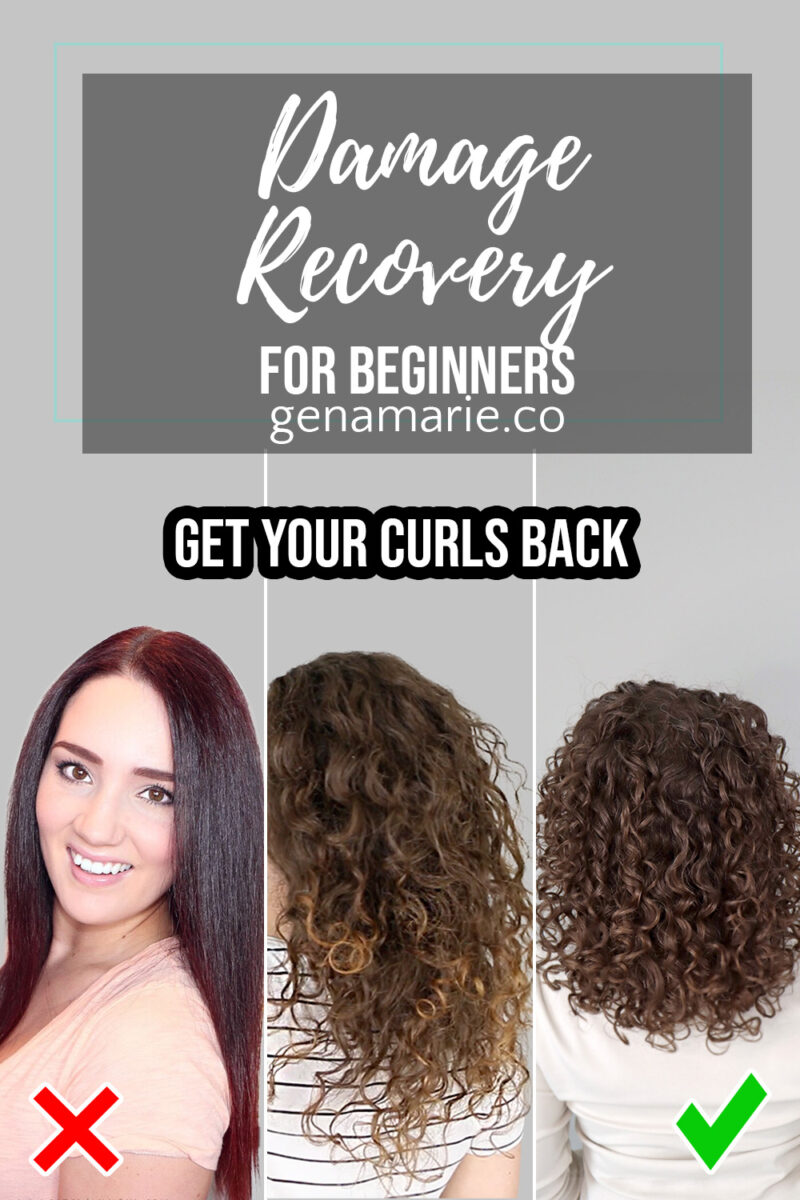
A few years ago, I was really struggling with low-density hair. I had an iron deficiency, vitamin D deficiency, and other health issues that led to significant hair loss. My ponytail was tiny, and my curls looked really sparse. As you can imagine, I was frustrated and searching for answers.
I first discovered my deficiencies about 4 years ago, in September 2021. After working with my doctor and starting iron supplements, it took about 4 months for my bloodwork to show that my levels were finally back in a normal range.
At the same time, I was dealing with a lot of stress from working multiple jobs. Stress plays a huge role in our internal health and our hair. Our bodies are smart — they divert nutrients and minerals to vital organs first. Since hair is considered “non-essential,” it’s often one of the first places where deficiencies and stress show up.
If you’re experiencing sudden hair loss, increased shedding, or thinning, it’s important to seek medical help. Ask your doctor or dermatologist about blood work that checks for:
If I hadn’t worked with my doctor to get to the bottom of my health issues, I never would have understood why my hair had changed — or how to bring it back to its fullest potential. In my case, my hair loss came from a combination of factors.
Interestingly, I haven’t drastically changed my hair products. I still use many of the same ones, though I’ve experimented with lighter and medium-hold stylers to create more fullness. I’ve also been embracing frizz more, since it helps fill in the look of my hair.
The biggest changes happened inside:
(Note: I’m not a doctor. If you’re considering supplements, always check with your healthcare provider first.)
These changes don’t magically grow hair overnight. What they do is support blood flow, circulation, and overall health — all of which eventually show up in your hair.
Once my deficiencies were corrected, it still took years to notice visible changes. My excessive shedding slowed down, but I didn’t see real improvement in thickness until I added prenatal vitamins and fully committed to my new health habits.
After about 8 months of consistency with the new supplements and fitness routine (Sept 2024 – May 2025), I finally started seeing fuller curls and less sparse density.
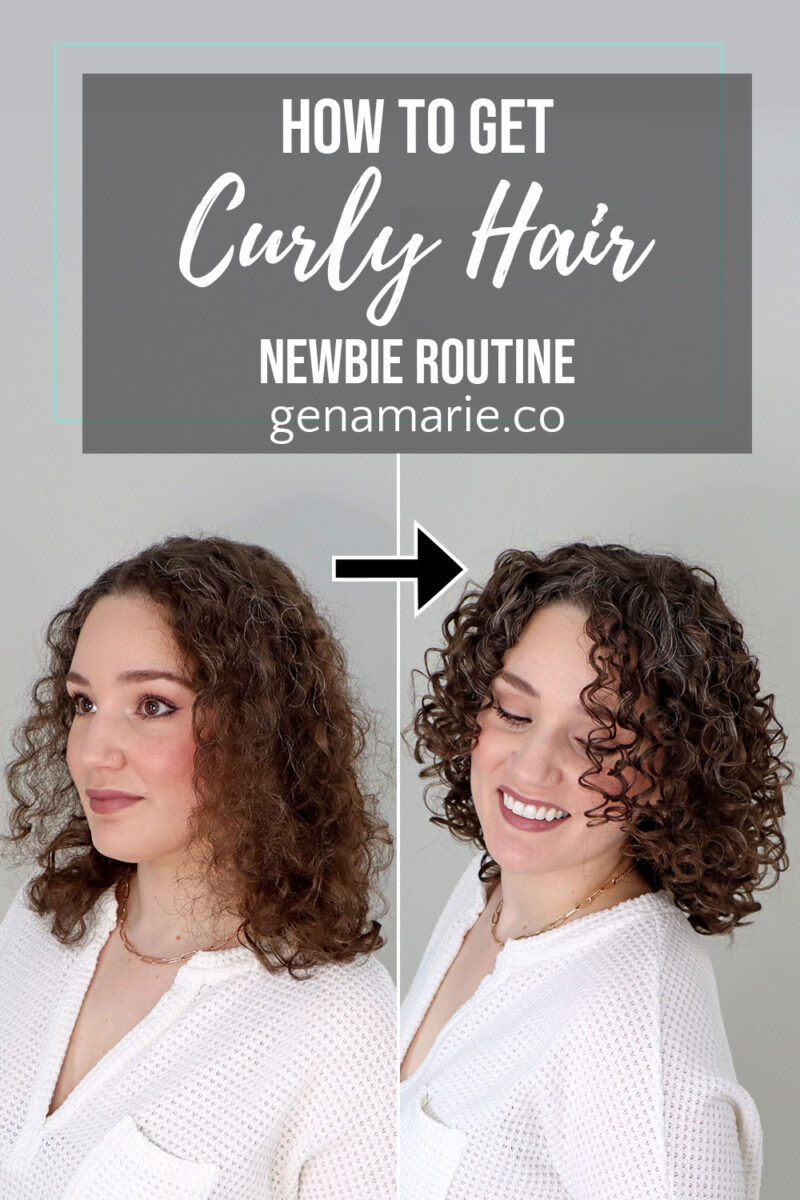
Now that you know what’s changed with my health, let’s talk about how I style for the appearance of thicker, fuller curls. These techniques don’t increase density, but they create the look of more volume and fullness.
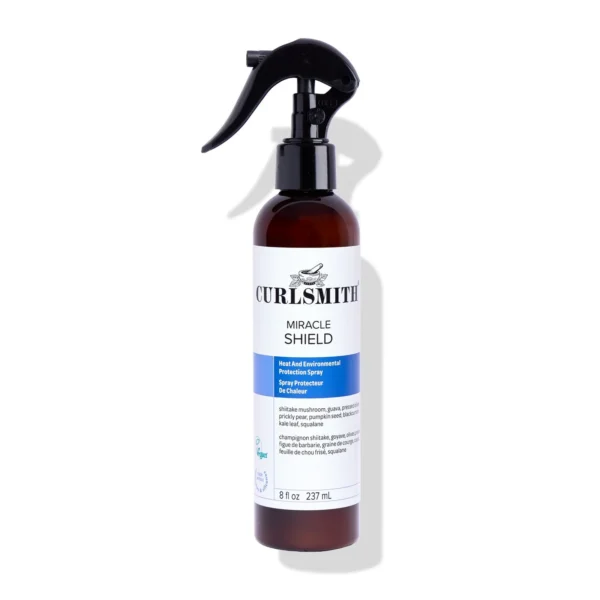
I started with freshly washed and conditioned hair. Next, I took my hair out of the towel, rewet it and applied the Curlsmith Miracle Shield heat protectant.
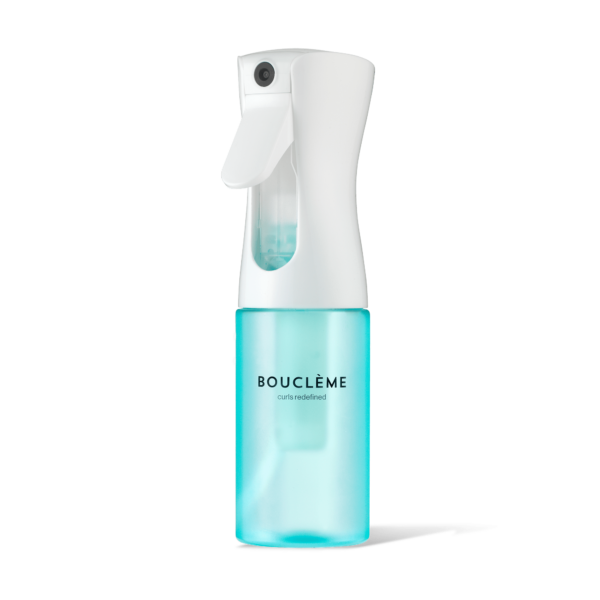
If you want to maximize volume, avoid styling soaking wet. Use a spray bottle to adjust your water content so it’s evenly wet but not soaking or dripping.
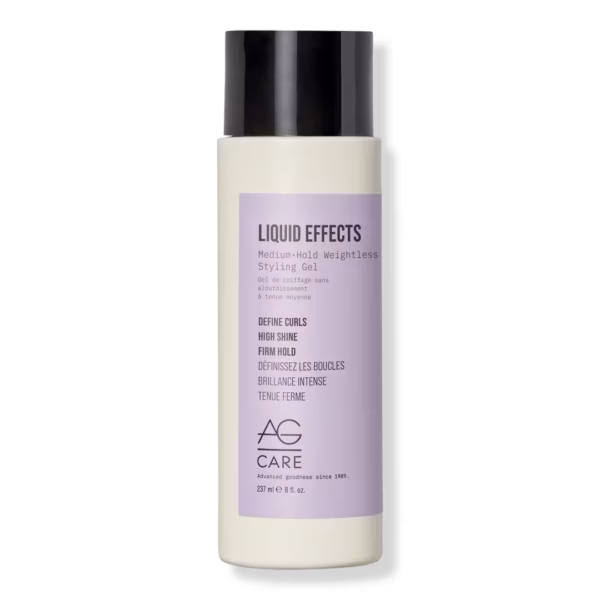
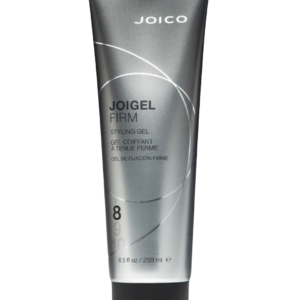
For this routine, I used the AG Liquid Effects Medium Hold Weightless Styling Gel as my only styler. I used the same gel and routine a year ago, which makes this comparison even more interesting. I wanted to recreate it so we could compare my results!
This gel is fairly lightweight so it doesn’t weigh down my hair. It also has a flexible hold that softens up really nicely once you break the cast for more volume and fullness.
I apply it using my Strong Hold Method to achieve maximum hold.
When it comes to styling, my focus lately has been on creating fullness – not perfect definition or large clumps. Volume is often an illusion. It’s not necessarily that you have more strands of hair; it’s how you style and place your curls that makes your hair look fuller.
I’ve also been creating small clumps that are closer to my natural clump size instead of large clumps.
One thing that’s changed in how I style is how I handle my parting and the top sections of my hair.
Before, I used to pick up sections to brush style and brush coil the top of my hair. But this actually created larger clumps that made my curls look more sparse. The bigger the clumps, the more gaps you’ll see in your overall density.
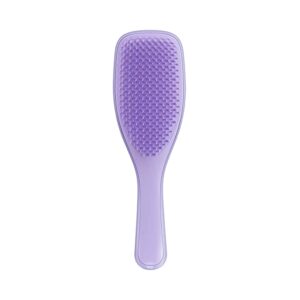
Now, I take a different approach. I lightly brush through my hair, then pick up just a few small sections around my part to finger coil. I’ll also flop these pieces to either side to create the illusion of more root lift. This prevents a harsh, defined part and keeps my roots from looking flat.
This step of my routine hasn’t changed either. I still microplop to remove excess water and decrease my drying time. And I add an extra thin layer of gel to maximize the longevity of my wash day.
This also reduces the water weight so it can dry with more volume instead of being weighed down.
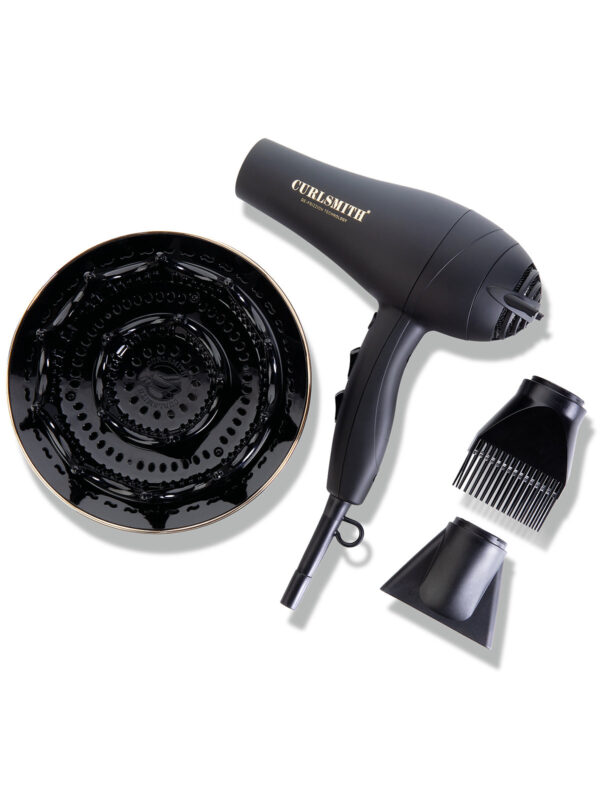
Diffusing is where the illusion of volume really happens. Air drying will just result in your hair being more elongated and flat. My Curlsmith Defrizzion Hair Dryer has probably made the biggest impact on my diffusing results because it’s so large, allowing me to gather all my hair at once. This also saves me time.
Lifting at the roots with the diffuser prongs creates more root volume and definition.
When I scrunch out the crunch, I don’t mind some frizz. It actually adds softness and makes my hair look fuller. This step is all about balancing hold with touchability. The gel gave me the structure, but breaking the cast gives me volume.
Fullness isn’t about skipping gel – it’s about how you finish it off. I’ve also been embracing a softer look: letting frizz show, not worrying about every curl being perfectly defined. Especially in the summer, fighting frizz just isn’t worth it. The fuller look actually works better for me.
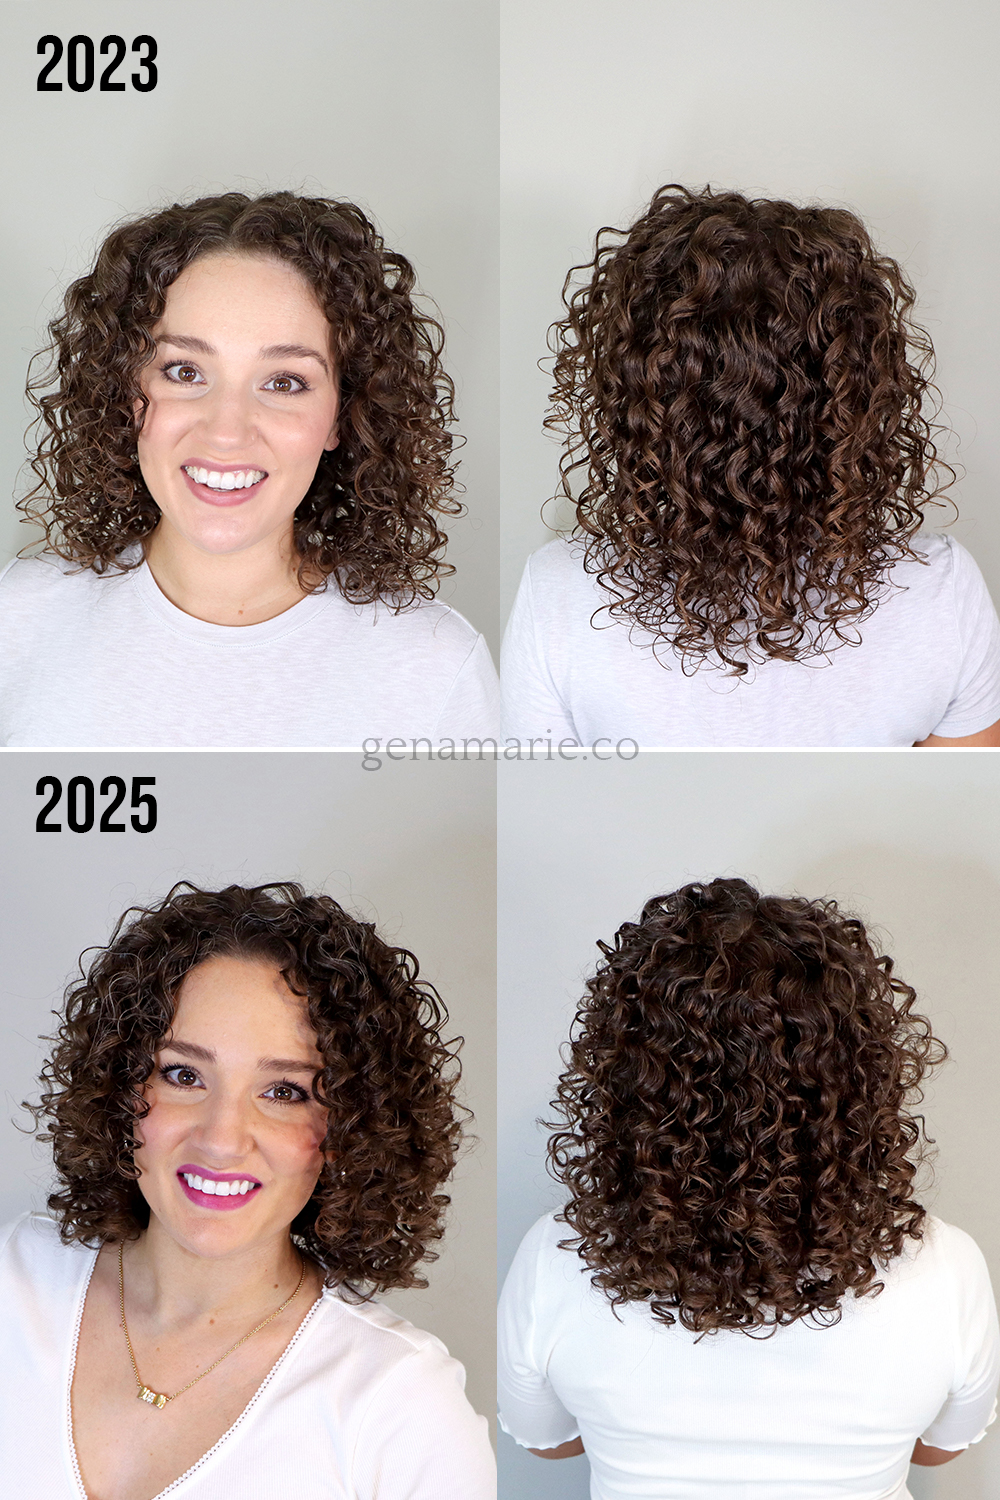
Here are my results — full, soft, and voluminous curls. Compared to where my hair was just a few years ago, the difference is dramatic.
My curl pattern now looks smaller and tighter because I’m not over-clumping, which helps create the illusion of more fullness. But remember: styling can only create the appearance of thicker hair. The real foundation of my results has been correcting deficiencies, staying consistent with daily activity, and supporting my body from the inside out.
If you’re working through hair loss or trying to rebuild density, know that it takes time. For me, it was about four years before I really saw noticeable change. New hair has to grow in and travel the full length of your strands before you see the difference in your overall density. Early signs might show up at your roots or in stringy ends, and sometimes a haircut can help remove those sparse ends to make your hair look instantly fuller.
One of the best things you can do is track your journey with photos or a journal, such as my Curly Hair Tracker & Planner. Progress often feels invisible day to day, but when you compare over months or years, you’ll see how much your hair has truly changed.

On day two, I don’t refresh at all — I simply let my curls be. By then, my hair softens up, gains even more fullness, and picks up a little natural frizz that fills in gaps in density.
One change I’ve made that really helps is not refreshing as often. The less I manipulate my curls, the more length I retain and the healthier my ends stay. Over time, this makes my hair look and feel fuller. It’s freeing not to feel like I have to redo my hair every single day, and it’s a habit that supports the long-term health of my curls.
If you’re feeling discouraged with your hair or you’ve noticed a recent change in your curl health that makes you feel like you’re starting over, I’d love to help inside my Curl Coaching Program.
I may not be able to give you more strands of hair, but I can help you maximize what you have — by building a routine that supports your hair’s health, styling your curls to their current full potential, and giving you the confidence to love your curls again.

Feeling discouraged, frustrated, or unsure whether wearing your naturally curly or wavy hair is even worth it? If you’ve been following this Beginner Curl Series,
If you’re trying to wear your hair curly and you feel like you’re doing everything right but your hair still doesn’t look how you want,
If you think you might have curly hair but don’t know where to start — or you tried before and your curls were frizzy and
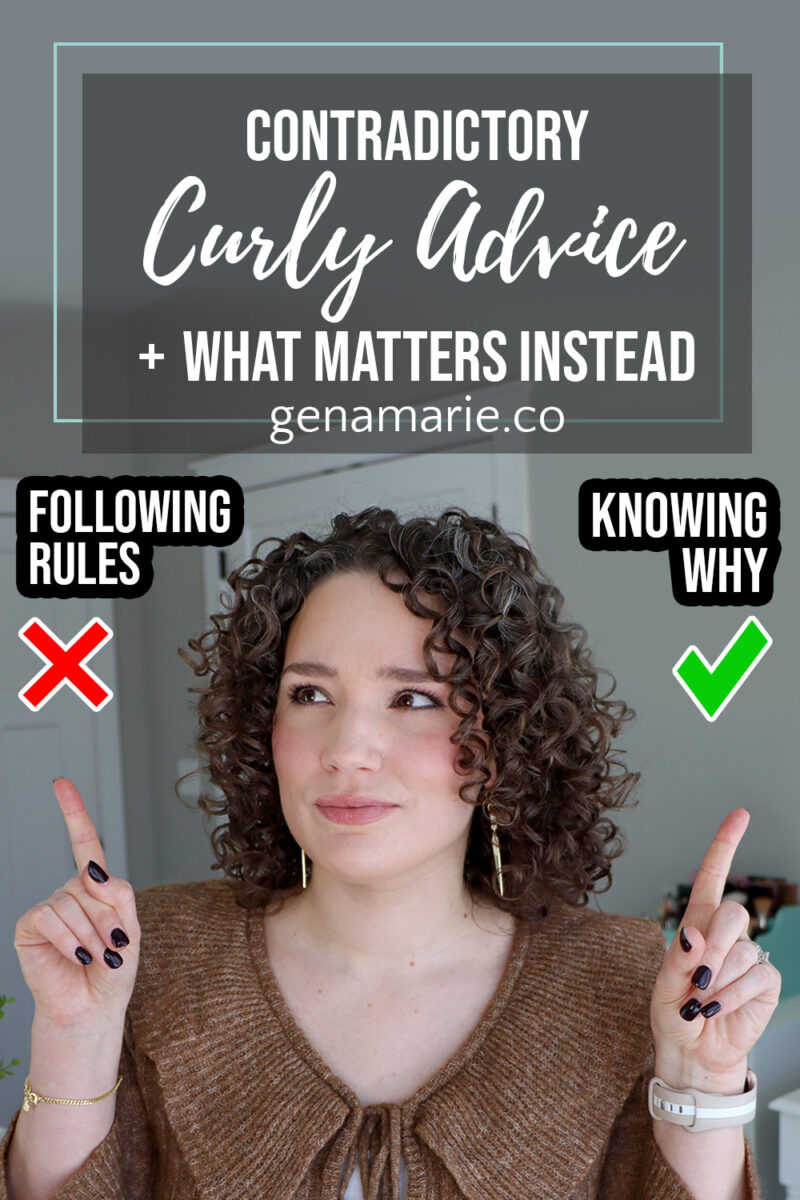
Curly hair advice is full of contradictions — and no one explains how they’re supposed to work together. If you’ve ever tried to research curly
Notifications