


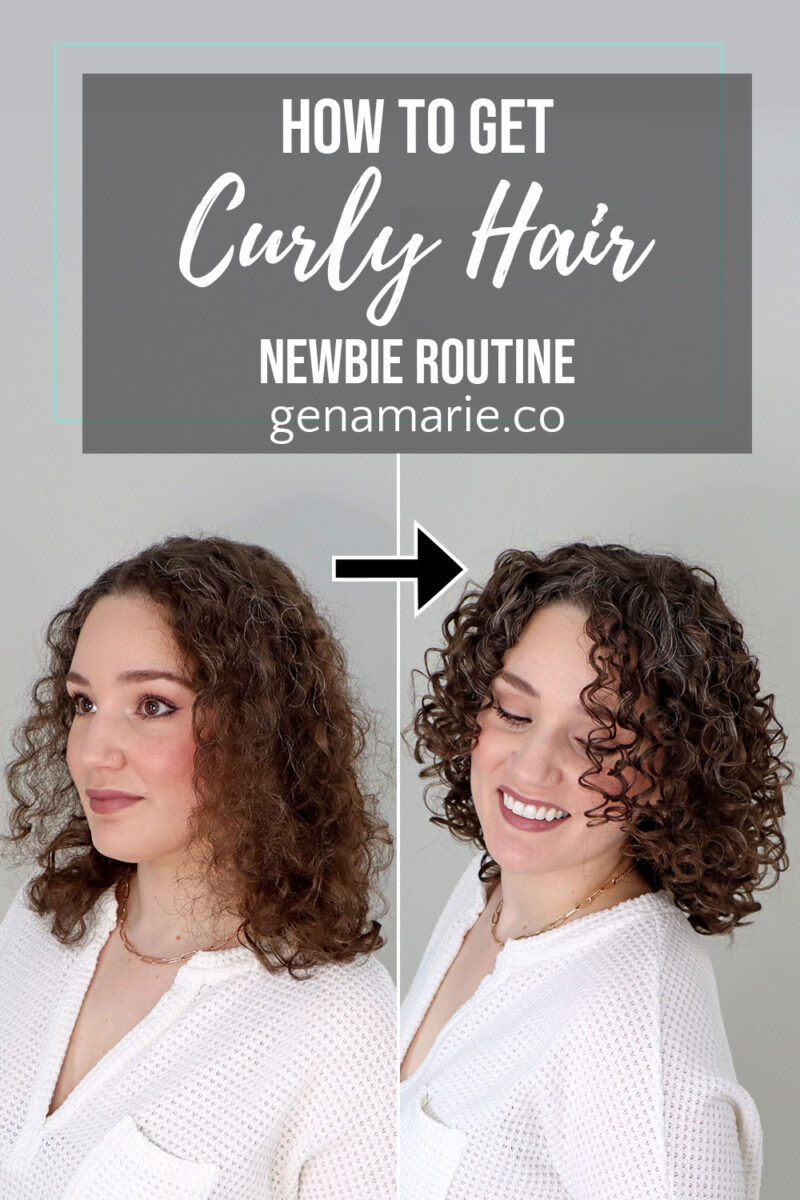
How to Get Curly Hair: Your First Wash Day Experiment
If you think you might have curly hair but don’t know where to start — or you tried before and your curls were frizzy and
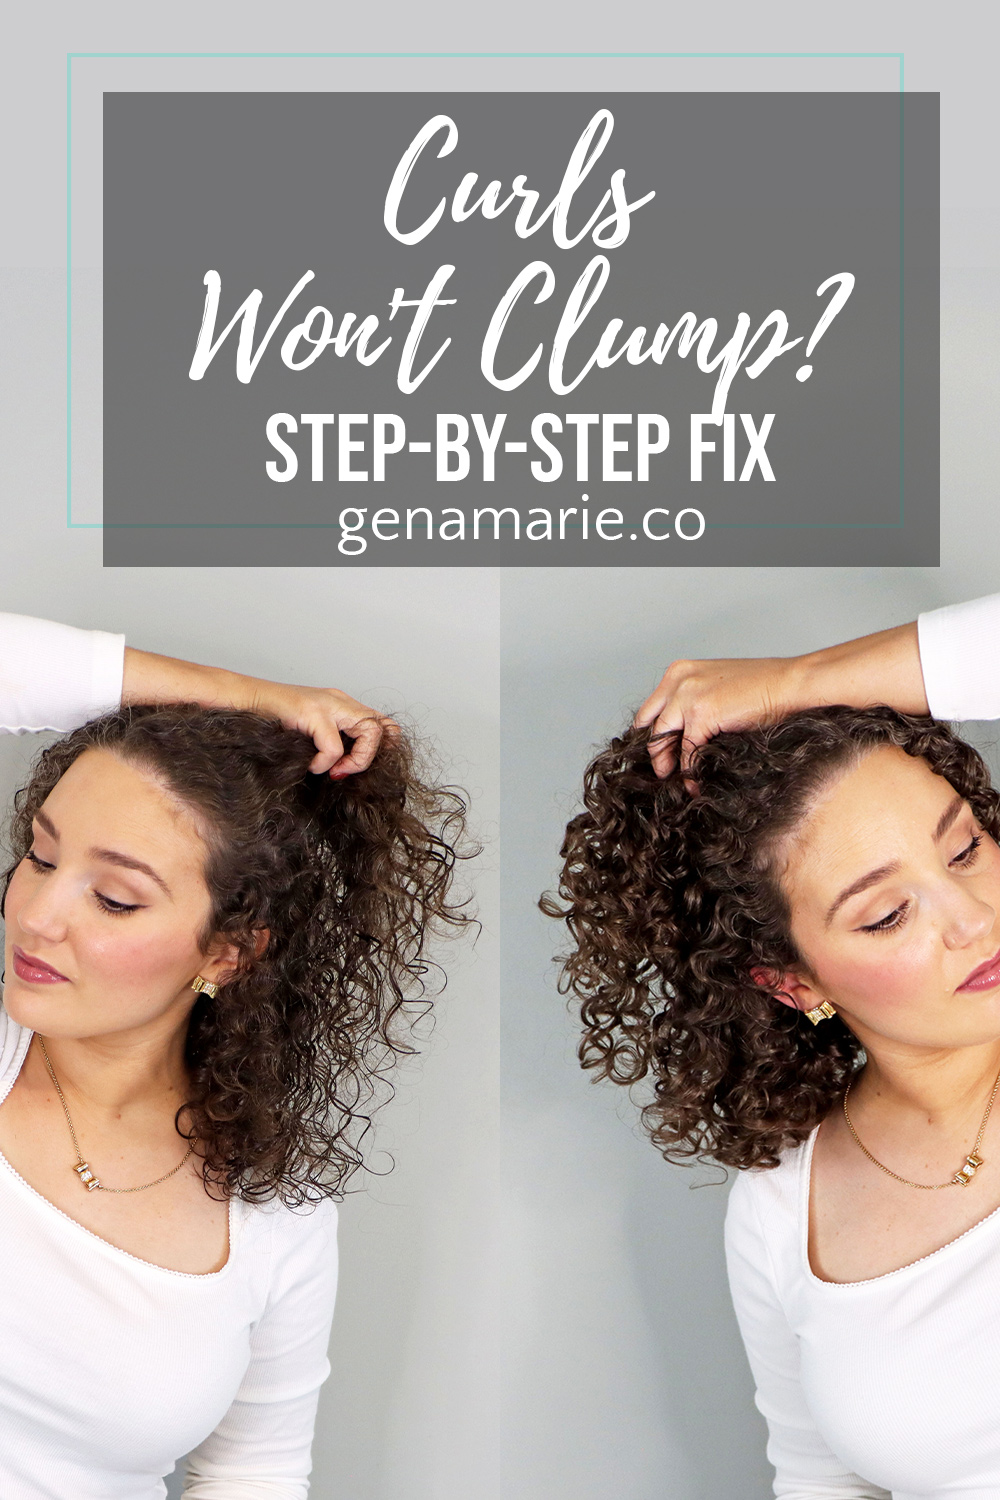
Do your curls separate into stringy pieces no matter what you do? Clumped curls don’t just happen – they’re created through the right prep, product balance, and technique. Here’s what to do, step-by-step.
The first thing that stops curls from clumping is buildup. When the hair is coated in leftover products, oils, or hard water minerals, the strands can’t actually grab onto each other.
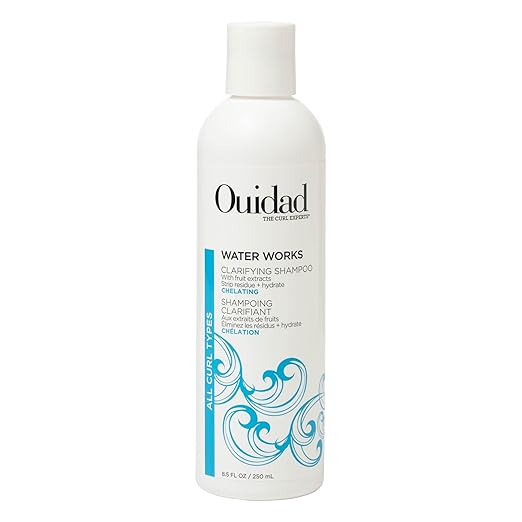
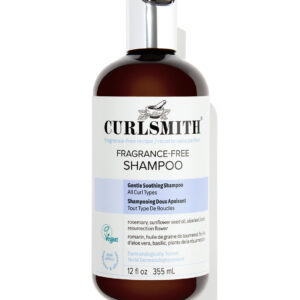
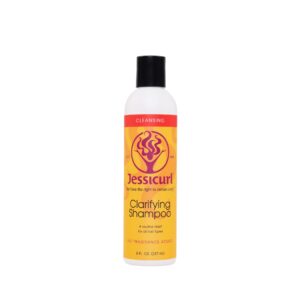
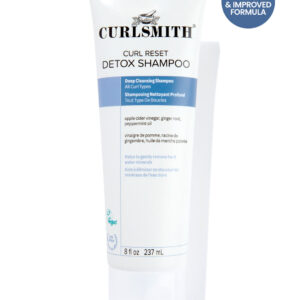
Start by washing with a clarifying or chelating shampoo — I like Ouidad Water Works — to get that clean slate.
Most people should clarify every 1–2 weeks or when your curls feel limp or weighed down.
If your curls feel limp or dull right after styling, that’s a sign you probably need a reset wash.
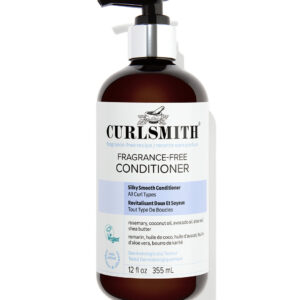
Curls only clump when they’re conditioned. If your hair feels rough or frizzy, even after conditioner, it’s not going to group together. Apply your conditioner or a light mask and take your time detangling.
As you detangle, notice how the strands naturally start forming little groups — that’s clumping already happening.
If your hair gets over-moisturized or weighed down easily or feels mushy, rinse it out more thoroughly or switch to a lighter formula.
Now here’s where most people go wrong: styling on hair that’s too dry. If you’ve been watching me for a while, you know I typically recommend styling evenly wet/damp hair but NOT soaking wet. When you style soaking wet, it dilutes your stylers, and diffusing takes forever.
But if you’re struggling with stringy curls, adding more water is what you need. Water is what makes curls stick together — it’s the glue that forms clumps.
Your hair should be evenly wet when you apply stylers. It doesn’t have to be dripping, but it should be wet enough to see clumps forming.
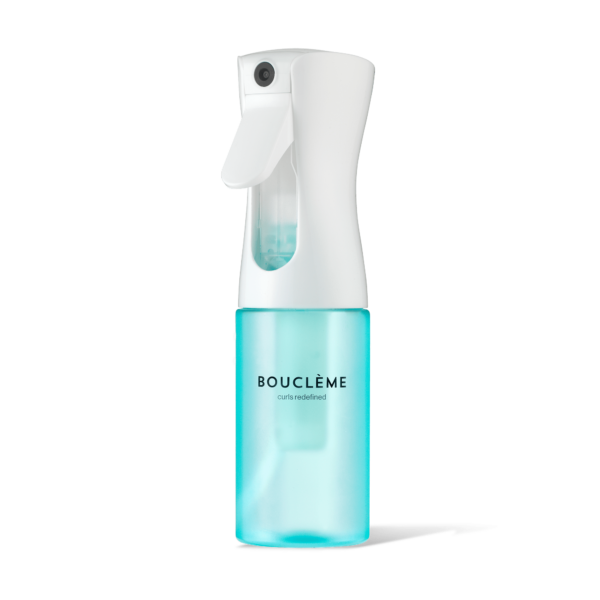
You want to keep a spray bottle nearby so that if your hair starts drying out, you can re-wet it section by section. This allows you to customize the water content and not overdo it.
Watch how the curl groups immediately start to form as you rake product through.
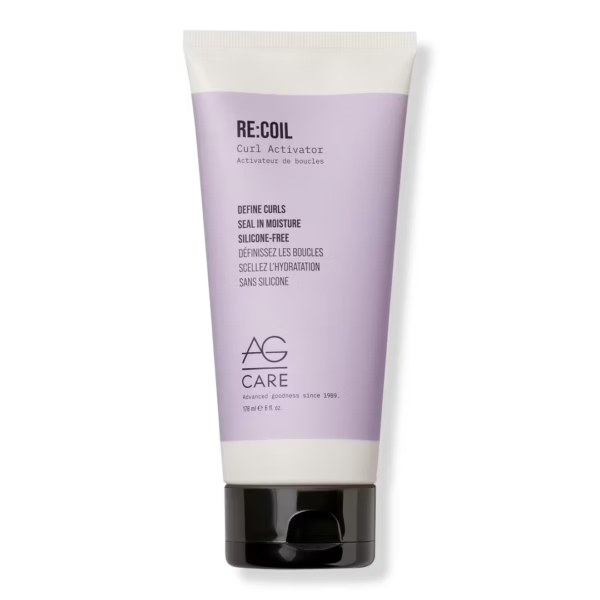
Next up is product choice, because using the wrong type can undo all that work. If your hair can handle moisture and the extra softness, start with a curl cream to help encourage clumping.
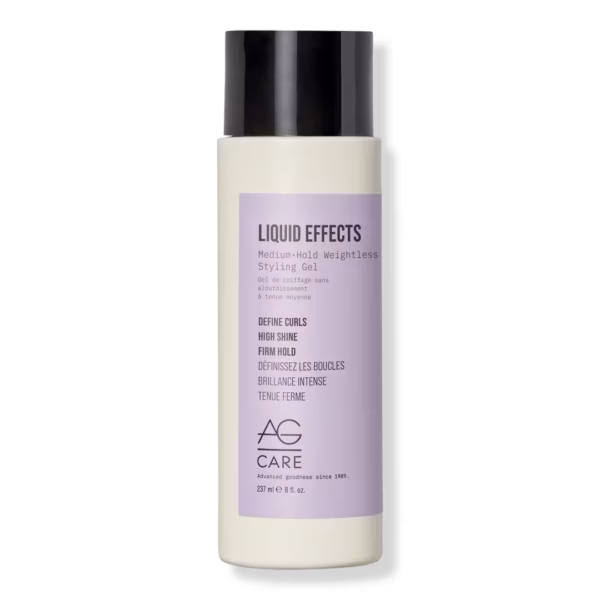
But if your hair already feels too soft or fine, skip the cream and go straight to gel. Look for gels that contain starches or polymers like Polyquaternium-69, PVP, or VP/VA Copolymer — these film-forming ingredients actually help the curls form together and hold their shape.
If you’ve tried most of these steps and your hair still isn’t holding its clumps, you likely need a better gel. Download my free How to Pick Gels chart for help with that.
In addition to the amount of water you use when styling, most of your clumping actually happens from how you style, not what you use. Styling techniques that create tension help force the strands together. Tension will also encourage curl retention or that bounce back.
You’re basically teaching your strands to work together instead of separating. There are a few different techniques that you can mix and match, or use just one to create clumps:
✅ Raking with tension – this helps merge the strands together and create smooth clumps. This is an ideal way to apply your stylers first. Finish with scrunching or incorporate other techniques.
✅ Praying hands – glides the hair flat between your palms, keeping the curl groups uniform. Perfect for targeting stringy ends and customizing your curl clump size.
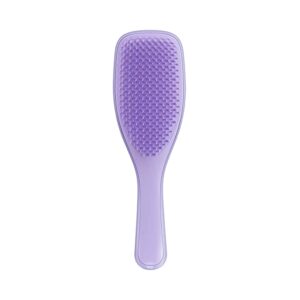
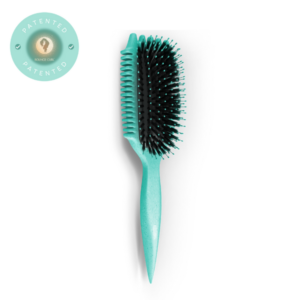
✅ Brush styling – helps organize sections and get even curl groupings, while smoothing frizz and encouraging curl formation.
✅ Scrunching – encourages shape and bounce right before you dry. Scrunching is recommended after any other technique to form the curls and waves.
Once I finish styling a section, I like to stop and assess my curl clump size. Once you pick up your towel or start drying your hair, you’re going to lock in your hair as is. I like to look closely at my curl clump size and ensure it’s not overly clumped which will reduce my volume and make my low-density hair look sparse and see-through.
Also, if any areas look stringy (for me, it’s always the front corners that need a trim), use praying hands with some gel + water to clump them.
While this step is optional, since you styled wet, you’ll want to microplop to decrease your dry time.
After scrunching with a towel, you may see some frizz. Adding a thin layer of extra gel after microplopping will really amp up your hold. This is often where I do praying hands and lightly bounce the ends to avoid frizz from scrunching.
If your hair easily gets stretched out, just glaze the gel lightly and scrunch when applying your extra coat.
Diffusing is essential to set the curl clumps into place and promote longevity. Air drying often results in stringy curls because the curls separate with movement and friction.
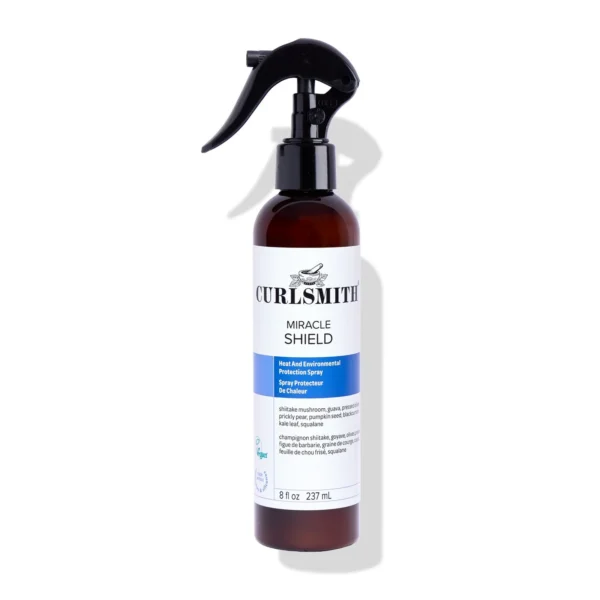
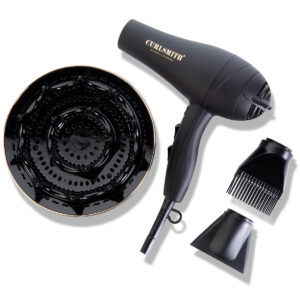
I like to use my Curlsmith Defrizzion with XXL diffuser because I can dry my hair in about 10 minutes.
Once your hair is fully dry, it should have a cast. This cast is essential in getting long-lasting results. But you don’t have to go around with crunchy curls. Simply scrunch with dry hands and it will release.
The hair will naturally separate some if your hair is wavy or you have loose curls. For tighter curl patterns, you may find that your curls are overly clumped. You can separate any that are too large by gently unraveling them from the ends.
When my hair was fully dry, you could clearly see how well the curls clumped together — but without looking heavy or over-defined. That balance is key for my low-density hair. My natural clump size tends to be on the narrower side, and even this wash day created slightly chunkier groups than usual, which I wanted to show to really demonstrate how to maximize curl clumping.
That strong cast from the gel helped my clumps stay intact as they dried, and once I scrunched it out, the finish looked full and defined without frizz.

My hair looked great and did not need refreshing on day 2 because of the steps I took on wash day, which are all focused on longevity, and my sleep protection methods.
If your curls have fallen straight or are overly clumped, you may need to reduce your water, conditioning, and adjust your styling for smaller clumps. Forcing your hair into large clumps that it doesn’t naturally have can just weigh it down and straighten it out.
Even with perfect technique, your curls won’t clump well if the hair itself isn’t healthy. Frayed or damaged ends can’t grab onto other strands — they’ll always look stringy.
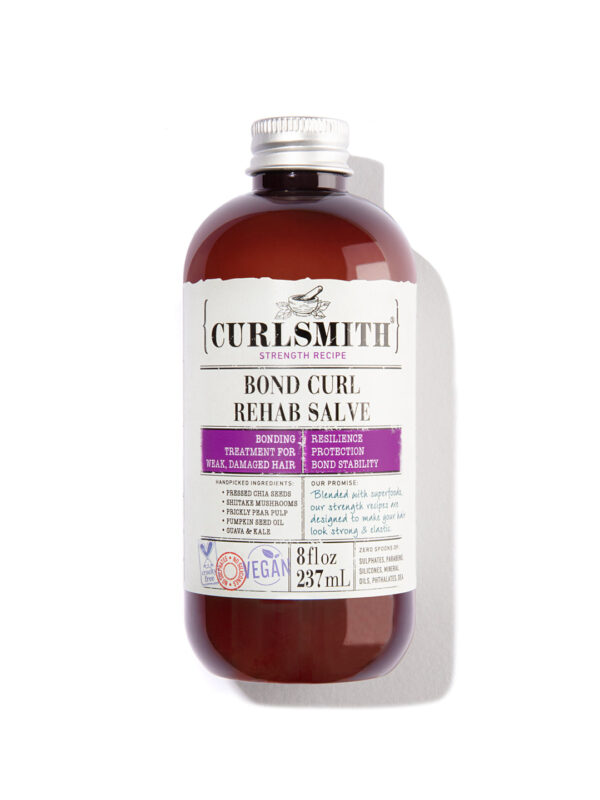
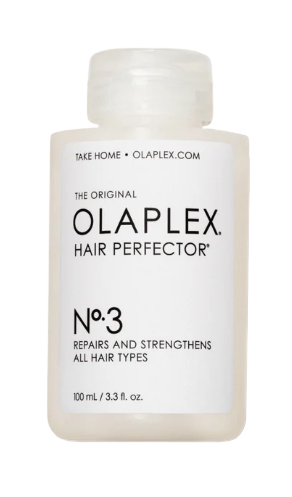
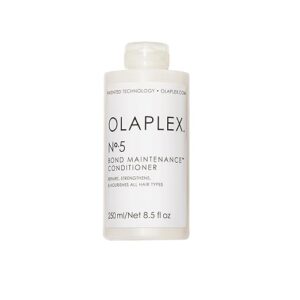
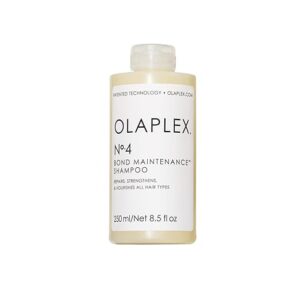
That’s why regular trims and bond-building treatments make such a big difference. Products with bond builders — like Olaplex or Curlsmith Bond Curl — help repair internal damage so your curls can spring back and clump more easily.
Over time, healthy hair naturally holds curl groups better and spring up.
For more help with tweaking your wash day to get longer lasting results, download my free Strong Hold Method Cheat Sheet where I walk you through each step, simplified.
And if you’ve already tried everything and still can’t get the results you want, that’s exactly what we troubleshoot inside my Curl Coaching Membership. I watch my clients’ style in real-time and give them feedback and guidance on how to improve their technique.
Early enrollment is open now, so email me (info@genamarie.co) if you want details on the early access discount.

If you think you might have curly hair but don’t know where to start — or you tried before and your curls were frizzy and
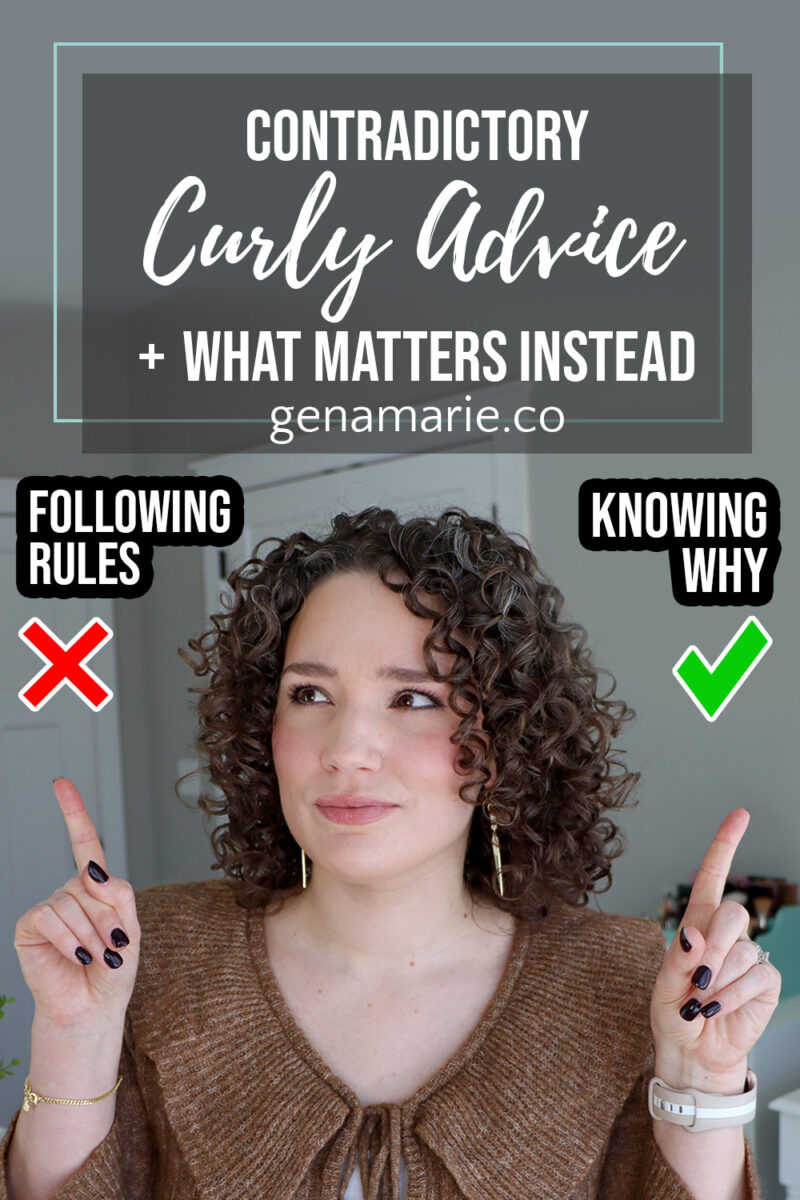
Curly hair advice is full of contradictions — and no one explains how they’re supposed to work together. If you’ve ever tried to research curly
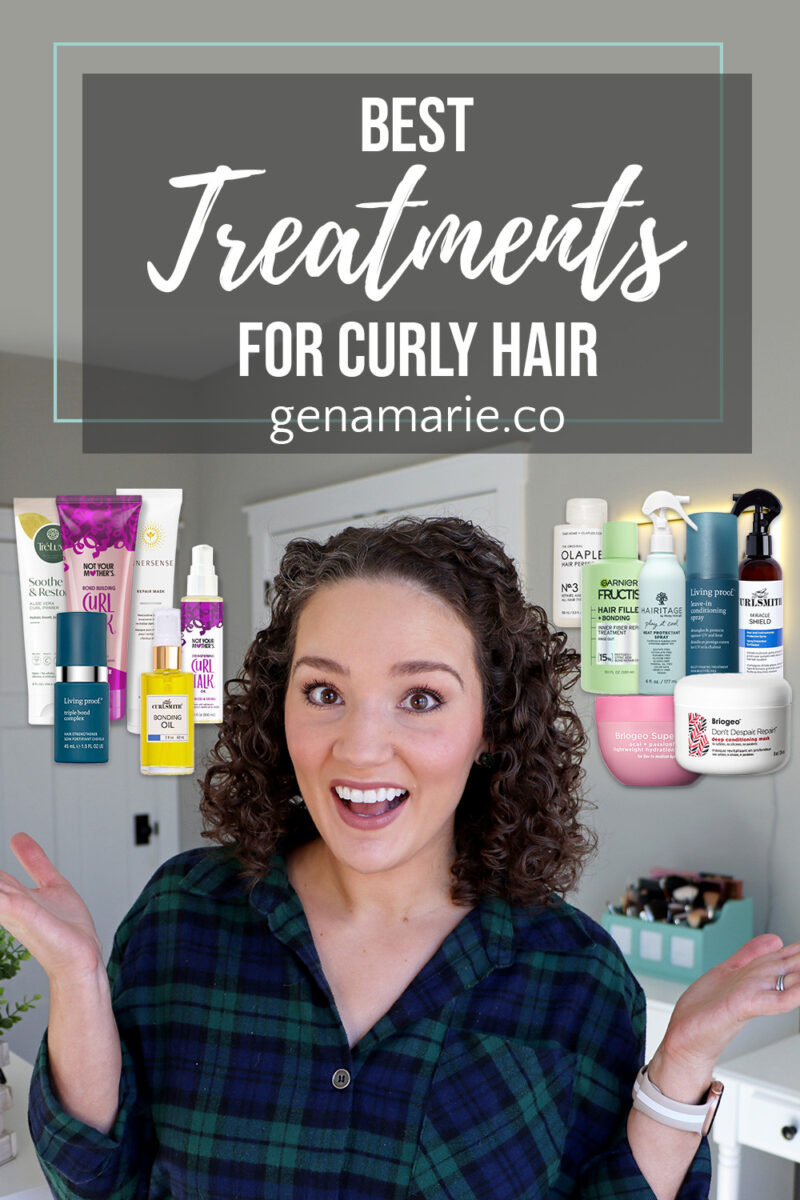
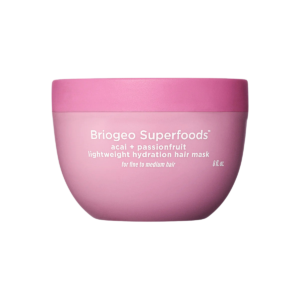
If your curls are falling limp, feel dry, or are showing signs of damage, it might be worth adding some targeted treatments into your routine.

Does the viral Abbey Yung Method, primarily a straight hair routine, actually work for naturally curly hair? Abbey Yung is a beauty creator with a
Notifications