


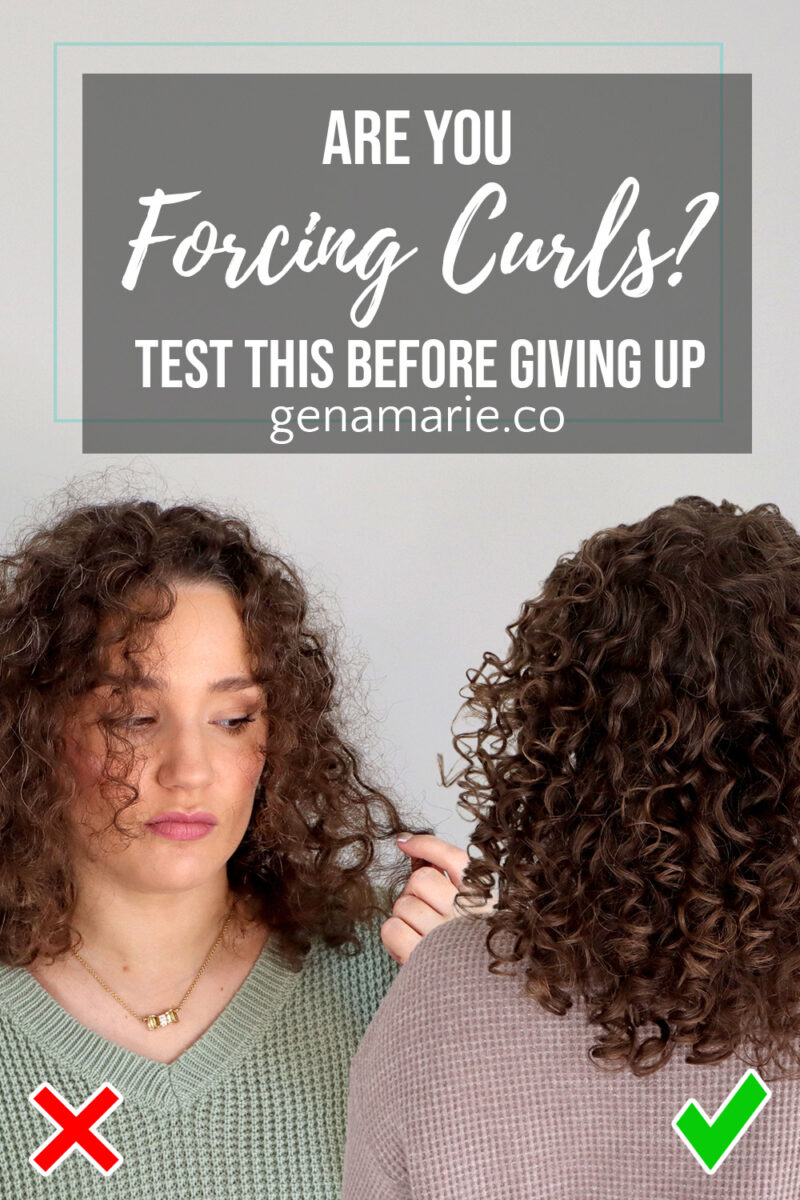
Are You Forcing Your Curls? How to Know If You’re Giving Up Too Soon
Feeling discouraged, frustrated, or unsure whether wearing your naturally curly or wavy hair is even worth it? If you’ve been following this Beginner Curl Series,
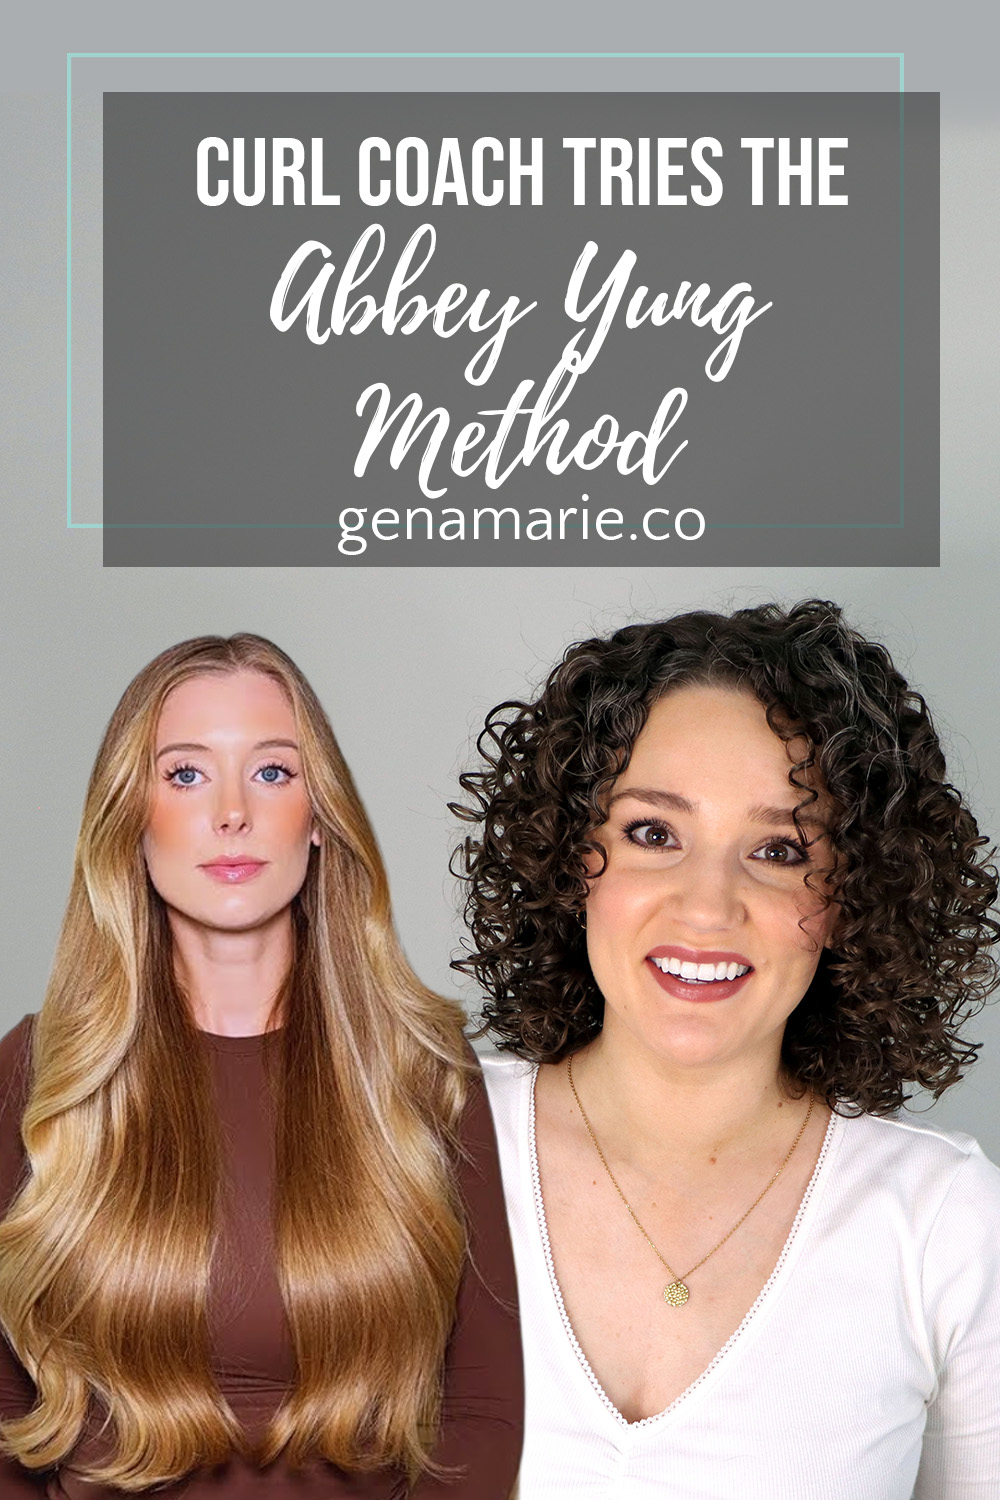
Does the viral Abbey Yung Method, primarily a straight hair routine, actually work for naturally curly hair?
Abbey Yung is a beauty creator with a science-based, routine-driven approach to long-term hair health, and a lot of her principles actually overlap with how I think about curls.
Here I will walk you through:
This is not a critique of Abbey’s routine, and I’m not recreating it on my own hair. Instead, I’m translating her method for curly hair so you can understand which principles carry over, which steps need adjustment, and how to apply them in a way that supports curl definition, hold, and longevity.
This breakdown is especially helpful if you:
| Abbey Yung Step | Goal | Curly Hair Consideration | Keep / Adjust |
|---|---|---|---|
| Pre-wash oil + bond repair, sometimes stacked or used separately | Protect hair & reduce damage | Choose one pre-wash option to simplify & detangle at this step. | Adjust |
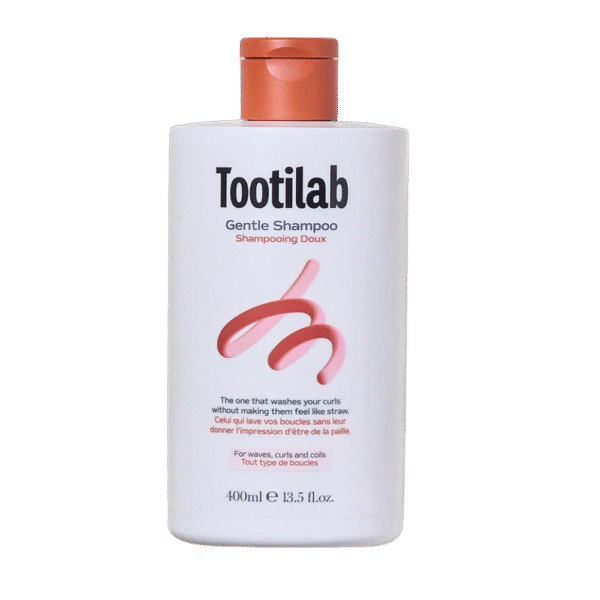
| Clarifying | Remove buildup & reset hair | Essential for all. Opt for chelating shampoos. | Keep |
| Double cleansing, sometimes using multiple shampoos | Thorough cleansing | Choose one shampoo and double cleanse if needed. Not needed on clarify days. | Adjust |
| Post-wash bond repair | Strengthen hair | Can use a conditioner or mask with bond repair to simplify. | Adjust |
| Conditioning, glosses + masks | Softness & slip | Choose one and consider the weight for your texture. | Adjust |
| Leave-in treatment & heat protection | Protect hair | Avoid silicones here because they will interact with gel’s hold. | Adjust |
| Styling serums / creams | Lock in shine, soften | Apply creams to wet hair and oils to dry hair. | Adjust |
| Between wash care: conditioning, heat protectants, dry shampoo | Protect hair, remove oil | Refreshing should be minimal with water or a little styling product. No need to reapply heat protectant. | Adjust |
Abbey starts her routine by protecting the hair before shampooing. She often uses a pre-wash bond repair treatment and may also use a pre-shampoo oil. The intention is to reduce damage, protect fragile hair, and support long-term hair health. She also notes that you don’t have to use all of these every wash day.
This step is especially helpful for curly hair that is damaged, fragile, or tangles easily. A lot of breakage happens during shampooing, and curls are more prone to mechanical damage simply because of how the hair coils and knots.
Where curly hair needs adjustment is how many pre-wash steps are used at once.
Curly wash days are already long, and most people with curls get tripped up by trying to do every option instead of choosing what their hair actually needs.
This step is also about detangling, not just protection. Going into shampoo with matted or tangled hair significantly increases breakage.
I choose one pre-wash option per wash day:
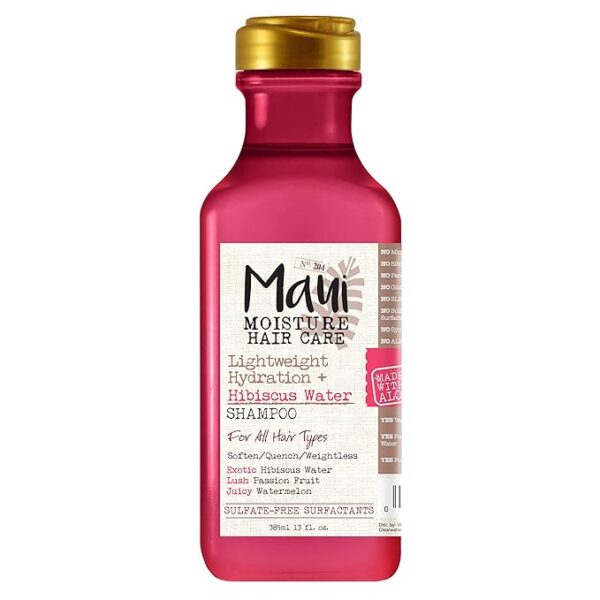
I do not stack oil and bond repair together. Some wash days I’ll also detangle again later with conditioner, depending on how tangly my hair is. The goal is to protect and detangle while keeping it simple.
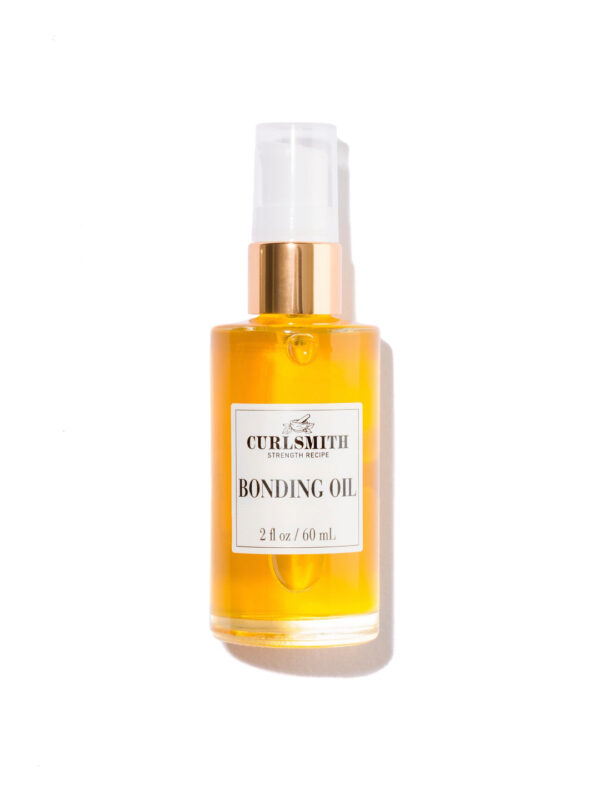
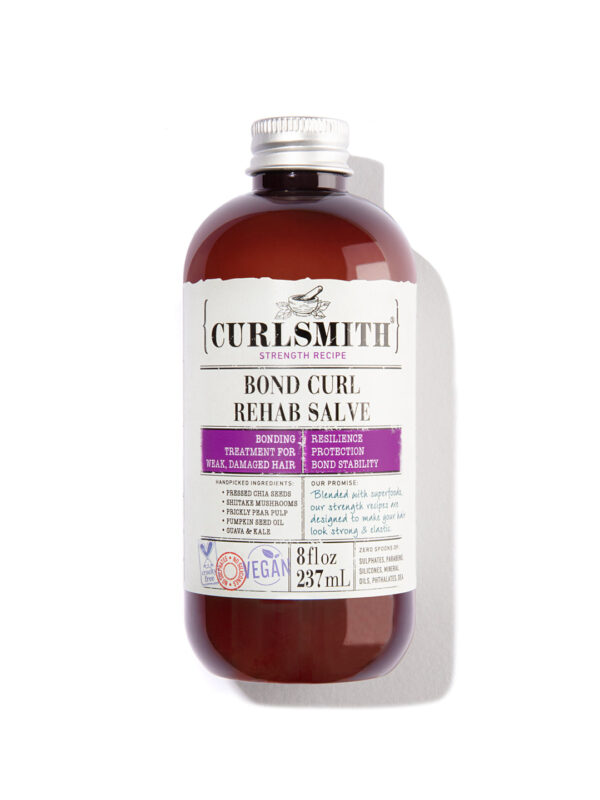
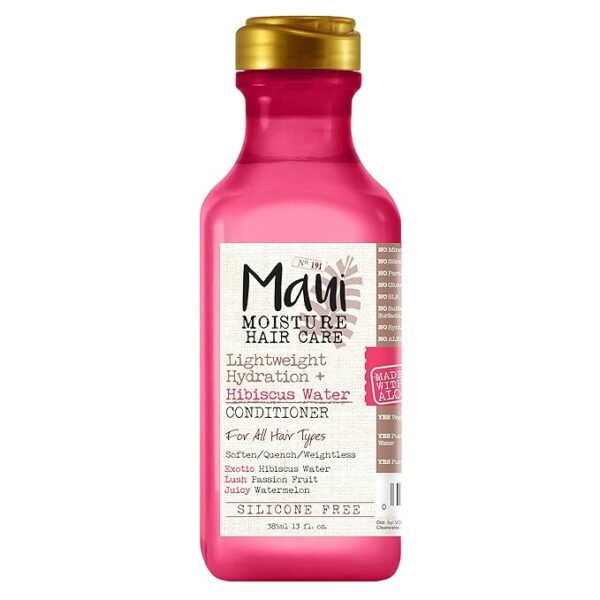
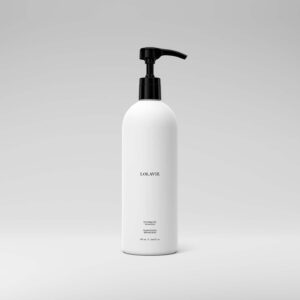
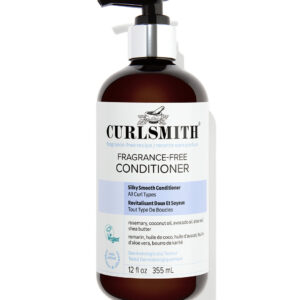
For the routine I shared in the video, I used the Curlsmith Bonding Oil on dry hair and Maui Moisture Lightweight Hydration Conditioner on wet hair.
Abbey’s Steps Covered
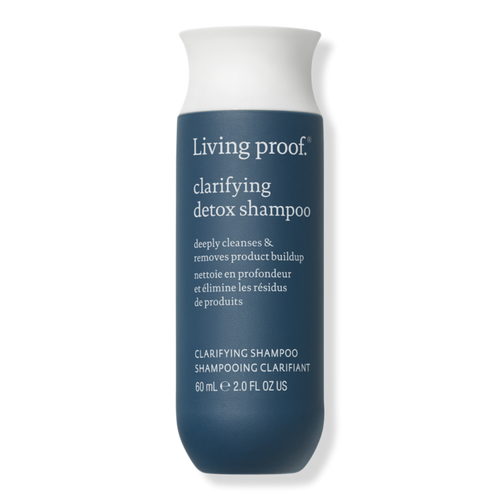
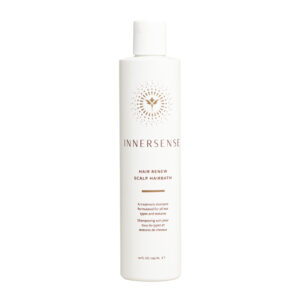
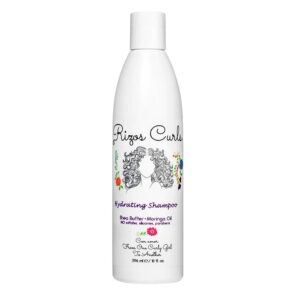
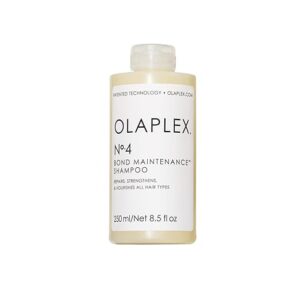
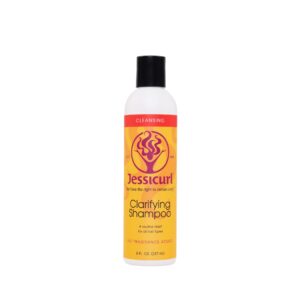
Abbey prioritizes clean hair and encourages people not to fear strong shampoos or sulfates. She clarifies regularly and sometimes layers shampoos because she enjoys experimenting with products and benefits.
Clean hair matters. Clarifying is important for scalp health, curl performance, and hold.
Many shampoos already have overlapping benefits. For example, on the days where you clarify, you do not need to also use a regular shampoo.
Curly wash days are long, so I don’t think most people need to layer multiple shampoos in one routine. If hair needs a second cleanse, the same shampoo can simply be used again.
I rotate these using my Wash Day Schedule, rather than layering them together.
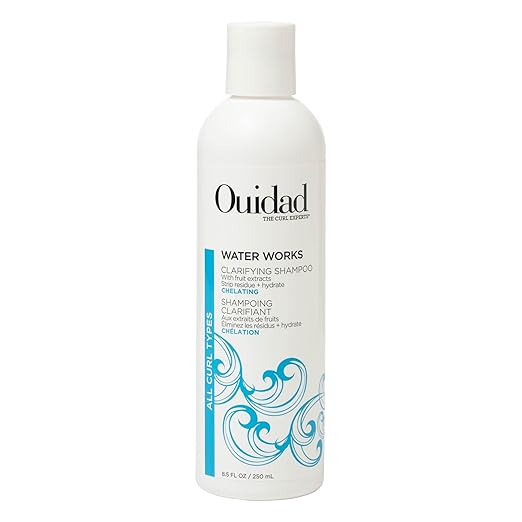
For the routine I shared in the video, I used the Ouidad Water Works.
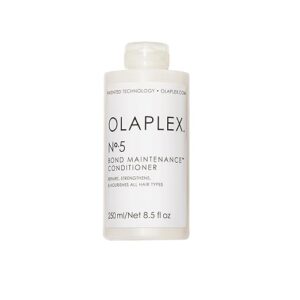
Abbey includes rinse-out bond repair treatments such as K18 after shampoo to strengthen hair. She mentions that she often rotates around to different options and different formats of bond-repair.
This step can work for curly hair, but if your hair gets weighed down easily, it’s something to be mindful of since it’s applied immediately after shampoo.
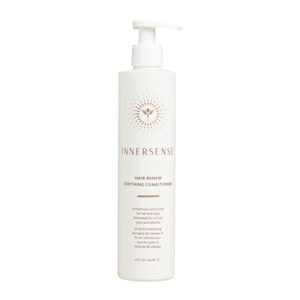
I don’t use a separate step here. Instead, I combine post-shampoo bond repair into my conditioning step.
See Step 3A below.
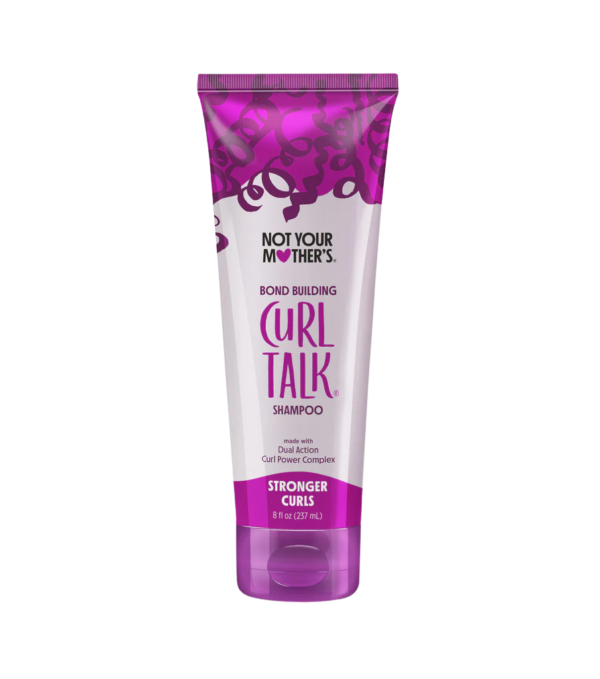
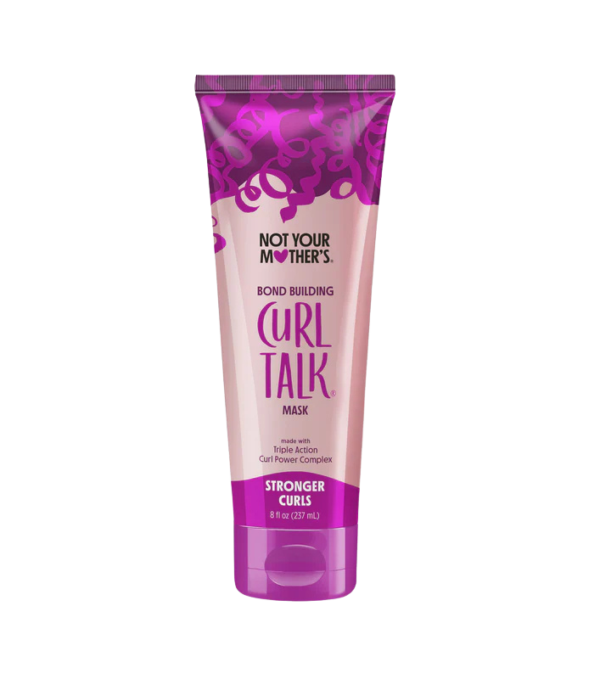
Abbey rotates conditioners, masks, and glosses depending on her needs.
Curly hair needs conditioning, but total conditioning load matters.
Layering multiple conditioning products can overly soften curls, which reduces structure and makes it harder for styling products to create hold.
Detangling often happens here as well, especially for curlier or coarser textures.
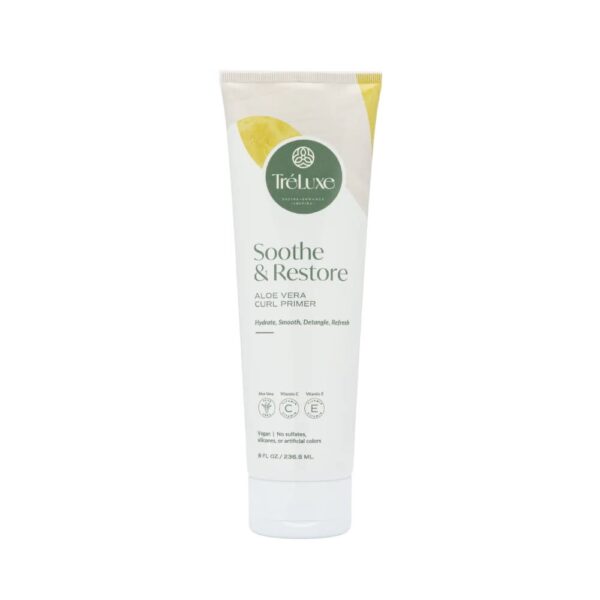
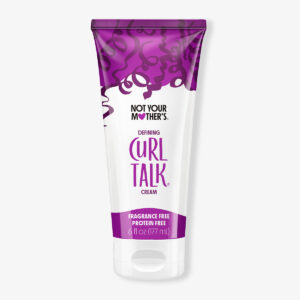
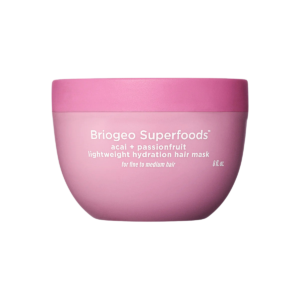
For the routine I shared in the video, I used the Not Your Mother’s Curl Talk Bond Building Mask.
Abbey applies post-wash bond repair and heat protection intentionally. She often recommends silicone-based options because she uses multiple heat tools. She also emphasizes even product application in sections. She applies leave-ins and heat protectants to hair that is towel-dried and starting to dry.
If you diffuse, you need heat protection. I don’t have a problem with silicones — I just use them intentionally.
Because curls rely on styling products for structure and hold, I’m more selective at this stage. I usually recommend silicone-free leave-ins and heat protectants so they don’t interfere with hold.
We also typically use much less heat than straight-hair routines, so heavy heat protection isn’t always necessary.
Everything is applied to evenly wet hair so products distribute evenly.
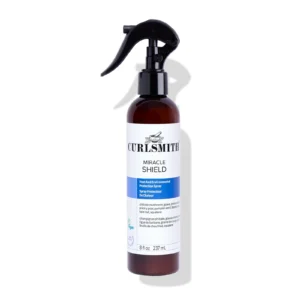
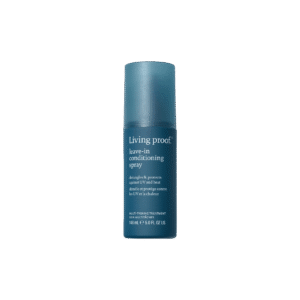
For the routine I shared in the video, I used the Curlsmith Miracle Shield.
Abbey emphasizes that styling products are optional and flexible. She often applies these to towel-dried hair that is starting to dry.
This is where curls completely diverge.
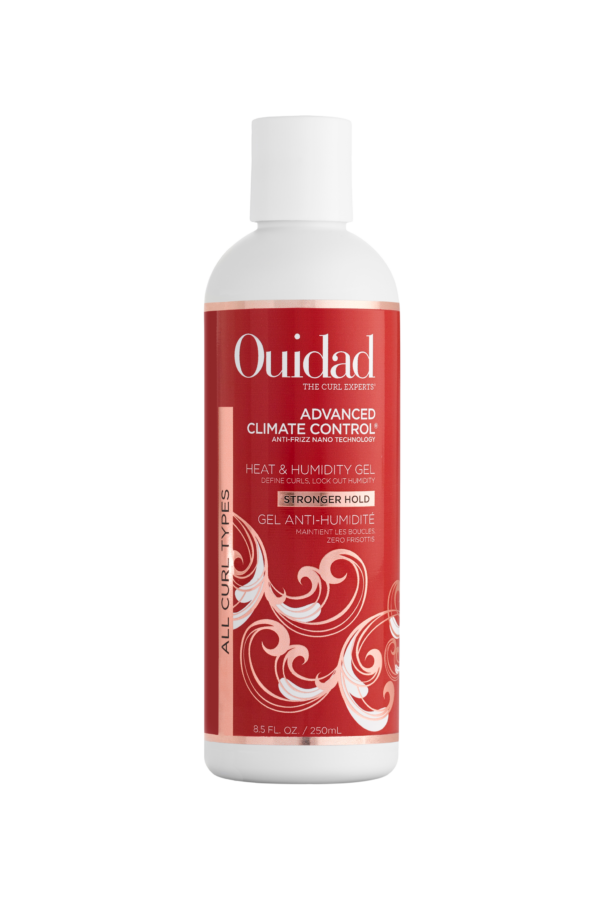
Curly hair must be styled on wet hair to form curl clumps, enhance definition, and set structure. Curly hair styling products need to provide both moisture and hold. Depending on your hair’s texture, this balance will vary.
This is the foundation of the Strong Hold Method.
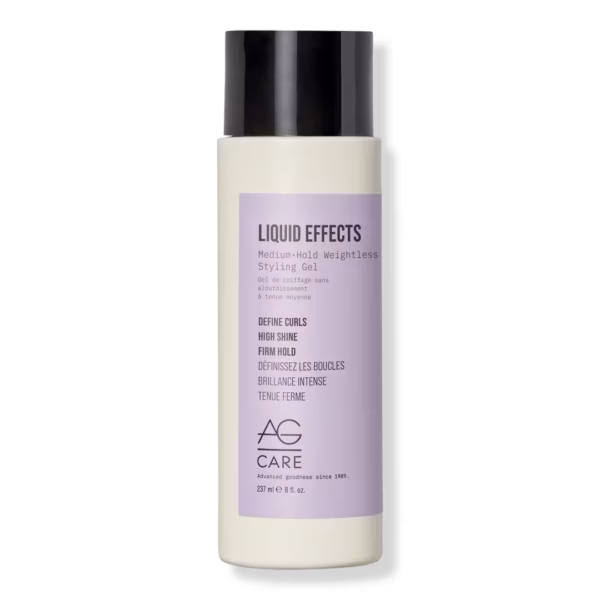
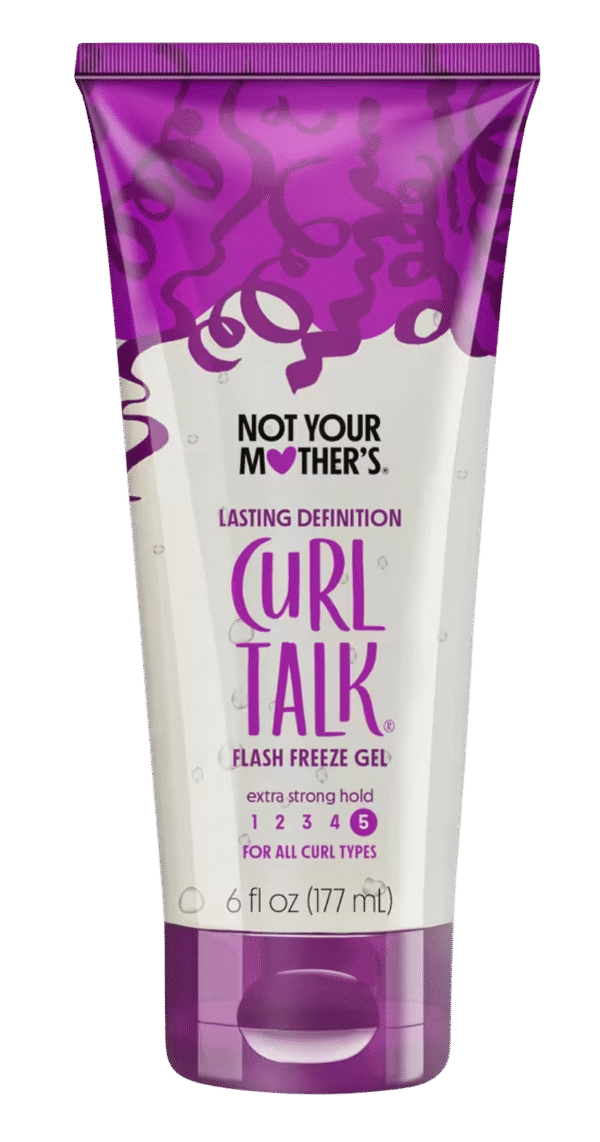
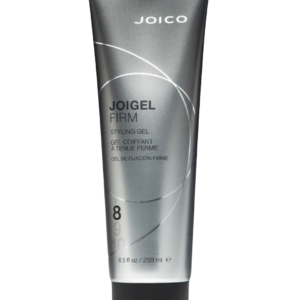
For the routine I shared in the video, I used the Ouidad Advanced Climate Control Stronger Hold Gel.
Abbey includes creams, oils, and serums to seal the style.
This step depends on wet vs dry hair.
Oils on wet curls can break down hold. If you want a silicone, this is where I’d use it — on dry hair, intentionally.
For the routine I shared in the video, I used the Curlsmith Bonding Oil.
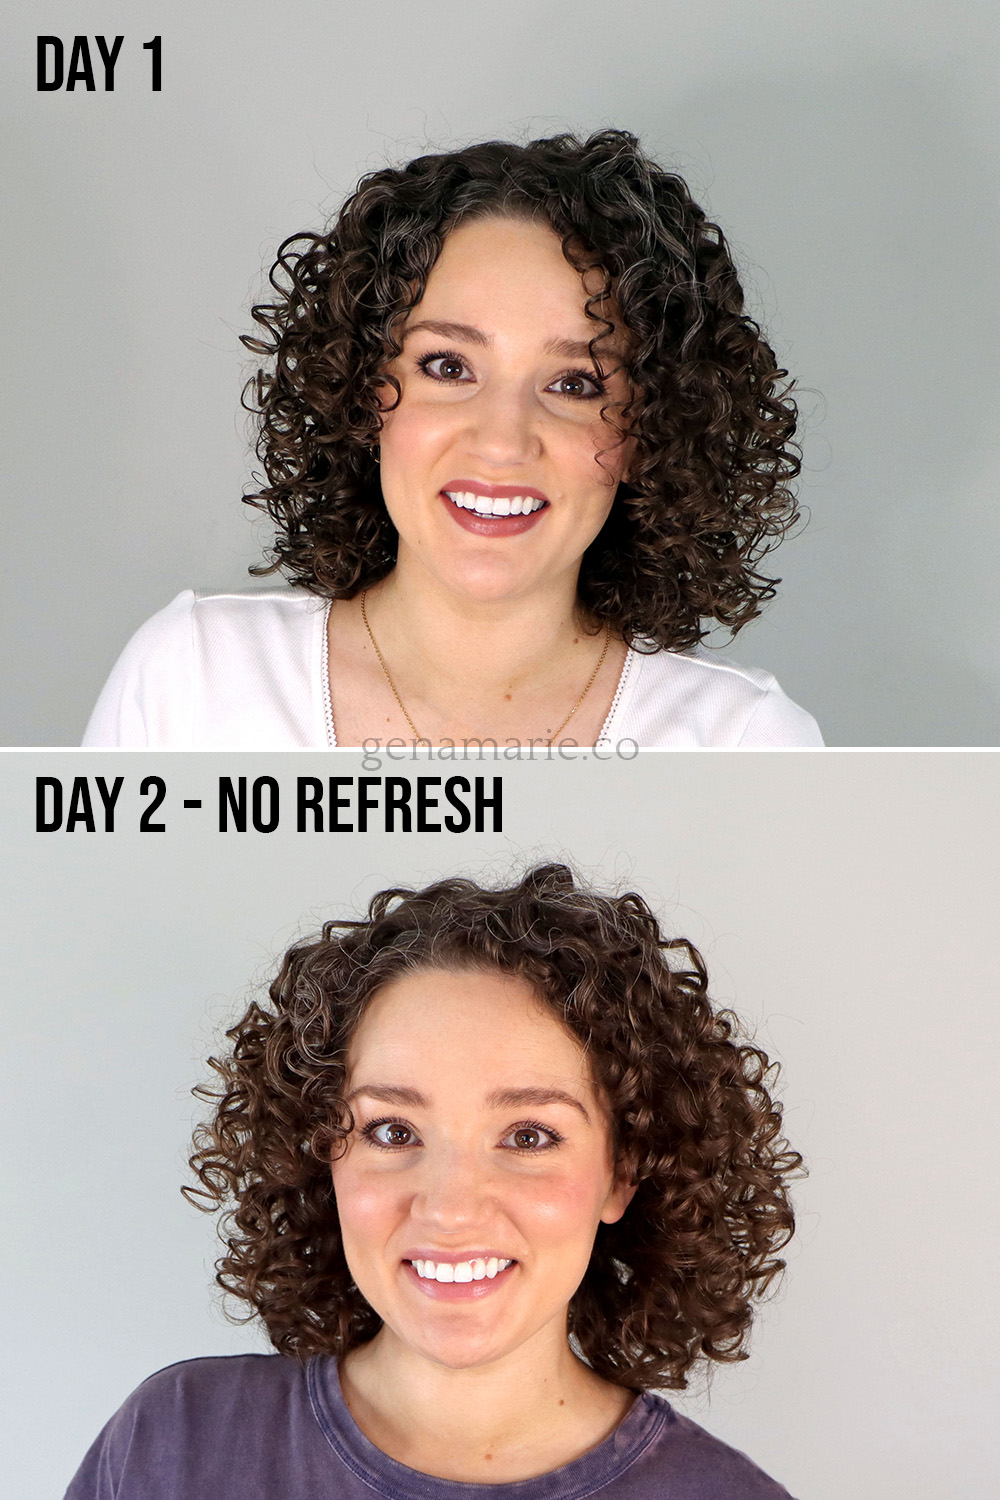
After wash day, my curls have strong definition, volume, and hold.
They don’t feel overly soft or weighed down, and they last.
This routine supports structure first, so styling actually holds.
Abbey includes targeted between-wash maintenance, such as reconditioning the hair, applying heat protection in order to use heat tools to touch up, and dry shampoo to absorb scalp oil.
With curly hair, if your routine is right for your hair, you can wash a few times a week and not restyle in between. Some touch-ups are necessary, and we call this “refreshing.” This should not be a full soak down and re-style. Dry shampoos are also not very popular since curly hair is less likely to be oily, however some loose curl and waves types may experience oily roots if they have an oily scalp.
My curls still have shape, volume, and definition. This is the reason I structure my routine this way — so curls last without constant manipulation. I don’t have to do anything to my hair on day 2 with this routine, aside from maybe arranging the curl clumps with dry hands. On day 3+, I may refresh with the methods listed above.
Abbey’s method is thoughtful, intentional, and grounded in hair science. Many of its principles translate beautifully to curly hair, and some need adjustments for curls.
The key difference is simplification.
Curly hair requires more intention during styling, so wash days need to support — not compete with — that process. When wash days are simplified and styling is prioritized, curls last longer, hold better, and require less work between washes.
If you want help applying this in a simple, repeatable way, this is exactly what I teach inside the Strong Hold Method and my Wash Day Schedule.
Those tools are designed to help you stop guessing, simplify your routine, and finally get consistent curl results.
If you want deeper guidance and a step-by-step approach to building a routine that truly works for your hair, you can request an invite to my upcoming Curl Coaching Program. It’s designed to help you simplify your routine, choose products with confidence, and finally get consistent, long-lasting results.

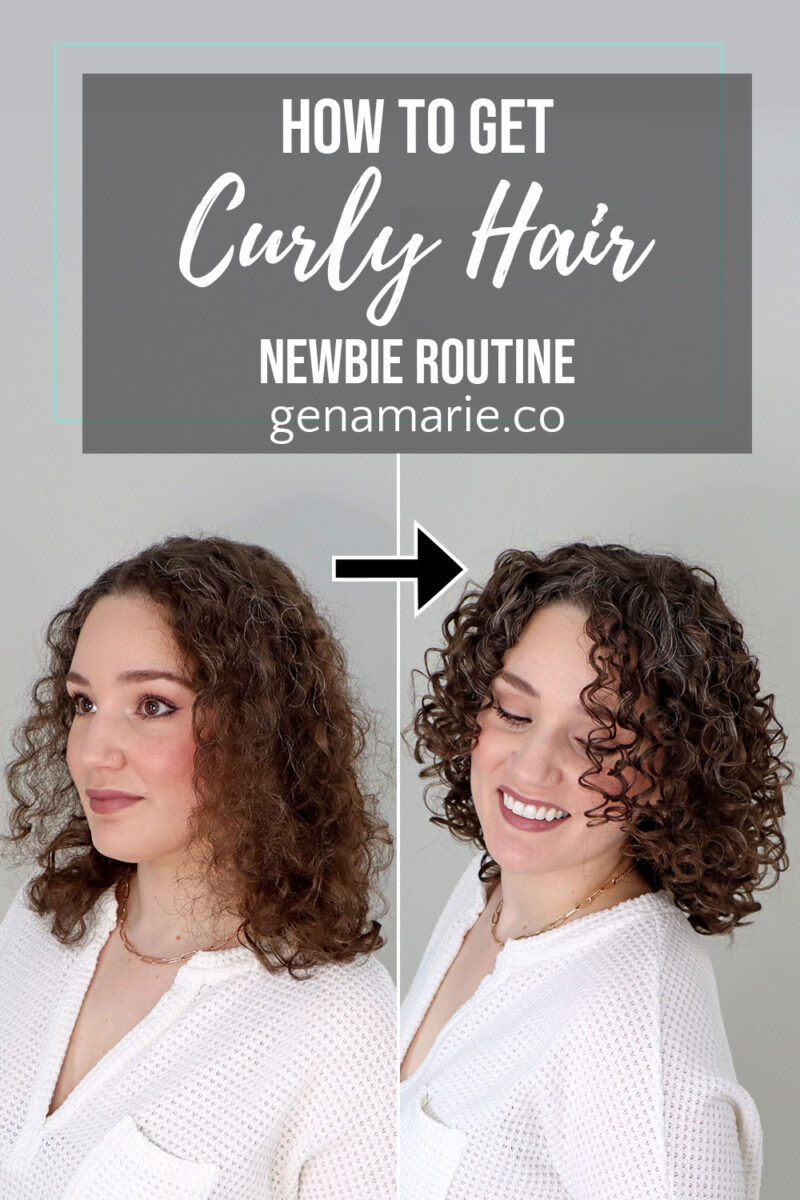
Feeling discouraged, frustrated, or unsure whether wearing your naturally curly or wavy hair is even worth it? If you’ve been following this Beginner Curl Series,
If you’re trying to wear your hair curly and you feel like you’re doing everything right but your hair still doesn’t look how you want,
If you think you might have curly hair but don’t know where to start — or you tried before and your curls were frizzy and
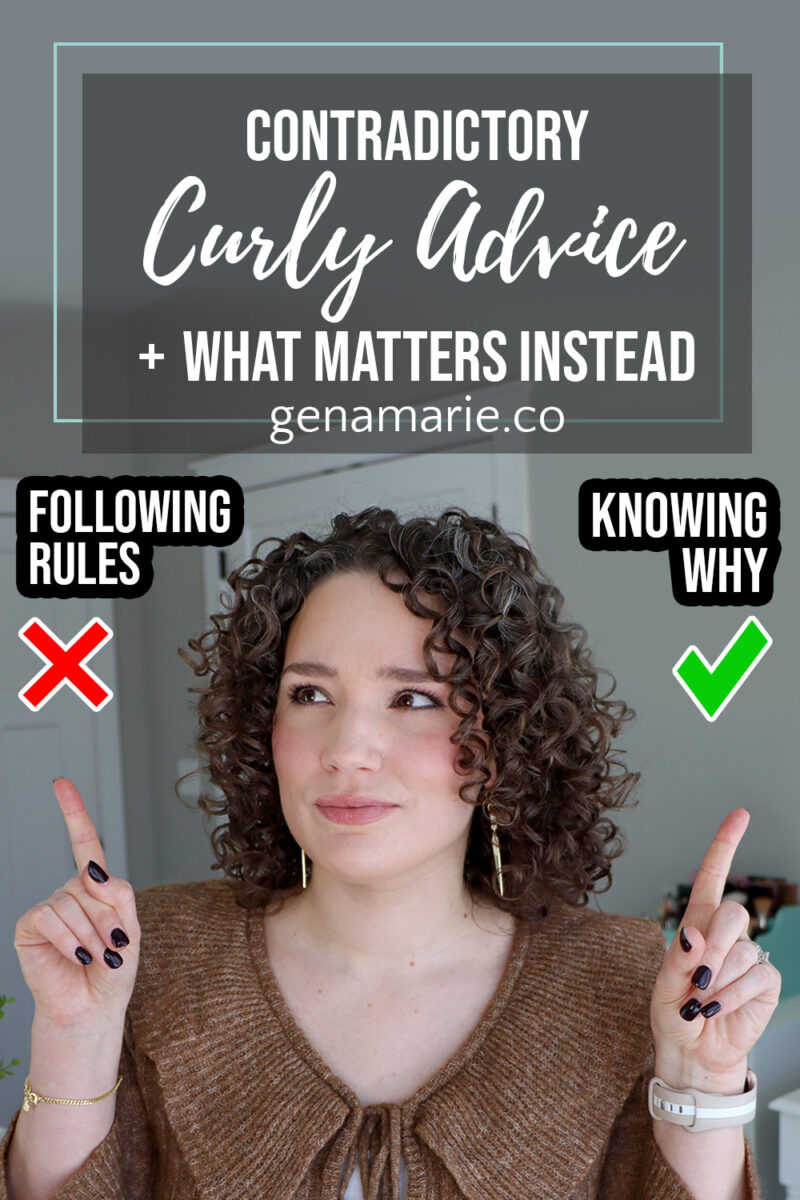
Curly hair advice is full of contradictions — and no one explains how they’re supposed to work together. If you’ve ever tried to research curly
Notifications