


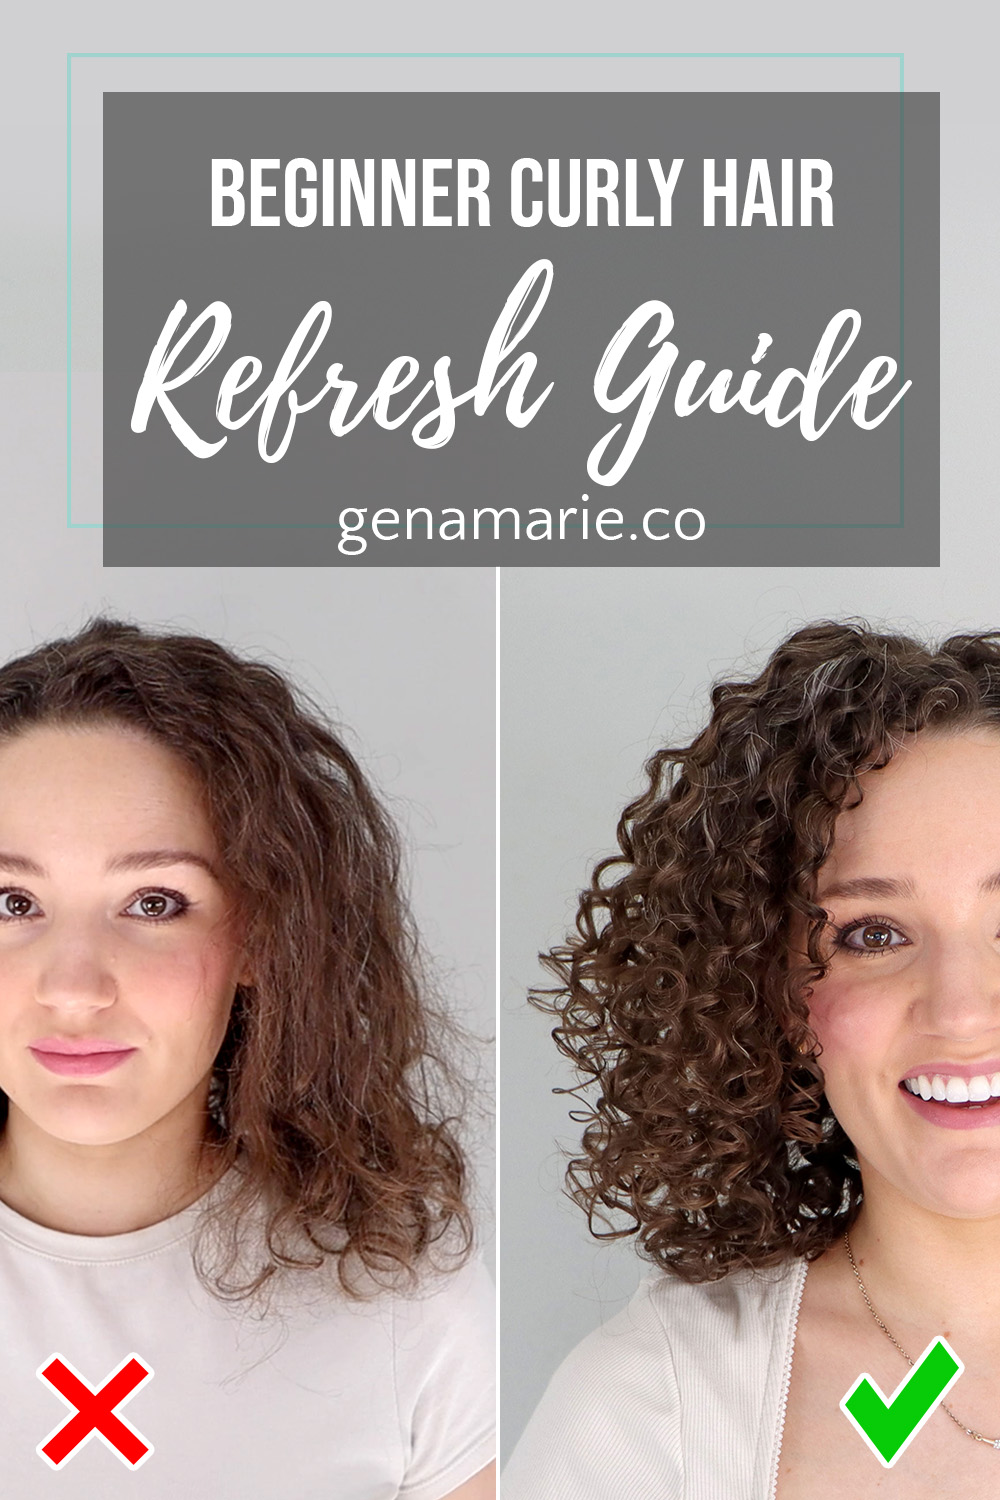
Curly Hair Refresh Guide for Beginners: When to Leave It, Fix It, or Wash It
If your curls look worse every morning and you feel like you have to restart your hair every day, that’s exactly when curly hair starts
If your curls look worse every morning and you feel like you have to restart your hair every day, that’s exactly when curly hair starts to feel like too much work.
This guide will show you how to refresh your curls strategically so you can decide whether to leave them alone, fix them, or start over without wasting time or piling on product.
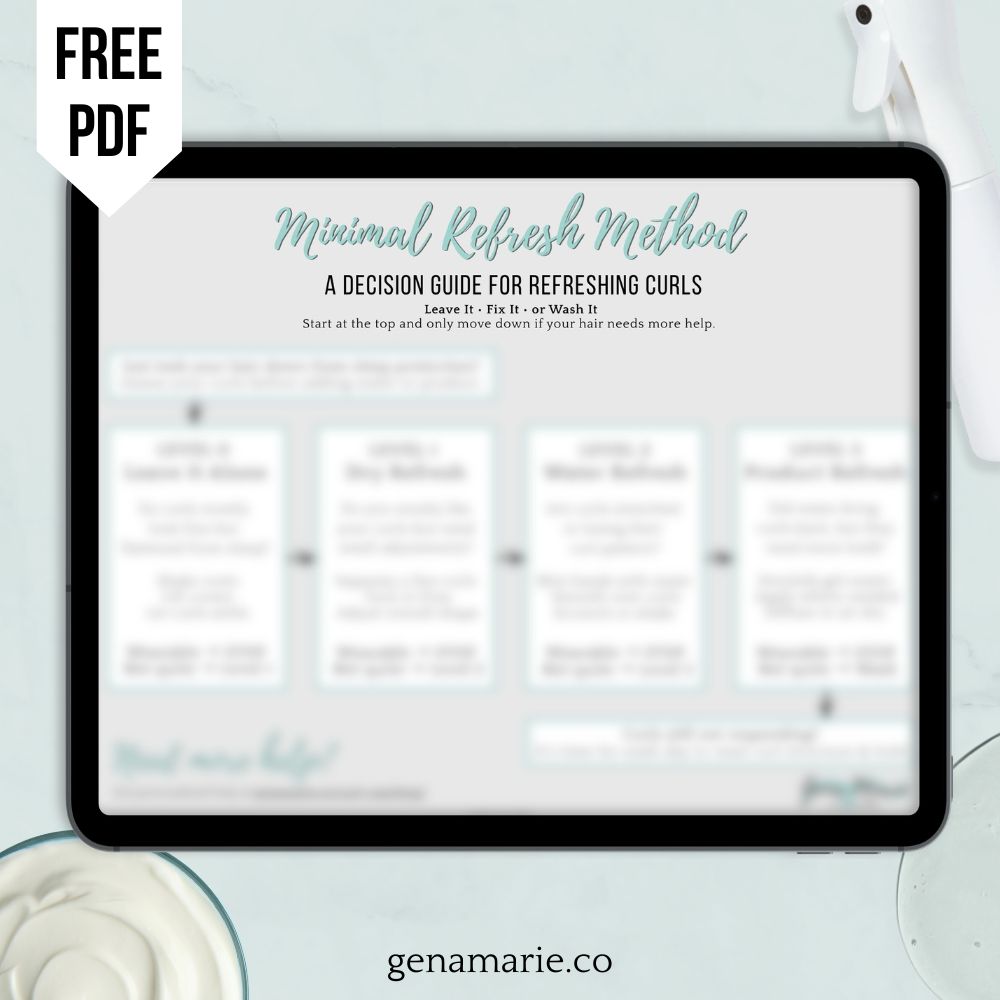
This is the exact Minimal Refresh Method I teach my clients to help them save time and effort. The idea is simple: start with the least amount of work and only add more if your hair actually needs it.
You can also download the Minimal Refresh Method Decision Flowchart as a quick reference to follow while refreshing your hair.
This is part of my Beginner Curl Series, where I walk you through the foundations you need to get consistent curl results.
The goal of refreshing isn’t to redo your hair every morning. The goal is to preserve the structure you created on wash day and only step in when your hair actually needs help.
Instead of automatically reaching for water or more product, you move through a few simple levels. Each level starts with assessing your hair first, making a small adjustment if needed, and then reassessing before deciding whether to move on.
Some days your curls will settle back into place with almost no effort. Other days you may need to lightly reorganize them, add a little water, or occasionally use a small amount of product.
But the key is that you start with the least amount of work first, and only add more if your hair actually needs it.
Use this simple decision process each morning:
➡️ Level 0 — Leave It Alone
If curls just look flattened from sleep.
➡️ Level 1 — Dry Refresh
If curls need reorganizing but still have hold.
➡️ Level 2 — Water Refresh
If curls look frizzy, stretched or lost bounce.
➡️ Level 3 — Product Refresh
If water alone doesn’t restore definition.
➡️ Wash
If refreshing requires too much manipulation.
Use this level if your curls mostly look fine but were flattened from sleep.
Level 0 is the most important step: do nothing first.
A lot of people immediately grab a spray bottle or product when they take their hair down in the morning. But sometimes your curls just need a minute to settle.
Assessment
Ask yourself:
What to Do
Sometimes the best thing you can do is simply walk away for a few minutes and let your hair relax back into place.
Reassess
Decide
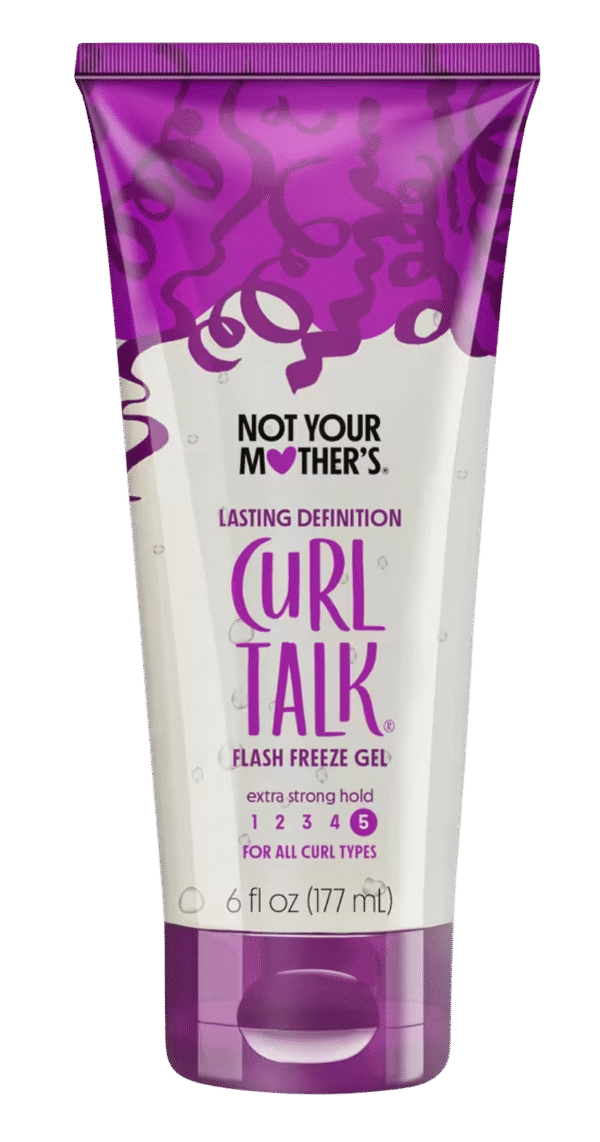
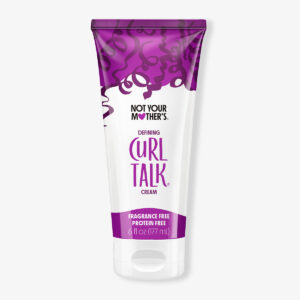
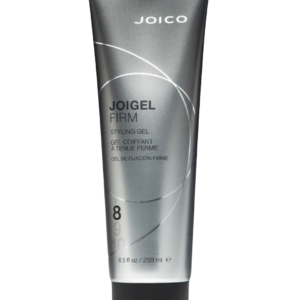
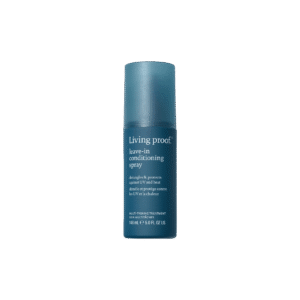
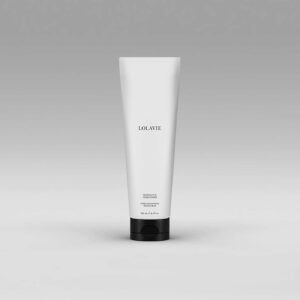
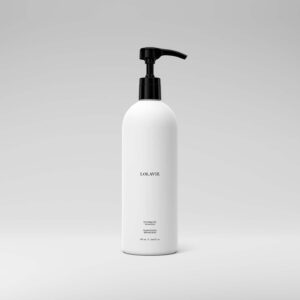
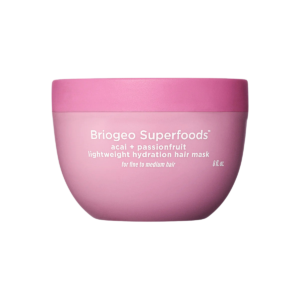
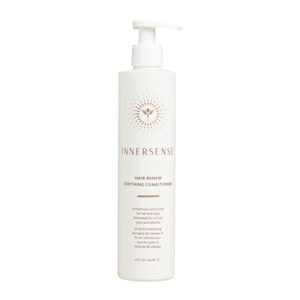
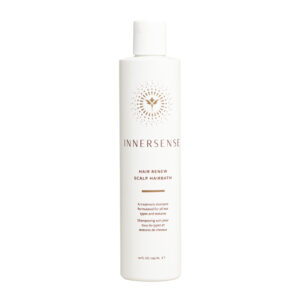
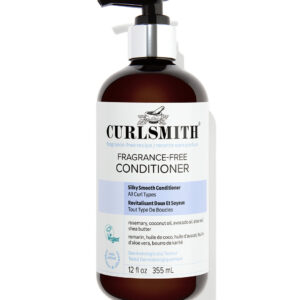
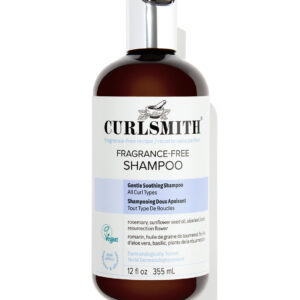
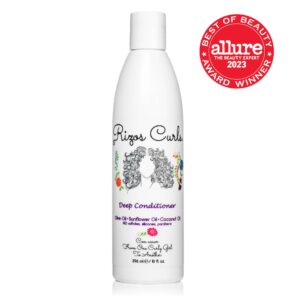
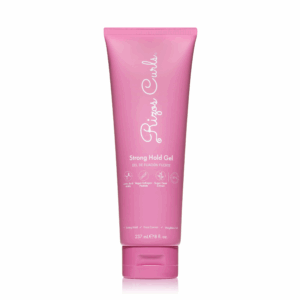
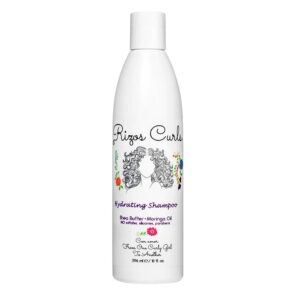
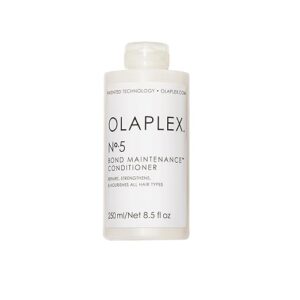
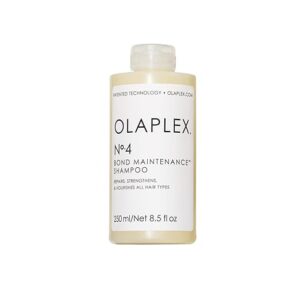
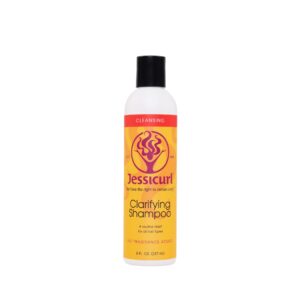
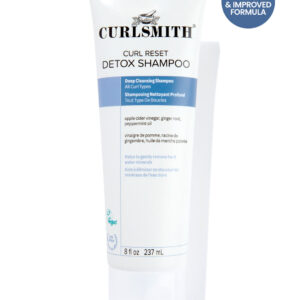
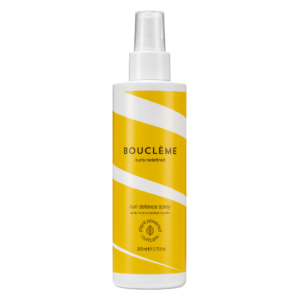
One reason this step often works is because of what I used on wash day. Below are the products I used on wash day:
Use this level if your curl pattern is still intact but the shape needs reorganizing.
A lot of times your curls don’t actually need water yet. They just need to be reorganized.
Assessment
Ask yourself:
What to Do
You’re reorganizing the curls, not reforming the curl pattern.
This isn’t the time to rake through your hair or do a full detangle, but it’s okay to gently separate a few small tangles or stuck curl groups. I recommend doing any light tangle separation here before adding water, because once the hair is wet those tangles can turn into sticky webbing that’s much harder to work through.
Reassess
Decide
Use this level if your curls look stretched or lost their bounce.
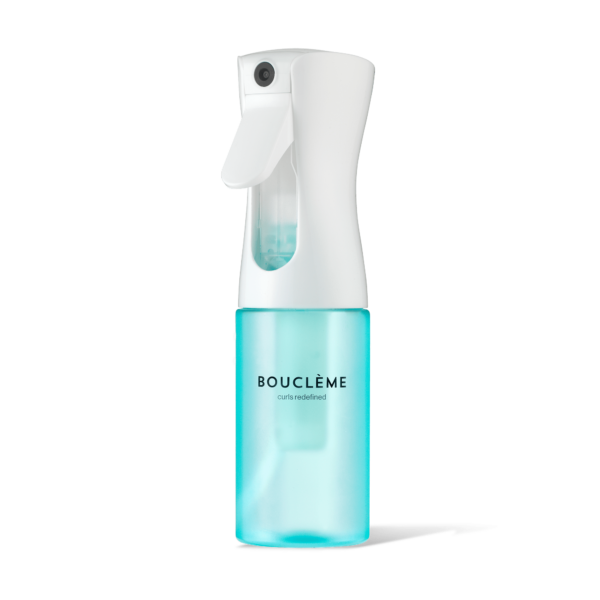
At this level we’re using water to reactivate the stylers already in your hair.
The goal isn’t to soak the hair or restart the routine. You’re just adding enough water to help the curls spring back.
Assessment
Ask yourself:
What to Do
Reassess
Decide
Use this level if water alone didn’t restore the curls.
Now we’re deciding whether the hair needs a small amount of product correction.
Assessment
Ask yourself:
From here, there are three possible paths.
Use this if the hair feels dry or draggy.
If you use a gel with more built-in slip, like AG Liquid Effects, this step may feel easier—you may be able to refresh with just water or just gel.
Use this if curls dried fuzzy.
Use this if the hair is lacking flexibility and is frizzy.
After any of these paths:
Reassess
Decide
Refreshing should extend your results, not replace wash day.
Assess
Ask yourself:
Decide
If refreshing is starting to feel harder than helpful, it’s usually time to wash and reset your curls.
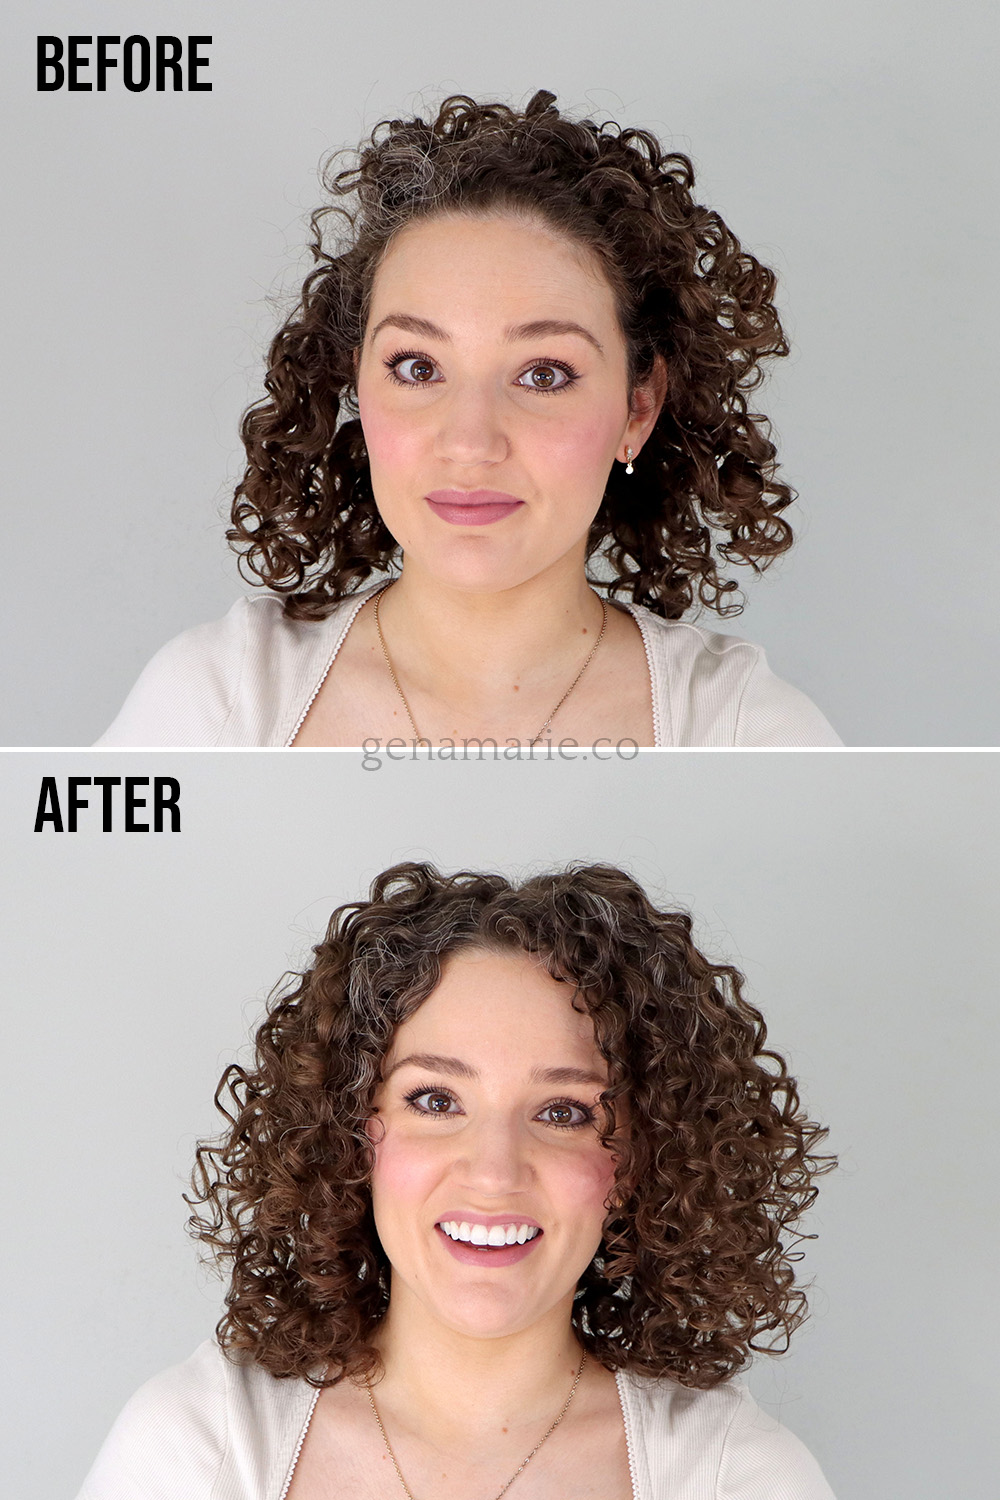
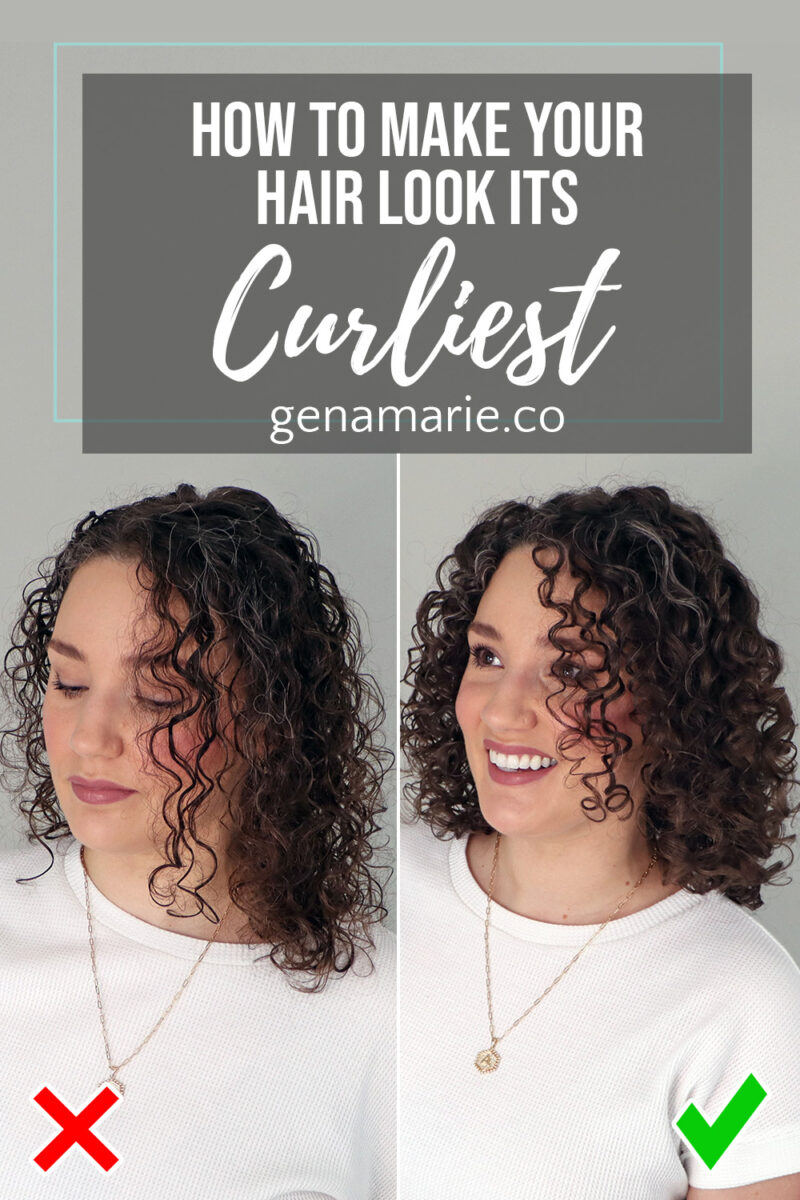
As you can see, my curls are more organized, have a uniform shape, and I’ve tamed some frizz.
Remember, the goal is not to reset your hair back to wash day status. It’s normal for your hair to look “worse” as the days go on. Some people will need to refresh and wash more than others, especially if their curls are damaged or still recovering.
Do not be afraid of washing when needed. There is no gold medal for going as long as possible without refreshing.
Refreshing is only one small part of getting curls to last.
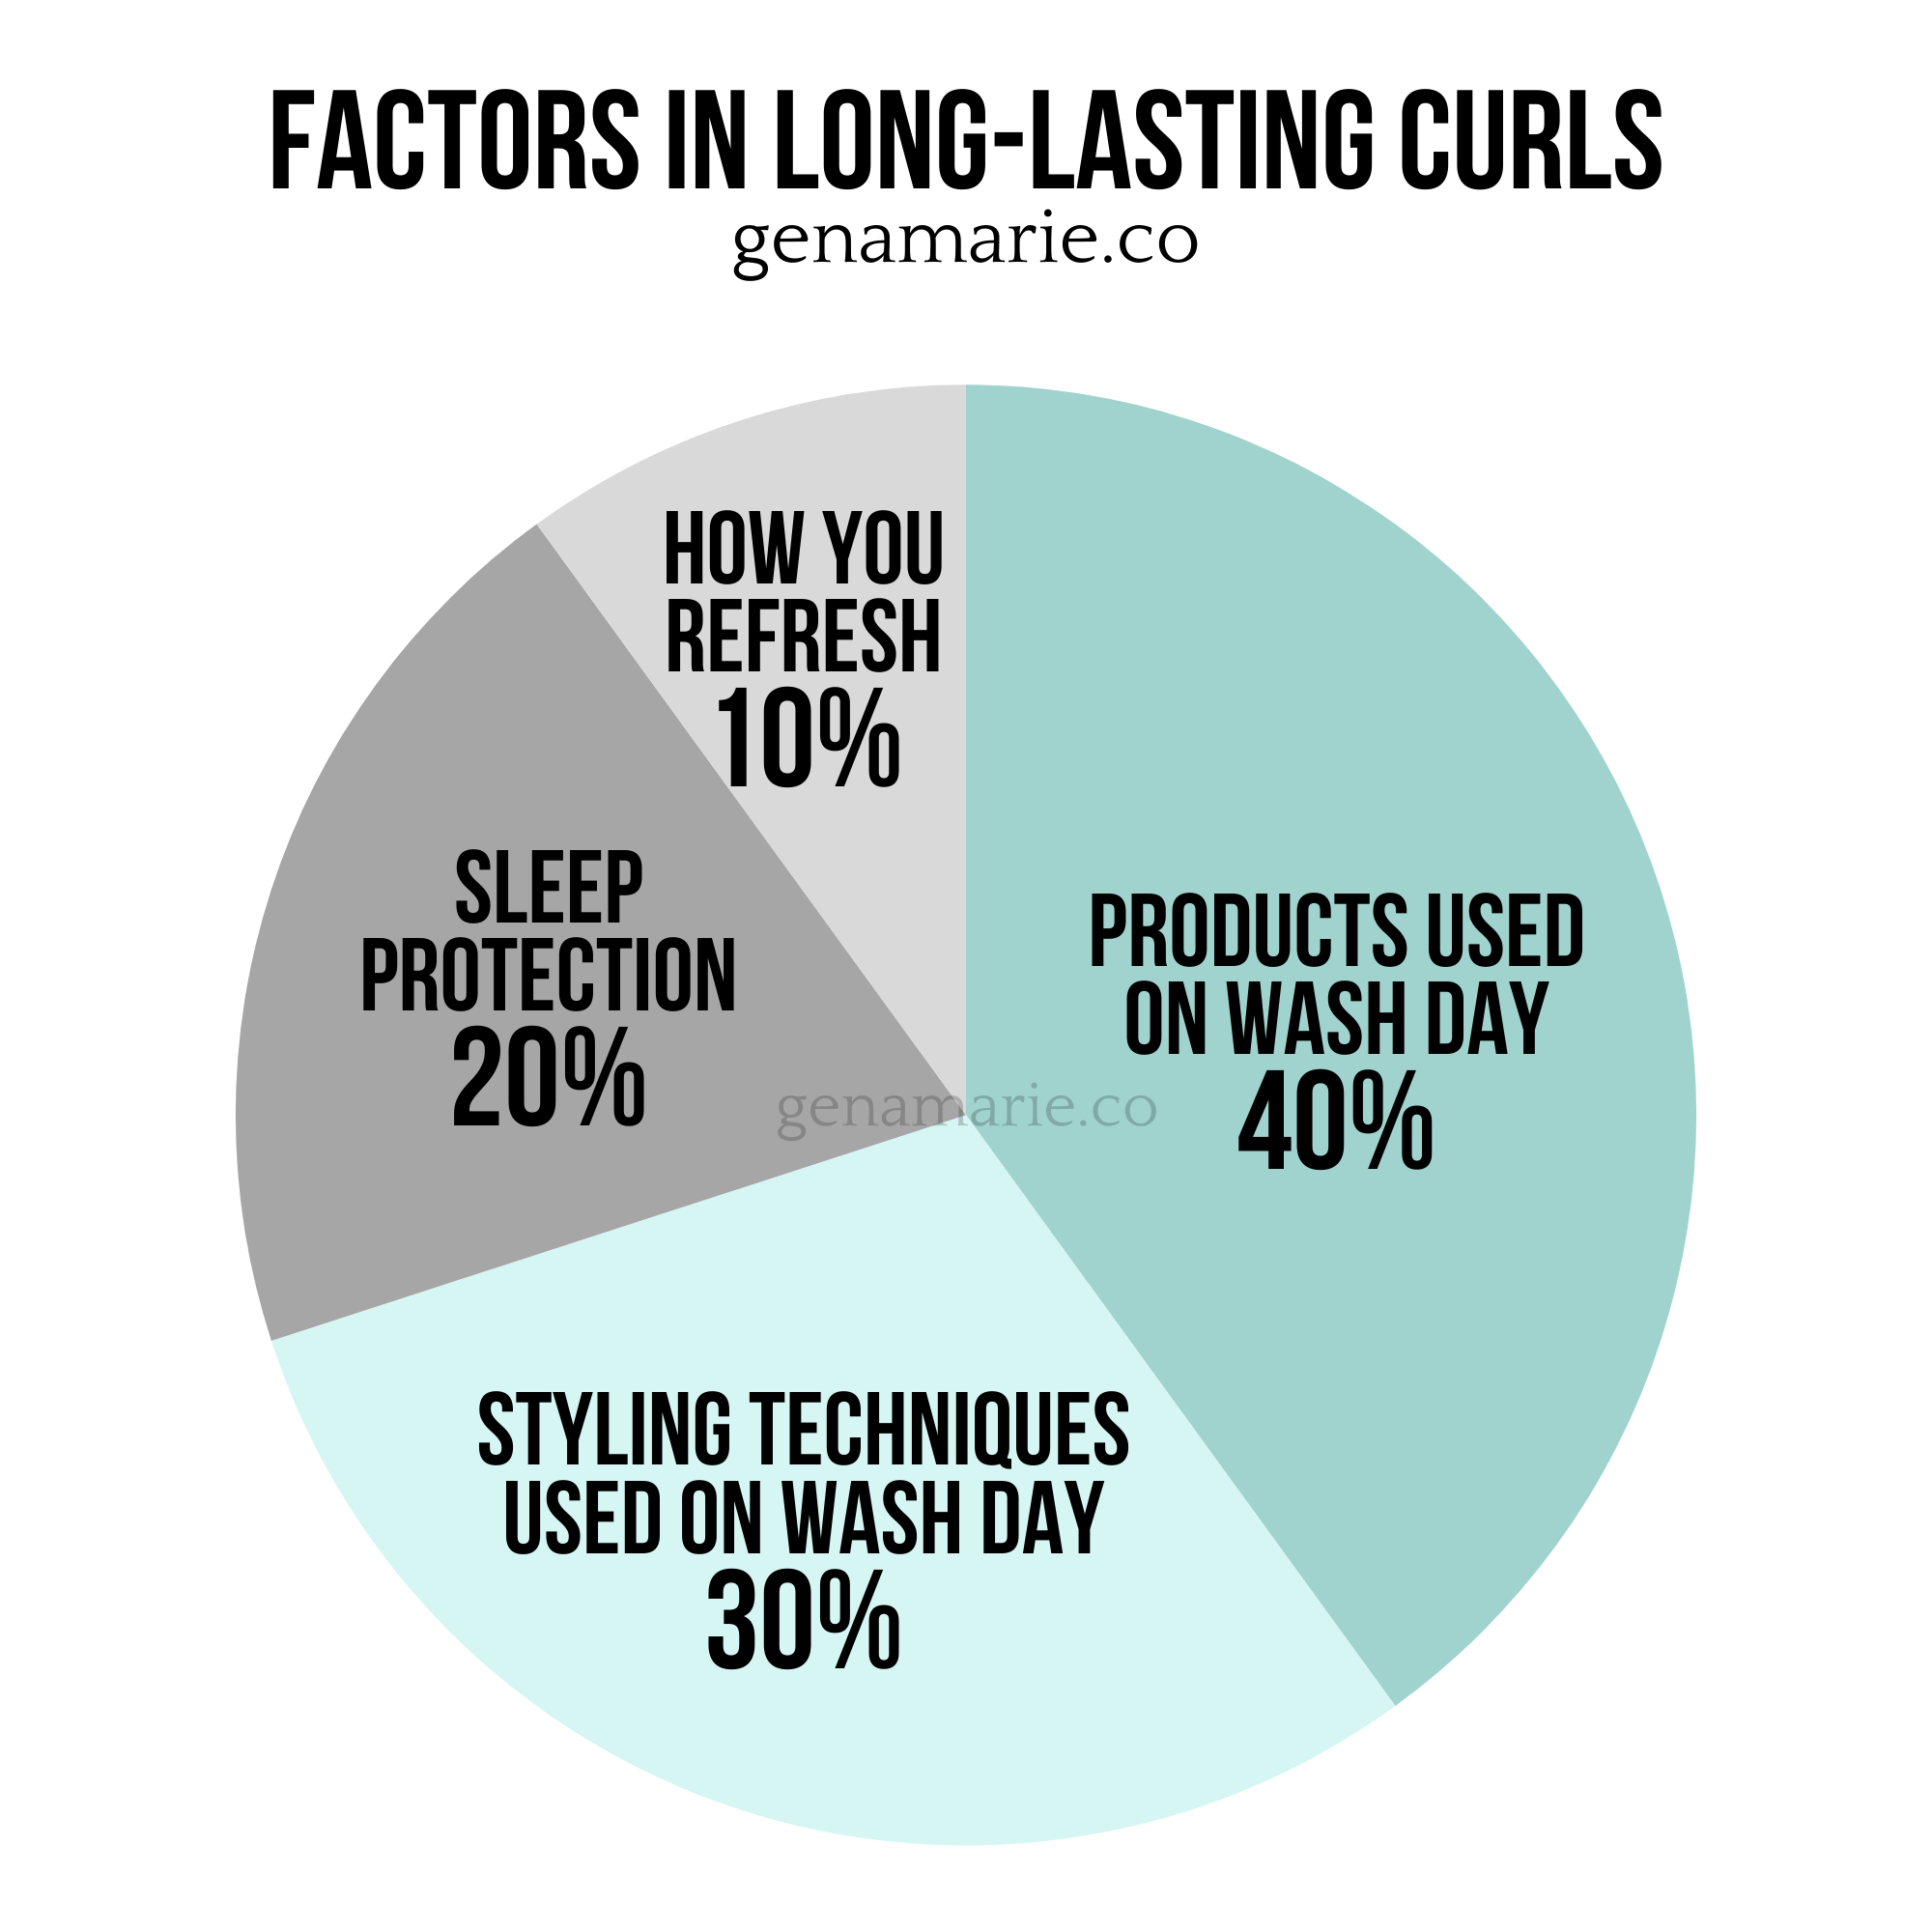
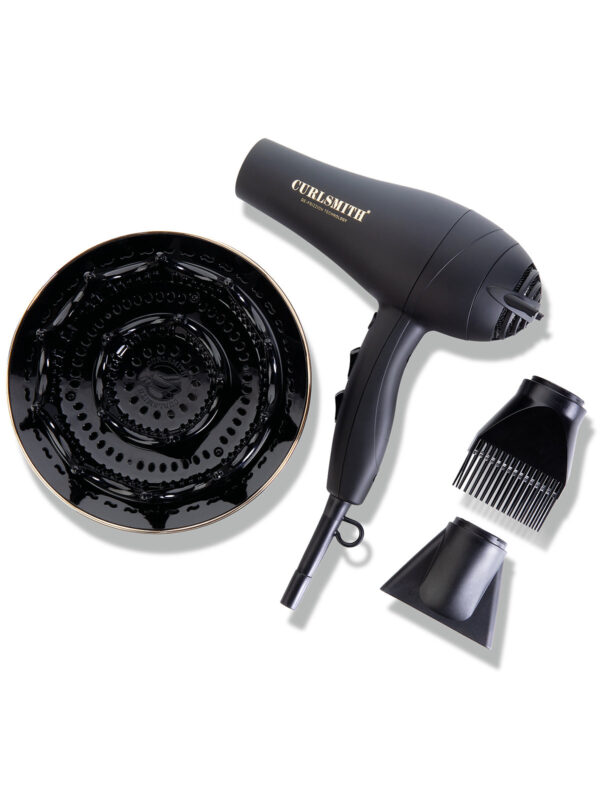
As you can see, how you refresh is only about 10% of the equation. The biggest factors are the products used on wash day, styling techniques, and sleep protection.
That’s exactly what I cover throughout my Beginner Curl Series, where I walk through the foundations that help curls last longer so refreshing becomes easier.
You can also download the Minimal Refresh Method Decision Flowchart if you want a quick guide you can follow while refreshing your hair.
And if you want personalized help applying these methods to your own routine, this is exactly what I help clients with inside my Group Curl Coaching Program.

If your curls look worse every morning and you feel like you have to restart your hair every day, that’s exactly when curly hair starts
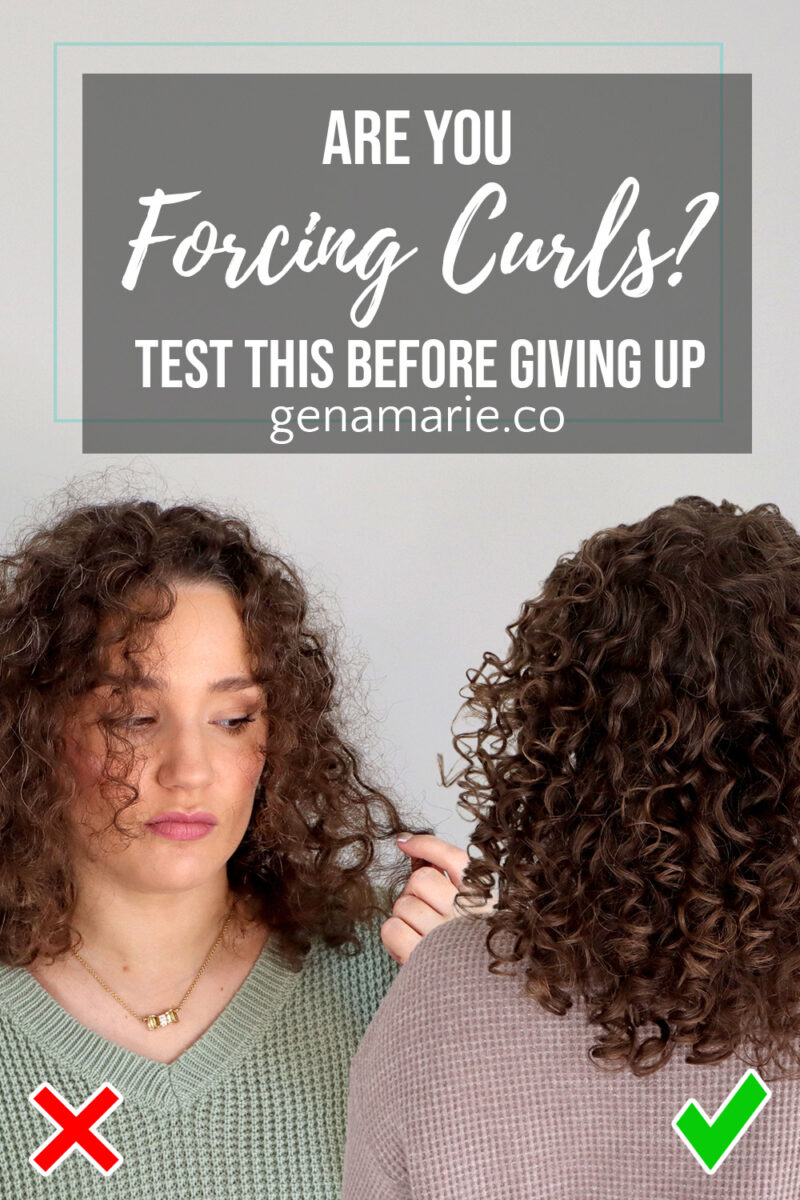
If your curls aren’t curling up the way you want and you’re starting to feel frustrated or ready to give up, it’s probably not your
If you’ve tried “strong hold” gels but your curls still don’t last, you’re not alone. Strong hold isn’t one-size-fits-all. Some gels are higher in texture
Feeling discouraged, frustrated, or unsure whether wearing your naturally curly or wavy hair is even worth it? If you’ve been following this Beginner Curl Series,
Notifications