


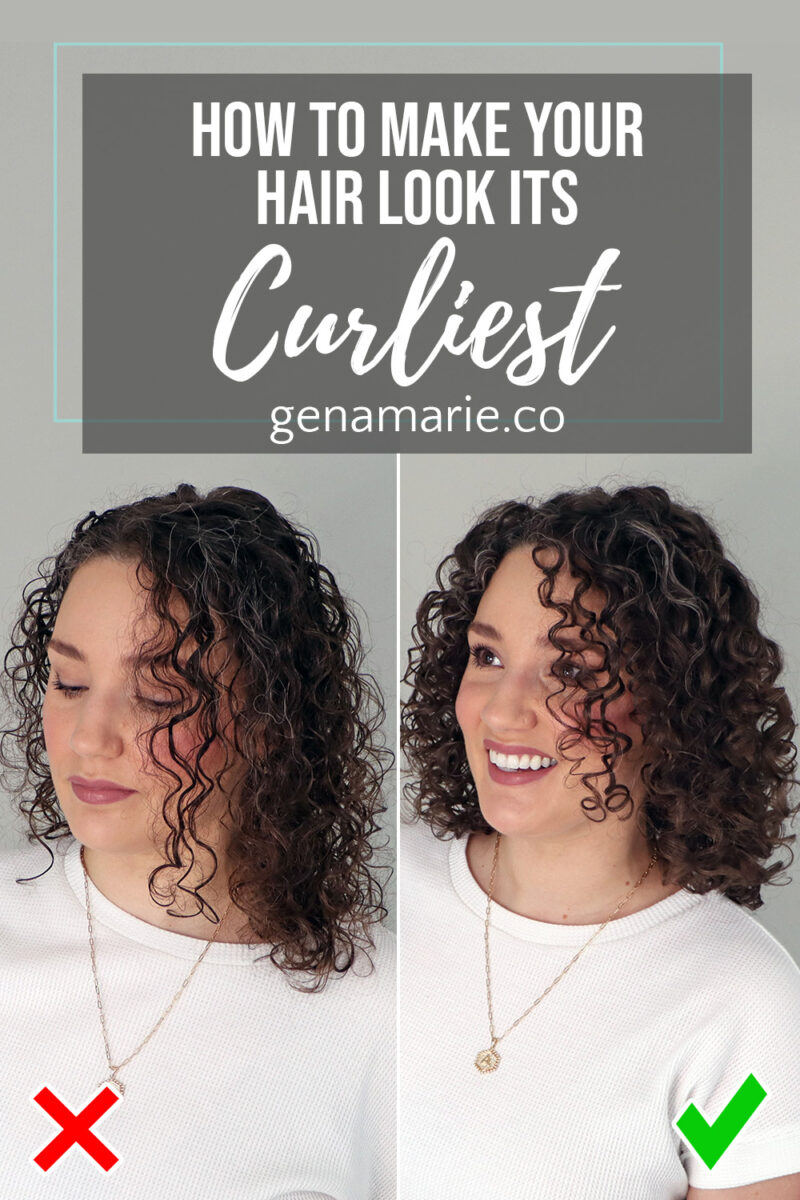
How to Make Your Hair Look Its Curliest (Without Forcing It)
If your curls aren’t curling up the way you want and you’re starting to feel frustrated or ready to give up, it’s probably not your

If your curls aren’t curling up the way you want and you’re starting to feel frustrated or ready to give up, it’s probably not your products. It’s how you’re styling.
One of the biggest mistakes I see is people assuming their curls simply “won’t curl.” In reality, most people are either under-styling or using techniques that don’t match their curl pattern.
The goal isn’t to force tighter curls or change your curl type. The goal is to bring out the natural curl pattern you already have.
This post is part of my Beginner Curl Series, where we’ve already covered things like giving your curls a fair shot, building a simple routine, and understanding moisture and hold. Now we’re focusing on the next step: how to style your hair in a way that actually brings out your curl pattern and helps it last.
In this guide, I’ll walk you through the routine and styling framework I use on myself and with my clients to determine what your hair actually responds to and how to get longer-lasting results.
Styling actually begins before you start defining curls. A mistake I see beginners make all the time is scrunching product into tangled hair and hoping curls appear. But you can’t just scrunch product into messy hair and expect defined results.
Smooth first. Then define. Even product distribution is the foundation of alignment.
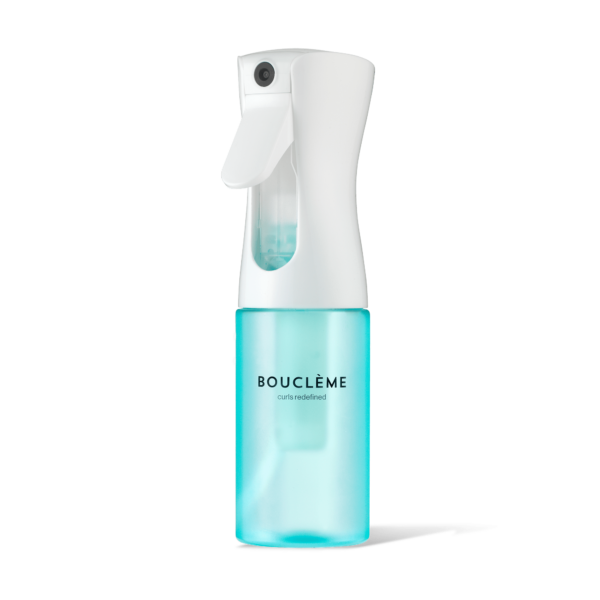
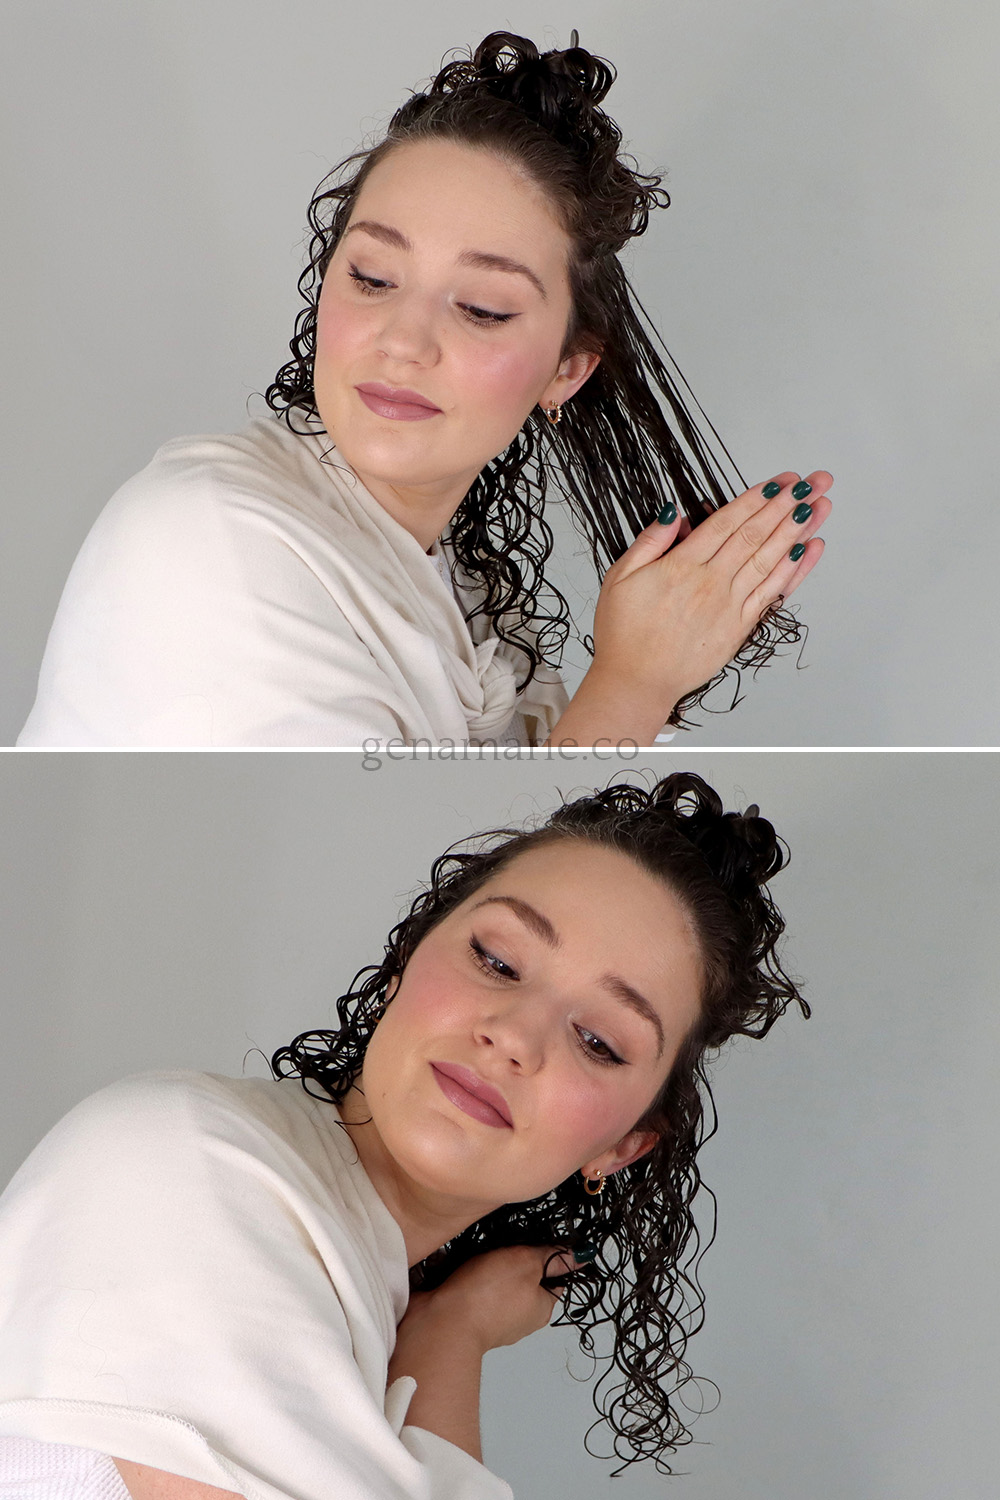
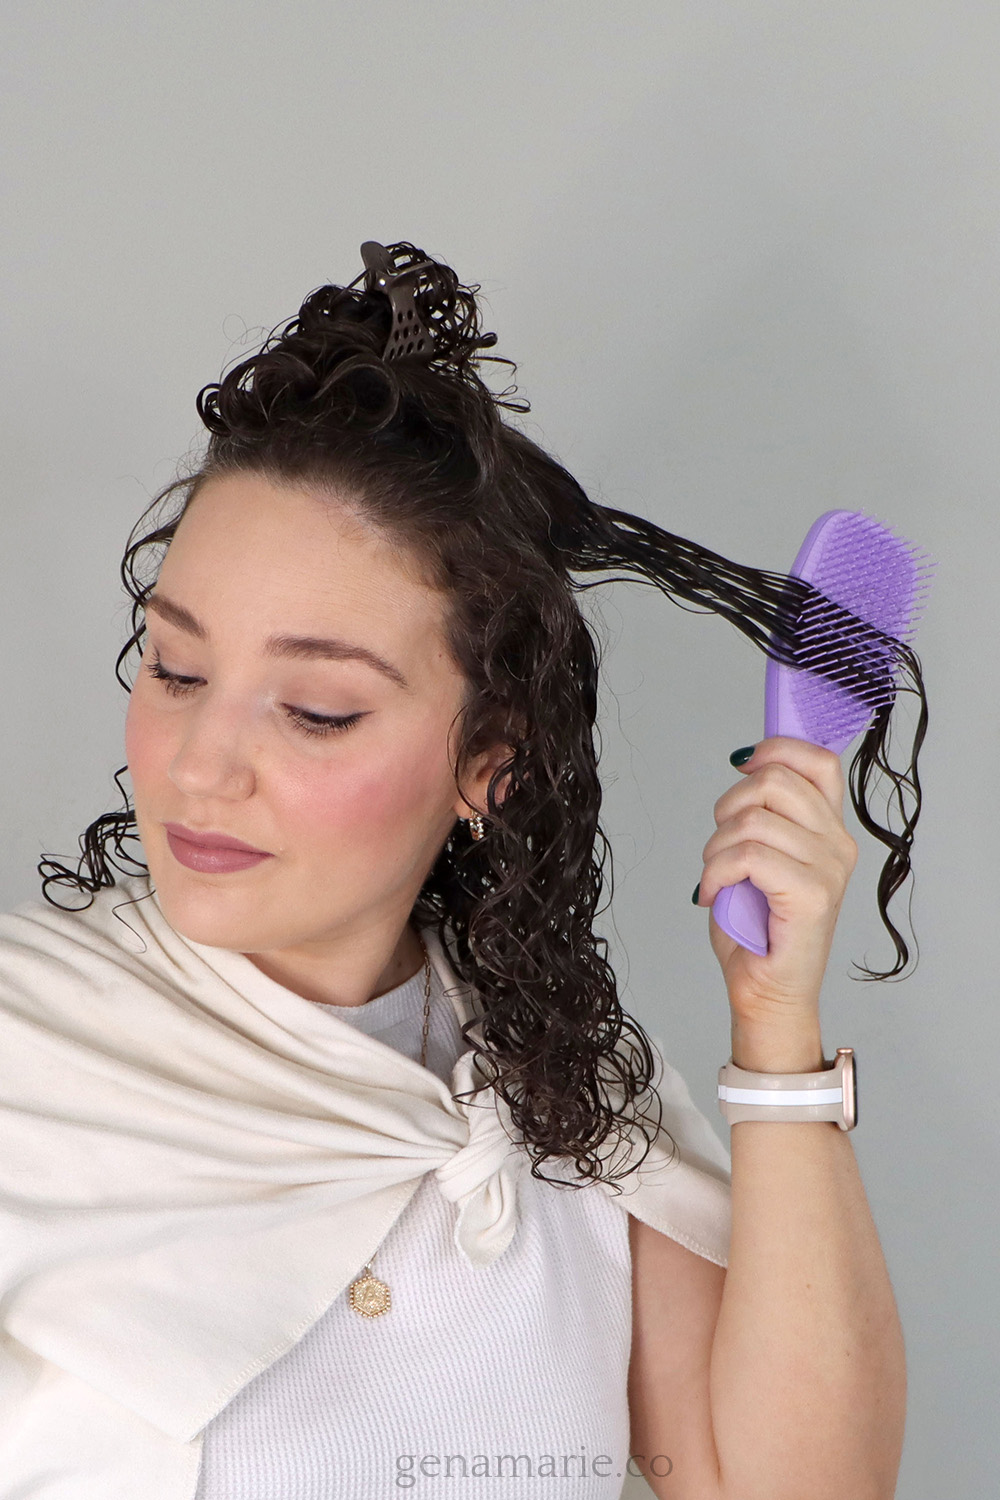
Start with evenly wet hair. Apply your heat protectant, brush the hair through to smooth everything out, and section if needed. When applying product, rake it from roots to ends while lifting the hair away from the scalp.
I also like to gently brush it through. This helps distribute product evenly so the curl pattern can form properly.
I prefer to section my hair at this stage as well. Sectioning helps to more evenly apply your products and style from root to tip. Sectioning is optional and may not be needed if your hair is very thin or low-density.
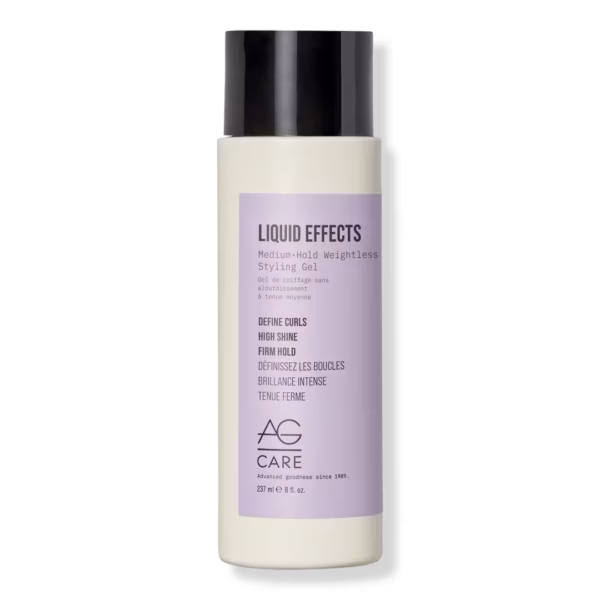
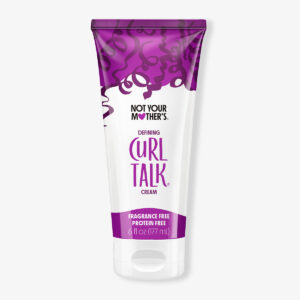
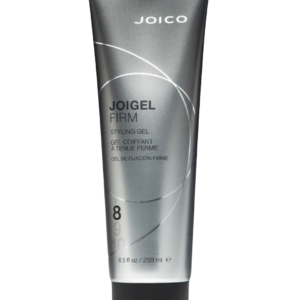
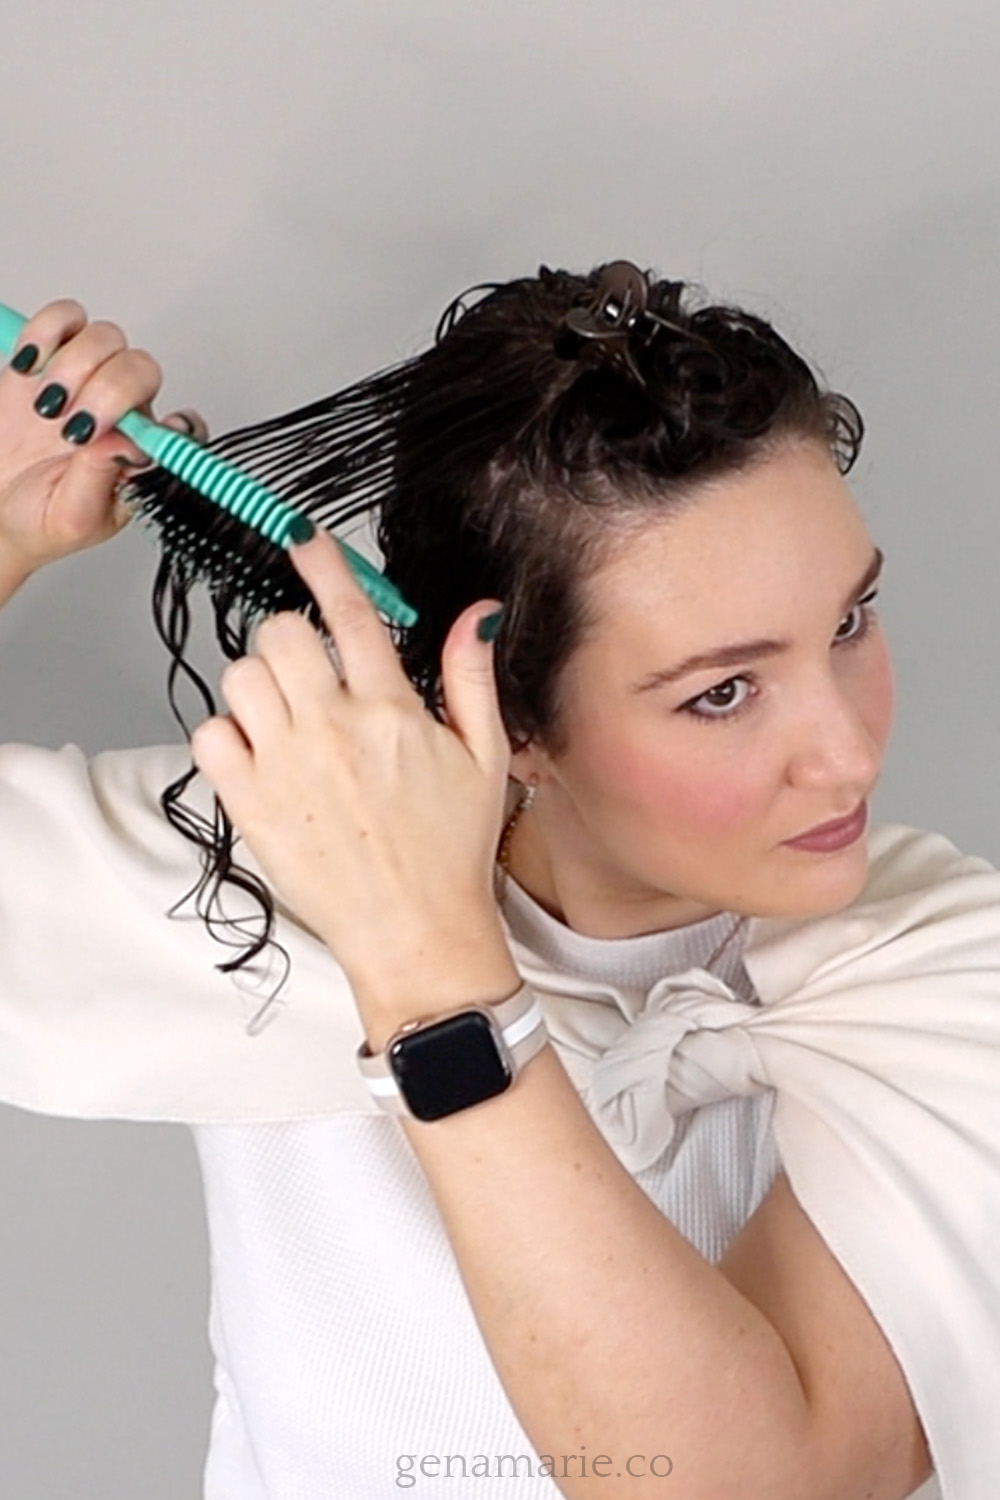
Once the hair is properly prepped, apply gel evenly from roots to ends. This is what is going to tame frizz and provide hold so you retain your curl shape.
Lift the hair off the scalp as you apply so the gel coats the strands evenly instead of pressing everything flat. If the gel isn’t applied evenly at this stage, no amount of styling technique later will fix it.
This is the point where most people either under-style or over-style.
Waves and loose curls often respond best to lower levels of manipulation because they stretch easily. Curls and spirals typically benefit from more shaping and structure to fully form.
But the goal isn’t always doing more. The goal is finding the level your hair actually responds to.
This is the fastest and simplest approach.
I often refer to this as speed mode. If you only have a few minutes to style your hair, this is what it looks like.
This level works well for waves and loose curls that get overworked easily.
Here you start adding more intention.
You’re not dramatically increasing effort here. You’re improving alignment. Even small changes at this level can improve curl clumping and definition.
This is the level I personally use most often.
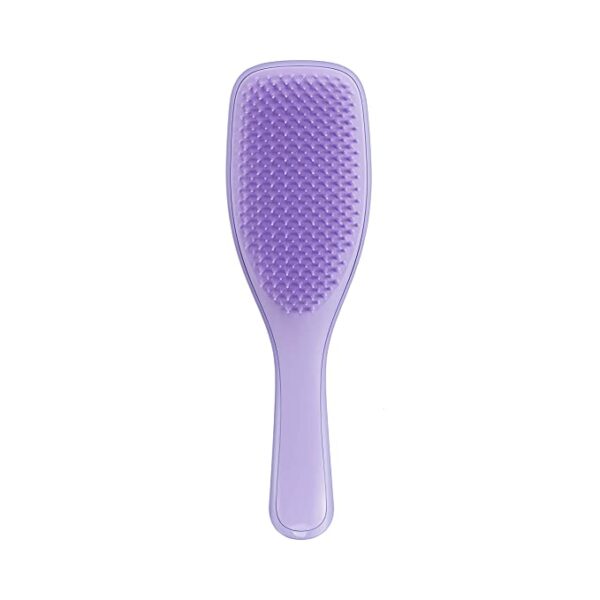
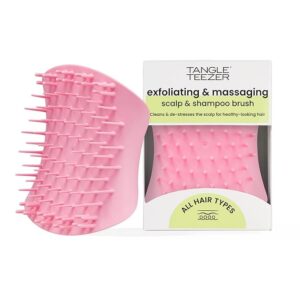
For brush styling, I usually use my Tangle Teezer Brush, which helps create alignment between strands and smooth product through the hair while still keeping the routine fairly efficient.
In this video, I also demonstrated the Bounce Curl Volume EdgeLift Brush as another option. This brush naturally creates more manipulation and tension, which can encourage stronger curl formation, but should be used with caution if your hair is very fragile.
The goal here isn’t necessarily switching tools. It’s understanding that different tools can increase or decrease how much manipulation you’re applying.
This level is where longevity really starts to improve. When I want my curls to last multiple days, this is typically the level of styling I use. I invest effort here so I don’t have to touch my hair tomorrow.
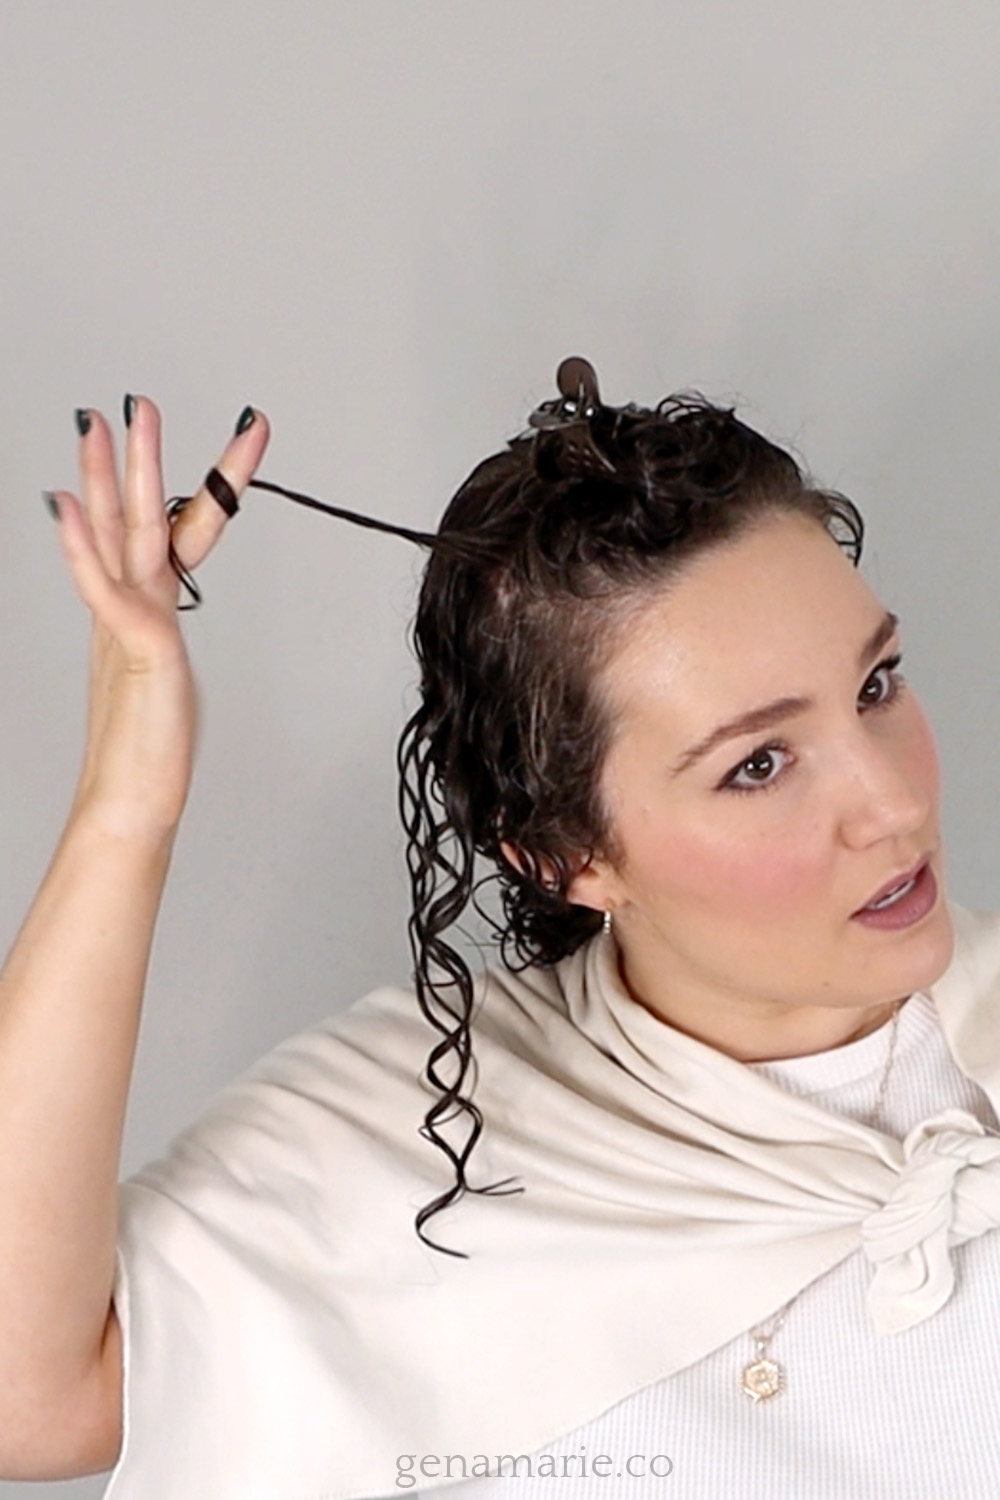
This is the most detailed styling level.
This is what I consider special-occasion styling. I don’t do this every wash day. But when I’ve done a full finger coil routine like this, my curls have lasted nearly a week.
I also don’t do my entire head, but rather target problem areas like my very front section.
It’s important to understand that over-styling doesn’t mean doing Level 4. Over-styling means doing maximum effort when it doesn’t actually change your results.
After styling, I often microplop to remove excess water without disrupting the curl clumps. This simply means gently scrunching the hair with a towel.
Sometimes I’ll also add a little extra gel during this step if needed.
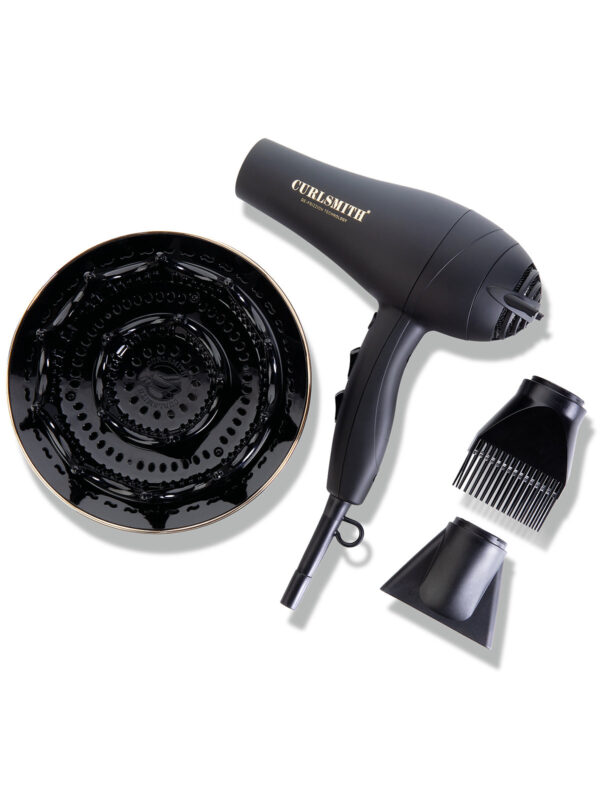
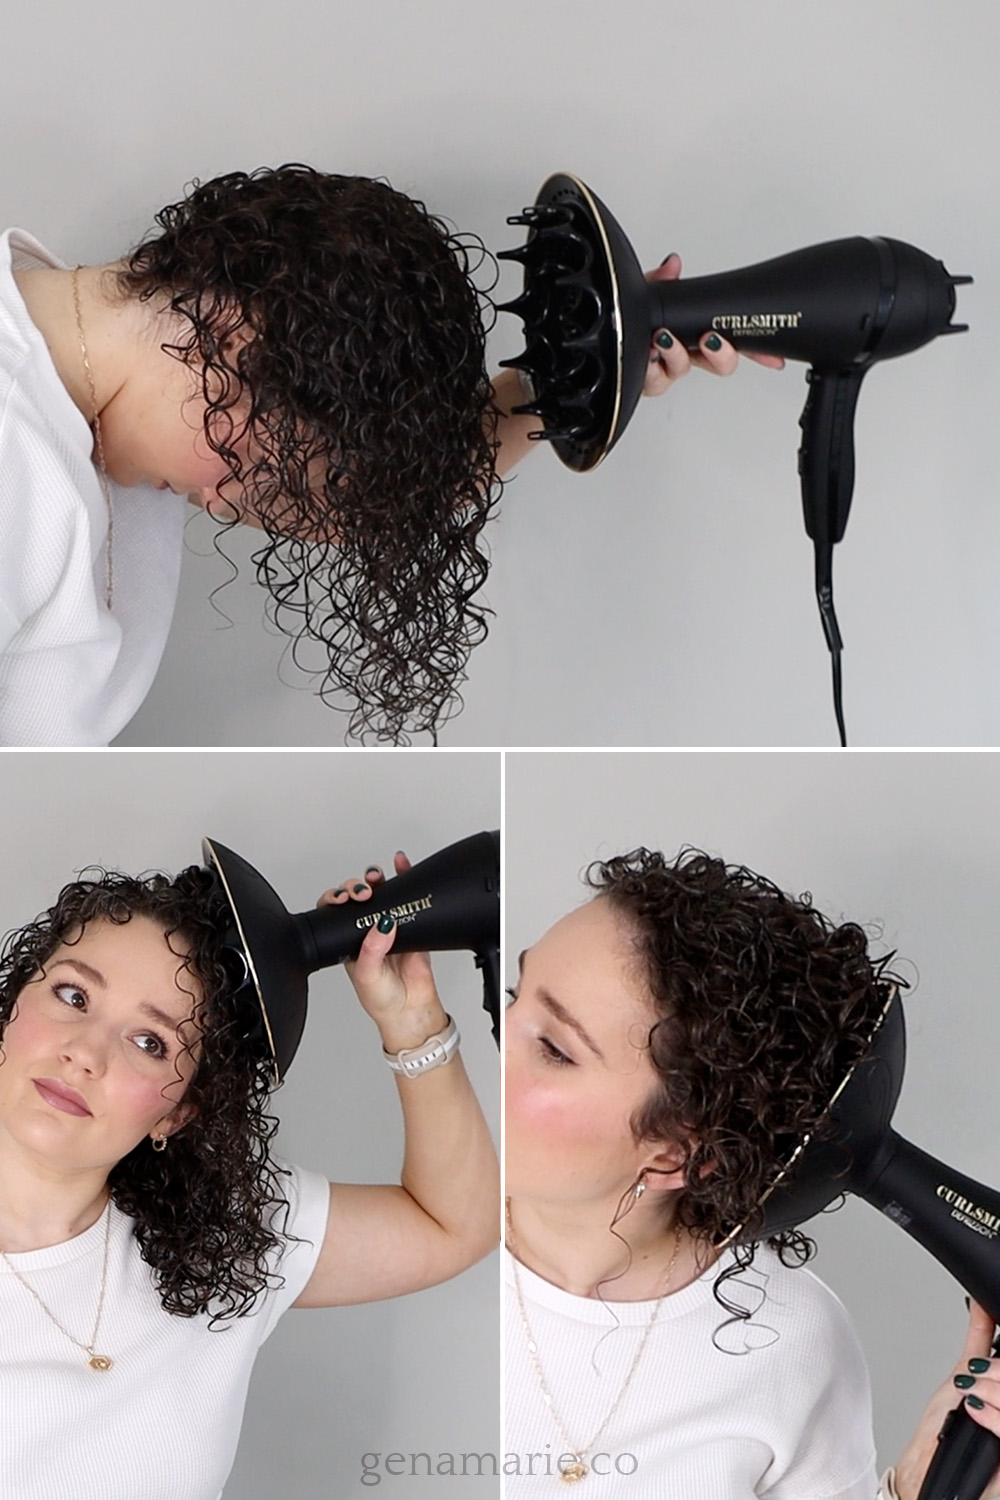
Diffusing isn’t just about drying your hair. It’s actually part of the styling process.
Whatever shape your hair is in when it dries is the shape you keep. Diffusing gives you maximum control over your results.
Hover diffusing means holding the diffuser around the curls with minimal contact.
This sets the curls in their current position without enhancing them.
This works well if you prefer softer, more elongated curls.
You can also gently cup your hair in your hands or plop it over a surface while hovering to minimize elongation.
Place the diffuser prongs at your scalp and gently lift upward.
This adds root volume without disrupting curl clumps.
I often wait and do this technique when my hair is 75% or more dry.
Some people call this pixie diffusing or cup diffusing.
I call it scrunch diffusing because you’re literally scrunching your curls into the diffuser.
Place curls into the diffuser bowl, move it gently toward your head, and hold it there while it dries.
This helps lock in the curl pattern.
Once your hair is completely dry, gently scrunch your hair to soften the gel cast. Then lightly fluff the roots to add volume.
When everything is finished, you should see a balanced result with both fullness and definition. In my routine, I rarely use one styling level everywhere.
For example:
This creates a blended result that works with the natural variation in curl pattern across your head.
I also like knowing what my curls are capable of. That way I can choose how much effort I want to put in.
Some days I style for longevity. Other days I intentionally dial it back.
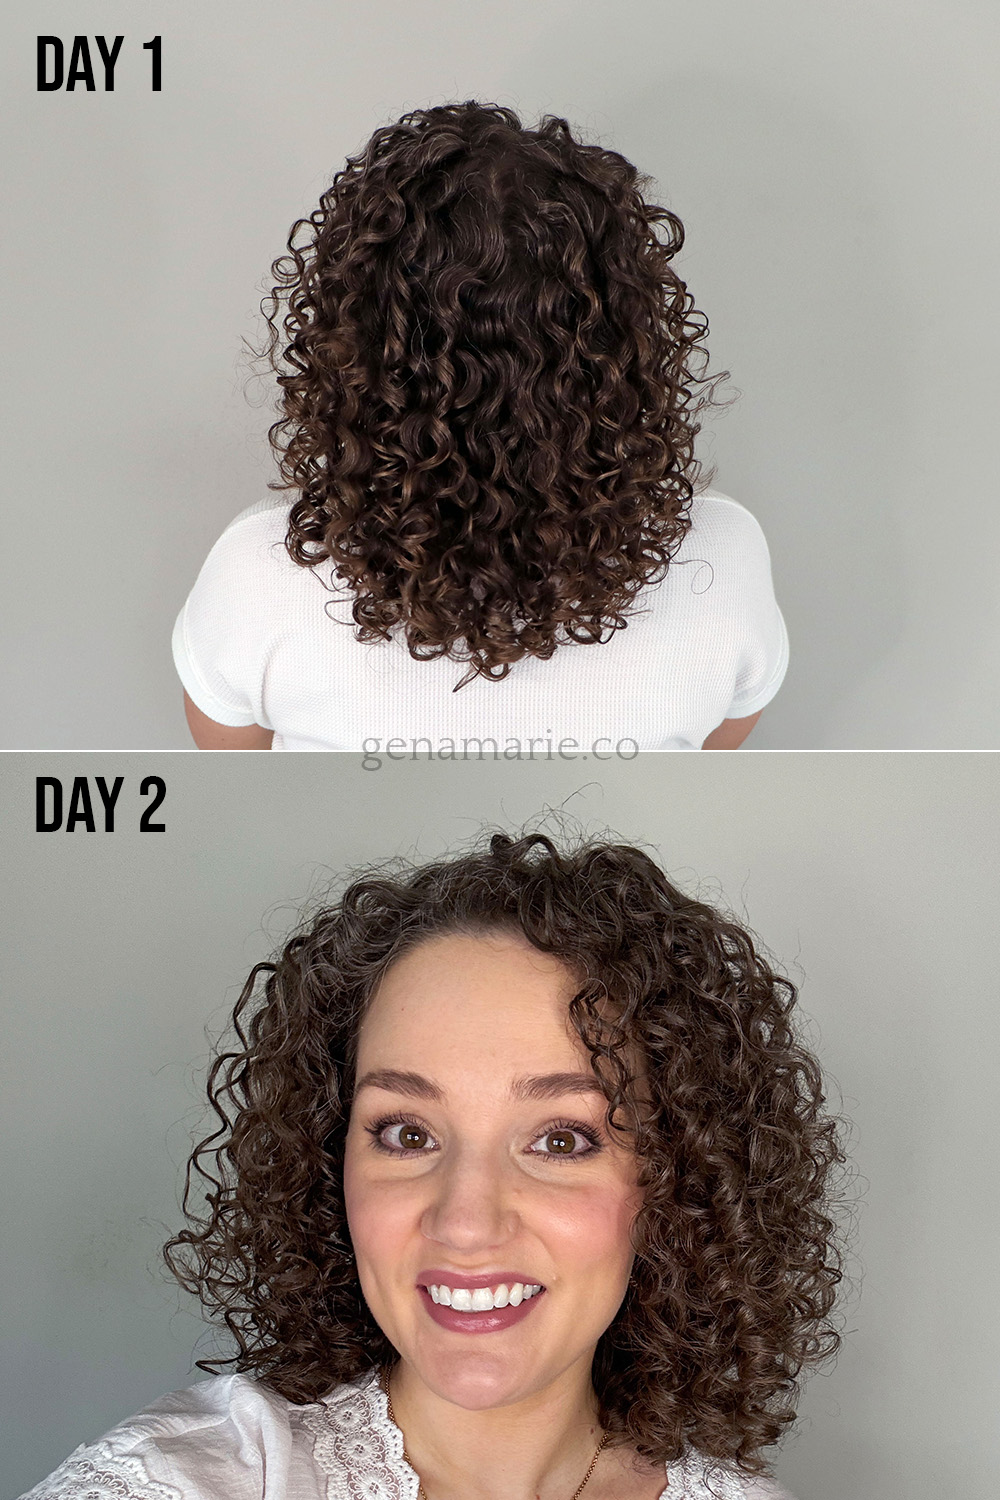
This is Day 2 for me, and I don’t even need to refresh my hair
This is why I invest effort on wash day. When your styling techniques align with your curl pattern, your curls can last much longer.
If your curls are currently damaged, it’s going to take some time before they can last longer between wash days.
The easiest way to figure out what works for your hair is to test one level at a time.
Pick a styling level and try it consistently for a few wash days. Then observe your results.
If your curls fall flat before the end of the day, you’re likely under-styling. If you increase effort and nothing changes, you’re probably over-styling.
The goal isn’t more effort. It’s finding the level that actually changes your results.
If you’ve been trying to figure out your curls on your own and still feel stuck, this is exactly what I help people with inside my Group Curl Coaching Program.
Inside the program, I watch members style their hair in real time and help them determine:
Enrollment closes after today, March 15.
If you want to join before doors close, you can visit the program page to enroll. If you’re unsure whether it’s the right fit, feel free to reach out and we can talk through it together.
But if you’ve been thinking about joining, don’t wait. Enrollment closes tonight.

If your curls aren’t curling up the way you want and you’re starting to feel frustrated or ready to give up, it’s probably not your
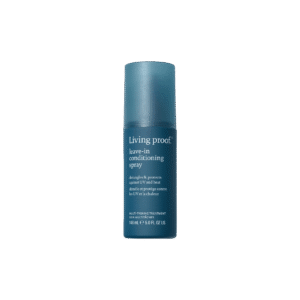
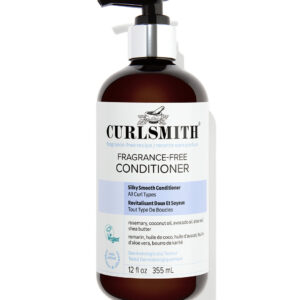
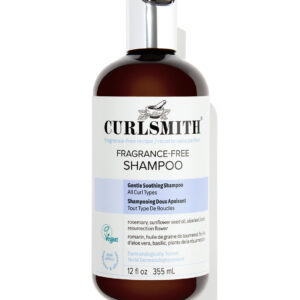
If you’ve tried “strong hold” gels but your curls still don’t last, you’re not alone. Strong hold isn’t one-size-fits-all. Some gels are higher in texture
Feeling discouraged, frustrated, or unsure whether wearing your naturally curly or wavy hair is even worth it? If you’ve been following this Beginner Curl Series,
If you’re trying to wear your hair curly and you feel like you’re doing everything right but your hair still doesn’t look how you want,
Notifications