


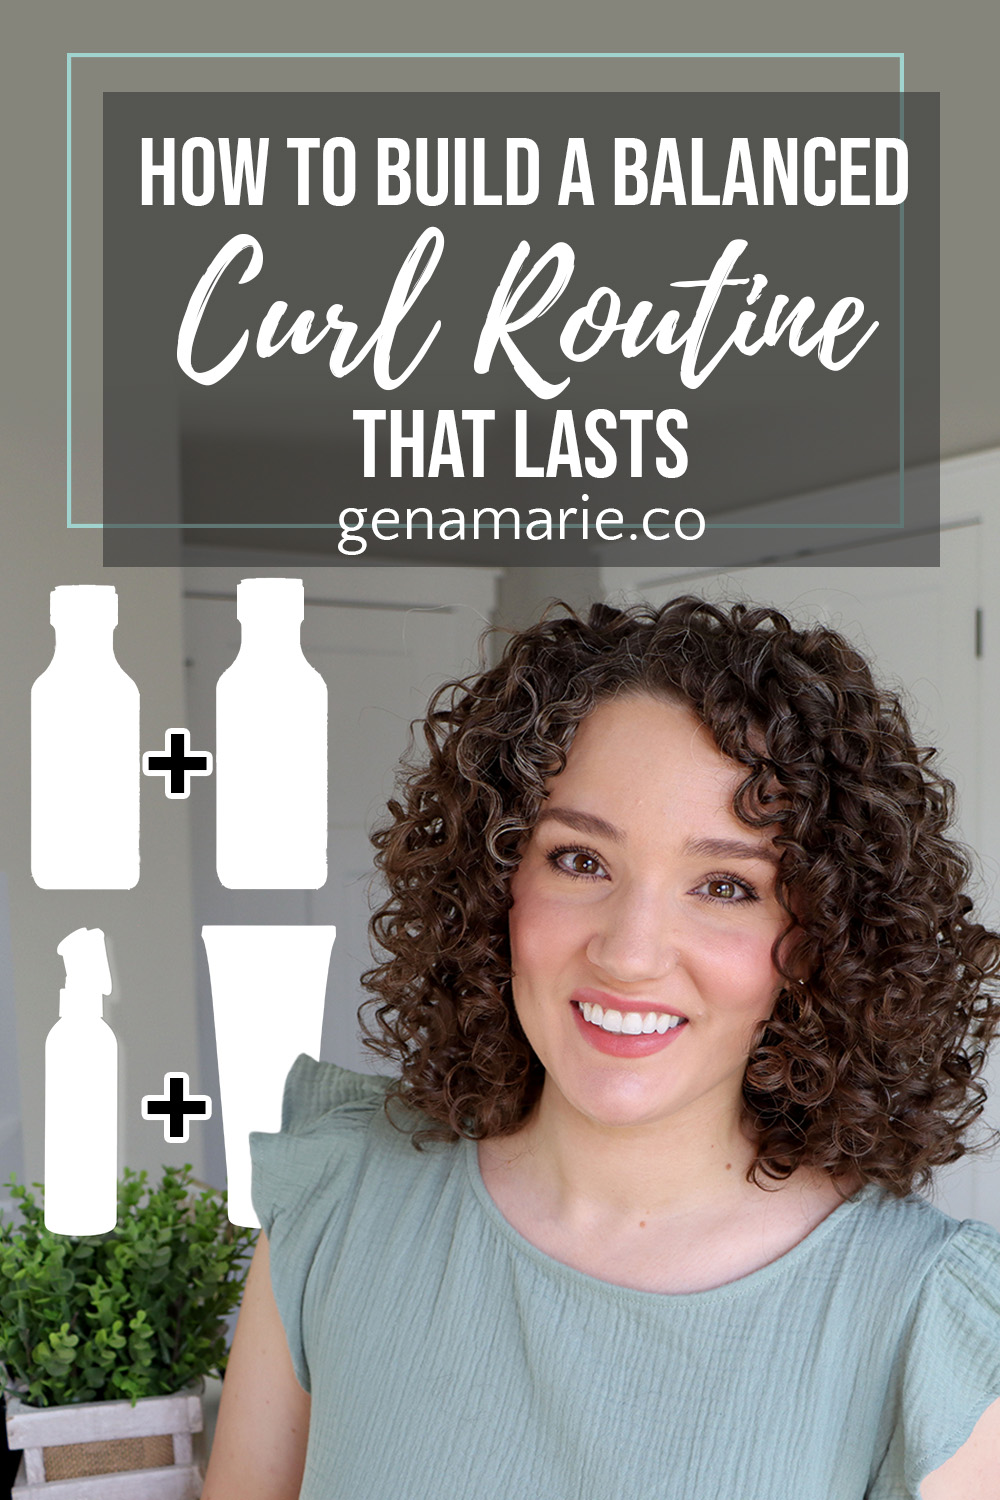
How to Style Curly Hair for Volume Using the Curl Stacking Method
Your styling technique could be the reason your curls are drying flat, stretched out, and stuck to your head — not your products, not your
If your curls look great right after diffusing but frizz out, collapse, or lose definition by the end of the day — you’re probably not dealing with a product problem. You’re dealing with a routine problem.
Most people assume they need a different gel, or more moisture, or a better leave-in. But if the underlying routine isn’t balanced, switching products just moves the problem around.
This is something I see with curl coaching clients all the time. They’re using good products, but the routine itself isn’t balanced. Once we fix the structure, results become more consistent — not because the products changed, but because the layers are working together correctly.
This video and guide introduces the Moisture–Hold Balance Framework — the same framework I use with my curl coaching clients to help them build routines that actually last. It’s part of my Beginner Curl Series, where I teach you how to choose the right products, layer them correctly, and get consistent results.
Every step in your curl routine either adds conditioning to your hair or provides hold. The problem is that most people don’t realize conditioning builds across the routine — it doesn’t just come from your conditioner.
Here’s the core principle:
When that balance is off:
Switching products alone won’t fix this. The balance between conditioning and hold has to be right first. Once you understand how conditioning builds across your routine, you can make intentional adjustments instead of guessing.
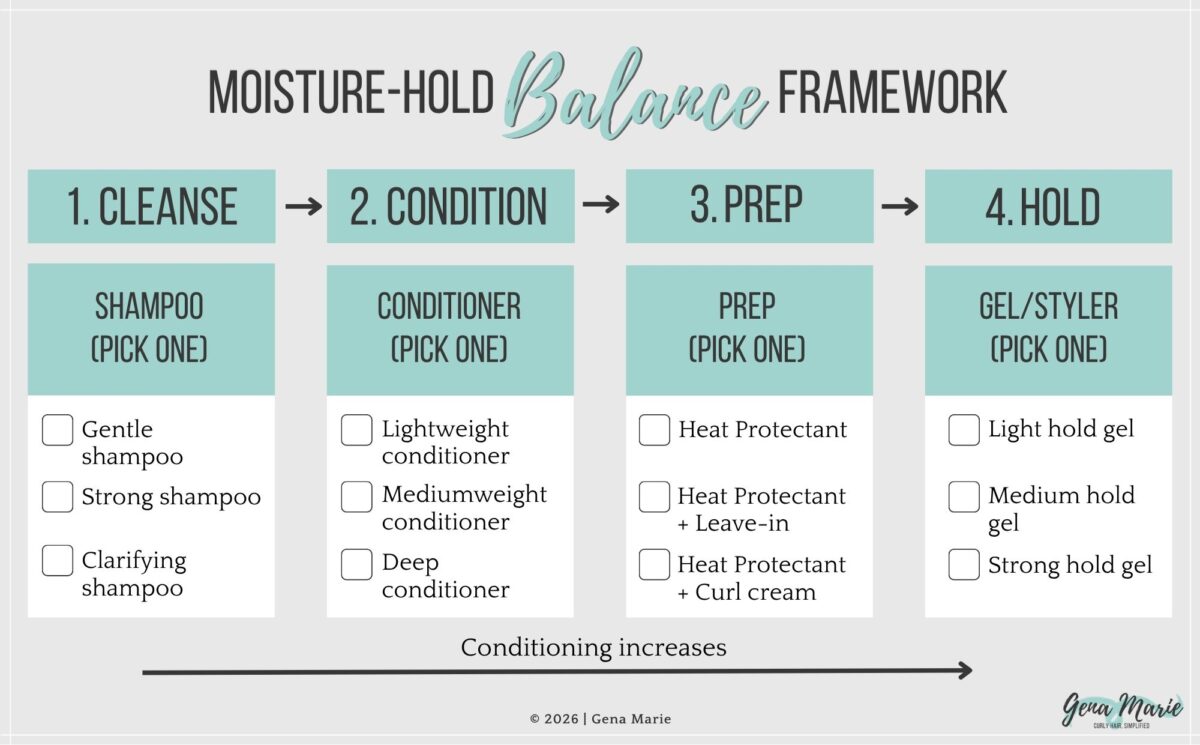
The routine structure I use is straightforward:
1. Shampoo → 2. Conditioner → 3. Prep → 4. Gel
The first three steps add conditioning, and even sometimes the last step. The gel step provides structure and hold. Each step affects how well the next one can do its job — which is why the order and the product choices at each step matter.
By the end of this breakdown, you’ll be able to diagnose what’s going wrong with your routine — whether your hair is dry and brittle, not holding, or weighed down — and know exactly what to adjust.
Your shampoo sets the foundation for everything that comes after. Its job is to remove buildup so your products can actually work.
You want a shampoo with enough cleansing power to actually remove buildup. What most people don’t realize is that shampoos also contain conditioning ingredients — and if your shampoo is overly conditioning, you’re already adding to your moisture load before you even start styling.
If your step one product starts with a ton of moisture, you lose control over the moisture–hold balance from the beginning.
✅ Clean
✅ Not coated or slippery
✅ A slight squeaky texture is okay
❌ Slippery, soft, coated, or oily → the shampoo is too conditioning
❌ Like you could skip conditioner → it’s not cleansing enough
❌ Stripped and brittle even after conditioner → it may be too strong
Look near the top of the ingredient list for the primary cleansing agent. This gives you a general idea of cleanse strength:
This is generally true, but not absolute — formulas vary. You must test to know for sure.
Your rinse-out conditioner establishes the baseline level of conditioning entering your routine. Whatever softness and slip you build here carries into every step that follows.
The right conditioner depends on your hair. Lightweight options give you less conditioning load going into styling. Richer options give you more — which can be exactly right for some hair types, but can reduce hold capacity for others.
The key is choosing a level that matches what your hair actually needs, not just grabbing the most moisturizing option.
After rinsing, your hair should feel:
✅ Soft and manageable
✅ Still have some structure — not limp
If your hair feels:
❌ Overly soft, coated, oily, or limp → too much conditioning
❌ Tangled or rough → not enough conditioning
Look near the top of the ingredient list for conditioning agents. This gives you a general read on how rich a conditioner is:
The prep step is where you have the most control. Think of it as a dial — you can turn conditioning up or down here based on how your hair feels coming out of the conditioner.
The prep step can include:
This is also the step where imbalance most often starts. Adding too much conditioning here means your gel has to work harder — and most gels can’t fully compensate.
✅ If your hair already feels soft coming out of conditioner → keep this step light or skip additional conditioning
❌ If your hair still feels dry → add more conditioning here
More conditioning at this step means you’ll need a stronger hold gel to maintain curl structure.
Look near the top of the ingredient list for conditioning agents. This gives you a general read on how rich a conditioner is:
Gel is the only step in the routine that provides structure and frizz control. Everything before it adds conditioning, and sometimes even the gel.
Not all gels are equal. They vary in:
A common misconception: forming a cast means your gel worked. Cast tells you the gel was applied correctly and the water-to-product ratio was probably right. It does not guarantee lasting hold. The real test is how your curls behave after you break the cast — and how they hold up through the day.
No Cast → Not Enough Hold
If you don’t get a cast and your curls frizz or fall as they dry, the gel does not have enough hold (assuming proper application).
Cast, But Falls → Not Enough Longevity
If you get a cast but your curls frizz or expand after breaking it, or fall apart by end of day, the gel does not have enough long-lasting hold.
Cast + Lasts → Strong Hold
If you get a cast and your curls stay intact after breaking it and hold their shape through the day, the gel has enough hold and longevity.
Look for film-forming ingredients near the top of the list — these are what actually create hold:
Formulations can vary greatly, such as the addition of conditioning ingredients, so hold will vary. You’ll have to test to know for sure.
These examples show how conditioning level changes across different routine combinations. In all of them, hold stays medium to strong — what changes is the amount of conditioning going in.
The goal is to stay within one consistent conditioning level so your gel can actually hold.
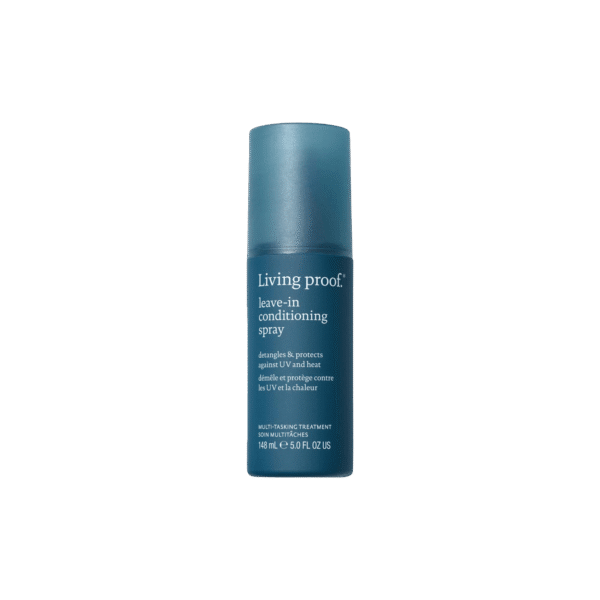
Living Proof Leave-In Conditioning Spray + Curlsmith Strong Hold Gel
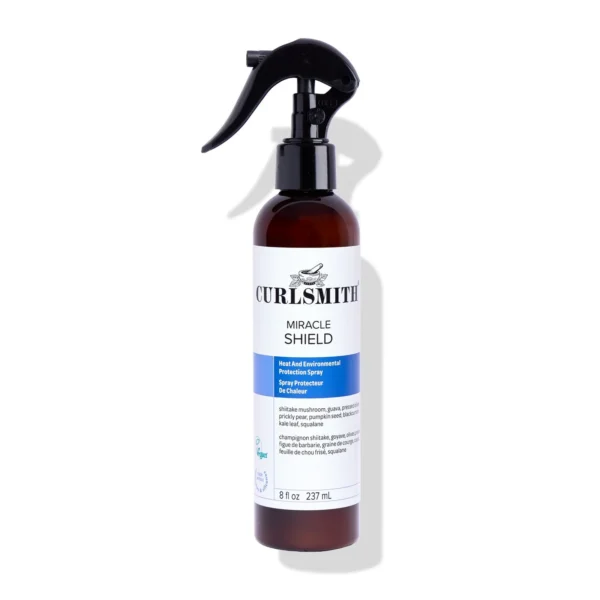
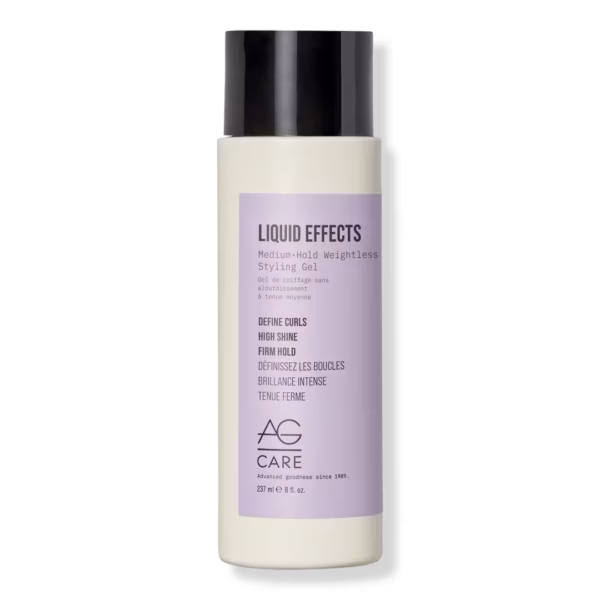
Curlsmith Miracle Shield + AG Liquid Effects Gel
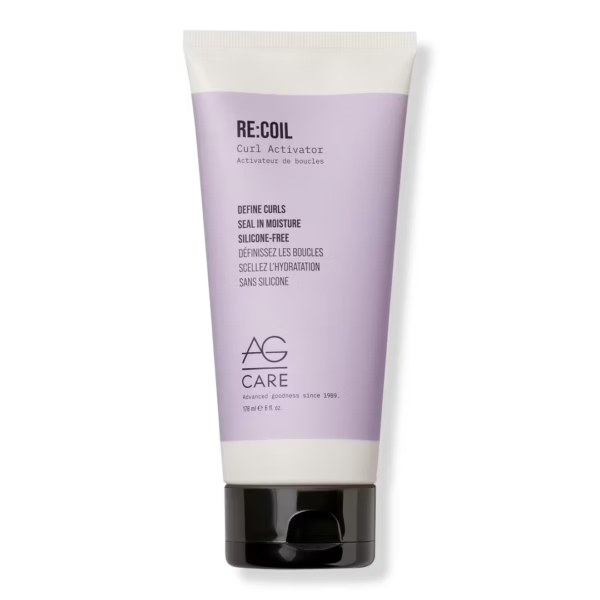
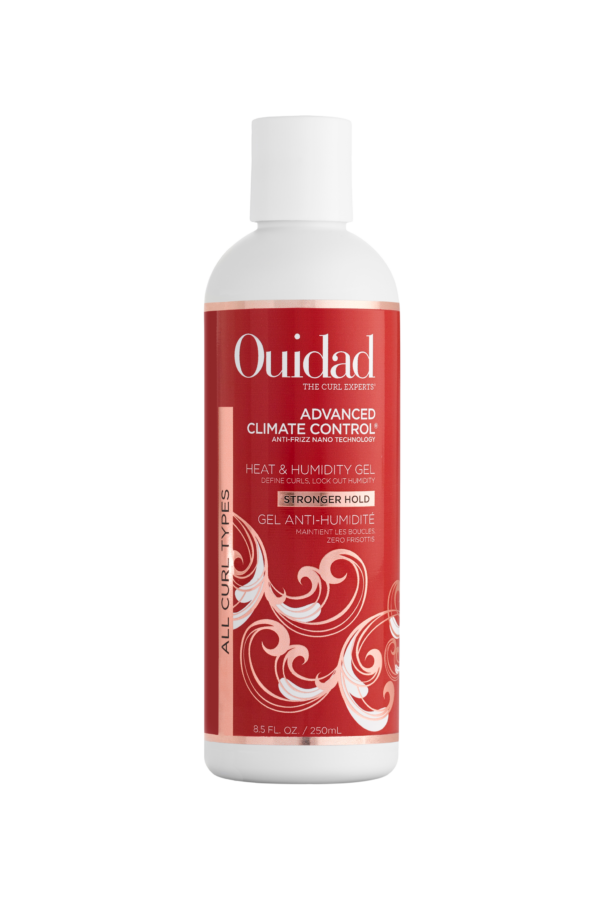
AG Re:Coil Curl Activator Cream + Ouidad Advanced Climate Control Gel
Each product adds to your total conditioning level — including your gel. This is how you control the outcome of your routine.
You can also mix and match these to customize your moisture-hold balance.
Wash day results don’t tell you if your routine is working. Longevity does.
Don’t evaluate your hair only right after diffusing. Pay attention to:
This is where you diagnose — not guess. Here are the three result patterns and what each one means:
❌ Hair feels rough, stiff (not from cast — overall feel), or lacks softness and flexibility.
👉🏼 Diagnosis: Not enough conditioning
✅ Adjust: Increase conditioning in your conditioner or prep step
❌ Hair looks good right after diffusing but expands, frizzes, or loses definition — worsens by end of day or day two.
👉🏼 Diagnosis: Not enough hold
✅ Adjust: Choose a stronger hold gel, and reduce conditioning slightly in prep or conditioner if needed
❌ Hair feels overly soft or mushy, lacks volume, or curls stretch and don’t form well.
👉🏼 Diagnosis: Too much conditioning
✅ Adjust: Reduce conditioning in prep or conditioner — maintain or increase hold
The bottom line: focus on adjusting the balance, not adding random products.
If you’ve worked through your routine balance and hold still isn’t lasting, the next variable is how you’re applying your gel — not what you’re using.
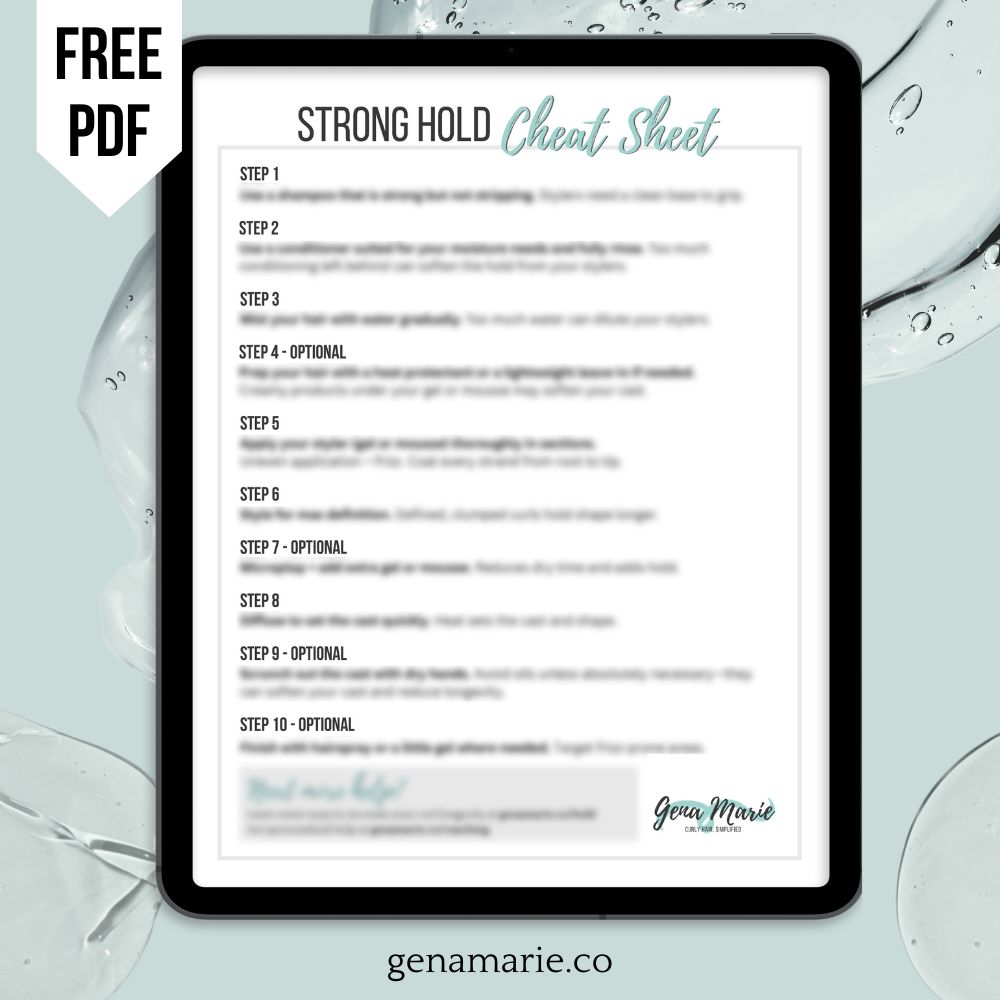
That’s what my free Strong Hold Method Cheatsheet covers. It focuses on gel distribution, water-to-product ratio, and creating a proper cast.
Start by making one adjustment at a time on your next wash day. Pay attention to how your hair responds — not just right after diffusing, but through the day and into day two.
If your curls are collapsing, start by looking at your prep step. If your hair is dry, start by looking at your conditioner. Work through one variable before changing another.
This is a diagnostic process, not a formula. The framework gives you the logic — you apply it to your specific hair, your specific products, and your specific results.
If you want personalized guidance applying this to your own hair, this is exactly what I help my coaching clients with inside my Group Curl Coaching Program. We work through your routine, identify the imbalance, and build something that actually lasts for your hair.
You can also explore the rest of the Beginner Curl Series — each video walks you through another part of building a routine that works.
And if you’re ready to troubleshoot your gel application, download the Strong Hold Method Cheatsheet.

Your styling technique could be the reason your curls are drying flat, stretched out, and stuck to your head — not your products, not your
If your waves or loose curls fall flat every summer — losing definition by midday, never lasting past wash day — this routine is built
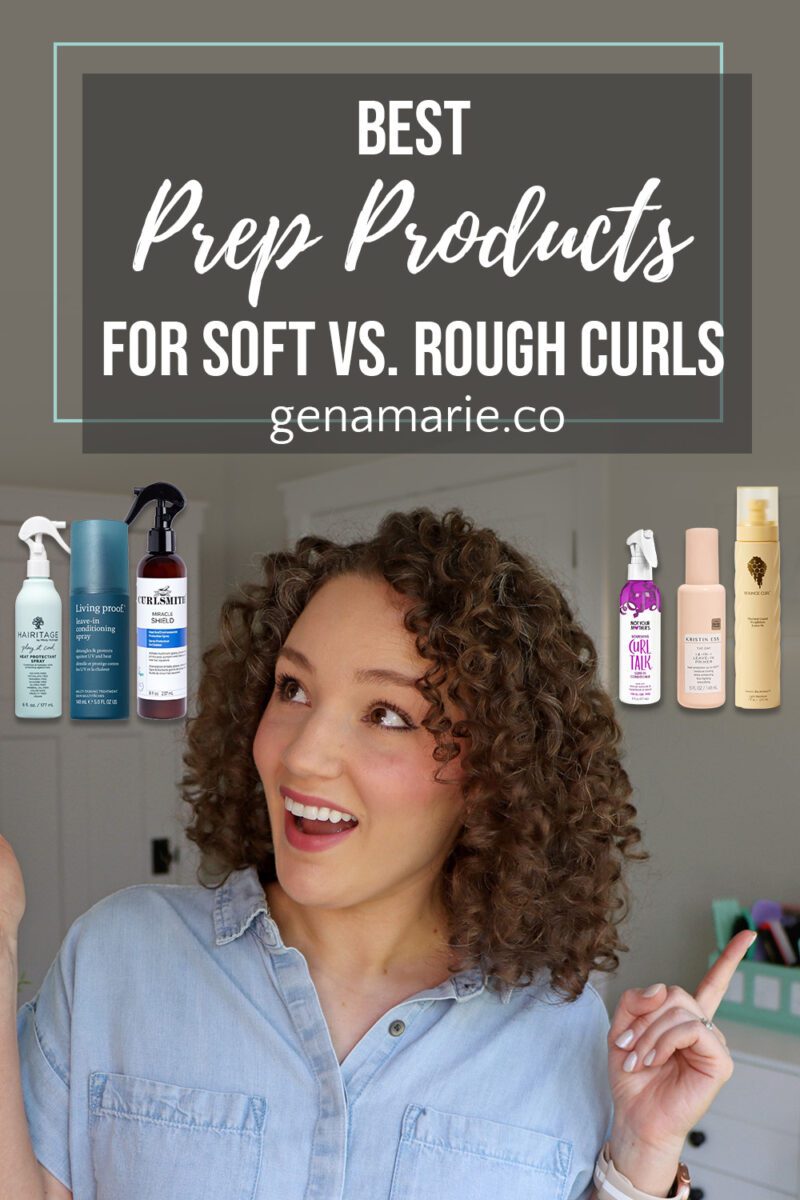
Are you using a heat protectant in your curly hair routine? If you’re diffusing or planning to be in the sun, you probably should. But
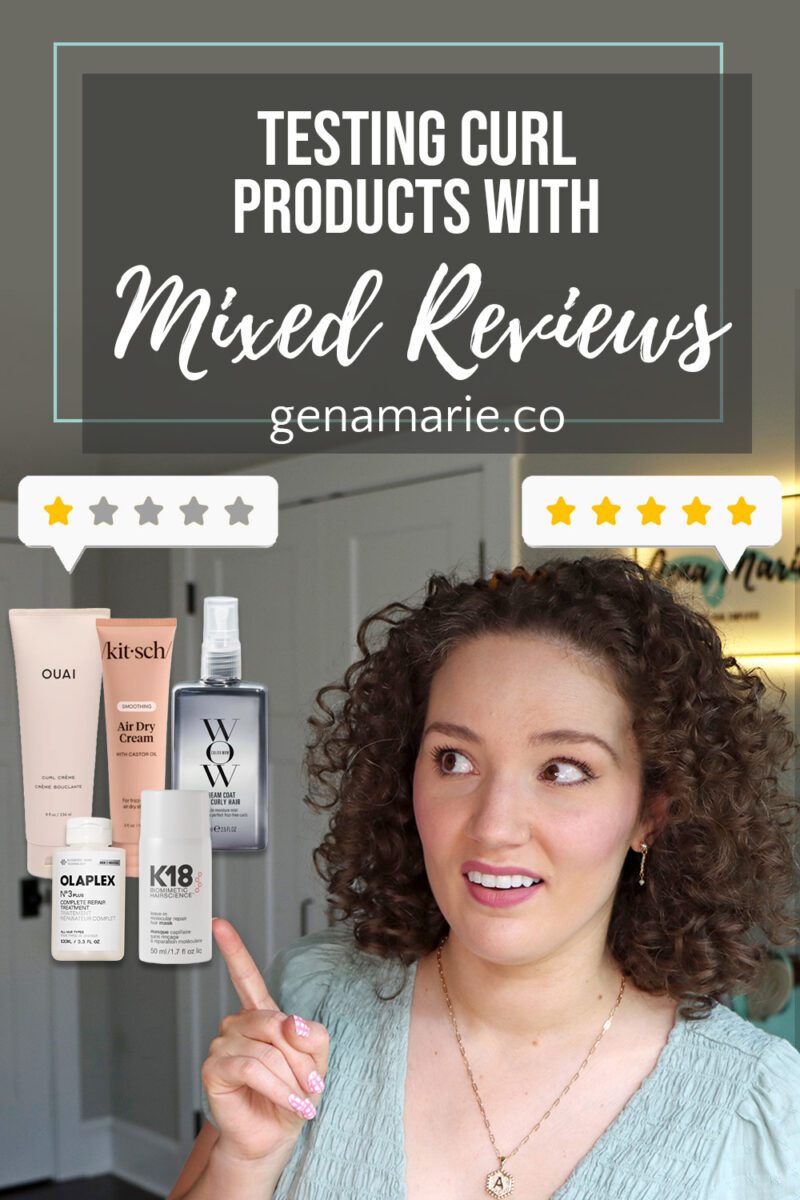
You read the reviews online. One person says a product completely changed their hair. Someone else says it’s the worst thing they’ve ever tried. And
Notifications