


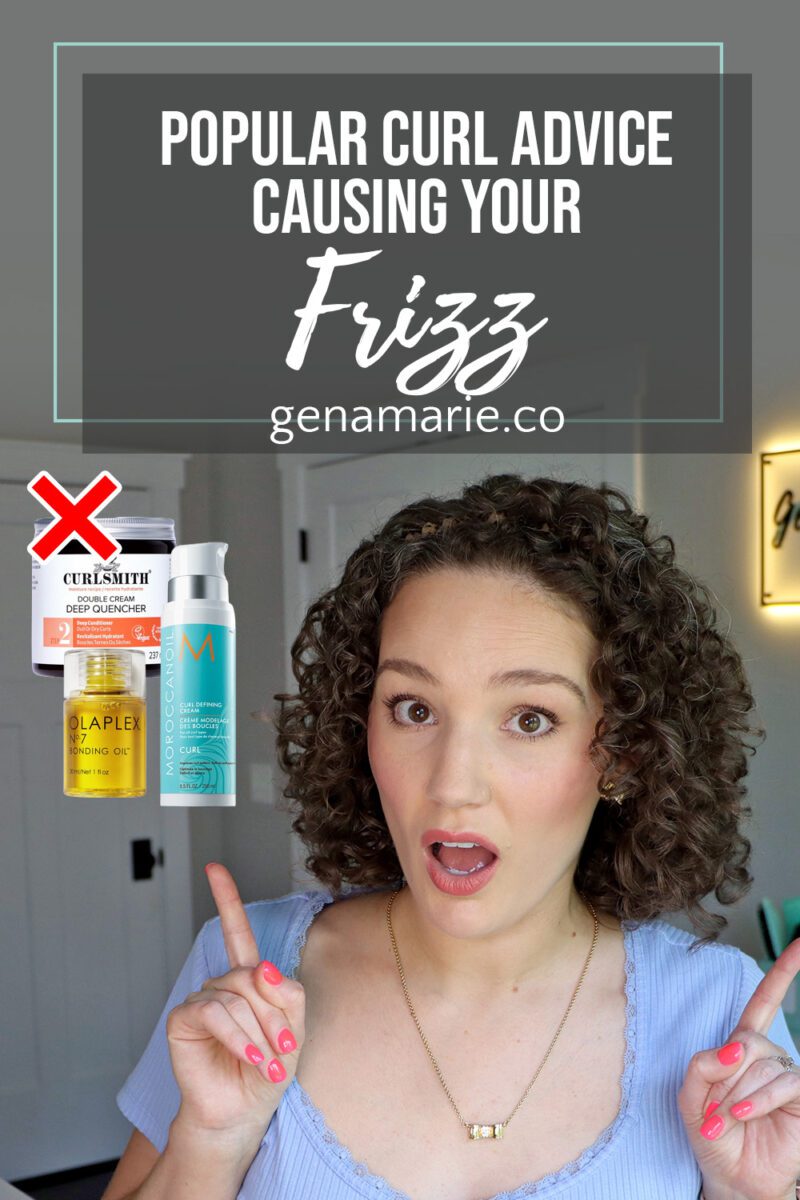
Popular Curl Advice That’s Actually Causing Your Frizz
If your curls are still frizzy and not lasting even though you’ve been doing everything you were told, the advice might be the problem. These
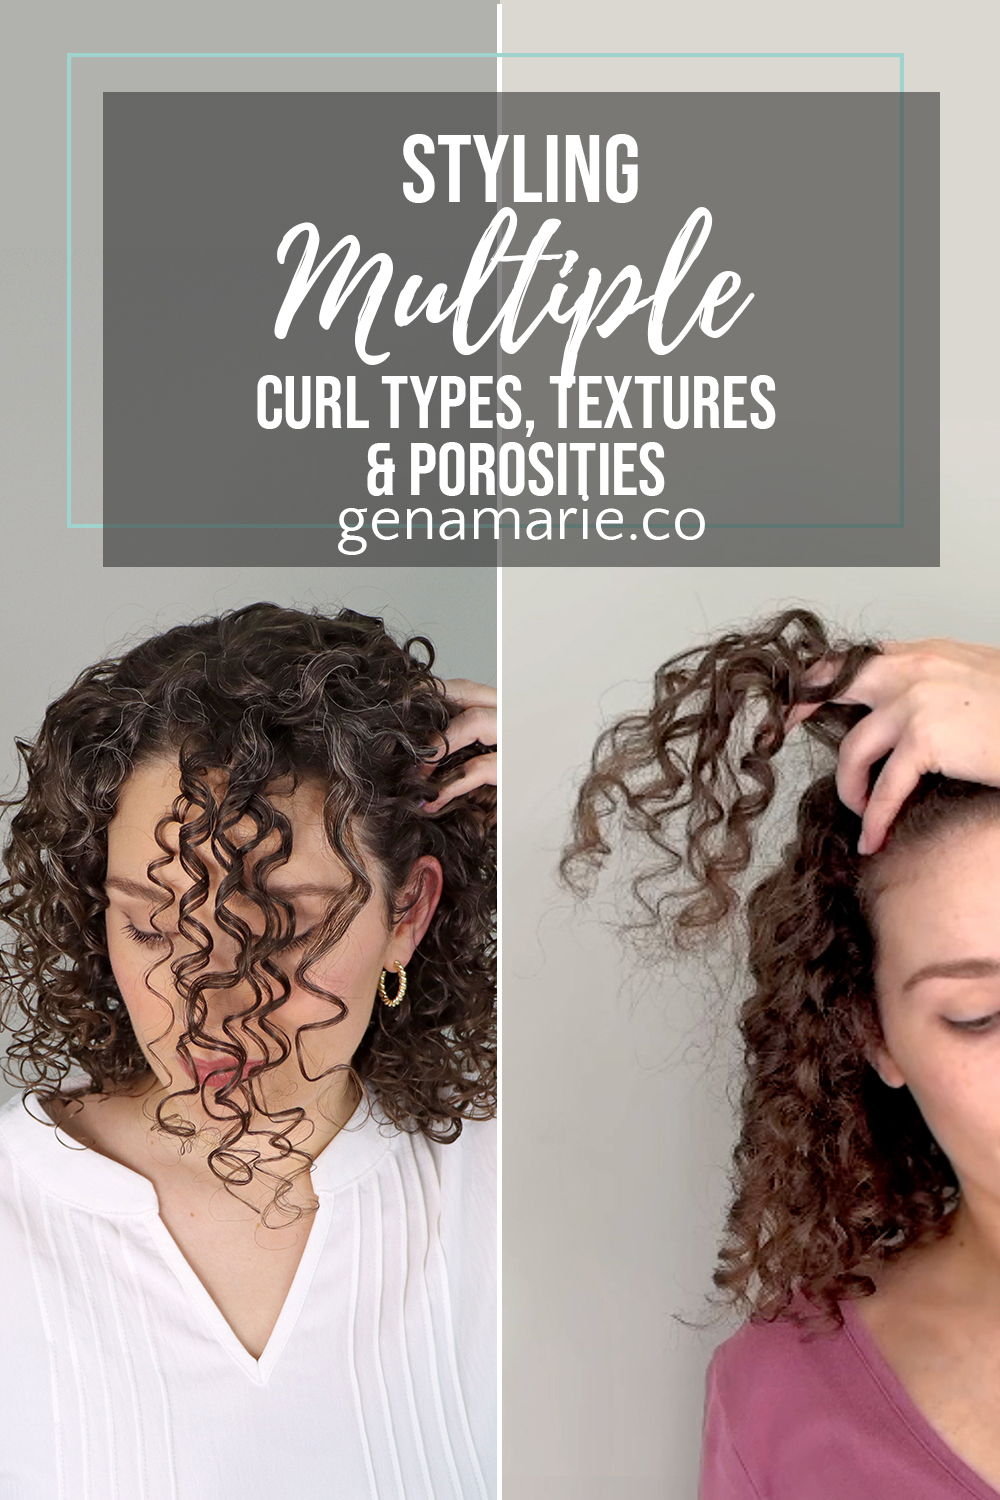
If you’ve ever wondered why your curls don’t look uniform—or why certain sections behave completely differently—you’re not alone! The truth is, most of us have multiple curl patterns, textures, and even porosities on one head of hair. And that’s normal! Curly hair is never meant to be ‘perfect’ or identical from root to tip.
You don’t have to fight these natural variations! In today’s video, I styled my own hair while walking through tweaks for different combinations of hair types.
Most people don’t have just one curl type or porosity. You probably have a mix of curly and wavy sections, different strand widths, and variations in how your hair absorbs moisture. Most of these characteristics are determined by our genetics, while others can be from the damage done to our hair.
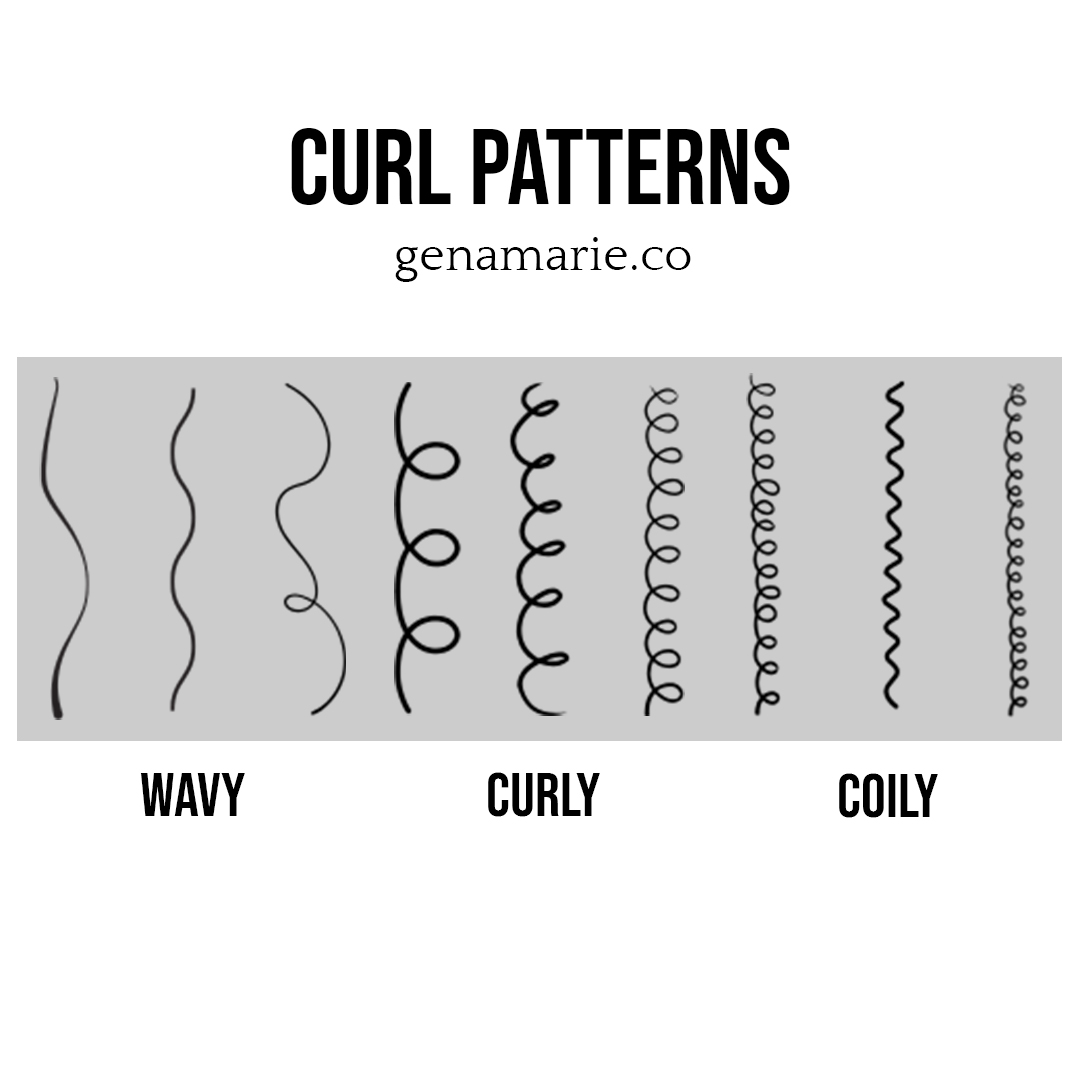
Curl Patterns: Impact styling techniques. Some areas may be wavier, while others are curlier.
Curl Families: Impact the size of our clumps or stringiness.
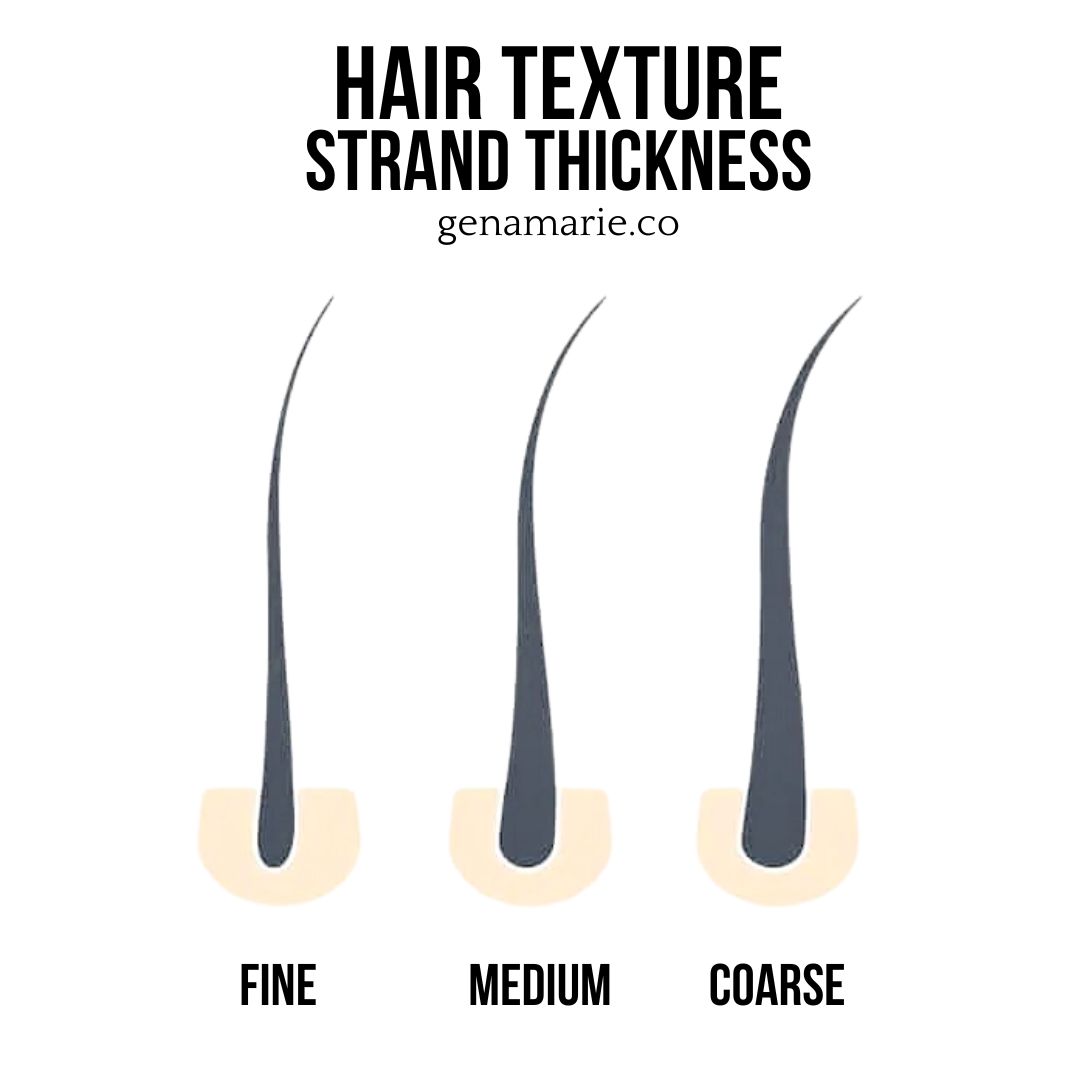
Textures: You might have a mix of fine, medium, and coarse strands, which impacts how much moisture and product weight your hair can handle.
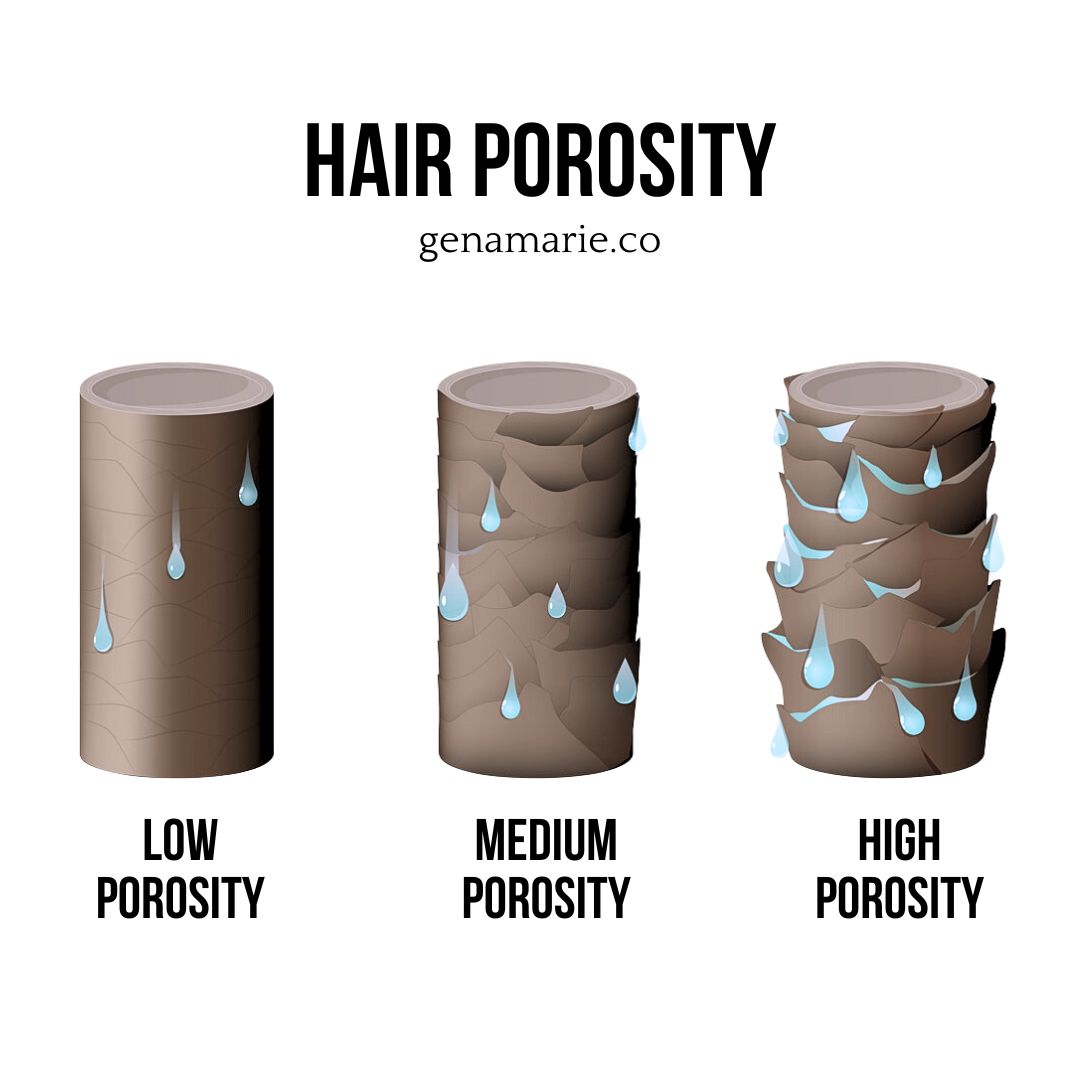
Porosity: Most people have lower porosity near the roots and higher porosity at the ends due to wear and tear. This impacts the amount of protein in your routine and if you need “sealing” products.
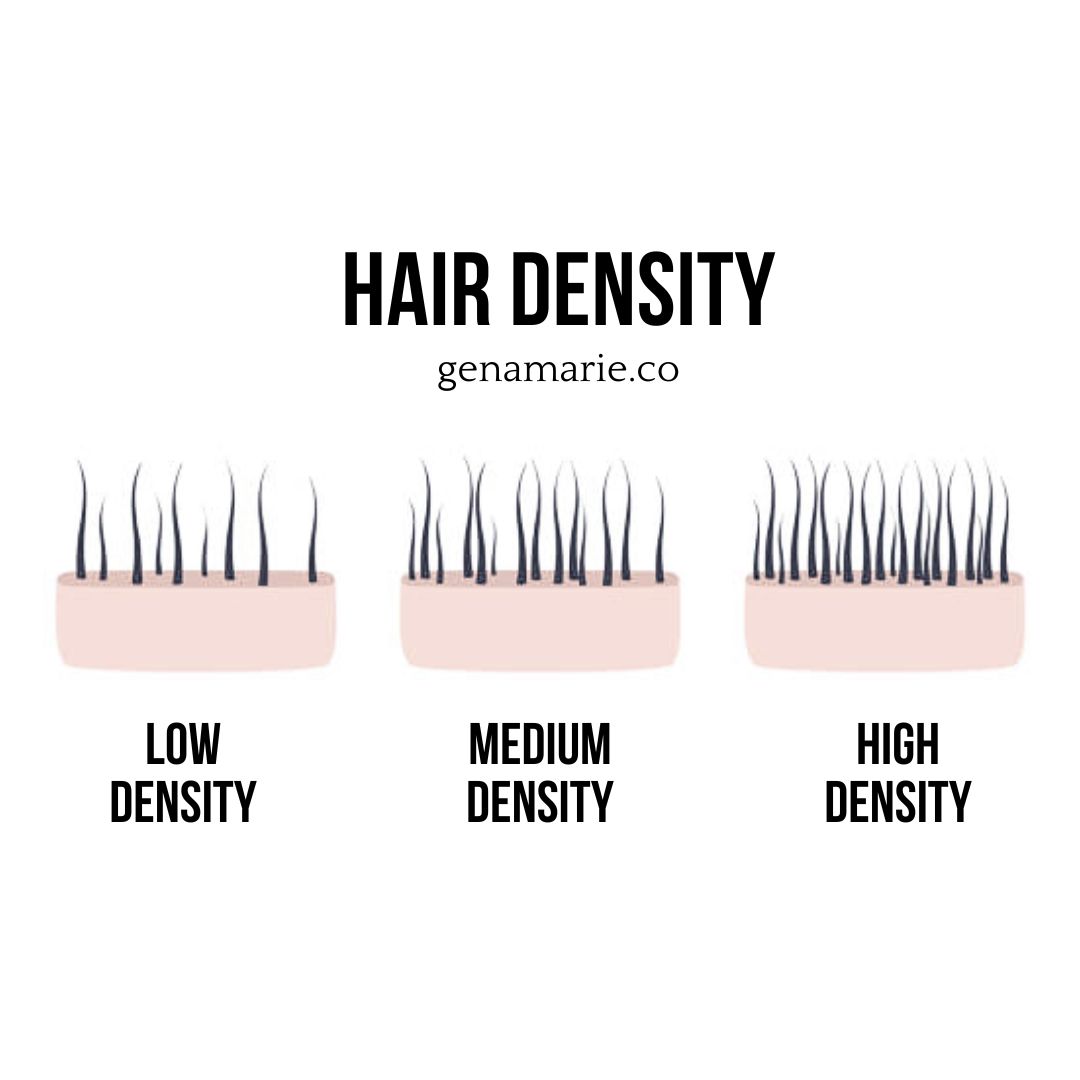
Density: While you only have one density, it can change over time with age, hormones, health changes, etc. It impacts the amount of product you use and the styling techniques.
⚠️ The goal is not to make your hair look perfect and uniform! The goal of this post is to help you address the specific needs of your hair if the variances are causing you problems.
Not sure what your exact hair type, texture, or porosity is? Take my free Hair Type Quiz to get a customized breakdown of your curl pattern, texture, porosity, and the best products for your hair.
Focus your product selection on your most problematic hair type or on the majority of your hair. Don’t overthink it!
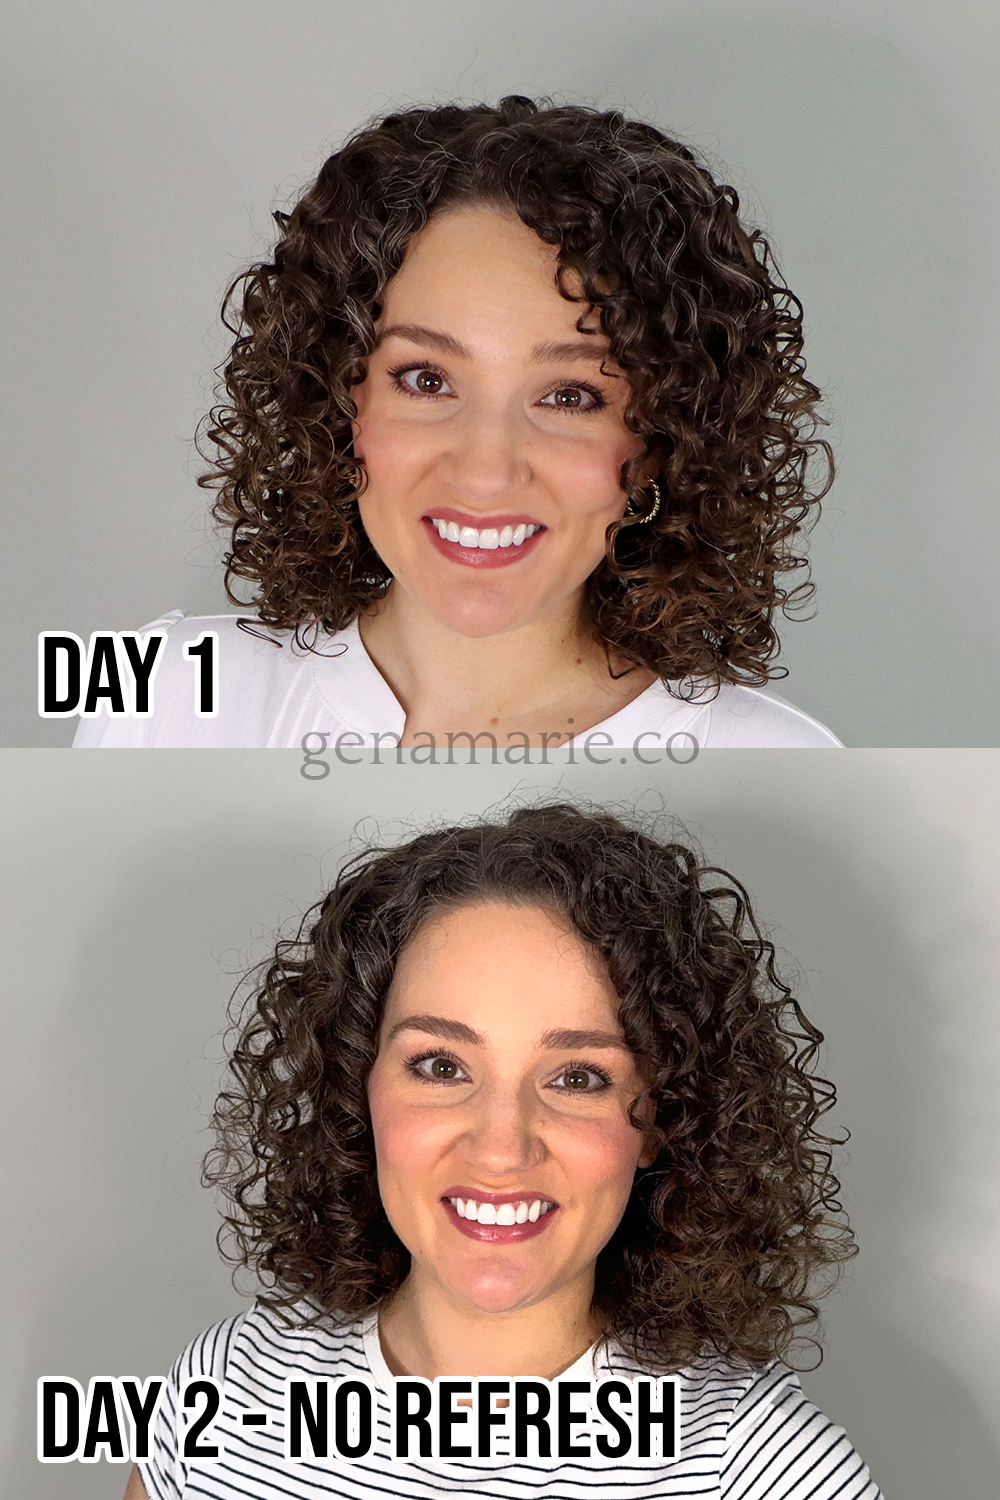
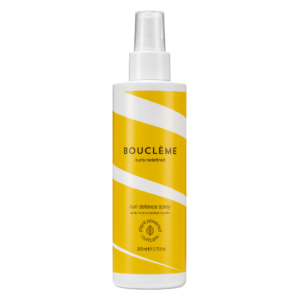
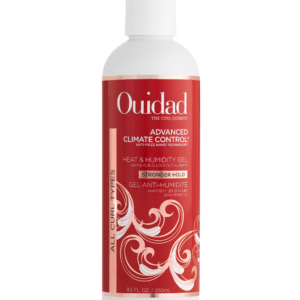
This was my first time pairing the Bouclème Heat Protectant with the Ouidad gel, and I noticed it gave my hair a slightly texturizing, almost drying effect—but in a good way. It didn’t dry out my curls, but actually helped enhance volume. By Day 2, my hair looked even better—the cast had softened, the finish looked less “wet,” and the shape held nicely.
Because I tailored my routine to the unique needs of my hair—like the higher porosity ends and tighter curls in the front—I had much less frizz and didn’t need to refresh on Day 2. When I skip this step and don’t adjust for those variances, my ends get frizzy fast, and my results don’t last nearly as long.
If you need help choosing the right products for you, my free Hair Type Quiz asks you a series of questions to determine your hair’s texture, porosity, water type, and more. After, you’ll receive a personalized report sent to your email with links to the shop page on my website. There you’ll find filters applied based on your hair’s needs.
To learn more about assessing your hair type, check out this video on 5 Curly Hair Myths.

If your curls are still frizzy and not lasting even though you’ve been doing everything you were told, the advice might be the problem. These

Your styling technique could be the reason your curls are drying flat, stretched out, and stuck to your head — not your products, not your
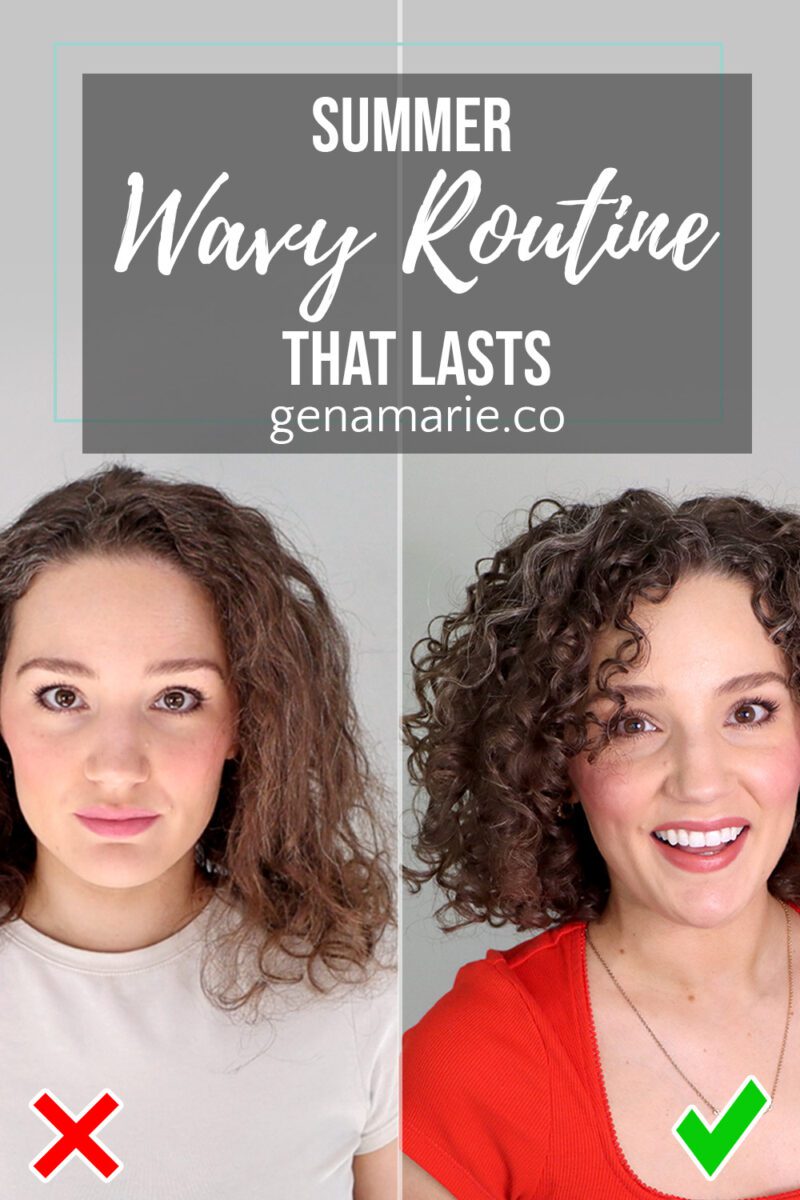
If your waves or loose curls fall flat every summer — losing definition by midday, never lasting past wash day — this routine is built
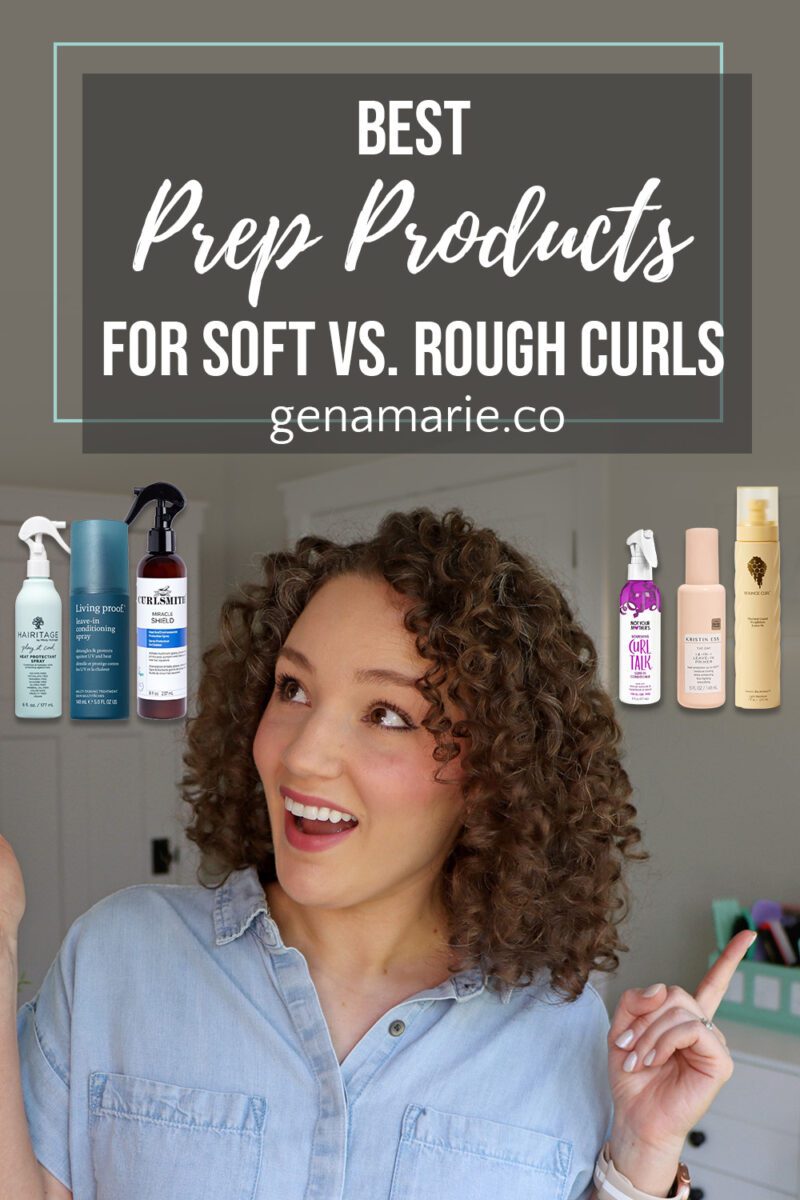
Are you using a heat protectant in your curly hair routine? If you’re diffusing or planning to be in the sun, you probably should. But
Notifications