


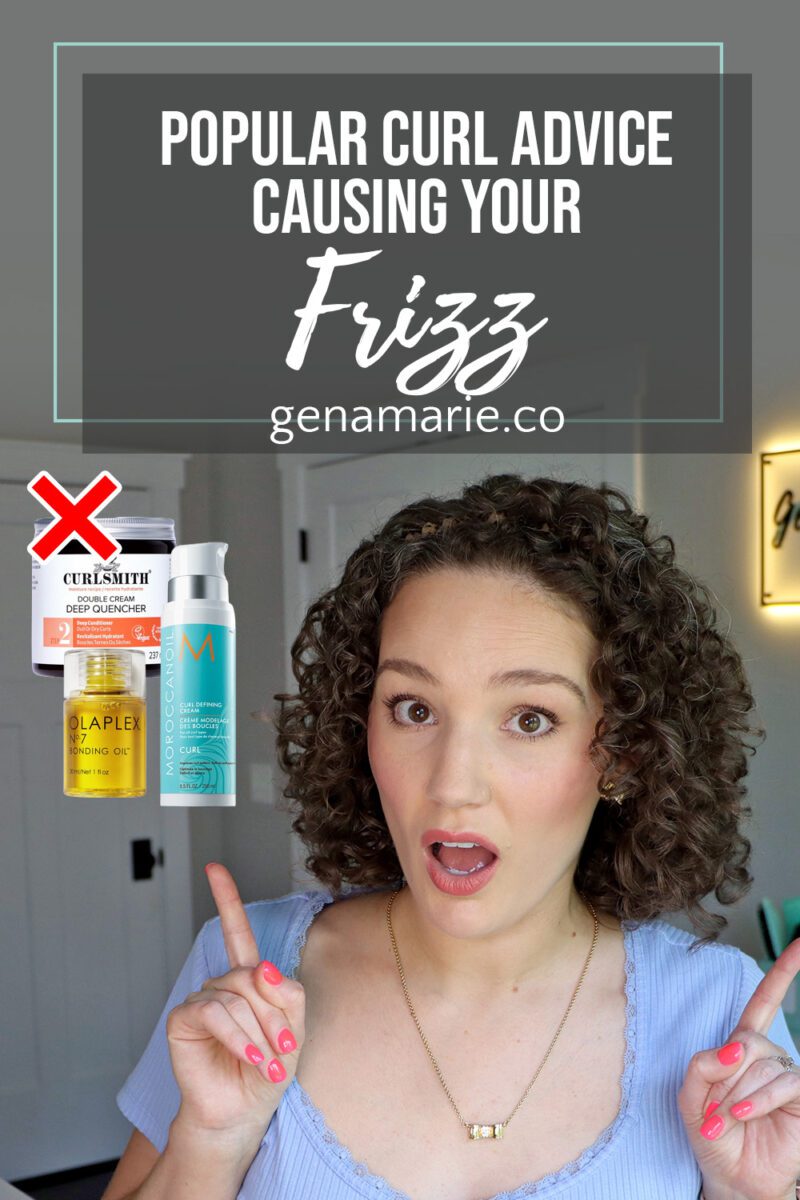
Popular Curl Advice That’s Actually Causing Your Frizz
If your curls are still frizzy and not lasting even though you’ve been doing everything you were told, the advice might be the problem. These
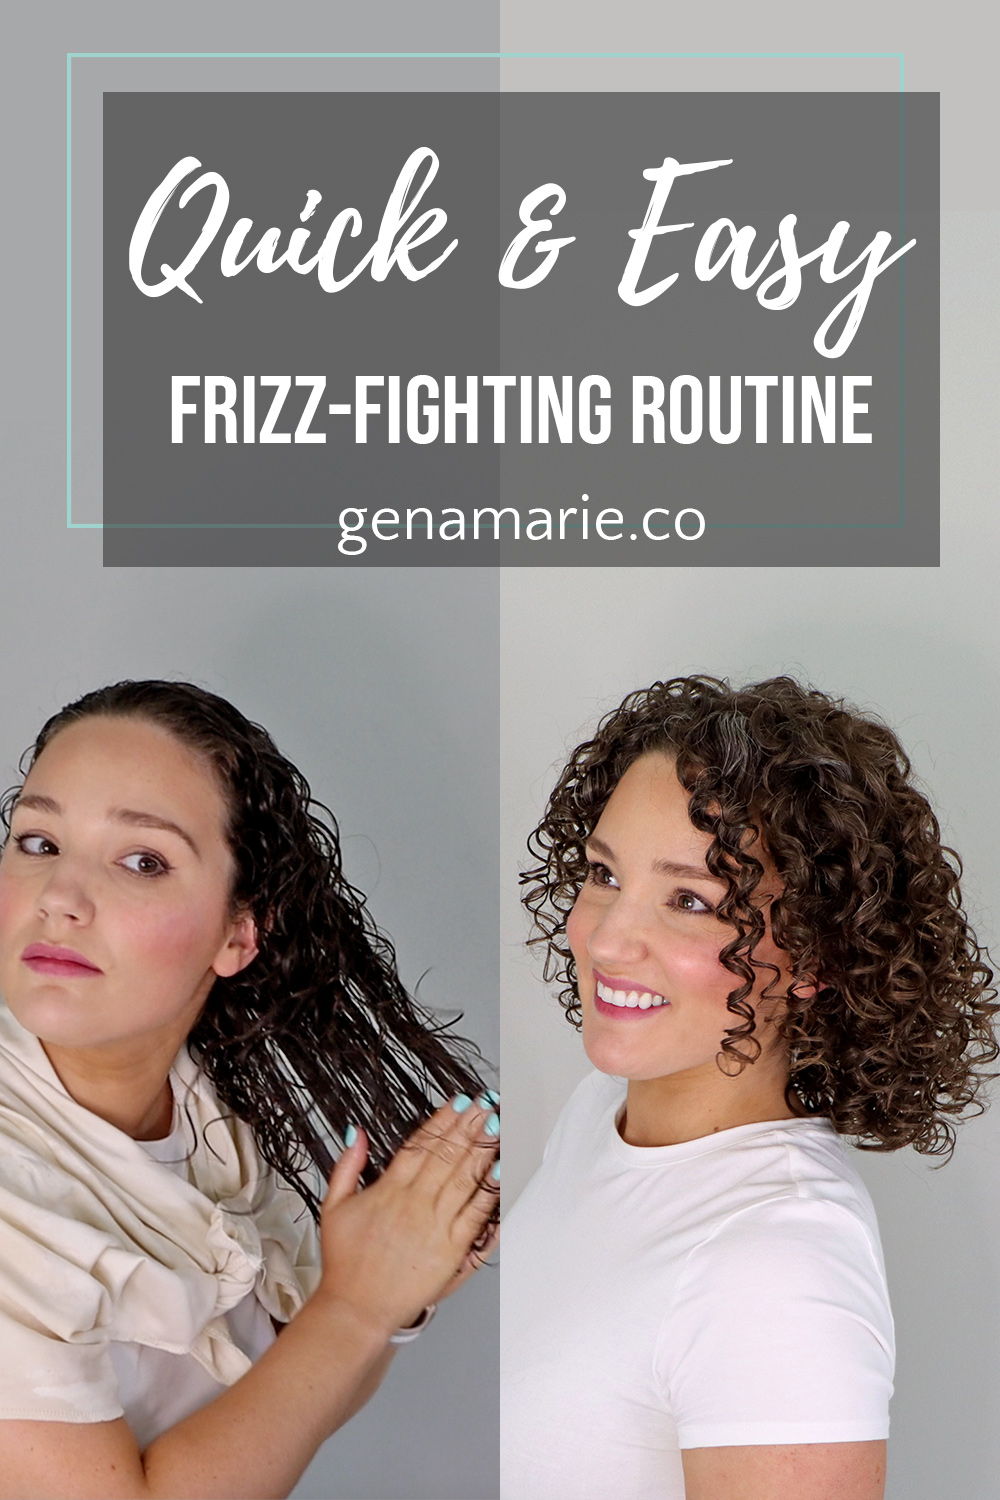
If you’re overwhelmed by all the complex curly hair routines — or you just don’t have the time and energy to go all out — this is for you. In this post, I’m walking you through a simple but effective routine that still gives you defined curls with minimal effort.
This routine uses just a total of 3 main products, 4 if you count my heat protectant! I’m also sharing my Day 2 results with you.
Start by washing your hair using either:
Tip: You can also dry detangle beforehand with a little oil or conditioner to make shampooing easier and reduce breakage.
Make sure to thoroughly scrub your scalp and let the shampoo cleanse your lengths too.
The Ouidad Water Works is one of my all-time favorites because it removes hard water minerals and product buildup. It’s effective without stripping.
If you aren’t clarifying today, you can just use your regular shampoo. I recommend one that has a good lather, is not too moisturizing, and effectively cleanses, not leaving behind any residue.
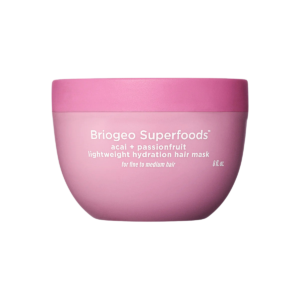
Next, use a deep conditioner or a regular conditioner — not both. In my routine, I used the Briogeo Acai & Passionfruit Lightweight Hydration Mask which is perfect for fine hair because it hydrates without weighing down.
I’ve been testing this for my last few washes and I’m really impressed by it. It’s one of the few deep conditioners I’ve tried that is actually lightweight and not too heavy. We need more in this category for those of you with fine hair.
Detangle gently, scrunch some water in to help absorption, then clip your hair up while it sits. Rinse thoroughly until your hair feels soft but not slippery — leftover conditioner can lead to poor results and less hold.
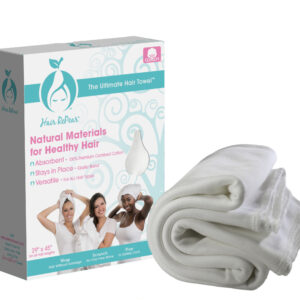
After rinsing, wrap your hair in microfiber towel such as the Hair RePear towel or a cotton T-shirt.
Next, towel dry your hair and then mist with a spray bottle until its at a preferred dampness level.
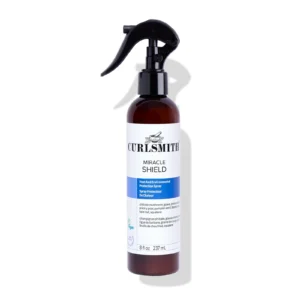
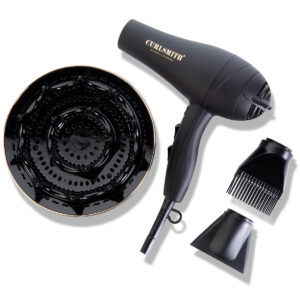
If you’re diffusing, now’s the time to apply a heat protectant — I like Curlsmith Miracle Shield. I prefer to apply it to my palms and then distribute it all over, focusing on the ends and working it up.
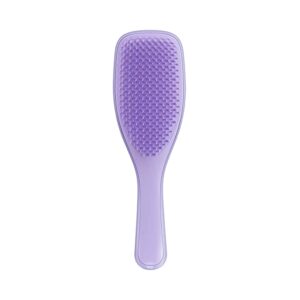
Then use a brush to evenly distribute that product and smooth everything out. After brushing, take your hands and run them through the hair, lifting it off the scalp. This is key.
Don’t worry about stretching out your curls, we’re going to bring them right back.
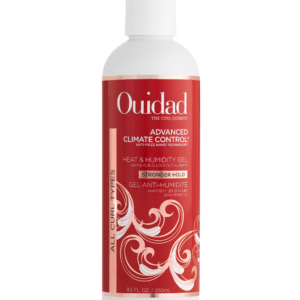
Since this is a quick routine, I’m kept it simple with just one styler — the Ouidad Advanced Climate Control Stronger Hold Gel. It’s moisturizing enough to skip leave-ins or creams.
Instead of sectioning, rake the gel through evenly to save time. I start with about a nickel-sized amount on one side, and continue to emulsify it. Pick up the same amount for the other side and continue adding more until all areas of your hair feel coated.
You want to avoid going right in at once with a large amount. As you rake it in, you can also lift the hair off the scalp for root lift.
Lift the hair up in areas that feel if any areas need more product, then to apply more. This is a quick way to still get your gel at your root, and is especially good for root frizz.
Then brush it through again to evenly distribute and smooth out frizz.
After raking, use praying hands to re-clump the curls and scrunch to get your curls to their fullest potential. You can stop here and diffuse if you’re happy with your results, but as you can see, my curls are not very defined and my roots are flat.
Instead of full brush styling or finger coiling every section, focus on problem areas. For example, when I style, I tend to focus on the crown, top curls near my part and pieces that frame my face.
My scalp loves to show in the back, so I took a horizontal section at the crown and quickly ran my brush through it, directing the hair up and back. I use a brush to get some volume at the crown and cover my scalp.
To get root lift, I finger coil a few pieces on top around my part. I have found recently that this really helps because my curls do curl at the root, and when I don’t define them, they stretch out and lay flat.
A priority for me is my face framing curls, so I try to define them by finger coiling. Normally, I brush style and finger coil most of my top section, but for this routine I just did a few curls in the very front. This is a problem area for me because I have a lot of grays that love to poke out and make frizz, I have baby hairs that create frizz, and they’re in my face all day. Defining these pieces is worth it for me.
Just touch up what actually needs it — and stop yourself from going overboard.
Use a microfiber towel or cotton T-shirt to gently blot out excess water. This reduces drying time and sets the curl shape. I used the undyed version of the Hair RePear towel. This version seemed to repel the water and not absorb as much of it. However, after washing it for the first time, it seemed more absorbent but still different compared to my usual Hair Repear towel. If you’re someone who likes soaking wet styling, this may be perfect for you.
Then, apply a small final layer of gel using the praying hands method to lock everything in place. This second gel layer helps reinforce your cast and reduces frizz.
The praying hands technique is a great way to quickly clump the curls. If I were to skip using a brush and skip finger coiling all together, I would at least use praying hands to clump the hair so it doesn’t get stringy.
As always, diffusing is optional and it depends where you want to spend your wash day time. If you have the time, and don’t mind a more elongated look, you could totally air dry.
I prefer to diffuse because I find that it’s faster for me and I can get to my “done” hair right away. Diffusing also creates more definition, volume, and shape for my hair. If you’re really short on time, just diffuse for a few minutes to set your cast. I recommend drying all the way for the longest lasting results.
What’s important to remember, though, is if you’re styling at night, you want to make sure your hair is mostly dry before going to bed.
Once it’s fully dry and still in the cast, it still looks wet, which is normal for this gel because it’s very moisturizing.
All I need to do is scrunch out that crunch with my dry hands. I don’t use oils or anything, just my bare hands to keep it simple. I fluff my roots and separate some curls for more fullness.
Since my hair still had some remaining moisture in it, I used my diffuser for just about 30 seconds to a minute. Sometimes that little bit of moisture will finally dry after you break your cast. This also helps soften it further.
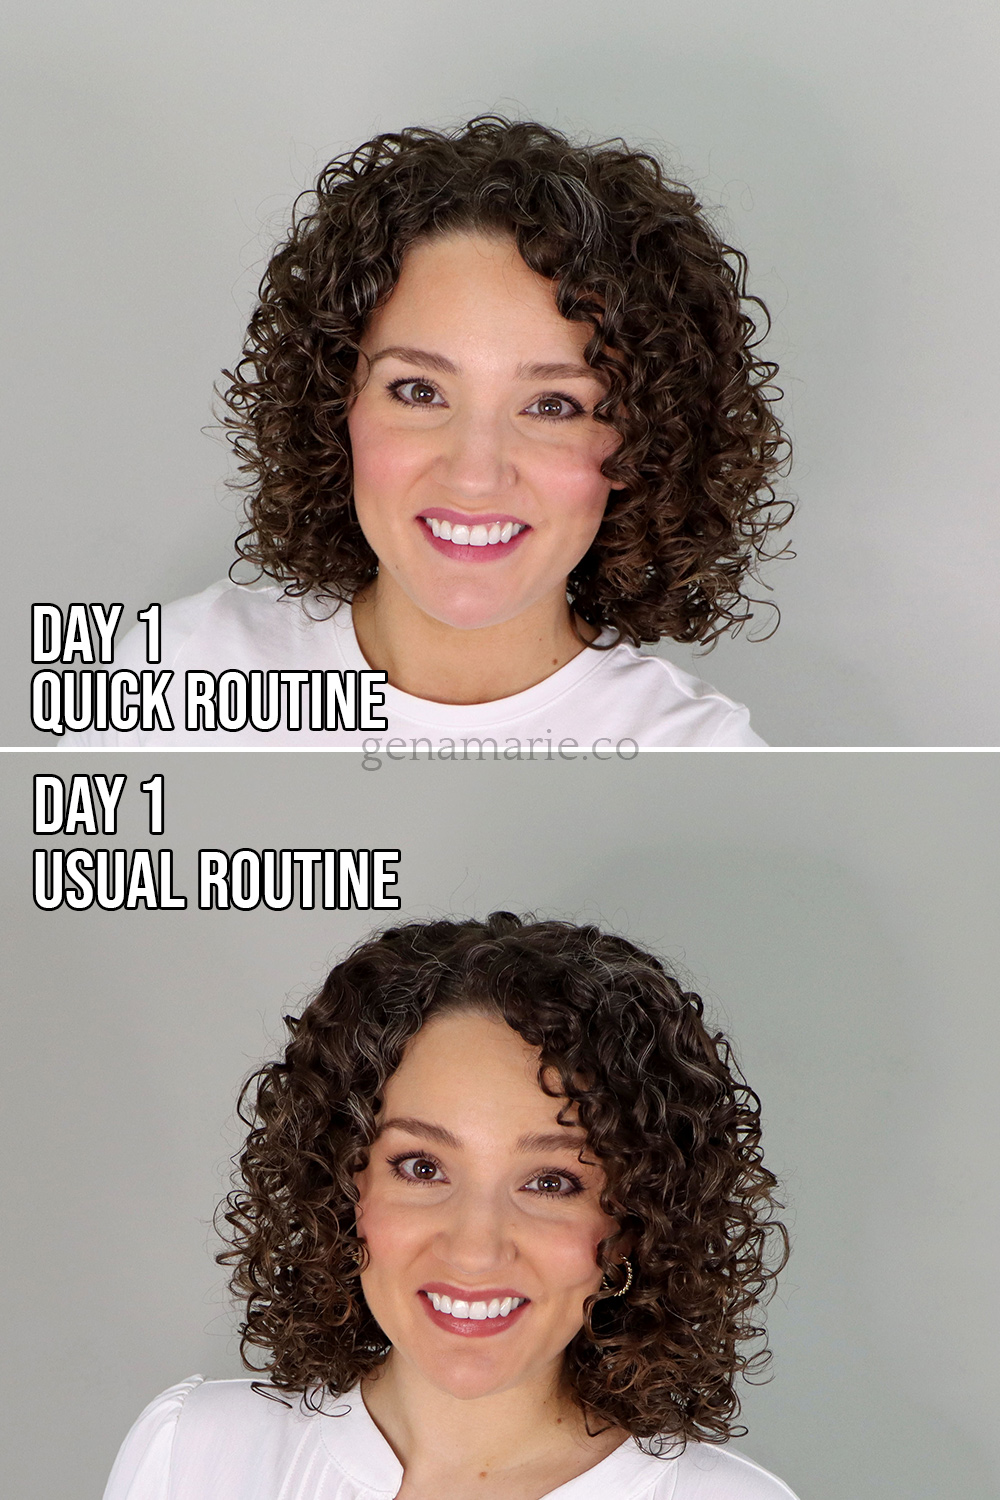
Here’s how the quick & easy routine looks compared to my usual routine.
Overall, my curl definition and clumping look great. I also have about the same amount of volume. The biggest difference is I have more frizz than usual, along the top and within the inner layers. I had a lot of hair that was “webbing” or sticking together with frizz on the inner layers. This is common/normal for curls, but usually the cause is not sectioning. It can sometimes create more volume but may lead to more tangling throughout the week or frizz popping through.
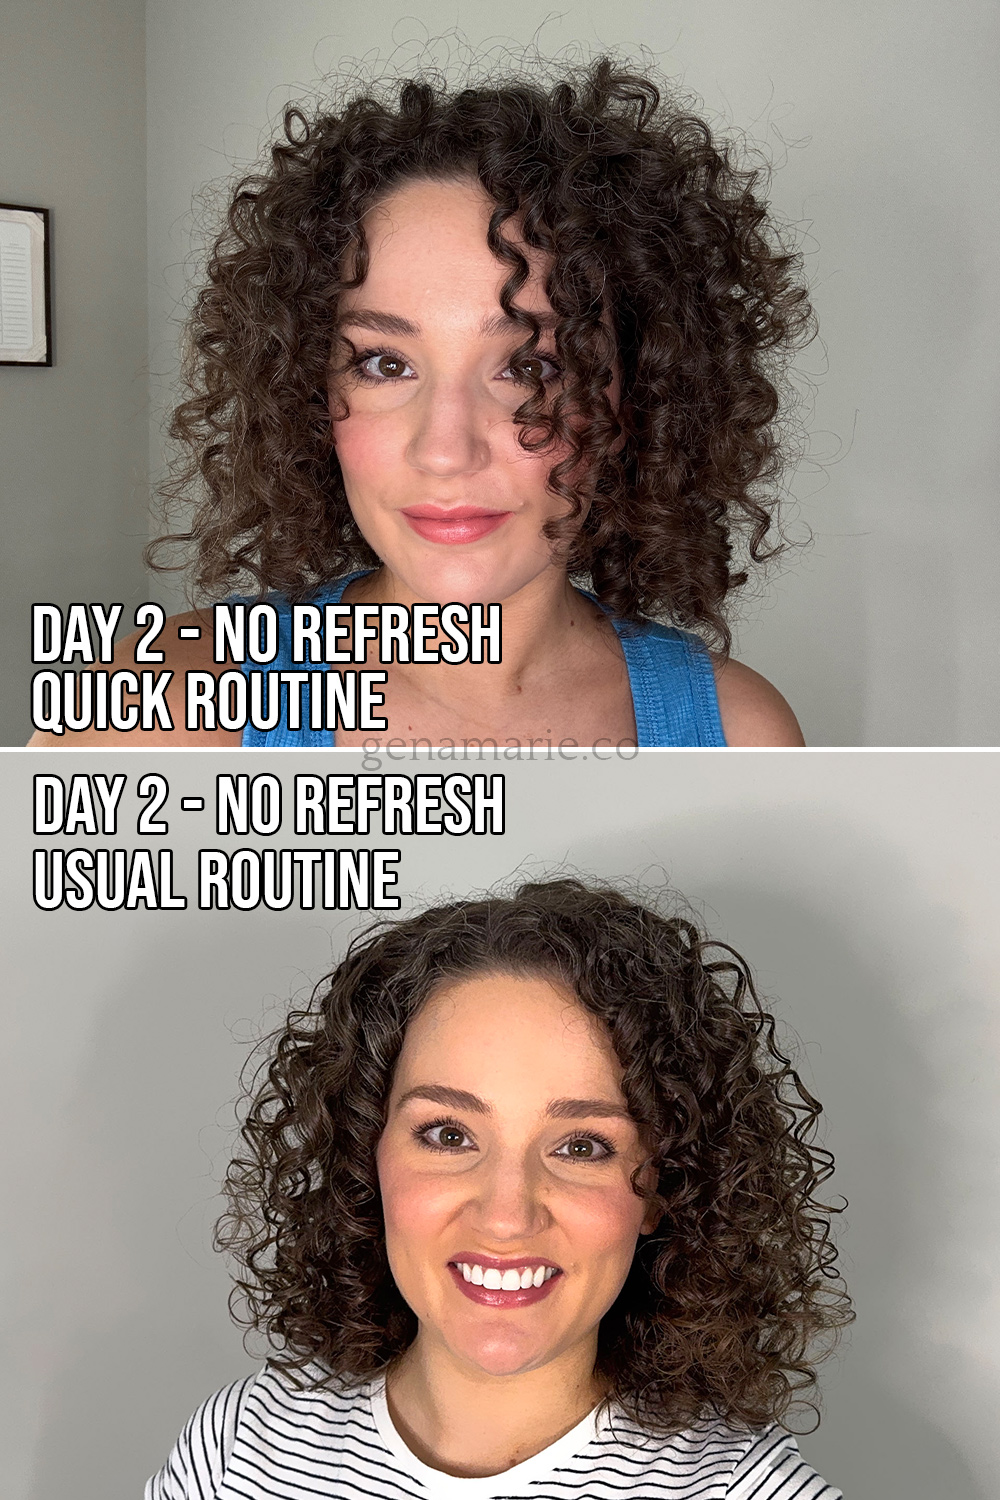
Day 2 is where I really saw a difference. It was very hot and humid, so my hair naturally frizzed up. However, without my usual sectioning and more precise styling, my hair didn’t hold up as long and had more frizz. I also noticed more stretched-out, undefined curls, which I don’t normally get. These must have been the pieces that didn’t get styled much. I was glad I did some finger coiling because those pieces held up the best.
It was fun to change it up, and I was interested to see the confirmation of effort vs. reward with curly hair. The amount of effort you put into your styling routine does impact your results. However, when you’re busy or don’t have the energy, there will be trade-offs. It’s all about finding what is worth it for you and what is not worth it, so that you can have a sustainable routine for your lifestyle. We don’t need our curls to look perfect every day. Use the tools and techniques when needed, and prioritize the problem areas only to save time.
Test different things (one at a time) and see if it even makes a difference and is worth your time. Use my free Curly Hair Tracker to best do this.
Finding a routine that works for your lifestyle is something I help my clients with in my group coaching membership. I will audit your routine, watch you style, diffuse, and refresh (if you wish), and provide you with tweaks that are sustainable to get the results you want.

If your curls are still frizzy and not lasting even though you’ve been doing everything you were told, the advice might be the problem. These

Your styling technique could be the reason your curls are drying flat, stretched out, and stuck to your head — not your products, not your
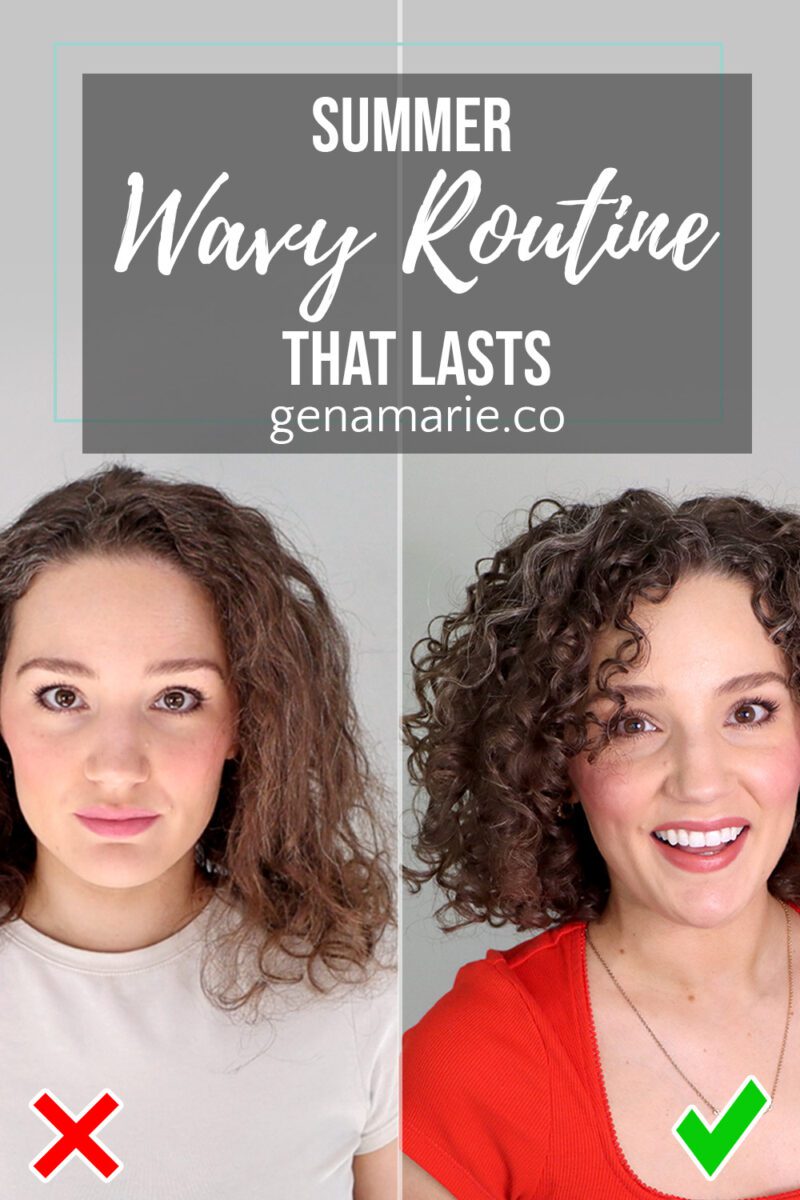
If your waves or loose curls fall flat every summer — losing definition by midday, never lasting past wash day — this routine is built
Are you using a heat protectant in your curly hair routine? If you’re diffusing or planning to be in the sun, you probably should. But
Notifications