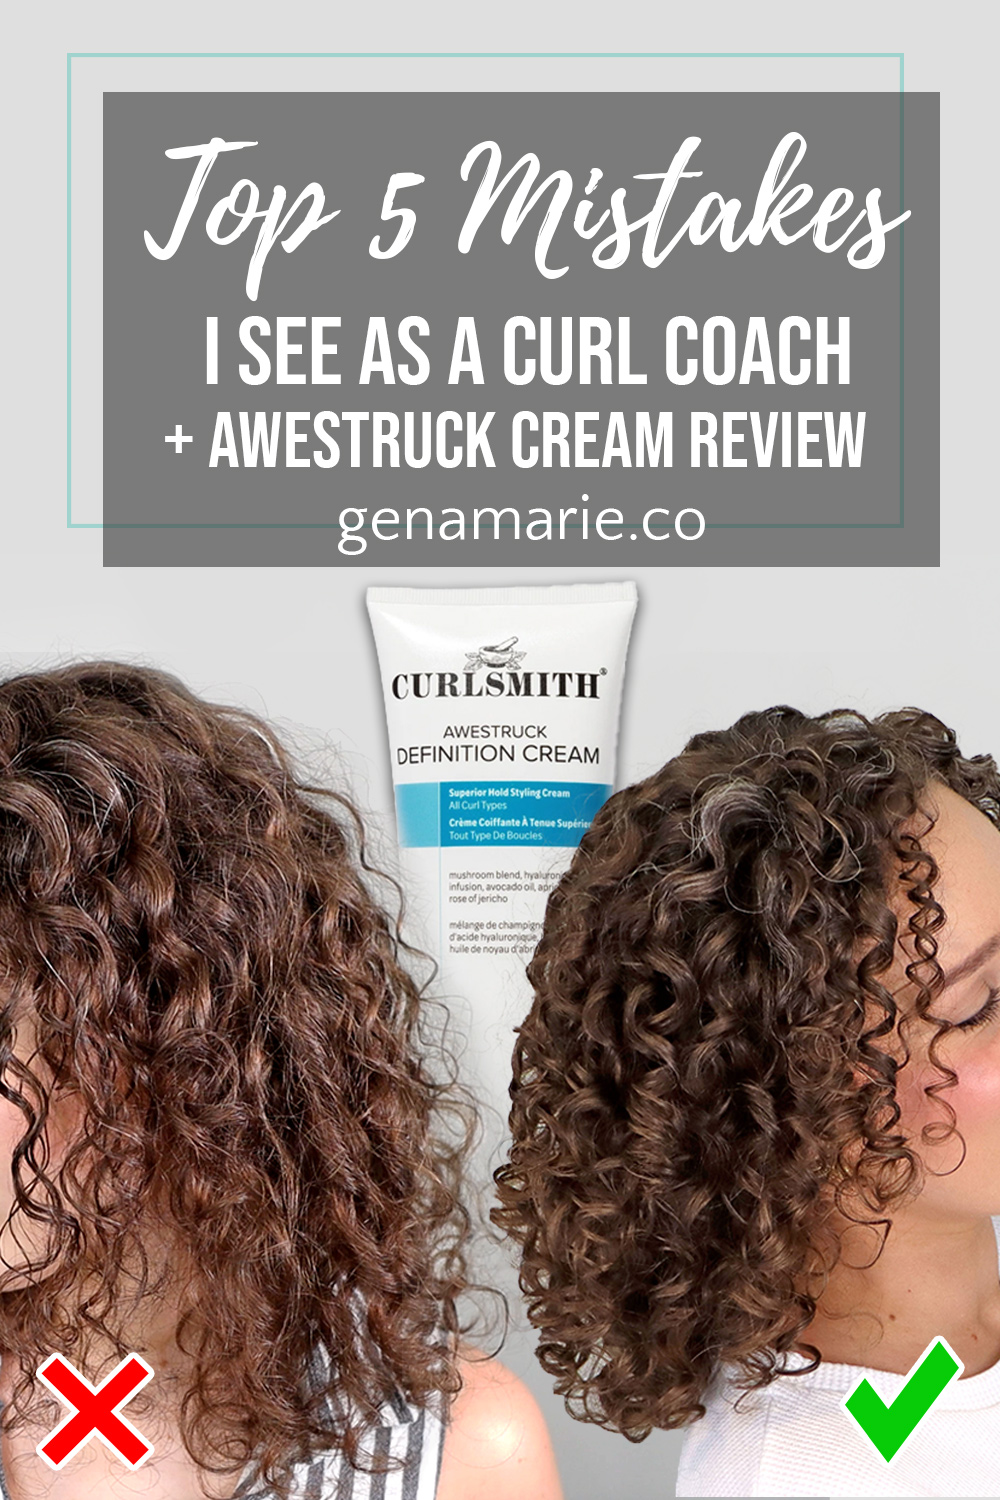
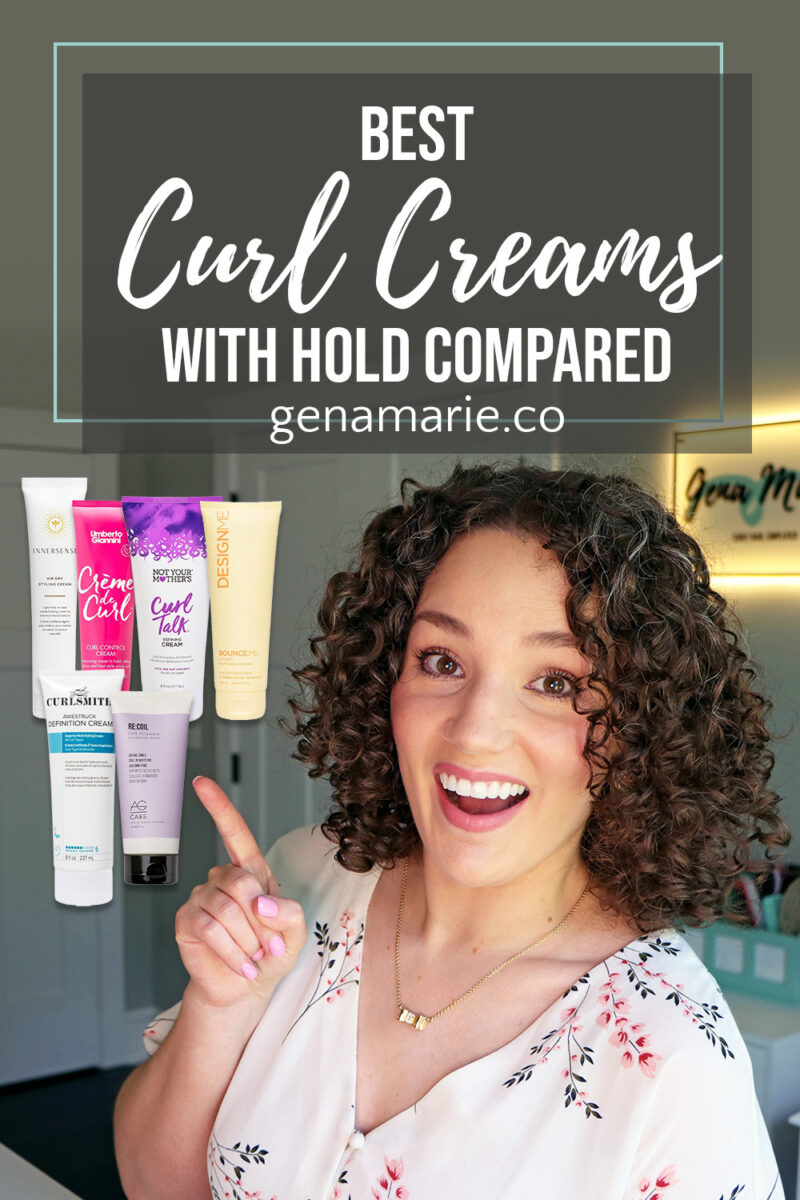
5 Curl Mistakes I See as a Curl Coach + Curlsmith Awestruck Cream Review
This post is sponsored by Curlsmith. Click here for the full disclosure.
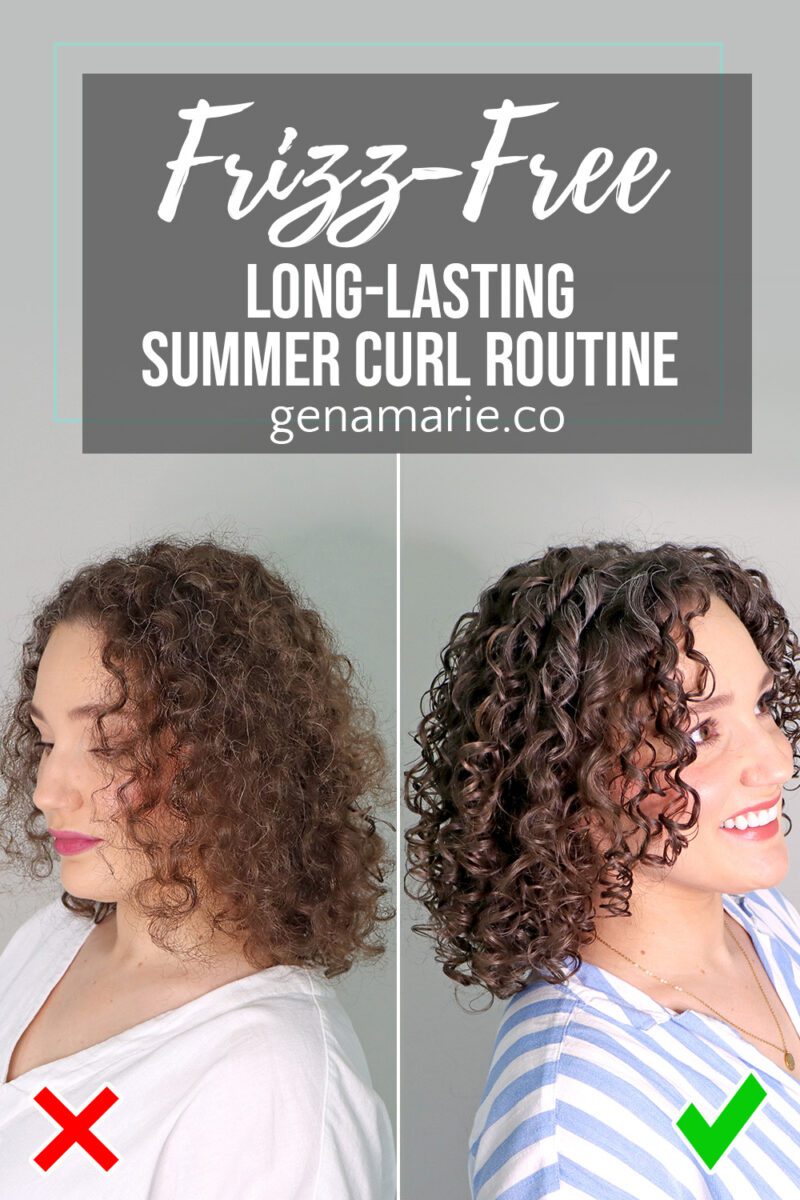
If your curls aren’t lasting or looking how you want, you might be doing these 5 things I often see as a curl coach. Today I’m showing you step by step my styling routine and sharing the 5 most common mistakes I see — while also testing Curlsmith’s new Awestruck Definition Cream. You’ll also notice Curlsmith’s refreshed packaging and simplified categories, which makes it so much easier to pick the right products from their core wash day essentials.
There aren’t really ‘mistakes’ in curly hair — we all have our own way of doing things. Think of these as alternatives you can try that might give you better results. And remember — every curl journey matters, no matter what stage you’re in. None of us start out knowing all of this, and it’s completely normal to not know what you don’t know.
Step-by-step routine
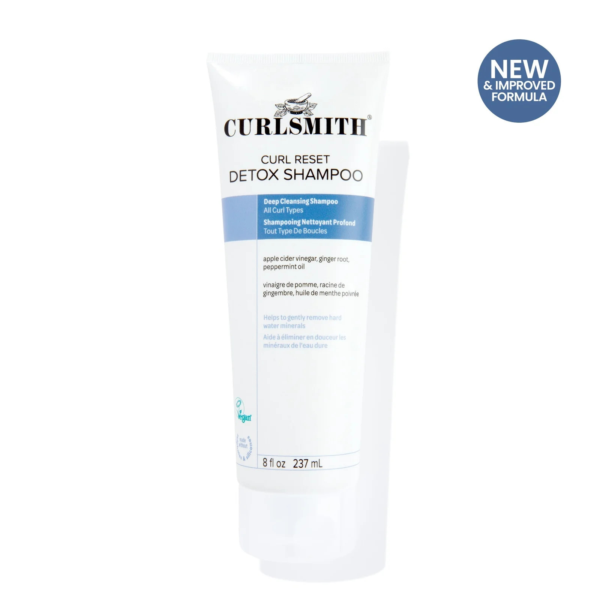
Step 1: Detox Shampoo
Prior to styling, I used Curlsmith’s Curl Reset Detox Shampoo. This is a clarifying shampoo that removes buildup and hard water minerals without leaving my hair stripped or feeling dry.
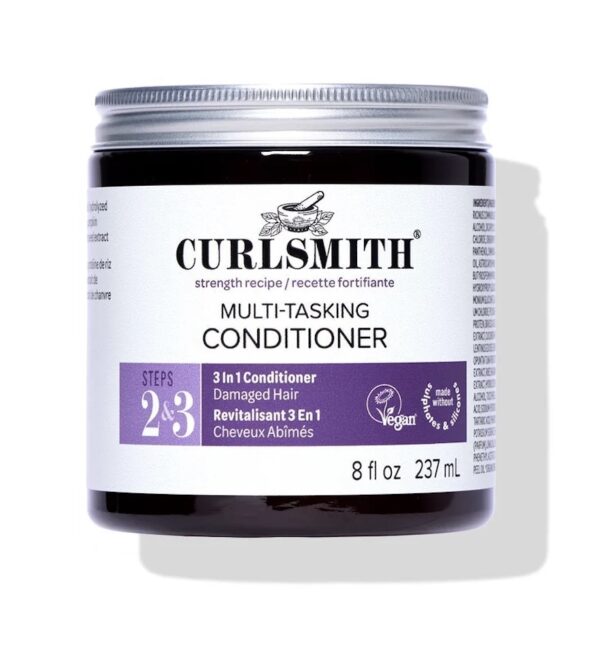
Then, I used the Curlsmith’s Multi-Tasking Conditioner as my rinse-out. It is a versatile, protein-rich conditioner – you can also use it as a leave-in or mask – but today I just conditioned like usual and rinsed.
Normally, at this point, I add a heat protectant, but the Awestruck Definition Cream has built-in heat protection, UV protection, and pollution protection! You know I try to keep my routines as simple as possible, so I love that I was able to use one less product!
The ingredients include a mushroom blend that helps with lasting curl definition, frizz, and volume control. It contains a hyaluronic acid infusion for heat protection and moisture protection and avocado oil to give nourishment to your hair.
It is advertised to have the lightness of a cream but the hold of a gel. It’s a very moisturizing cream that provides humidity control. It says hold level 6, medium hold with a “light” curl cast. But, y’all know how tough I am on gels, so I’m going to hold the claim to a high standard!
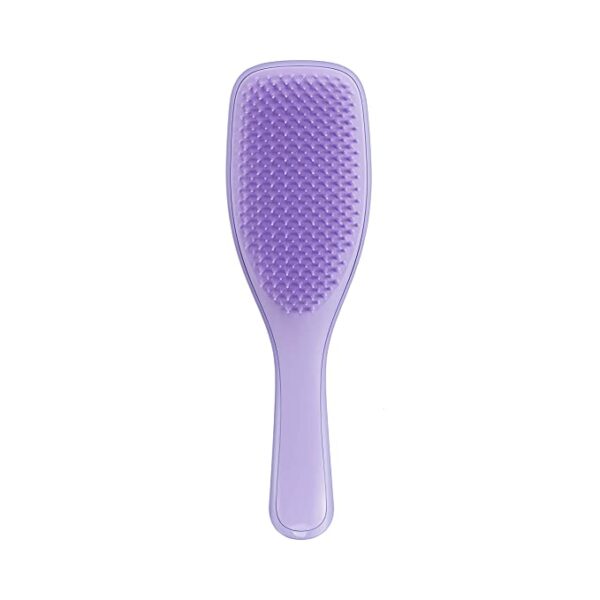
I did some very basic styling with my brush and applied some light tension. I also like finger coiling because it helps me get more root lift and volume at the top.
Following this, I microplopped with the Curlsmith Microfiber Towel to remove excess water before diffusing to decrease my dry time. I also added a light layer more of the cream to maximize the hold.
Step 6: Diffuse
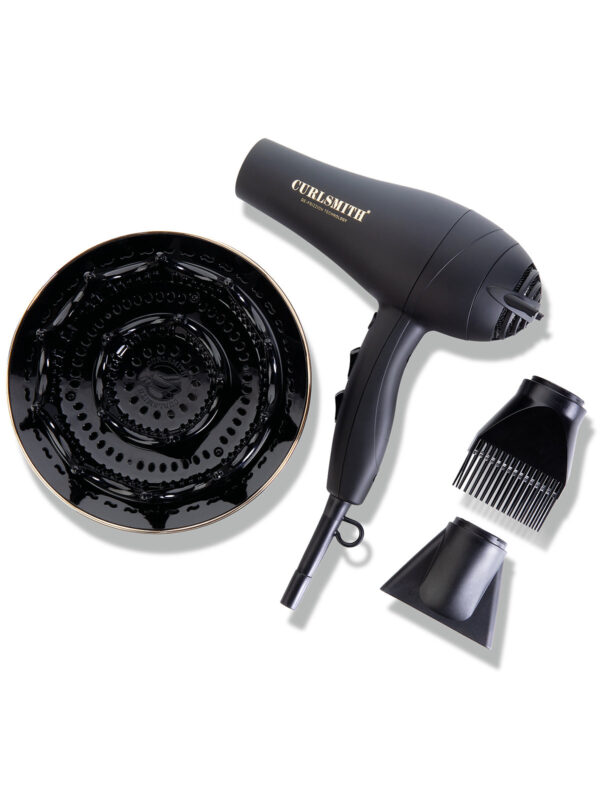
Lastly, I diffused with my all-time favorite Curlsmith Defrizzion Hair Dryer + XXL Diffuser. It dries my hair fast using less heat because of how large it is. I can fit most of my hair in it at once, which helps prevent wonky-shaped curls and frizz.
With this cream, I didn’t have much of a cast, so I don’t recommend doing my usual step of breaking the cast. However, I did fluff out my roots and separate any large curl clumps for extra volume.
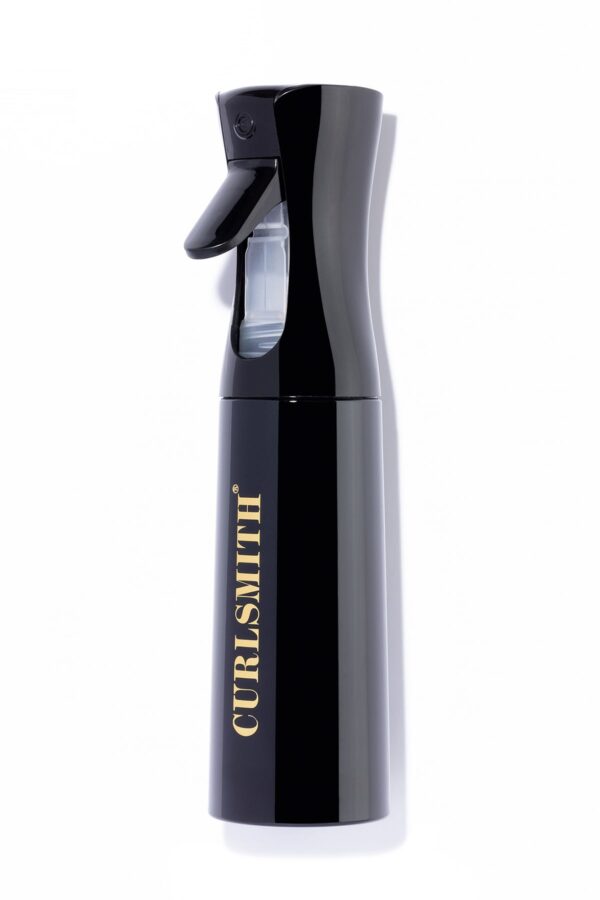
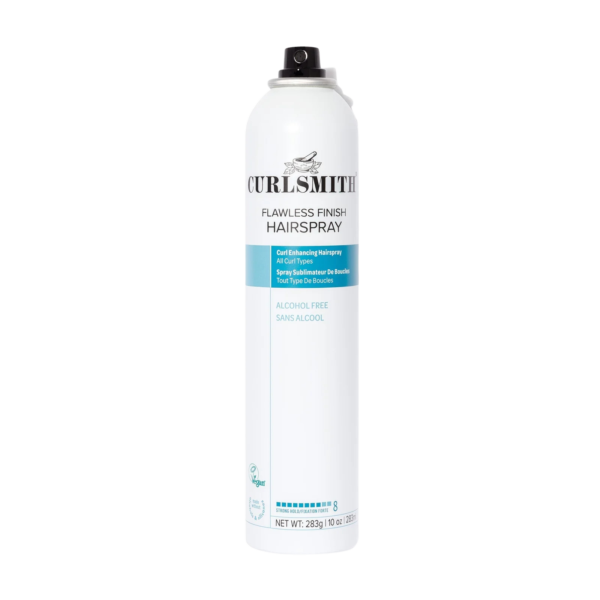
Last time I tried the Awestruck cream on its own, I surprisingly got to day 3 before I had to refresh. This time, I added in some Curlsmith Flawless Finish Hairspray to see if it lasts a bit longer. I held it at a distance to avoid getting one hard area. I applied it after fluffing out my hair. It can also add volume by misting a bit at your roots.
I see this all the time: people are buying so many products without knowing what works, and trying something new every wash day. They change their routine completely, and then never know what actually works. They often think that if they didn’t like their results, it was the product that was bad, so they switch to something else, but it’s often the application or something else we need to uncover.
I totally understand how this happens because it can be so confusing when you’re just getting started and on your own, trying to understand all the conflicting information online and constantly seeing all the new, exciting products.
My goal with my clients is always to help them buy less. In my group coaching program, we have a “rule” to check in with the group before buying new products. I also teach clients how to test products in isolation – one at a time – so you can really see how they perform. That’s exactly what I’m doing today with the Awestruck Cream. By using it independently, I’ll know its true performance before adding other products to the mix.
❌ Mistake #2: Too much moisture, not enough hold
I see people layering conditioner, a mask, leave-in, cream… but skipping a strong hold gel. The result is soft curls that collapse and frizz quickly. This is not your fault – the entire curly hair industry and most brands push MOISTURE, especially as a solution for frizz. But curls need more than just moisture to not be frizzy.
Sometimes it’s hard to know how much moisture is in each of your products, especially if you don’t study curly products and ingredients like I do. Those with thick, coarse, coily hair definitely need a moisture-rich routine, but a lot of people have the opposite hair type, such as those with fine hair.
If I see where my clients have an imbalance of hold and moisture, I will work backwards with them to identify where we can reduce the moisture and increase the hold. Sometimes that even involves swapping out their shampoo and conditioner if needed.
❌ Mistake #3: Uneven application, poor technique
This is one of the most common things I notice when watching my clients’ style: not coating every strand, not paying close attention, or just rushing the application. This leads to so many problems, including frizz, lack of definition, and curls not lasting. Most people just aren’t taught how to apply products — it’s not obvious until someone shows you.
This doesn’t mean you have to spend more time on your hair; it just means being more intentional and ensuring you’re getting an even application. I recommend applying your styler section by section, root to tip, making sure the product is smoothed through and every strand is evenly coated.
If you don’t want to section, you’re going to have to pay close attention to make sure you’re really covering all areas when raking in product. Using a brush can also help make sure everything is evenly applied.
It’s also important to use the right amount of product and make sure all the product is not landing right where you first touch your hair. In my recent video, I showed what not enough and too much product looks like. I mentioned how it helps to start small and keep adding more as you work your way around your head, versus going in with your entire blob of product at once.
❌ Mistake #4: Overcomplicated styling routine
I see beginners spending a long time on their routine – tiny sections, multiple brushes, too many steps – when, for a lot of hair types, simpler is actually better.
For example, looser curls and waves often benefit from lower manipulation, while tighter or denser curls may need more structure. The key is tailoring the routine to your hair instead of copying someone else’s step by step. A lot of my clients are shocked when my feedback after watching them style is to do less!
❌ Mistake #5: Unrealistic expectations
As a perfectionist, I struggle with this myself. We all see the imperfections in curly hair- frizz, unevenness, “wild” unruly hair. Let’s face it – curly hair is not cut out for perfection. It can also be very inconsistent, especially if you’re new to wearing it curly or if it’s damaged.
Your results depend on your starting point – things like thickness, porosity, damage, and even your climate. If your hair is damaged, lower density, or looser waves, the results won’t look like someone with thick, tight curls. This is why we can’t compare our results to someone else.
A big part of my Curl Coaching Program is helping clients understand what’s normal for their hair right now so they can build from there and learn what their hair’s maximum potential is – not trying to look like some on social media. Understanding what’s normal for your hair is key.
Plus, having a community of supportive curlies not only in my group, but here on my channel, is so helpful. A lot of my clients have enjoyed the group setting because they realize their problems are not unique to them – everyone struggles with a lot of the same things and we can help each other. Many clients have told me they learn just as much from hearing the answers to other people’s questions as they do with their own. We don’t know what we don’t know. And sometimes what another client says or asks is the “aha moment” someone needs.
My results & final thoughts on Awestruck Cream
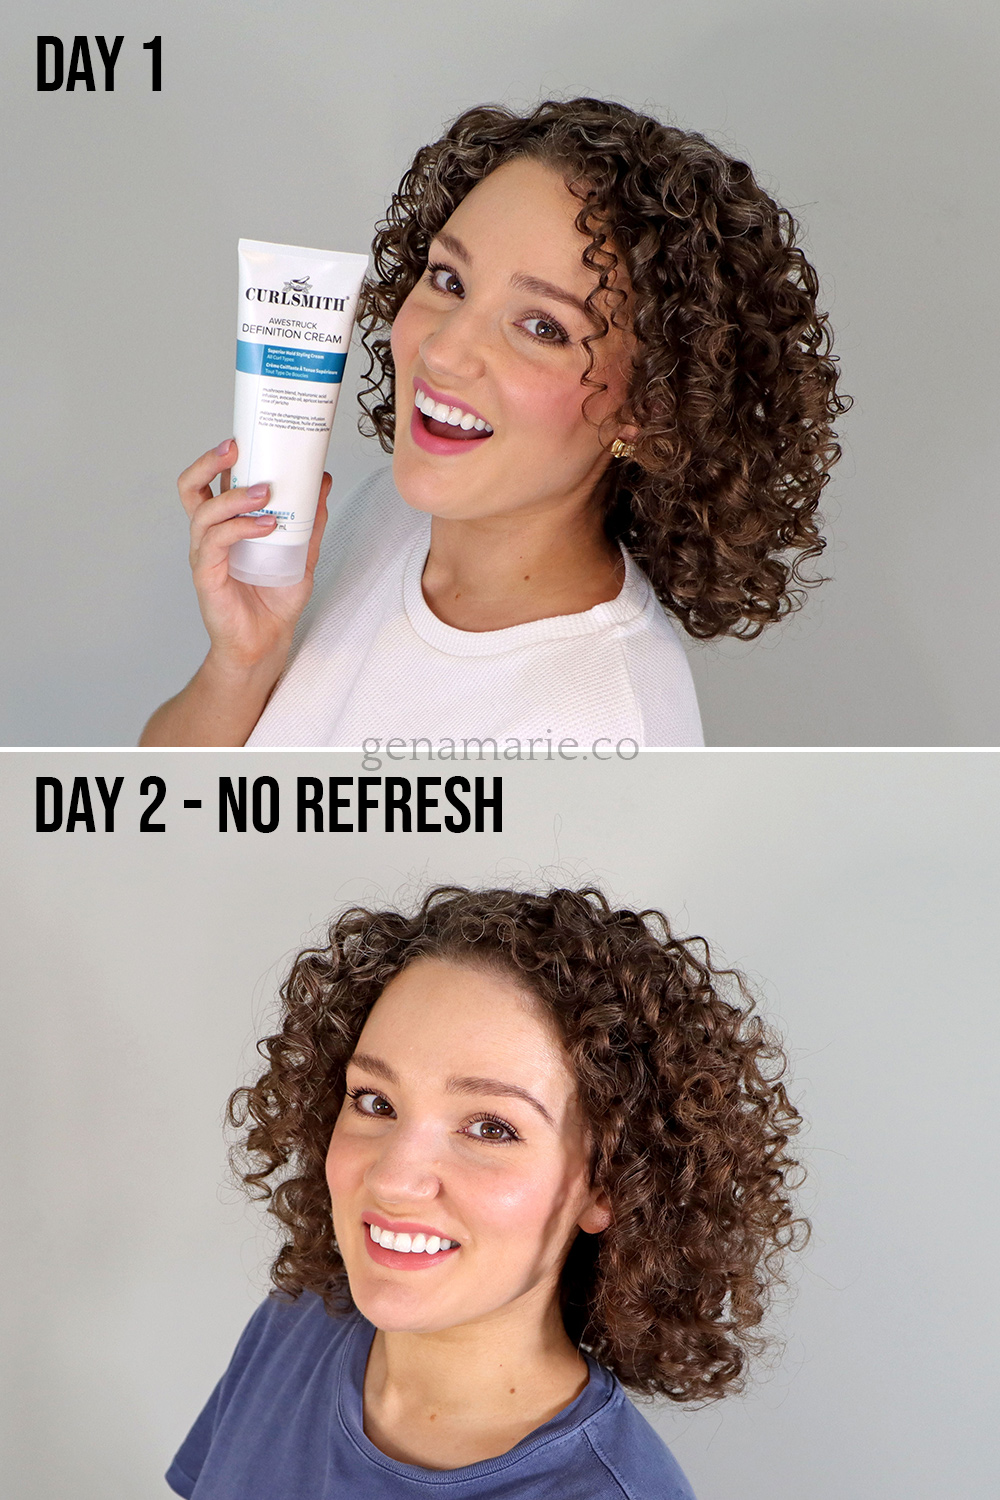
I’ll be honest, I went into this expecting to think this was a good, conditioning cream, but that it would lack the hold of a gel. And, I could not have been more wrong!
After diffusing, I had light–to–medium hold with a subtle cast (mainly where I glazed on a little extra cream over drier hair). I had tight curl clumps, bounce, and a soft finish with lots of root volume once I fluffed—no stiffness or sticky feel. Touch-ups were easy: a tiny cream + water mix smoothed flyaways and added spot hold without re-wetting.
Overall, Awestruck Definition Cream performed better than I expected for a cream: it delivers real definition, humidity/frizz control, and a softer, fuller look. It had a bit of that “grip” feel without being overly tacky. For longevity I’d still pair it with a strong-hold gel or a light mist of hairspray, but if you dislike gels or have low density and want fullness with medium hold, this is a great option.
Day 2 results
On day two I had normal, lived-in frizz (I was out in humidity) but overall definition and volume held up really well—very similar to my usual day-two results with a medium-hold gel. The cream’s slight grit adds lift without feeling product-y, and I could fluff for more lift at the roots. I refreshed by simply organizing curl clumps (no water); you can also reactivate the light cast with a little water if needed. If your hair feels dry on day two, this cream works nicely for a moisture-plus-hold refresh—just a small amount adds slip for detangling while boosting definition.
Take your curls to the next step
If today’s routine and results were helpful, the big takeaway is this: testing in isolation works. Using Curlsmith Awestruck Definition Cream on its own showed exactly what it brings—soft, defined curls with great volume and built-in protection. You can grab the cream (and the core wash-day essentials I used) at Ulta or the Curlsmith website.
If you’ve been struggling with any of the five patterns I shared, you’re not alone. These are the exact issues I troubleshoot inside my Curl Coaching Program—so you buy fewer products, waste less time, and get a routine tailored to your hair.
👉 Enrollment closes September 30 and spots are limited. Email me if you’re interested, and we’ll see if it’s the right fit for you.
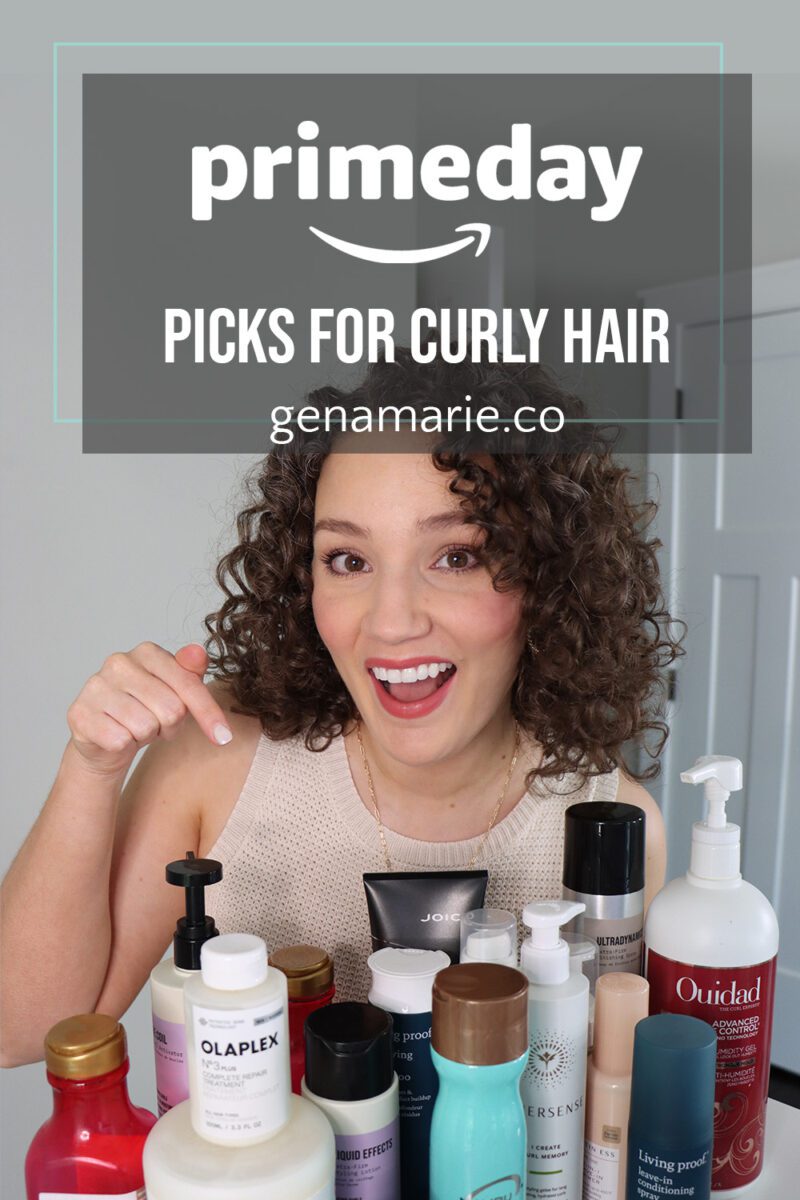
Amazon’s Prime Day Deals are happening today through Friday! I’ve rounded up my top curly hair picks on my Amazon storefront—plus shared quick notes below on each product’s key characteristics to help