


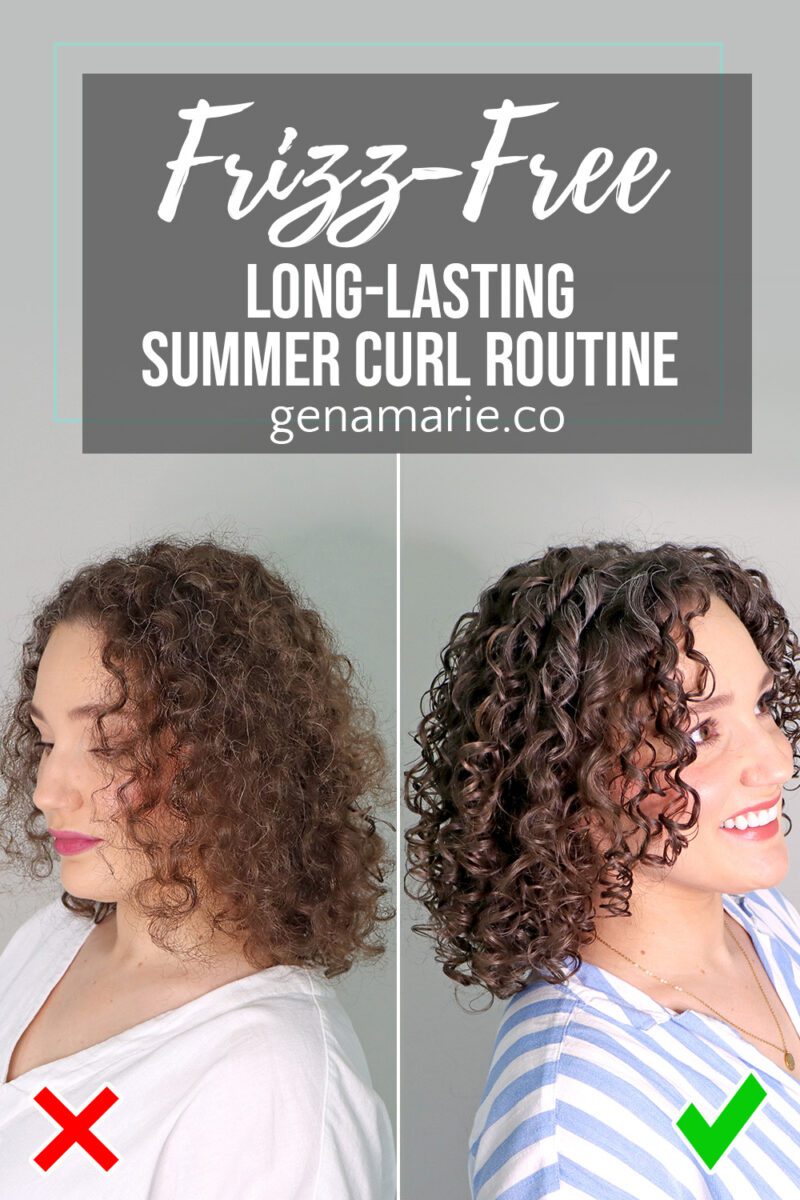
Frizz-Free Summer Curl Routine: A Step-by-Step Guide for Long-Lasting Curls
If your curls are frizzing, falling flat, and costing you way too much time every single week this summer, the problem is not that it’s
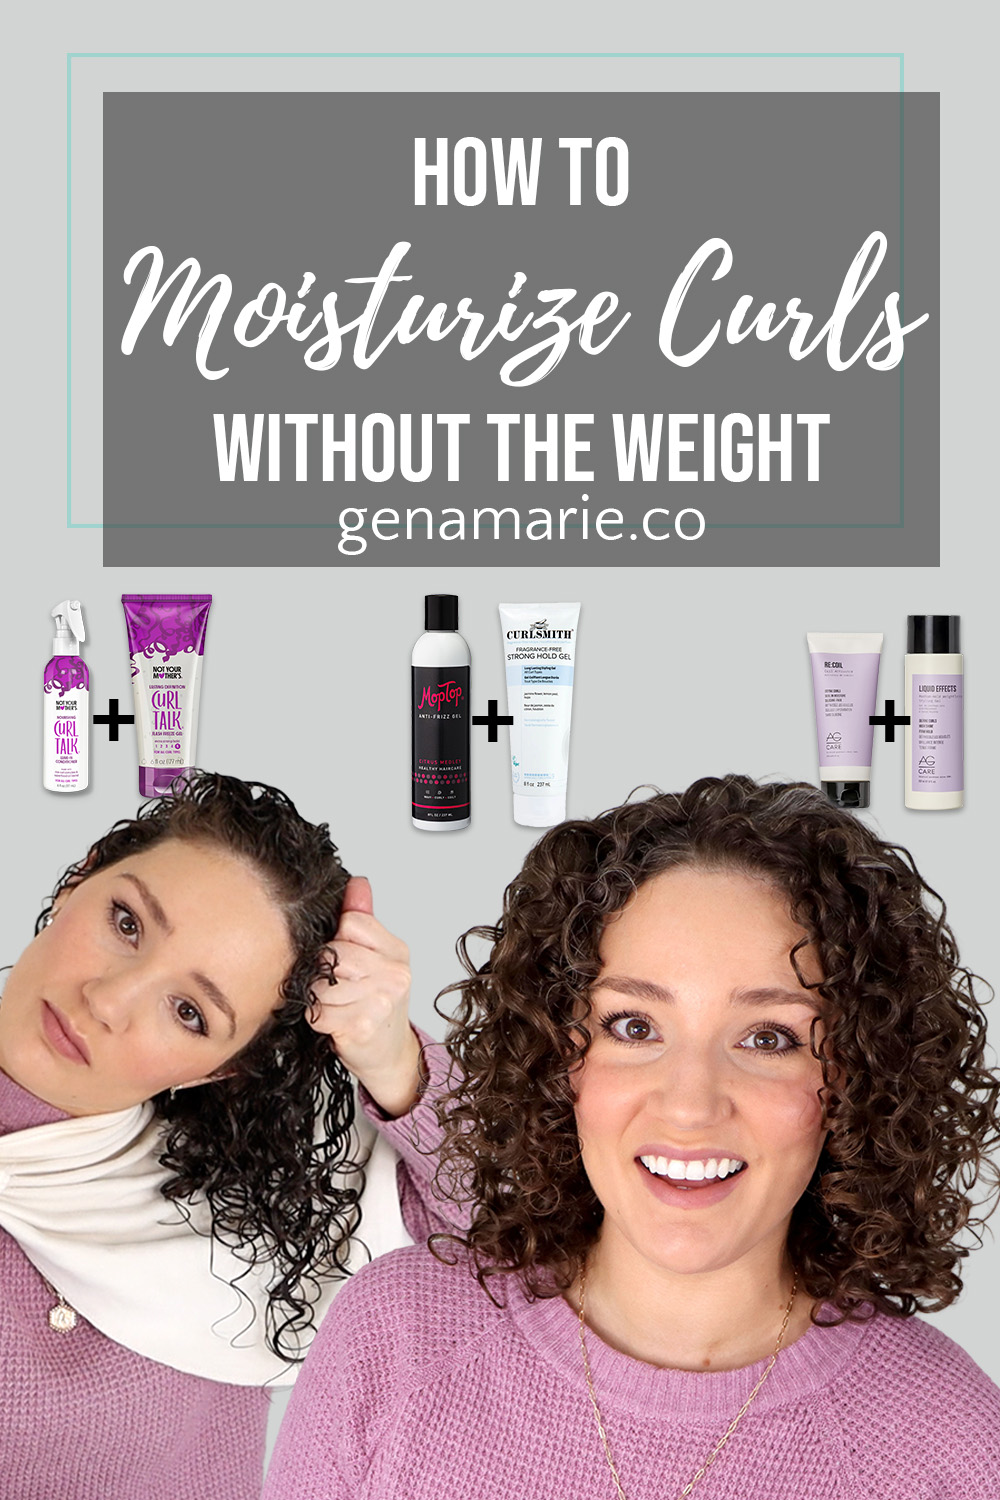
Do you feel like your curls need a bit more moisture this time of year, but you don’t want to weigh them down or reduce hold? Today I’m sharing a dry weather styling routine and how to condition your hair just enough for flexibility and health, without sacrificing definition, volume, or longevity.
Before we even get into products, it’s important to understand why this balance of moisture and hold matters.
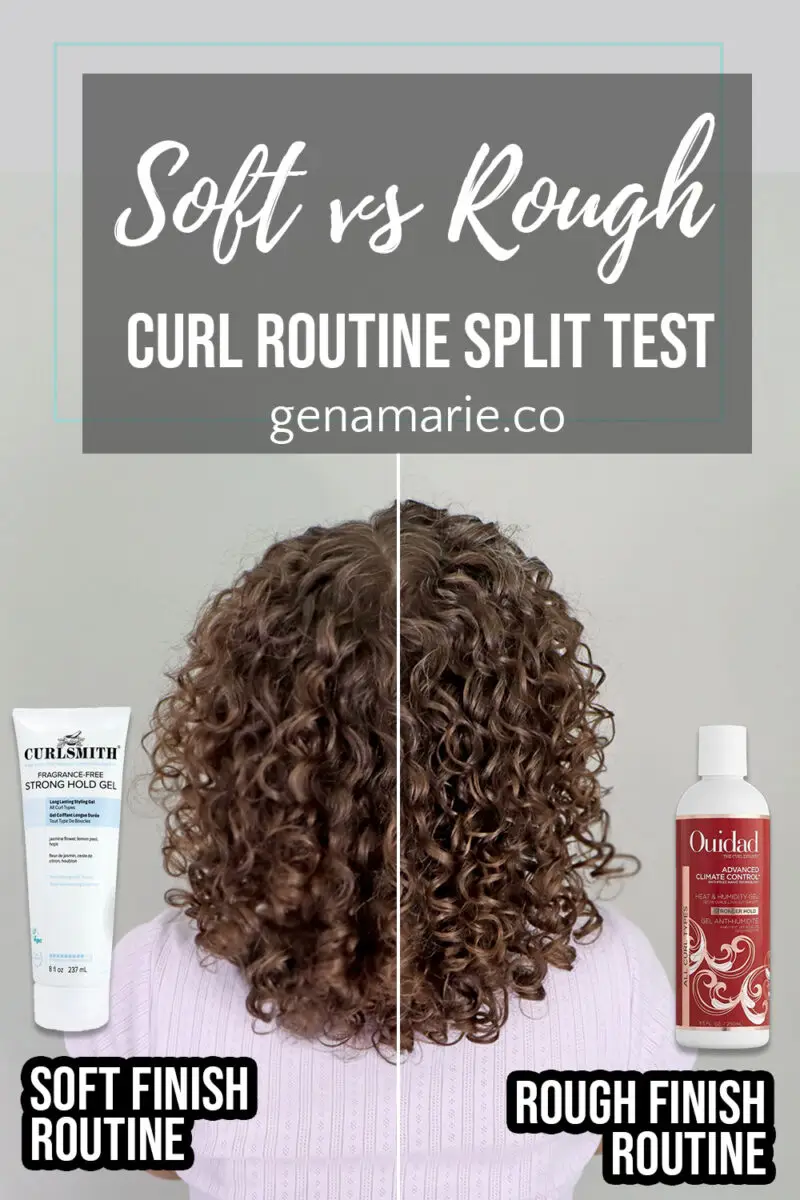
The key thing to remember is: both soft and rough textures need conditioning – they just need it in different amounts and to be included in different places in your routine. Keep in mind that everything that is on the surface of your hair under your gel impacts its hold. The conditioning amount within all of your products impacts your volume.
Soft Hair
Conditioning is better placed in just 1-2 steps of your routine, such as:
Rough Hair
Conditioning may need to be placed in 2-3 steps of your routine, such as:
You want to ask yourself, “How much conditioning can your hair tolerate before it starts reducing hold?”
Start with clean, damp hair. Have a spray bottle on hand so you can ensure your hair stays evenly damp.
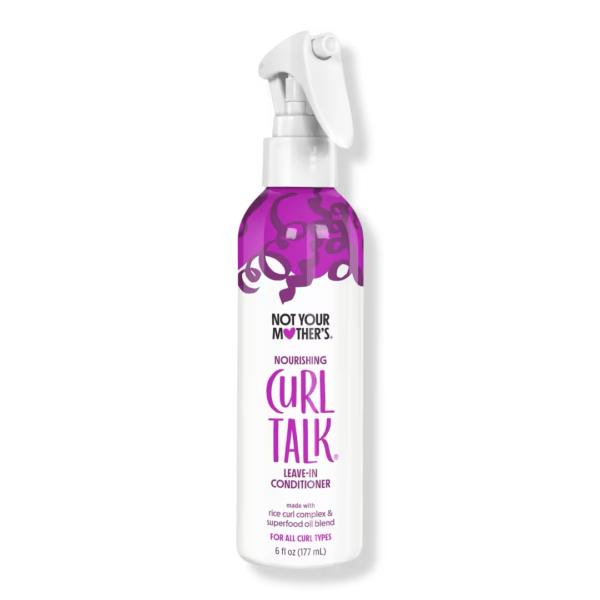
Then apply your heat protectant. Today I went with the Not Your Mother’s Curl Talk Leave-in which is a lightweight, creamy spray with added heat protection.
It’s essential to use as few products as possible at this stage and avoid heat protectants that contain a lot of oils, butters, or silicones, as these can reduce hold.
Depending on your hair type, you’re going to need a different level of conditioning at your prep step or no conditioning here at all.
Let’s talk about the 3 possible routes you can take to get the right amount of conditioning within your styling products.
The route you choose depends on how easily your hair gets weighed down and how long your curls typically last.
Best for soft hair that gets weighed down easily or loses definition quickly.
There are a few ways to build this type of routine. Using a gel that is low in conditioning allows you to control moisture levels while maximizing longevity and volume.
Provides maximum hold with the least amount of conditioning.
Provides a small amount of slip and very light conditioning while still maintaining strong hold.
Best for hair that falls between soft and rough and needs a bit more flexibility without losing hold.
This route adds slightly more conditioning, but still relies on strong hold to maintain structure and longevity.
Provides balanced conditioning and hold in a single step.
Adds flexibility and elasticity while keeping conditioning levels controlled.
The first step would be a lightweight conditioning gel for softness and slip without the heaviness of a creamy product. The second step is a strong hold gel to provide more frizz control and longevity. When the hold is strong enough, the conditioning gel step does not overly soften the results.
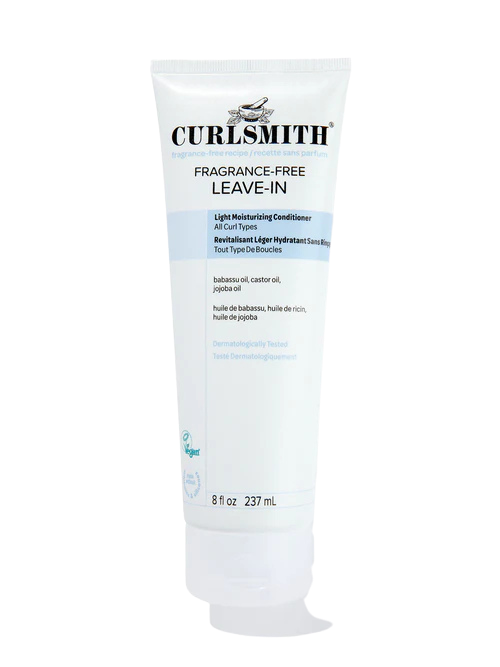
For this video, this is the routine I went with. I’ve tested many double gel combos, including in this recent video where I used the Tootilab All-Weather Styling Gel with the Curlsmith Fragrance-Free Strong Hold Gel on top and it worked well. However, today I wanted to try a new combo using a similar type of gel, so I went with:
I actually intended to use the Not Your Mother’s Curl Talk Flash Freeze Gel as my topper gel but accidentally picked up the Curlsmith one since I had been discussing it in the prior step. However the Not Your Mother’s one is a good drugstore alternative to the Curlsmith gel.
Best for rough textures, color- or heat-damaged hair, or hair with true dryness.
This route provides the highest level of conditioning, but still requires strong hold to prevent curls from losing shape.
Delivers high moisture and hold in a single product.
Adds significant flexibility and softness while relying on gel for longevity.
This method offers more conditioning and a softer feel, while still maintaining a flexible but strong hold.
The more moisture you add, the stronger your hold needs to be. Keep in mind that the strongest hold gels are often thicker in consistency, so layering them with a heavy curl cream that is high in conditioning may weigh the hair down if not applied carefully.
You may notice that I do not include a “high moisture + strong hold” route. That’s because it’s very rare for someone to truly need that much conditioning. In most cases, this level of moisture will overly soften the hair, weaken hold, and feel too heavy.
My methods prioritize longevity, so your curls last longer with less effort. A routine that layers a heat protectant, leave-in, heavy curl cream, and gel often leads to over-conditioned hair with not enough structure to hold a style. This is one of the most common mistakes I see and one of the biggest reasons curls fall flat or don’t last.
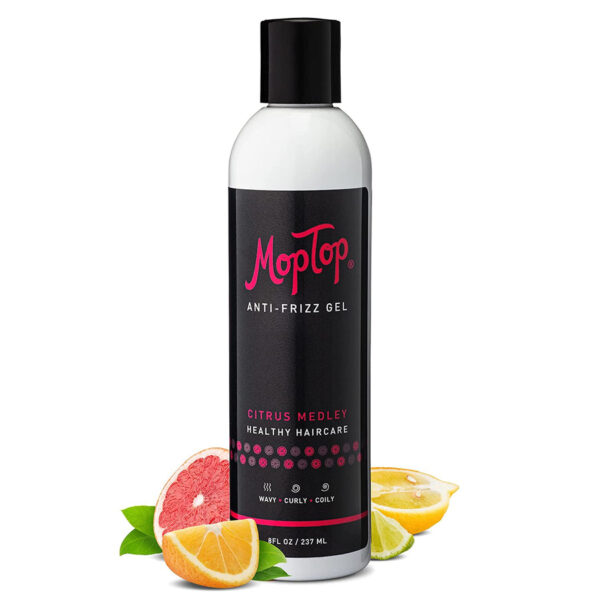
How you style plays a big role in maintaining both volume and longevity. I applied the MopTop gel in sections, brush-styled and finger coiled for definition, then scrunched in the Curlsmith gel mixed with water to reinforce hold.
To maintain volume, focus on lifting the hair up and away from the scalp, whether you’re raking or using a brush. Finger coiling around my part, rather than creating a deep, defined part, consistently gives me the most root volume.
Finish with a thorough scrunch using wet hands, making sure to scrunch at the roots as well to help set lift and shape.
The next step is to micro-plop to remove excess water. Too much water causes diluted hold and weighed down hair. Micro-plopping:
If curls become frizzy after micro-plopping, add extra gel. I recommend using your topper gel at this step too if you’re using the double-gel method.
The next step is diffusing. This sets the gel cast and curl shape. Diffusing:
Once your hair is fully dry, scrunch out the cast. Before adding anything, take a moment to assess how your hair feels. Finishing oils are optional and not required for everyone.
If you choose to use an oil, this is the best time to do it. Oils can help seal in moisture for hair that dries out quickly after wash day, or for brittle, coarse hair that tangles easily.
Soft or fine hair should be more cautious with finishing oils, especially if volume is a priority. Oils can reduce grip and cause curls to lose shape faster. If you notice your curls falling sooner after using oil, it’s likely reducing hold rather than solving dryness.
Here are my final results after fully diffusing and breaking the cast.
Overall, my curls look moisturized, soft, and touchable without feeling heavy or overly coated. The finish is flexible rather than stiff, which is exactly what I expected from this product combination. The MopTop gel gives a softer, lightweight feel, while the Curlsmith Fragrance-Free Strong Hold Gel adds just enough structure to maintain shape and volume.
My volume looks consistent with what I typically get from routines that prioritize hold without excessive conditioning. Curl clumps are well-formed and balanced, and while there is a small amount of frizz when I separate the curls more, that’s a tradeoff I’m comfortable with when I’m intentionally going for a softer, fuller look, especially in winter.
If I wanted less frizz and a slightly more defined finish, I could easily increase the amount of strong hold gel. For this routine, I chose to keep it lighter because I prefer a softer look during colder months, and I’m happy with how flexible and natural the curls feel.

Day two is always the real test of whether a routine successfully balances moisture and hold.
I did not refresh my hair at all before filming my day two results. There is a small amount of frizz, particularly on the sides and near the top, some of which was already present on day one. I wore a headband briefly, which also contributed to a bit of disruption at the crown.
Compared to routines where I use more of the Curlsmith Strong Hold Gel, there is slightly more frizz than usual. That makes sense given how sparingly I applied it in this routine, even though it was layered within sections. If I wanted longer-lasting hold with less frizz, I would simply increase the amount of the strong hold gel.
That said, the hair does not feel dry at all. The curls still feel soft, flexible, and moisturized, and the frizz that’s present is clearly from reduced hold rather than lack of moisture. The ends are slightly over-clumped in some areas, which could easily be addressed with a light dry refresh using just my hands.
Overall, this routine was a win for maintaining softness and flexibility without weighing the hair down. With a small adjustment to the amount of strong hold gel, it could easily be optimized for even longer-lasting results.
If your curls still feel dry, it’s important to address moisture outside of your daily styling routine.
For rough or damaged hair, deep conditioning one to three times per month can help improve flexibility and elasticity.
For soft or fine hair, deep conditioning is usually needed less often. Once a month or even less can be enough for maintenance without compromising volume or hold.
Keeping moisture balanced this way supports elasticity while allowing your styling products to provide the structure needed for long-lasting results.
The goal isn’t maximum conditioning. It’s finding the right balance between conditioning and hold for your hair. Too much moisture softens the hair, breaks down hold, and is often what leads to curls that look weighed down or don’t last.
If you’re not sure how much moisture your hair truly needs, you can download my free How Much Moisture Chart which explains based on your hair’s texture and porosity combination.
If you’re not sure what your texture and porosity are, my free Hair Type Quiz can help you identify those characteristics so you can make more informed choices.
If you want deeper guidance and a step-by-step approach to building a routine that truly works for your hair, you can join the waitlist for my Curl Coaching Program. It’s designed to help you simplify your routine, choose products with confidence, and finally get consistent, long-lasting results.
Win products selected by me based on your hair type!
I’m giving away curated curl product boxes during the holiday season, with 4-6 products personally selected by me based on your hair type and what your hair actually needs.
This isn’t a random bundle. I’ll choose products intentionally, using the same thought process I use when coaching clients — so you’re getting things that make sense for your hair, not just what’s popular.
To enter, join my email list using the form below.
No purchase necessary. U.S. only. Winners are notified by email.
Each week, I’m choosing one person to receive a curated box of 4-6 curl products, selected by me based on your hair type and goals.

If your curls are frizzing, falling flat, and costing you way too much time every single week this summer, the problem is not that it’s
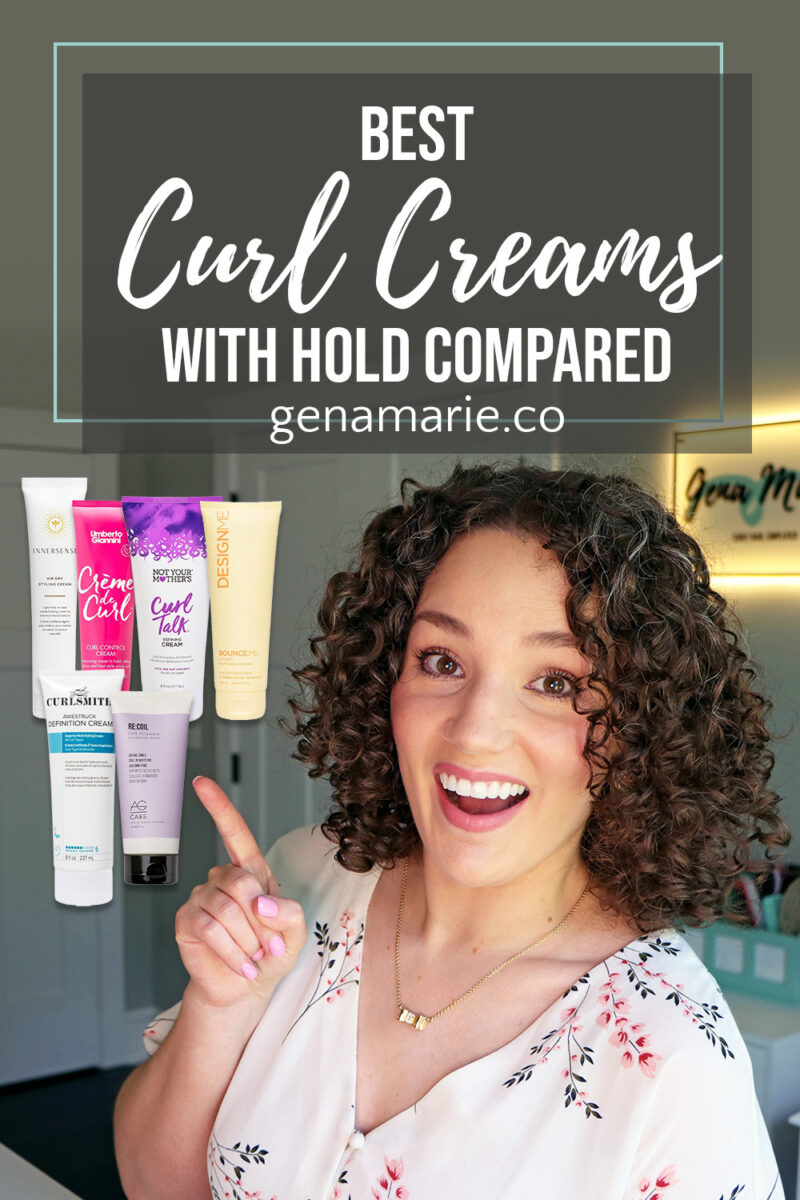
Most curl creams don’t actually provide hold — they just moisturize your hair. But there’s a small category that do, and I tested six of
“I can’t believe I used to think a curl cream or an oil would solve my frizz.”“I used to think I had to make it
If your curls are weighed down, falling flat, and won’t last — or they feel dry, brittle, and hard to manage — you might be
Notifications