


How to Style Curly Hair for Volume Using the Curl Stacking Method
Your styling technique could be the reason your curls are drying flat, stretched out, and stuck to your head — not your products, not your

Hey everyone!
I’m going to show you how I do my acrylic nails. I am not a professional and I am not saying this is the right way, it is just my way. I have been doing my own for about 4+ years and I have learned by trial-and-error.
Note that if you have acrylic nails regularly and keep them on a long time, they will mess up your nails. They make them weaker. But if you don’t have them that often and your nails are hard then they should be fine. Mine are pretty thin from years of nails, but as long as you take breaks from them and keep them clean, its fine! If your nails are super super thin and parts of your skin are showing or irritated do not do acrylic nails, it is harmful if it gets on irritated skin. But the most important thing to keep your nails healthy with acrylic nails is to remove them properly. DO NOT rip and pull them off! SOAK them off the correct way with pure acetone. And DO NOT bite them! If you rip them off your real nail will come off with it, and it hurts!
Here’s the stuff you’ll need:
Prep:
So the first thing you are going to do is prep your nails. Cut them to a decent length, long enough to glue the tips on but short enough that if you break a nail it will not hurt. Do not cut them so short that your skin is bulging over your nail. The glue and tips won’t stick if there is skin in the way.
Push your cuticles down and scrape off any skin that is stuck to your nail. You can use cuticle remover for this is you want.
Then using a buffer block, buff the natural shine off your nails. Be careful not to file too much or you will make your nails thinner.
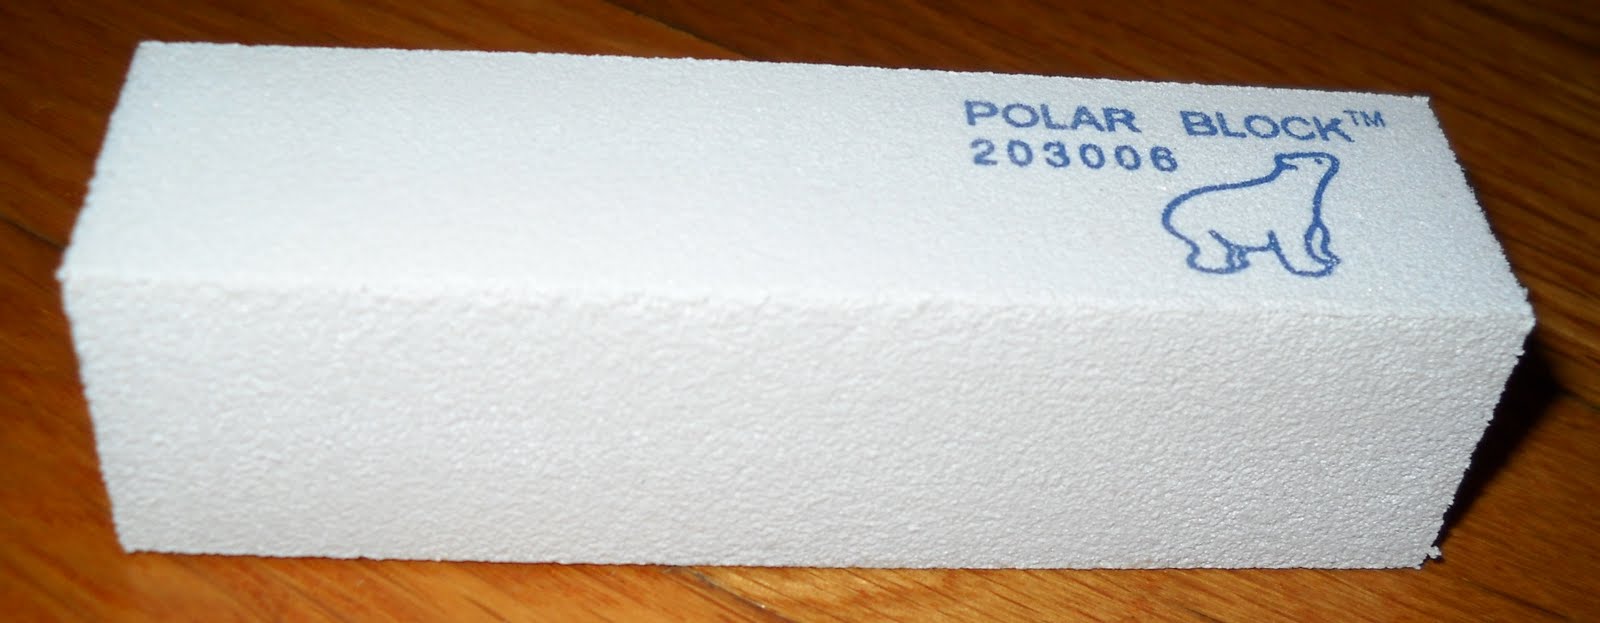
I use Polar Block 203006 from Sally’s.
Tips:
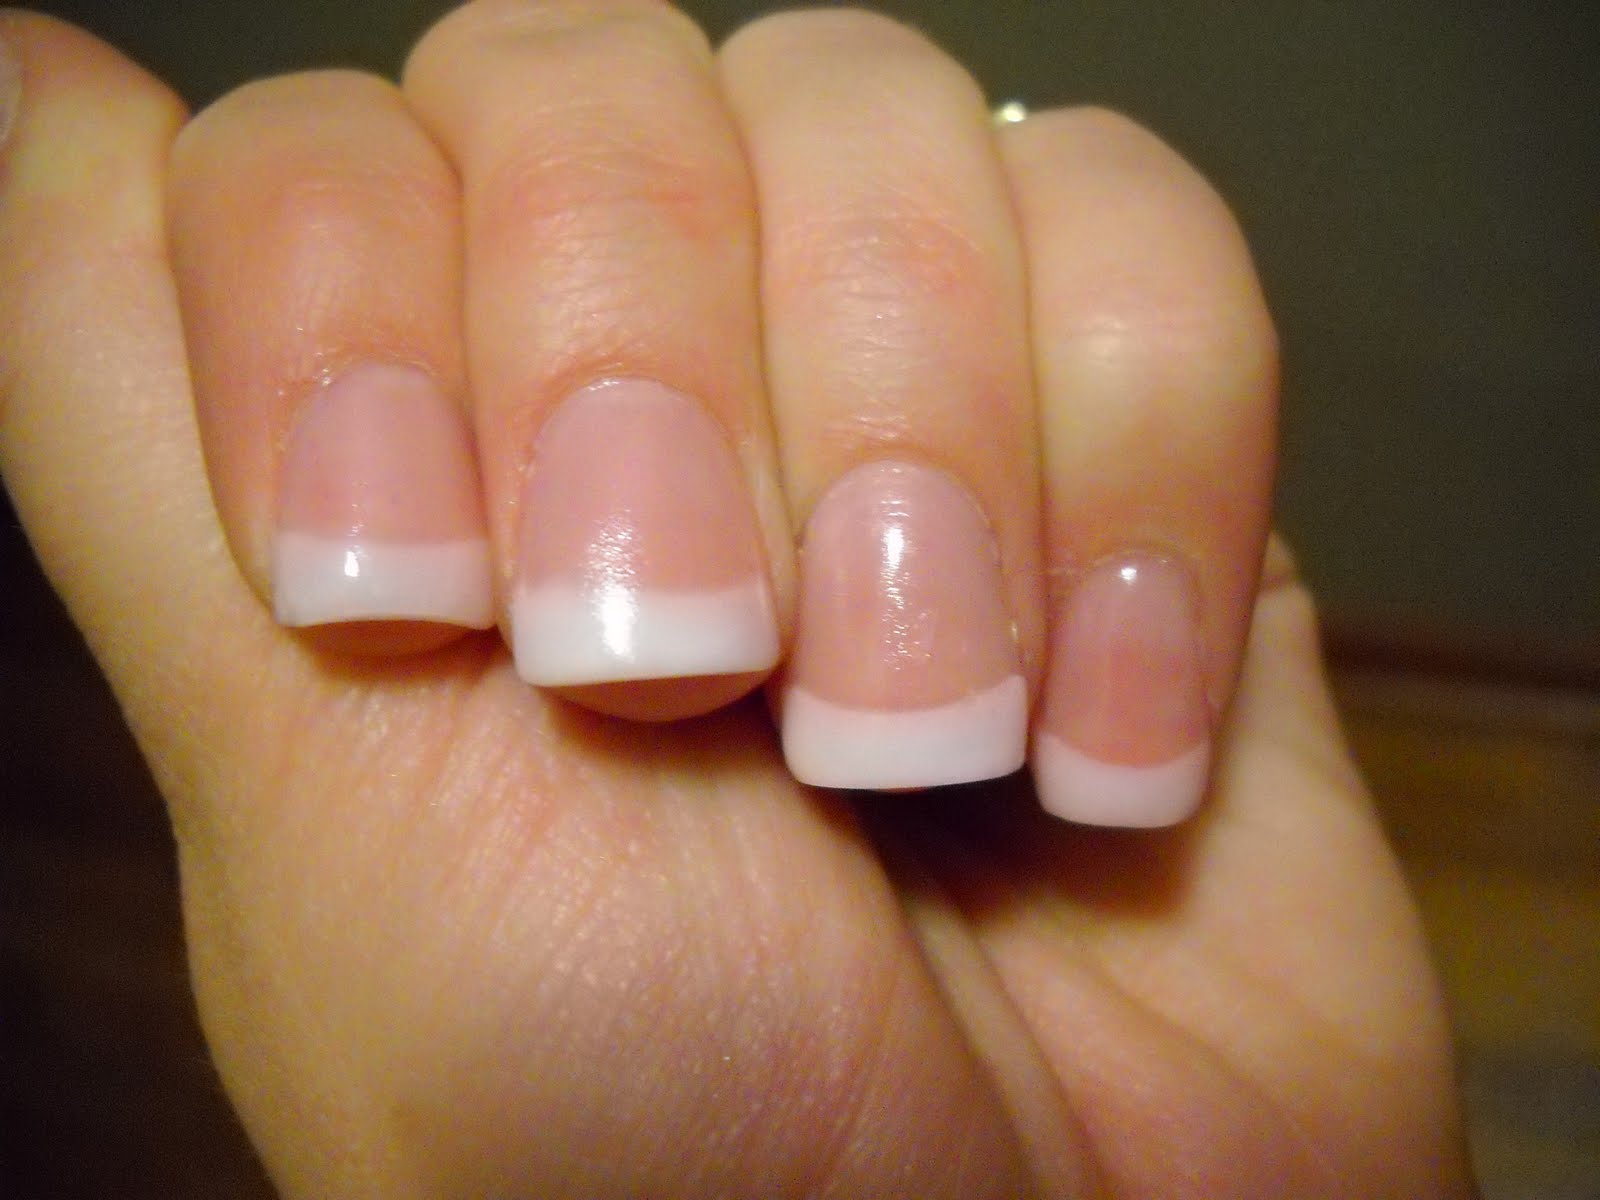
Then get your tips. For this look I am using white tips that are just the original with the well (the indented part at the bottom).
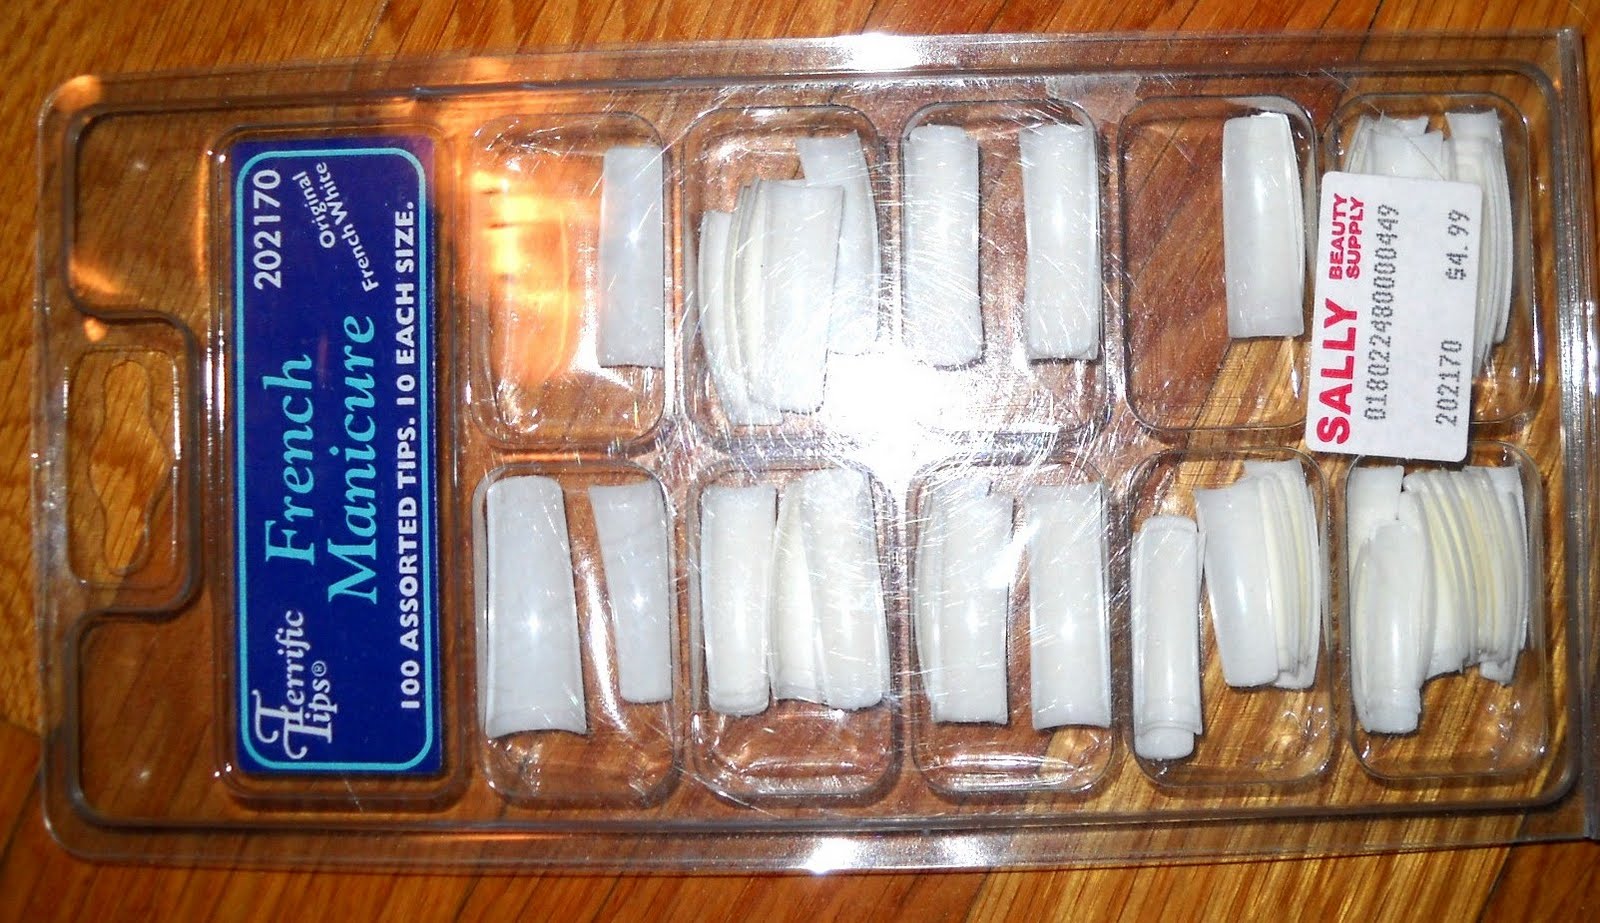
I used Terrific Tips French Manicure White 202170 from Sally’s.
Position the tips on your natural tips to where the well is not too far down on your nail. Lay out all the sizes before you start gluing. If a tip does not fit perfectly pick the bigger size and file down the sides of it. If your tip is too small you will have a hard time getting the glue to stick because it will pop up. And they will be sore if they are too tight.
Next put the nail glue it the nail tip well and place it on your nail. Hold it still for a few seconds for it to dry. Make sure you don’t use too much glue because it will run down around your cuticle which will cause lifting. Once it is on tight you can apply a little glue on the top of your nail right where the tip and your nail meet.
Then cut the tips down. You can use regular nail clippers or acrylic clippers would work best. I just use regular clippers but they have to be strong. If you use regular, clip each side first, then bend the tip back and forth and twist it until it comes off. Then file and shape the nails the way you want. I do mine square with rounded edges. Just make sure they are all even.
Then using the buffer block, file the tips, concentrating on the line, so they blend into your nail better. DO NOT file too much. This is just to get the glue off and blend.
Then wash your hands to get the dust off and dry fully.
*Try not to touch your nails before applying acrylic. The oil from your fingers makes it not stick.
Prime:
Next apply primer. Primer dehydrates the nail making the acrylic stick better. I use Contours Non-Acid Primer or No Lift Nails Gentle Primer is good too. Apply this to your natural nail but avoid contact with your cuticle and skin. A little goes a long way with this so you’ll prob only have to dip it once per hand. (The picture of primer is in with the liquid and powder.)
Acrylic Application:
Now you’re ready for the acrylic. This takes LOTS of practice to get it right. Pour some liquid into the container and then the powders. DO NOT dip your brushes directly into the containers or dump leftovers back in. This contaminates it. Take a folded up paper towel and put it under the containers in case of spills. Also fold one up and set it aside. You will need it to wipe of brushes as you go along.
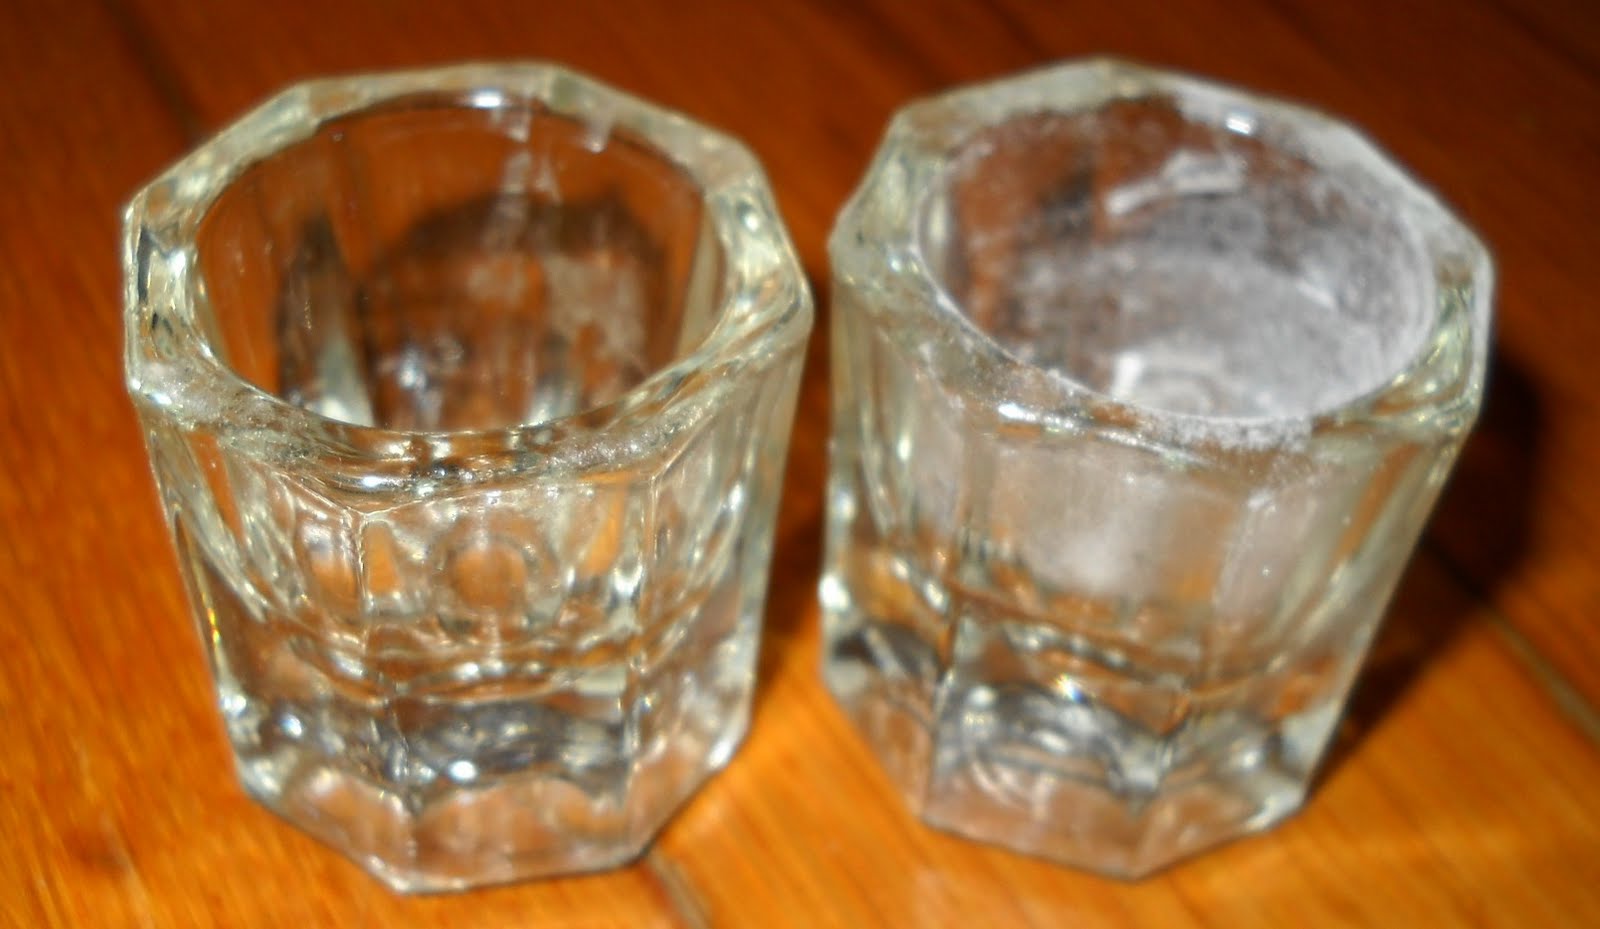
These are just little jars I got at Sally’s.
I used pink and white acrylic powders. This can be tricky using both but I do it just to make the white tips brighter since I am using an intense pink color. If you are a beginner at this then I recommend just using a clear, natural, or regular pink powder. Then you only have to do one application of acrylic all over the nail.
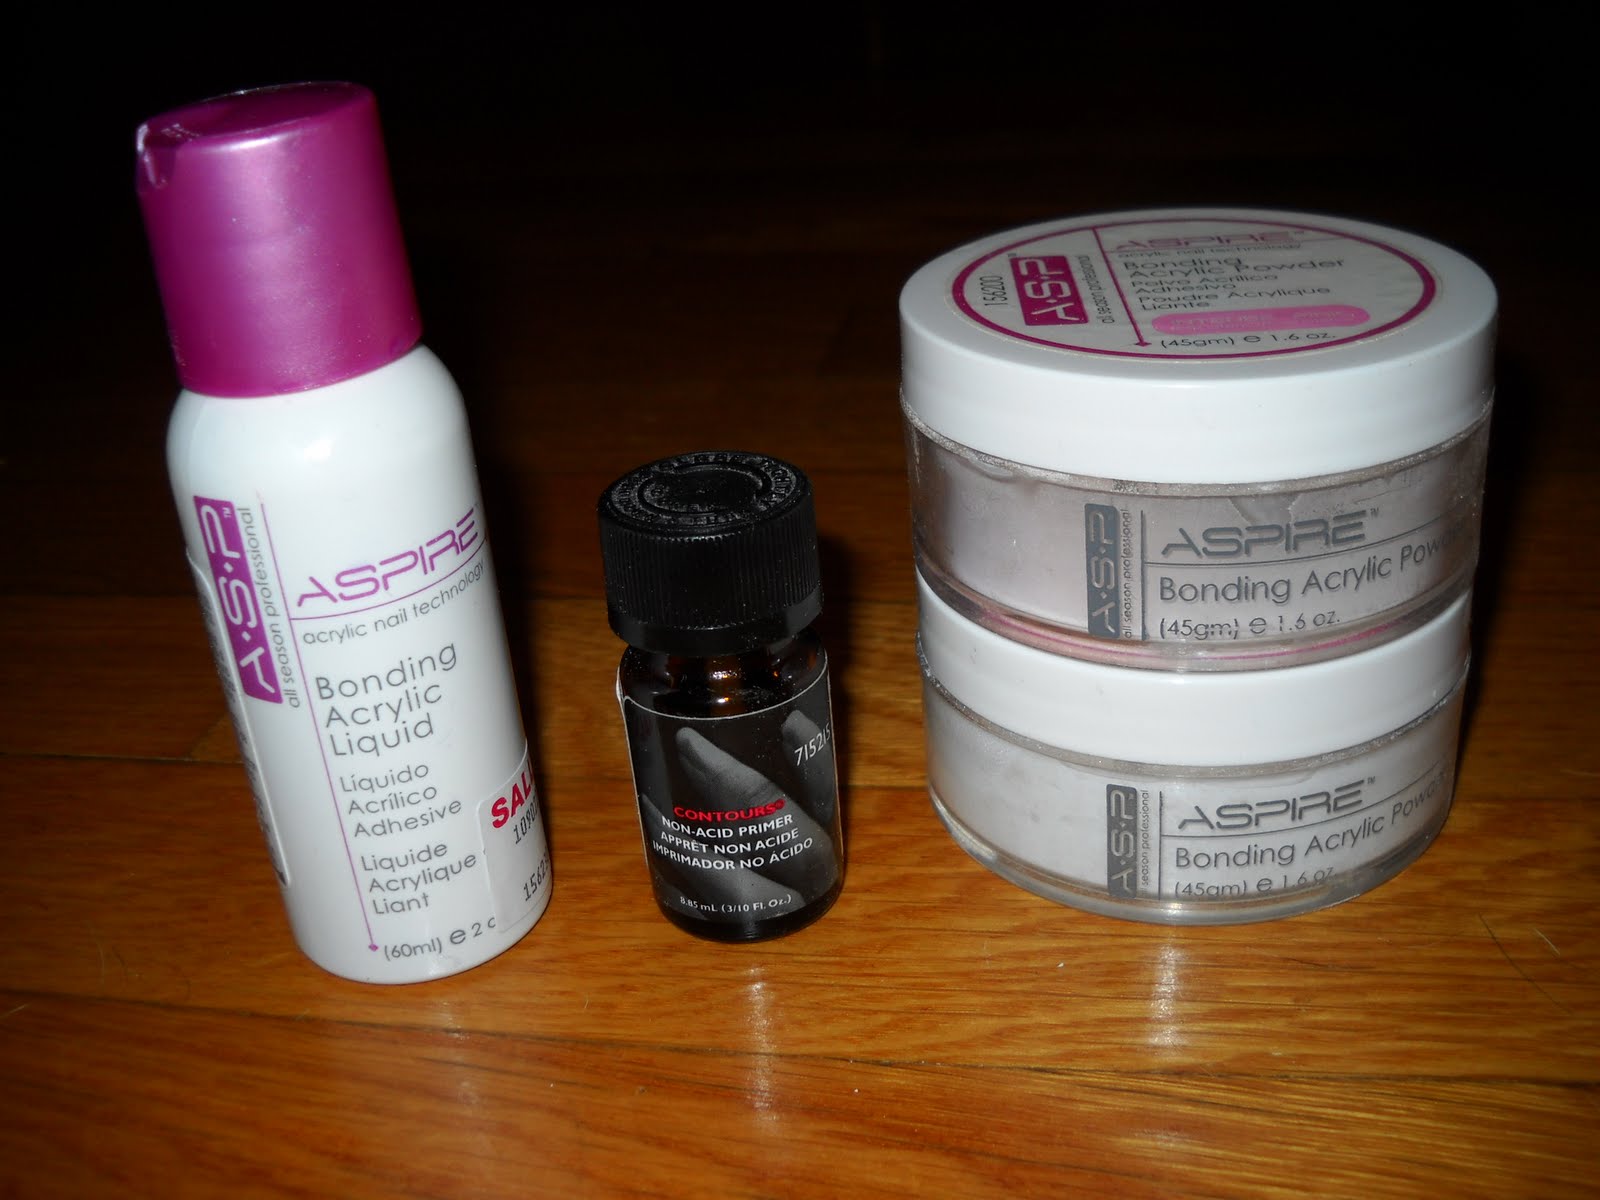
I used ASP Bonding Acrylic Liquid, (primer is in the middle), and ASP Bonding Acrylic Powders in Intense Pink 156200 and White 156204. This is all from Sally’s.
Next take which ever size brush you prefer, make sure its clean, and dip in into the liquid. I like using a large flat brush for my bigger nails and a small rounded one for the smaller ones, and the tips.
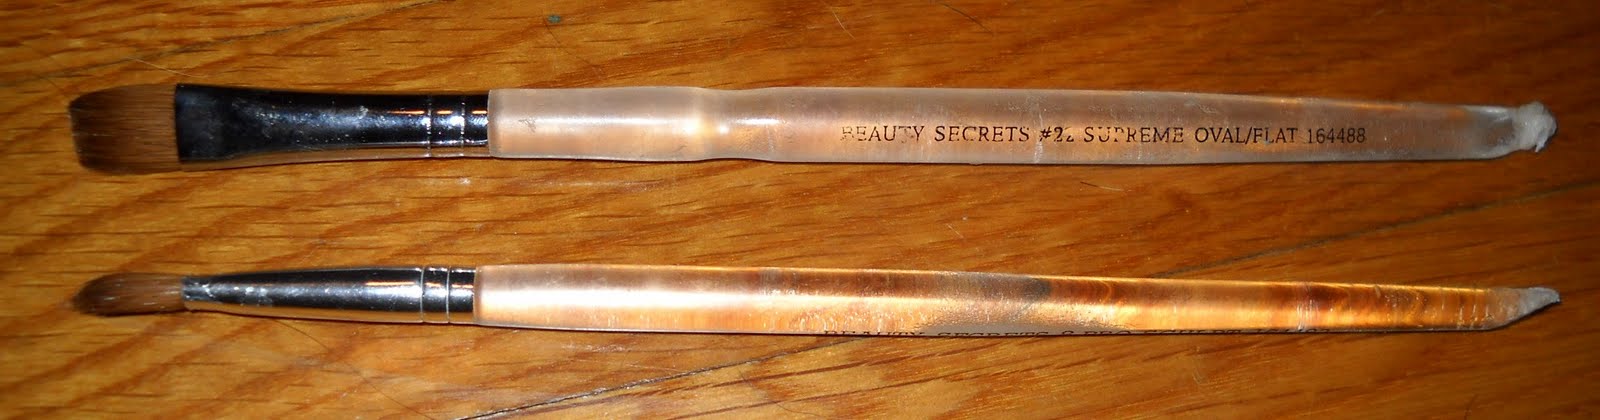
These are Beauty Secrets ones I got from Sally’s. The bigger one is the #22 and the smaller one is #8
The first time you dip it submerge the brush to get the air bubbles out then wipe the sides off well and dip just the tip in. They key to this is getting the right consistency. You do not want too much liquid or it will just run all over your nail. But you need enough to fully mix the powder.
Then lightly dip it in the powder and drag it until you get a small ball formed. All of the product should mix to where there is no more powder on your brush.
If you are using the white acrylic then dip it in the white and apply it over the tips, following the smile line. You only need to use the white acrylic if you want the intense pink color because if you don’t put white over the white tip the pink will cover the white tip and make it less visable.
Hold the brush almost flat but angled up a little. Apply it by barely pressing down and just letting the acrylic fall. Wipe off your brush and then wipe the smile line making it straight along the tips outline.
Every time you get more acrylic wipe off your brush.
Next apply the pink acrylic (or whatever color you are using). This time, apply a medium sized ball (depending on the size of your nail) to the center of it, but closer to the smile line. Let the acrylic fall and barley touch it to position it correctly. Once it starts to harden and shape more, lightly brush even stroke over the entire nail. DO NOT get it on the cuticle. This will make it lift right away. Keep a small gap between your skin and the nail. Continue shaping and spreading it over the entire nail. Look at it from the side to see how flat it is. You want it thick enough, but not too thick. Add small balls of acrylic to any dips in your nails.
*The mistake a lot of people make when applying acrylic is pressing down to hard when spreading it which ends up just wiping it off and you waste a lot of acrylic and it takes forever. So put it on and let it spread and gently shape it. Don’t brush it on like nail polish.
Sanding & Shaping:
The next thing you are going to do is sand your nails smooth. I used to just use the buffer blocks, which takes forever. So then I got an electric sander that takes batteries. It has different attachments for sanding and you can get refills for the sander cylinders.
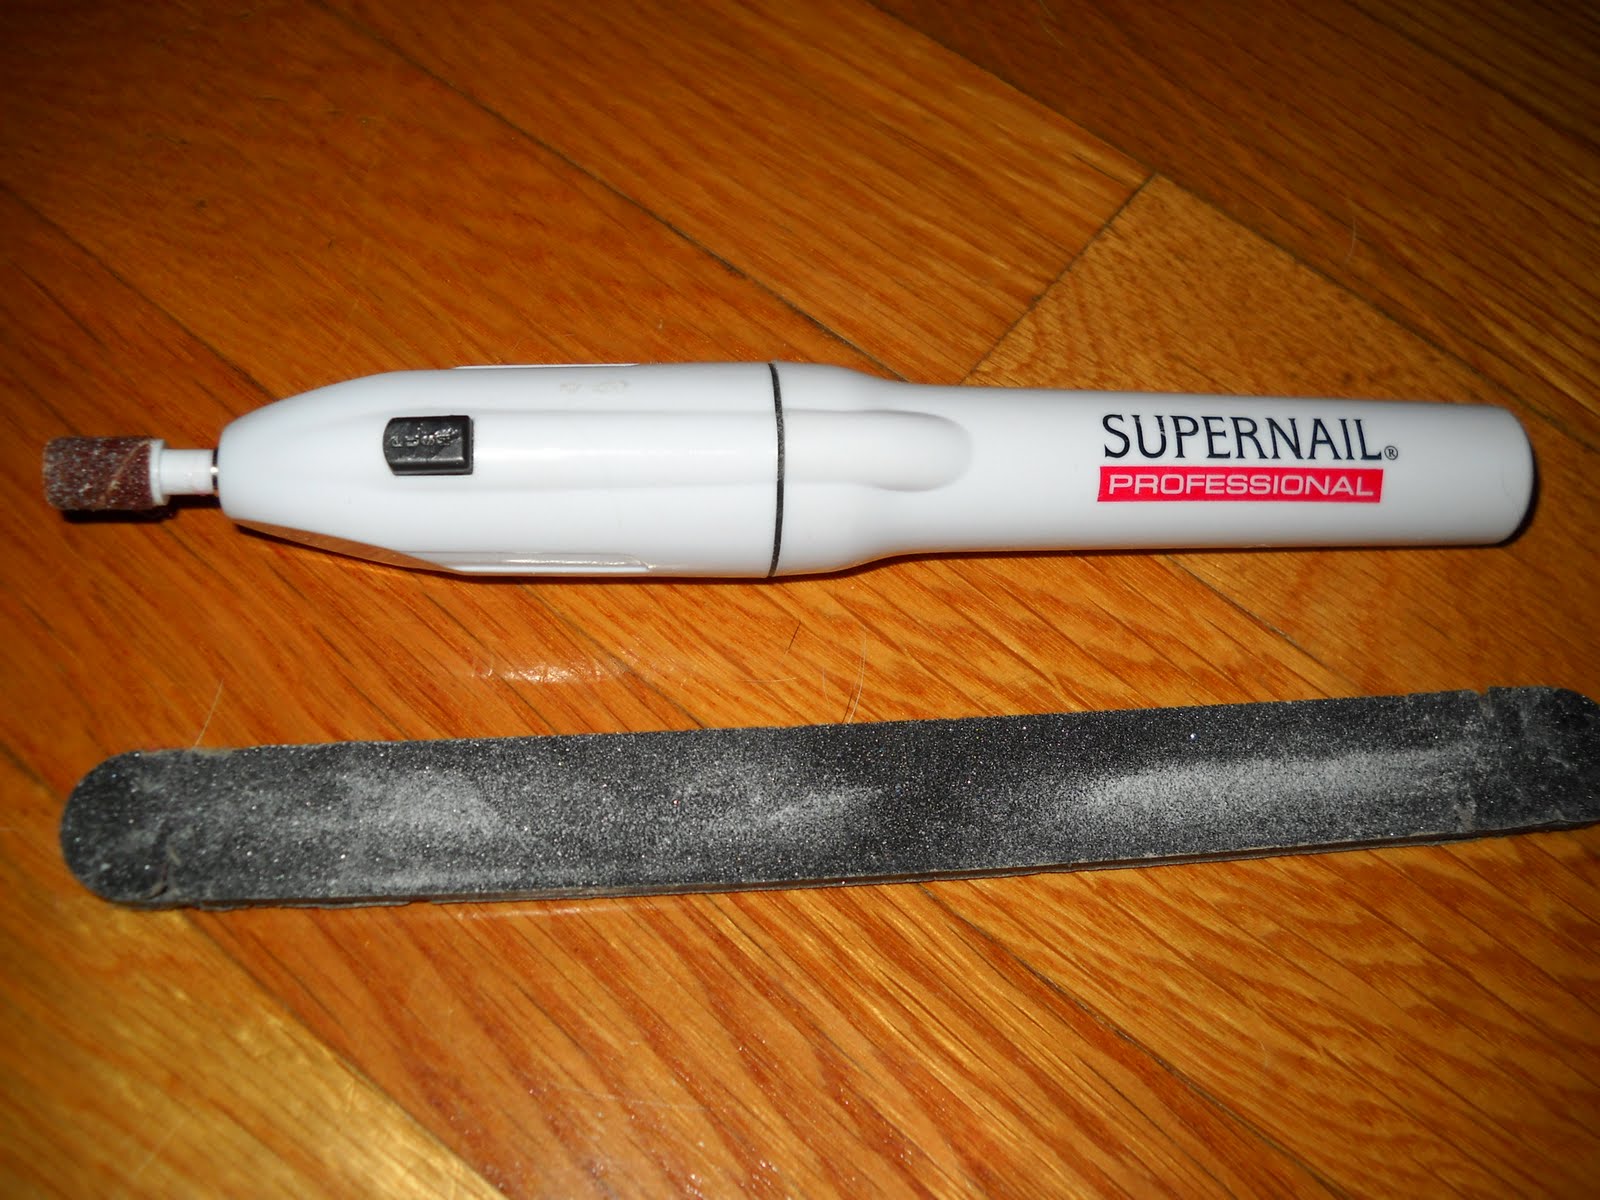
Mine is the SuperNail Professional on from Sally’s. I do not recommend getting this one. I got the cheapest because I was just learning but when you put the brown sander on the white top it flies off when your sanding. But it might have just been the one I got. So I had to glue it on with nail glue and when I have to replace it I have to rip it off, so it’s a pain. So maybe a better brand would be best.
*DO NOT over file or touch your skin with it. It will burn you and it hurts bad! Also never use it on your natural nail. And do not dip the tip down or you will get ridges. Keep it flat so your nail will be smooth. This is also good for if you make mistakes and put too much acrylic or have lumps in the acrylic because it flattens it.
Then use the nail file. Mine is a Beauty Secrets 100 Grit 169160 one from Sally’s.
Put the file under the edge of the nail and file the sides in a vertical motion. Then file the tip flat and round the corners so they are not sharp.
Next apply cuticle oil to your cuticles and rub it in. I like to go back over them with a buffer block to make it extra smooth with the oil, but you don’t have to.
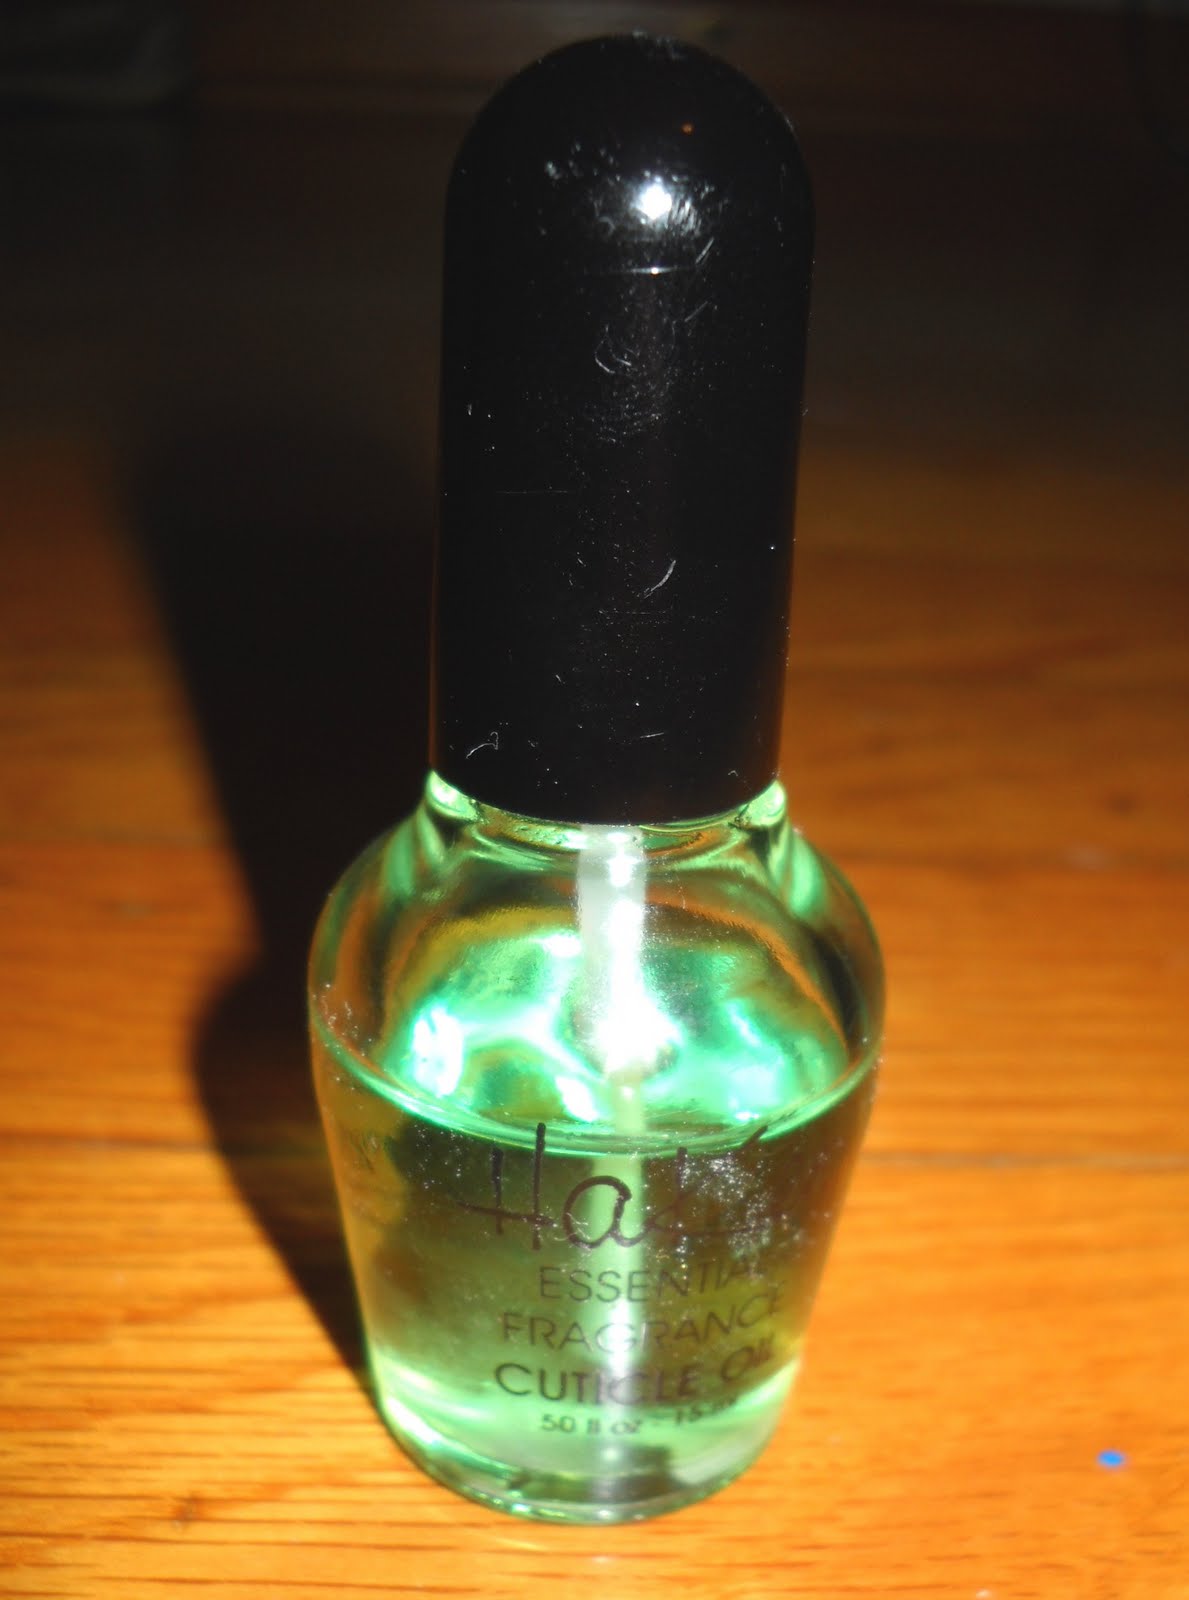
This is the HaKen Essential Fragrance Cuticle Oil in Kiwi Strawberry 153000.
Now wash your hands and apply a top coat. If you use a tanning bed I recommend using a anti-yellowing UV protection polish, or else they will turn yellow.
Now your done!
Make sure you clean out your brushes. I just use pure acetone, but there are also brush cleaners for this too.
Maintenance:
Apply cuticle oil to your nails every few days. This will keep them from looking dry and flaky around the cuticle and make the acrylic look better when it gets old. DO NOT pick at them or bite them.
If you brake one just soak it off in acetone and re-do it, but don’t pull it off.
Sorry its so long!
This process takes practice! But you’ll get it.
Good luck!!!
Let me know if you have questions or need help!
Comment if you tried this out.
XOXO,
Gena
Your styling technique could be the reason your curls are drying flat, stretched out, and stuck to your head — not your products, not your

If your waves or loose curls fall flat every summer — losing definition by midday, never lasting past wash day — this routine is built
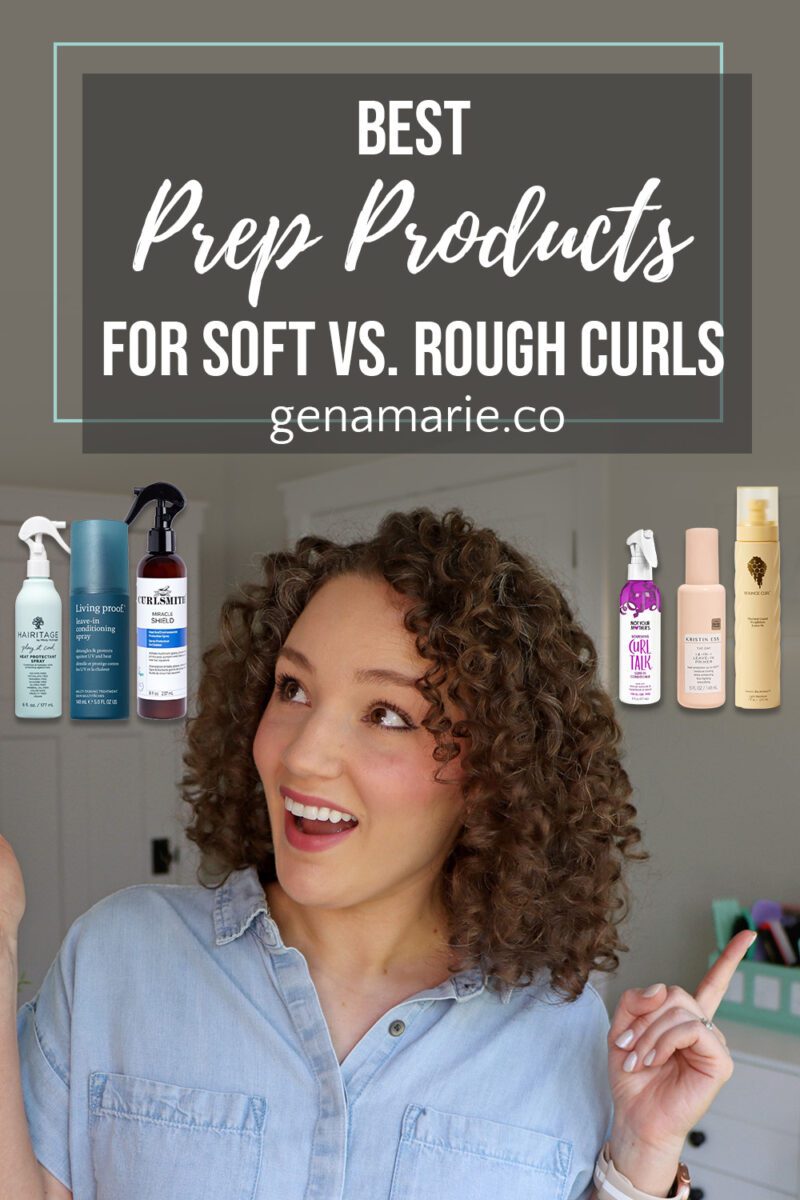
Are you using a heat protectant in your curly hair routine? If you’re diffusing or planning to be in the sun, you probably should. But
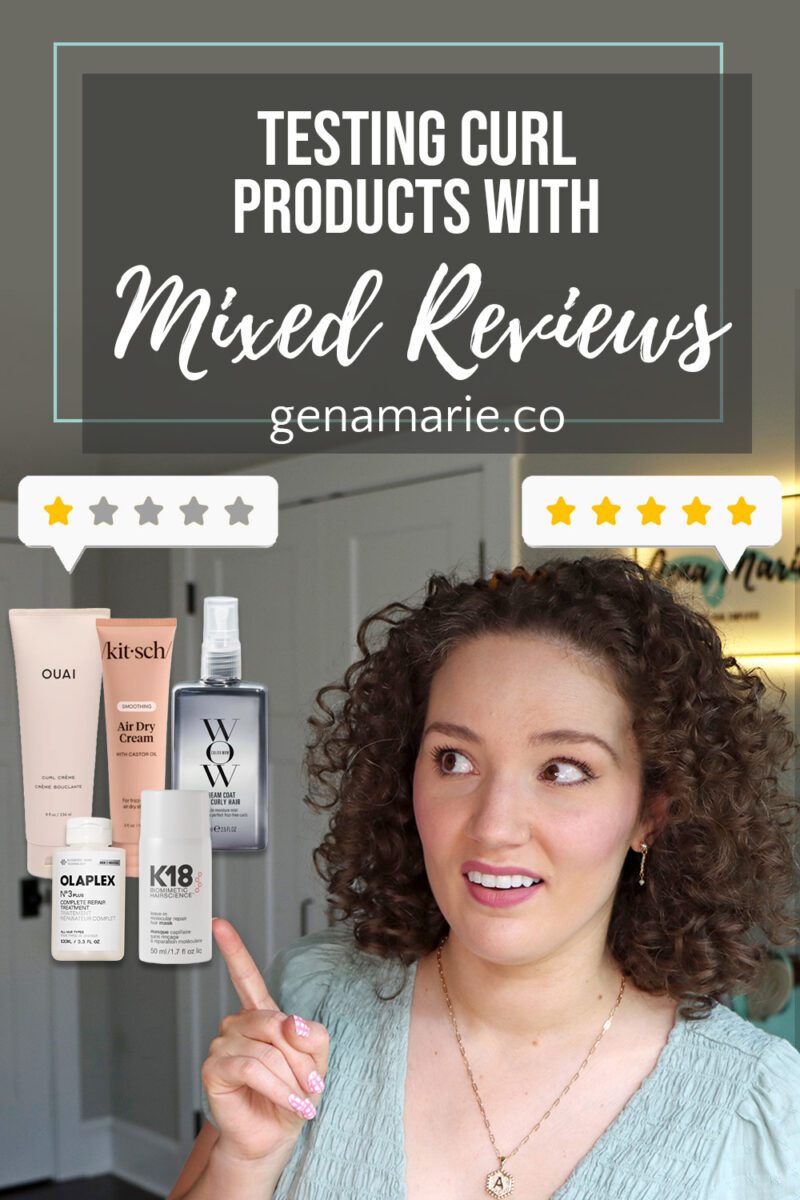
You read the reviews online. One person says a product completely changed their hair. Someone else says it’s the worst thing they’ve ever tried. And
3 Responses
Hi hun, awesome tutorial! I have never heard of someone doing their own acrylic nails.. I have actually had fake nails for a while, but then it got a little too expensive doing them in the beauty salon all the time – so I gave up.. But now I am thinking about starting again, on my own (got the idea from you, hehe :P)
Once again, great tutorial, but I think it would be even better if you could do a video!!! :)) Just something to think about 🙂
Hey hun! I nominated you for a blogger award! Check out my blog 🙂
hi dear, just found ur blog today! wow… that's an awesome tutorial… I nvr knew there were so many things to prepare to do acrylic nails! I nvr get to do them right though… They never last more than 2 days… careless me.
btw, i just got started in beauty blogging, hope to get ur support! =)