


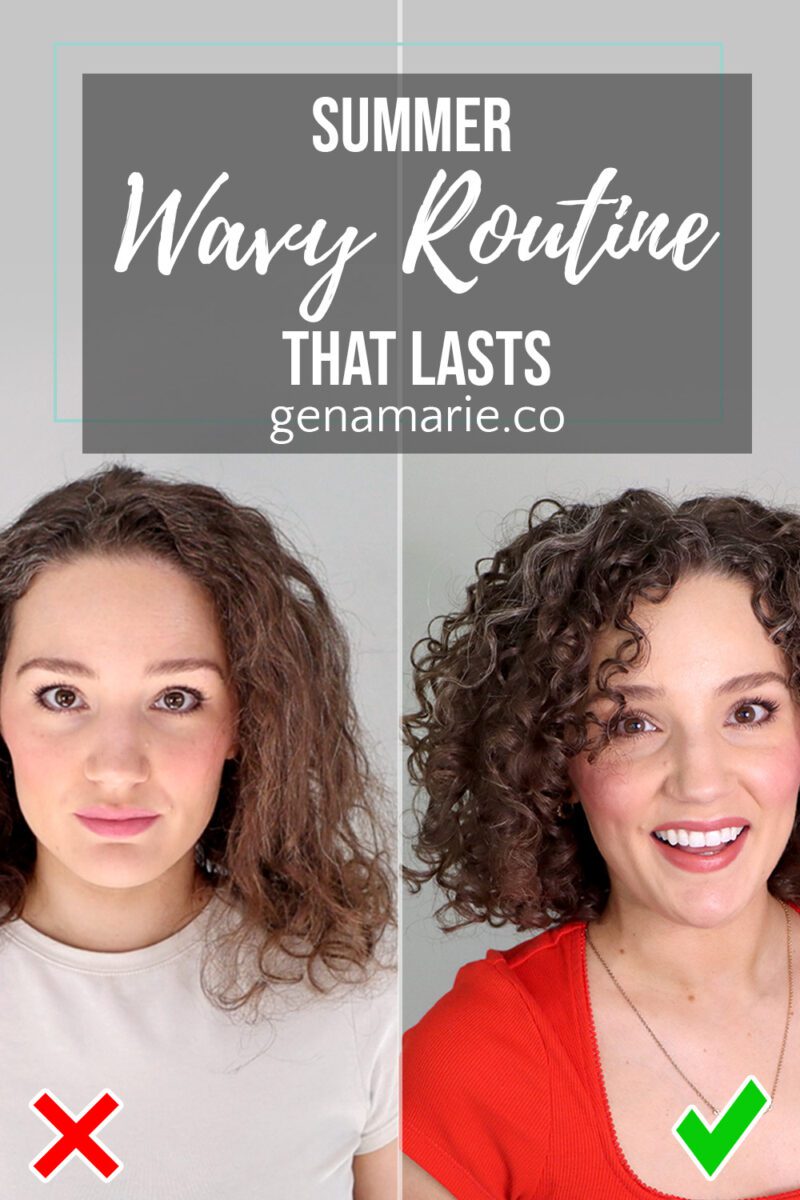
Wavy + Loose Curl Summer Routine That Actually Lasts
If your waves or loose curls fall flat every summer — losing definition by midday, never lasting past wash day — this routine is built
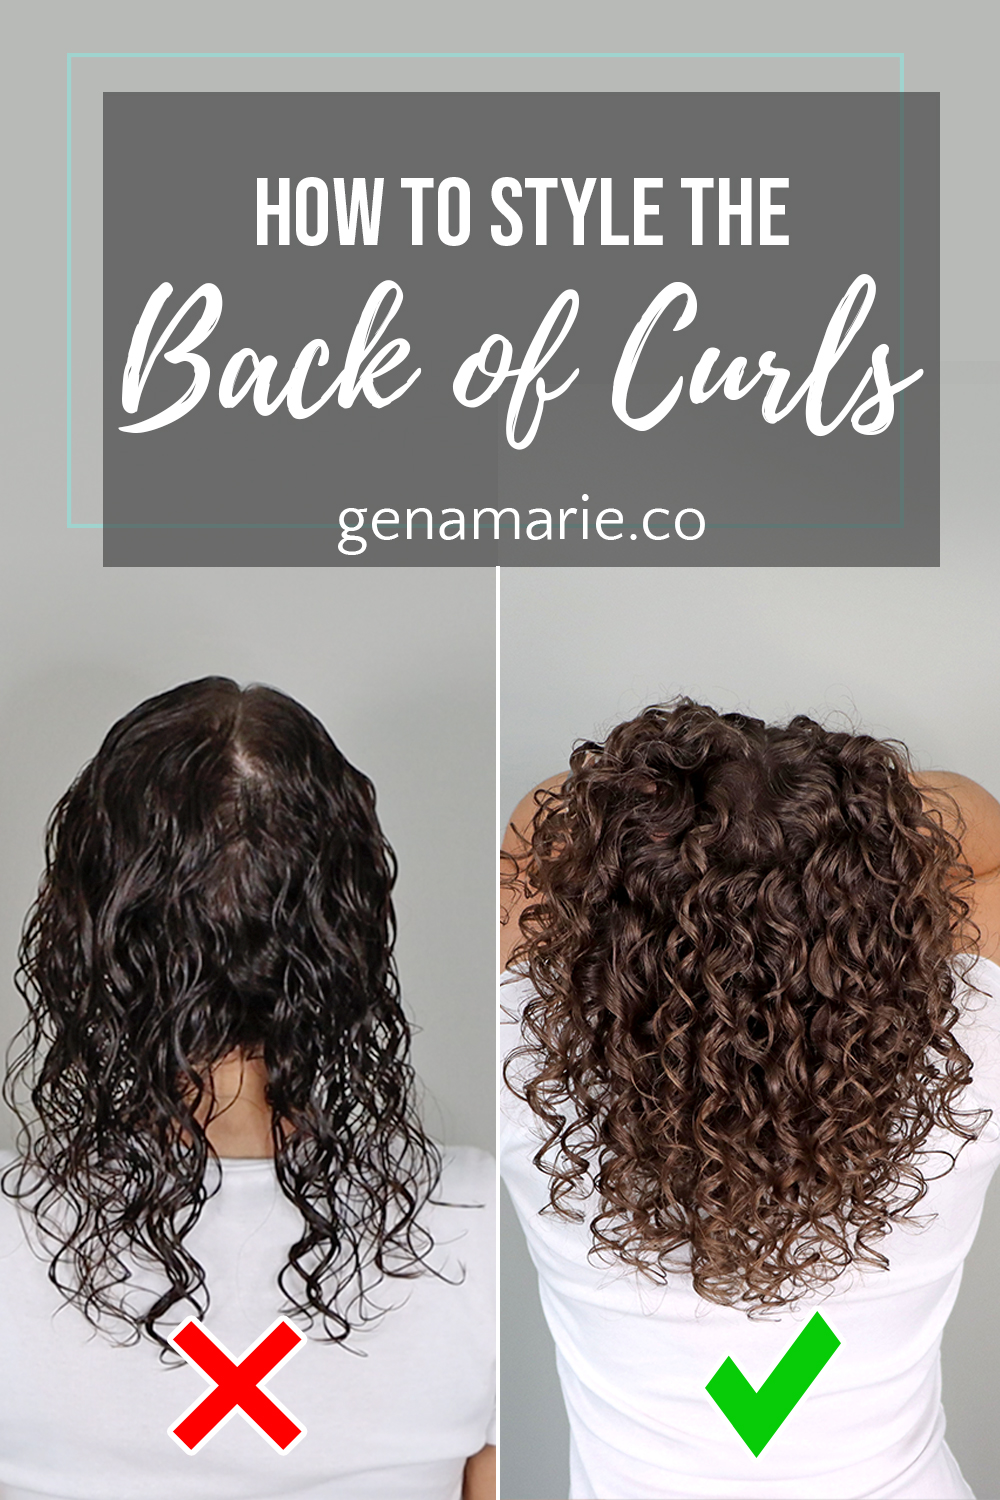
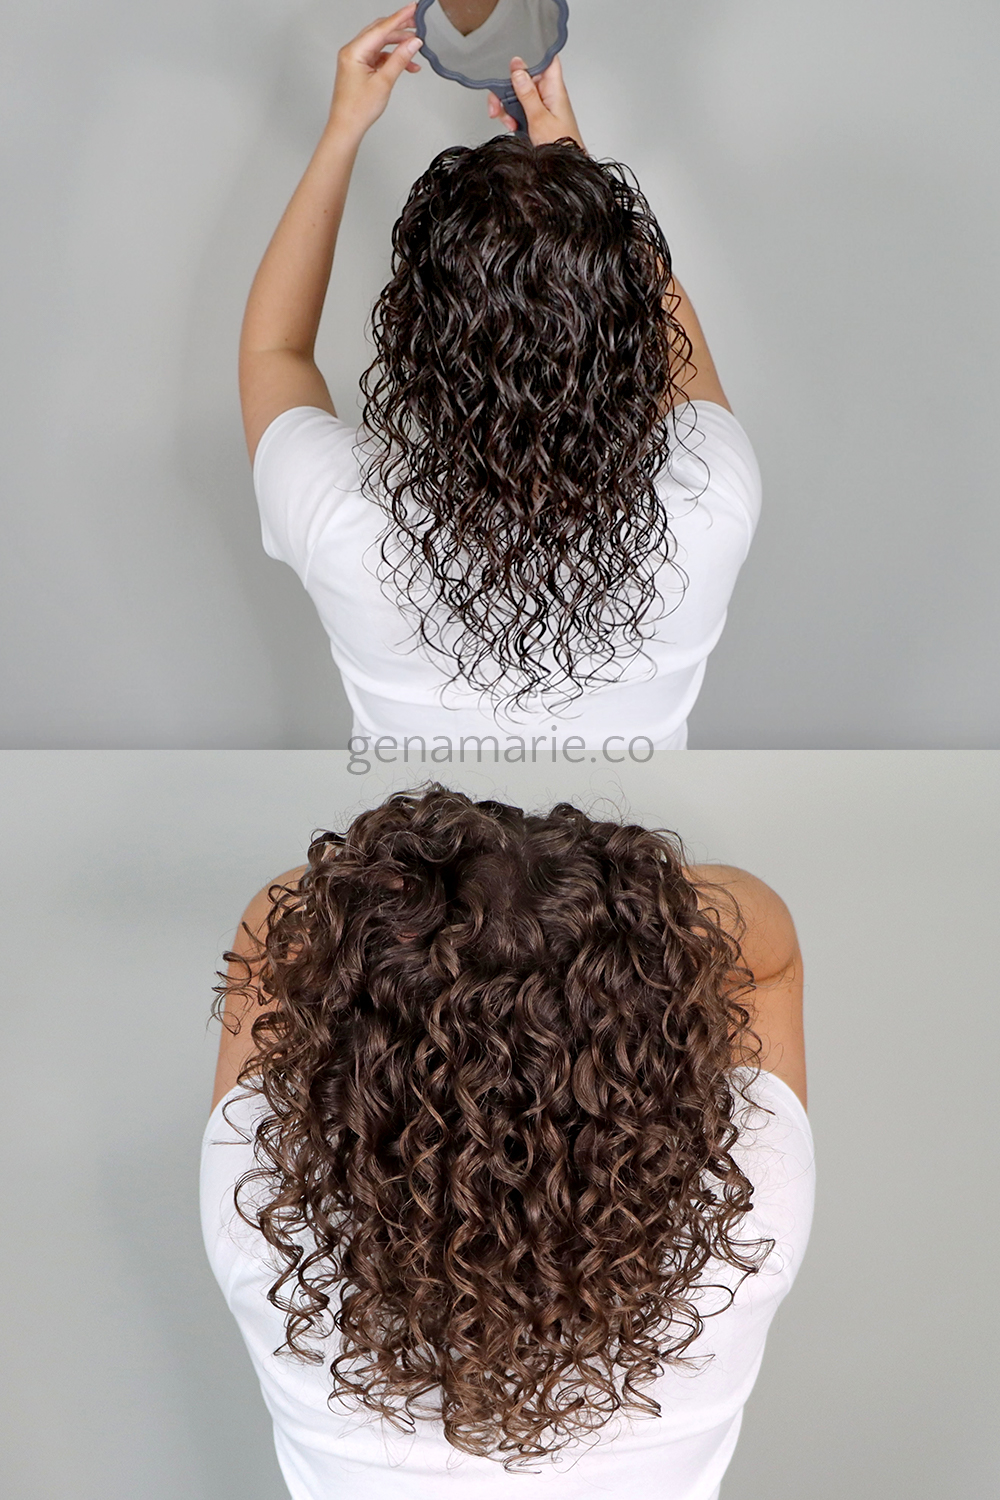
Do you struggle to get the back of your curls to look good? You may end up with stretched-out roots, hair stuck to your head, or your scalp showing. These are all very common and can be prevented with specific techniques. In this video, I share how to avoid these issues from happening, and how to achieve more root lift at the crown, cover your scalp, and define the curls in the back of your head.
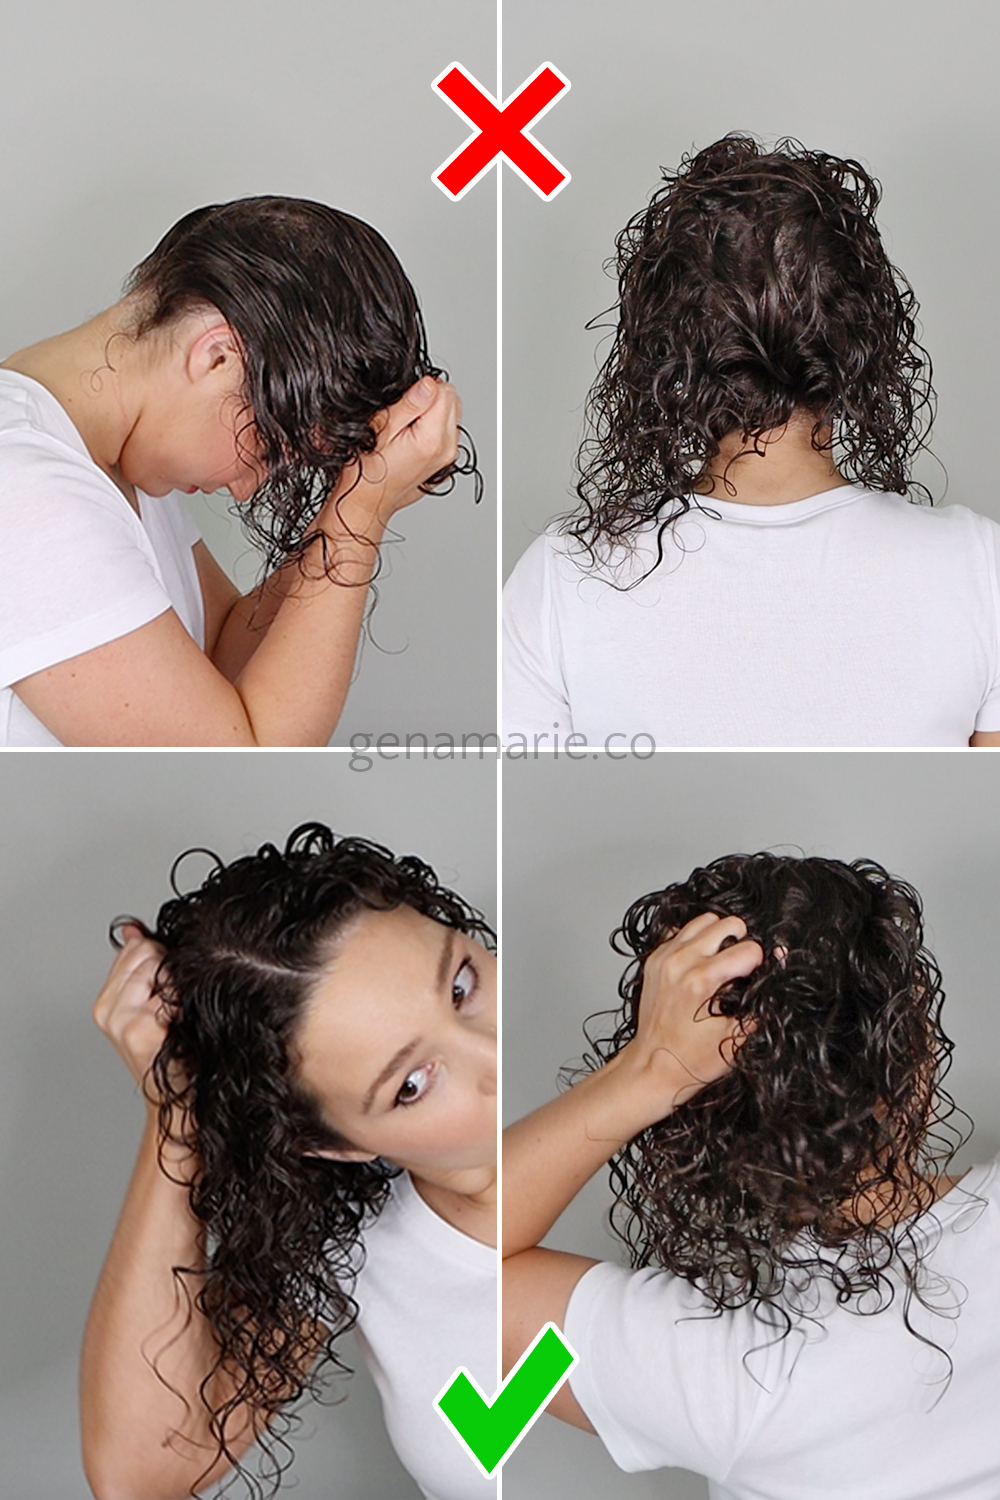
Upside-down styling is very common and is great for volume for some curl types, but many people struggle to get the back to look good with this method. Brushing or pulling all your hair forward can stretch out the entire back half of your curls and result in hair that is stuck to the scalp and hard to flip upright. You may also experience more tangles and shedding when trying to get your hair unstuck when flipping upright.
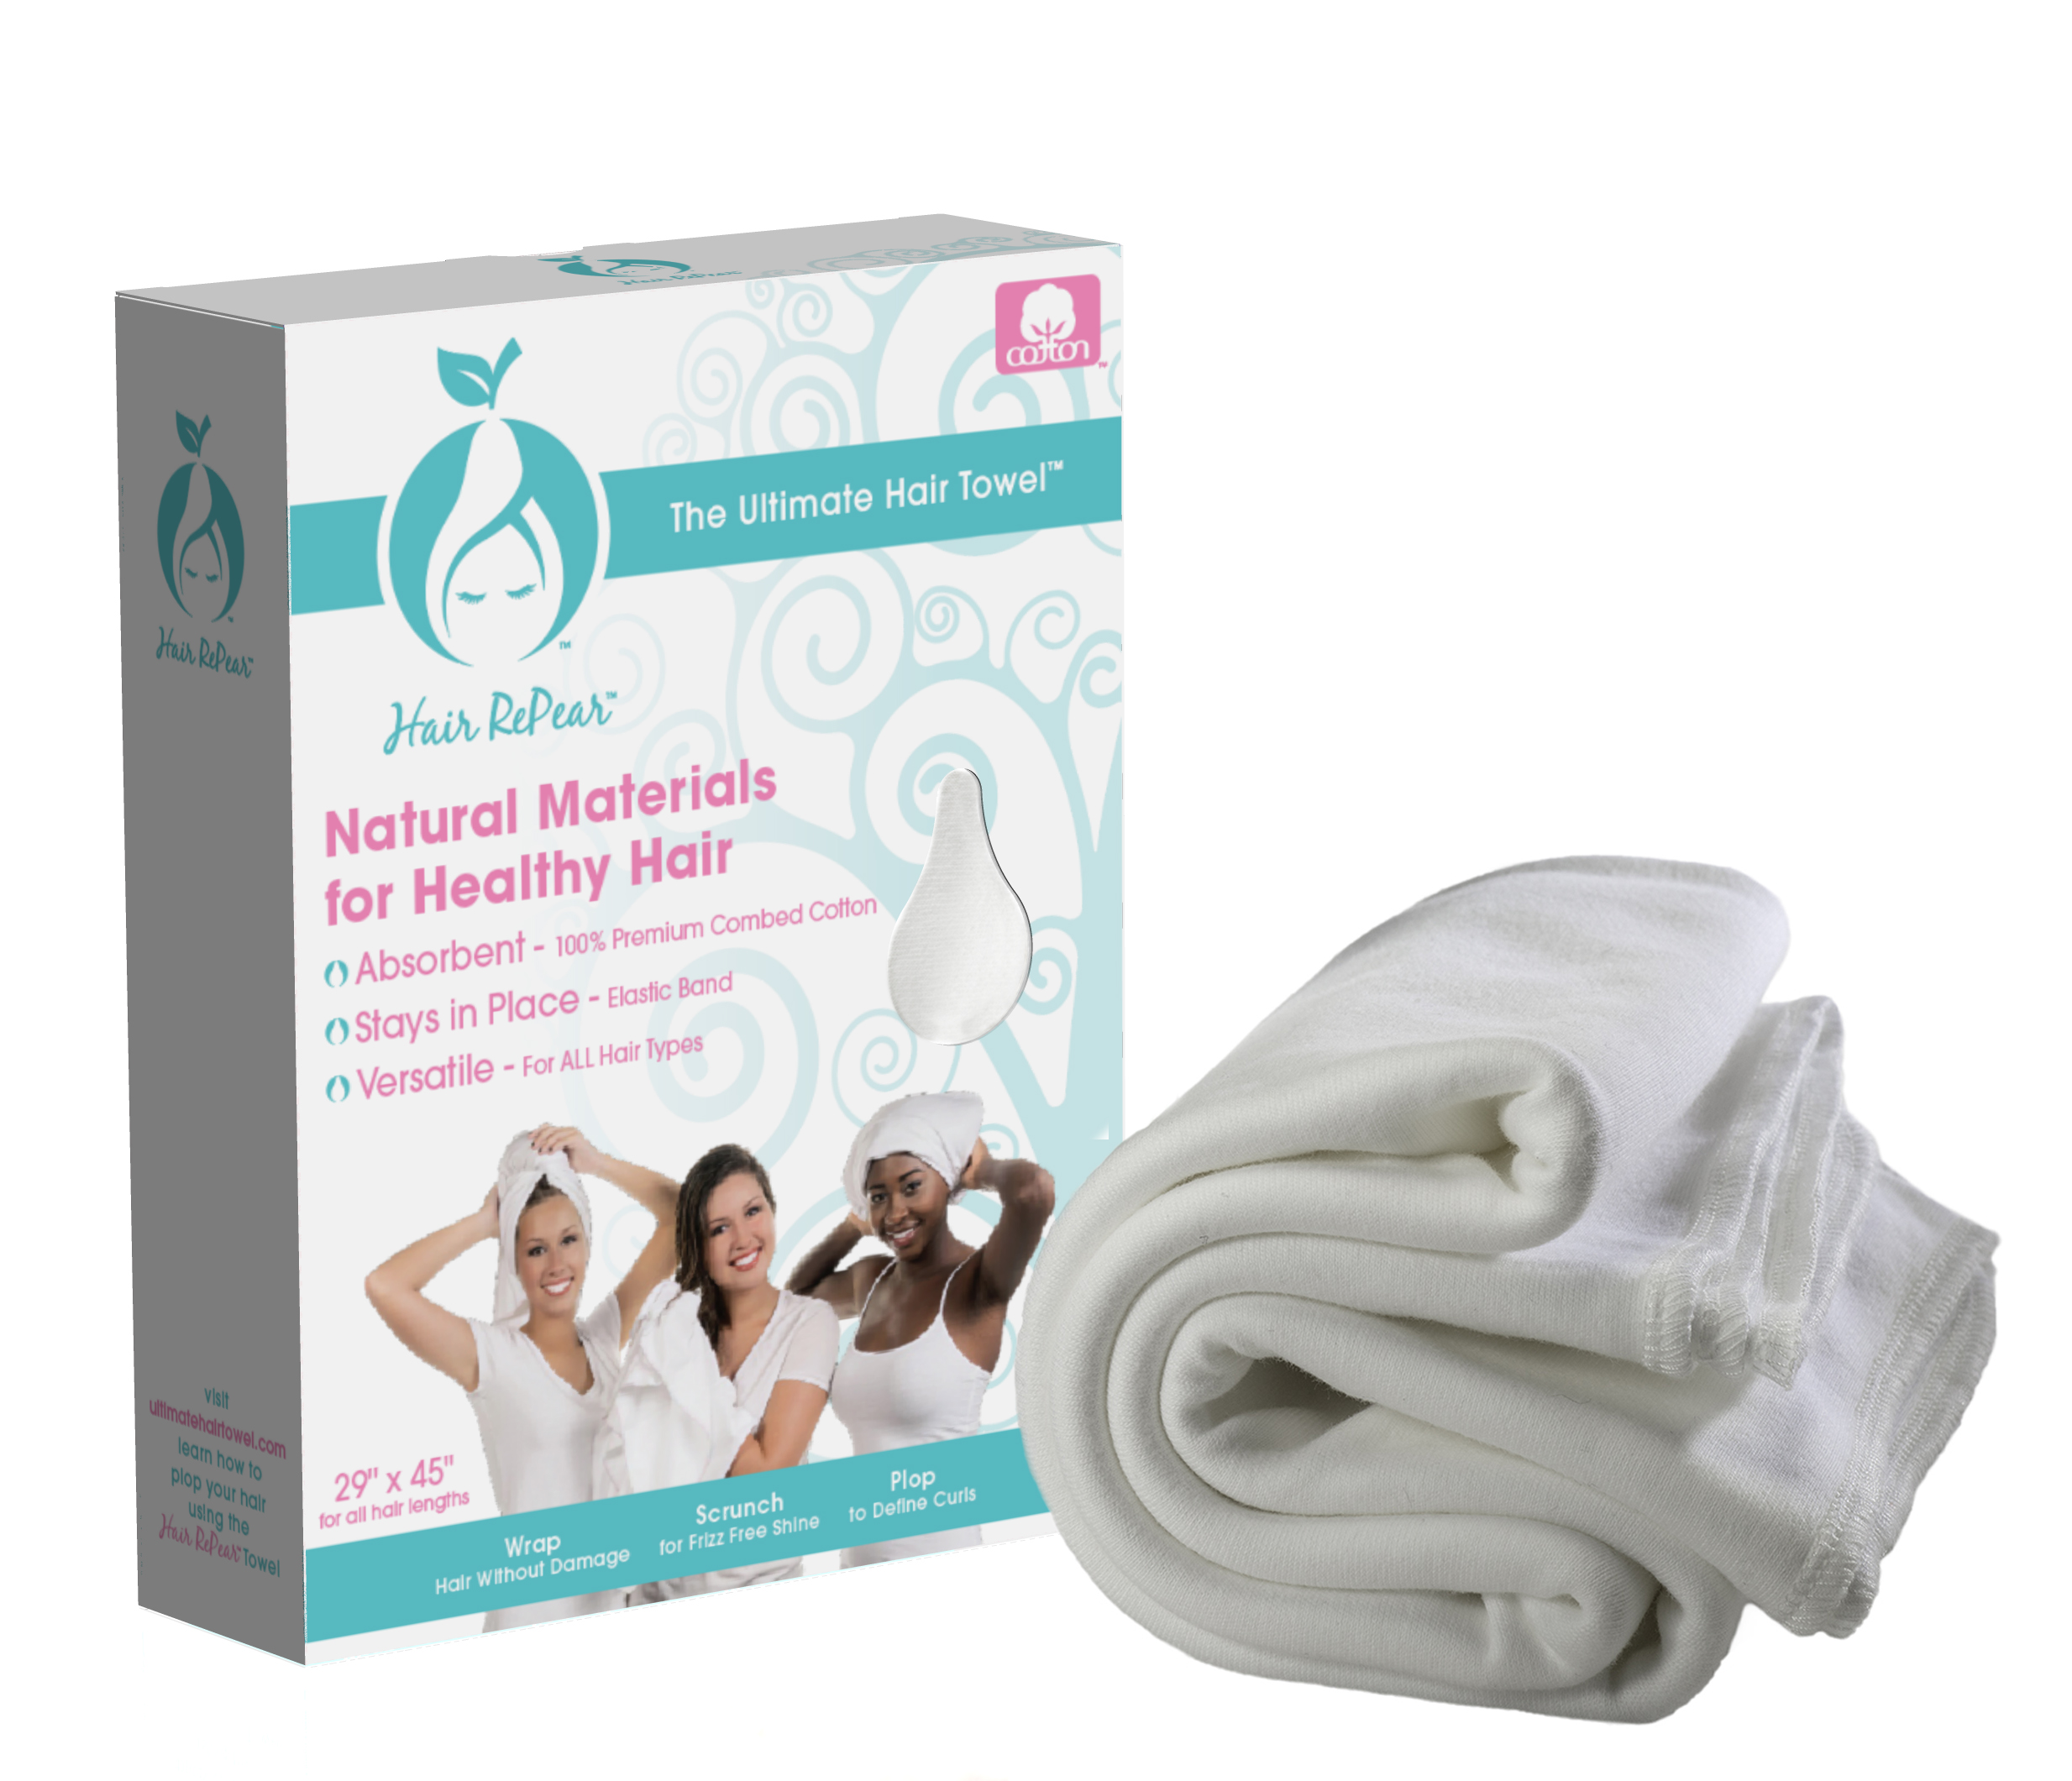
Styling upright gives you more control over how the hair will lay, and allows you to define the curls right at the root and better cover your scalp at the crown. If you don’t like wet hair touching your shoulders or neck, wrap a hair towel or T-shirt around your shoulders and tie it.
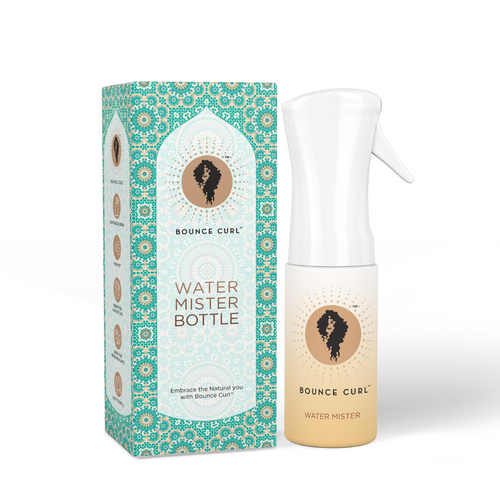
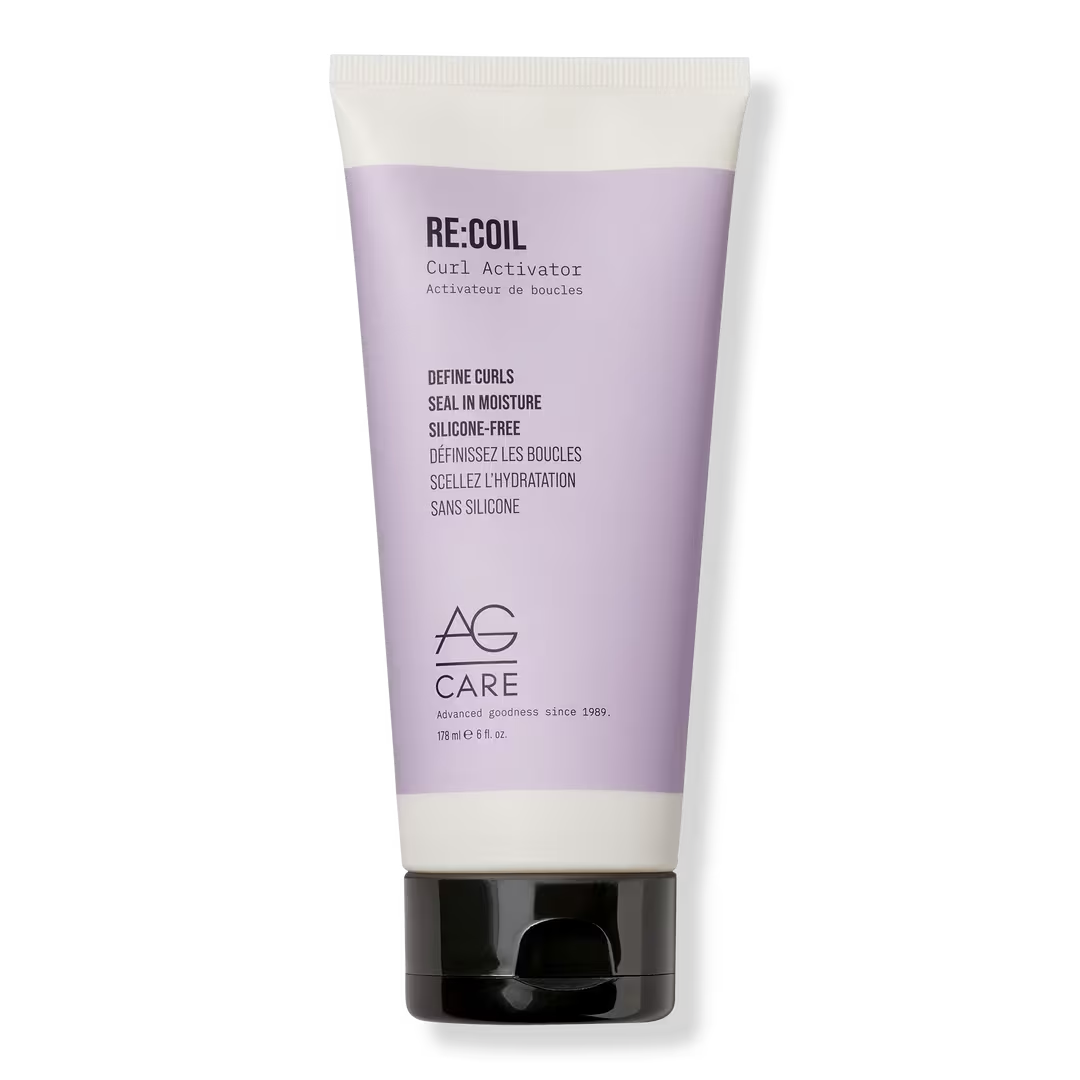
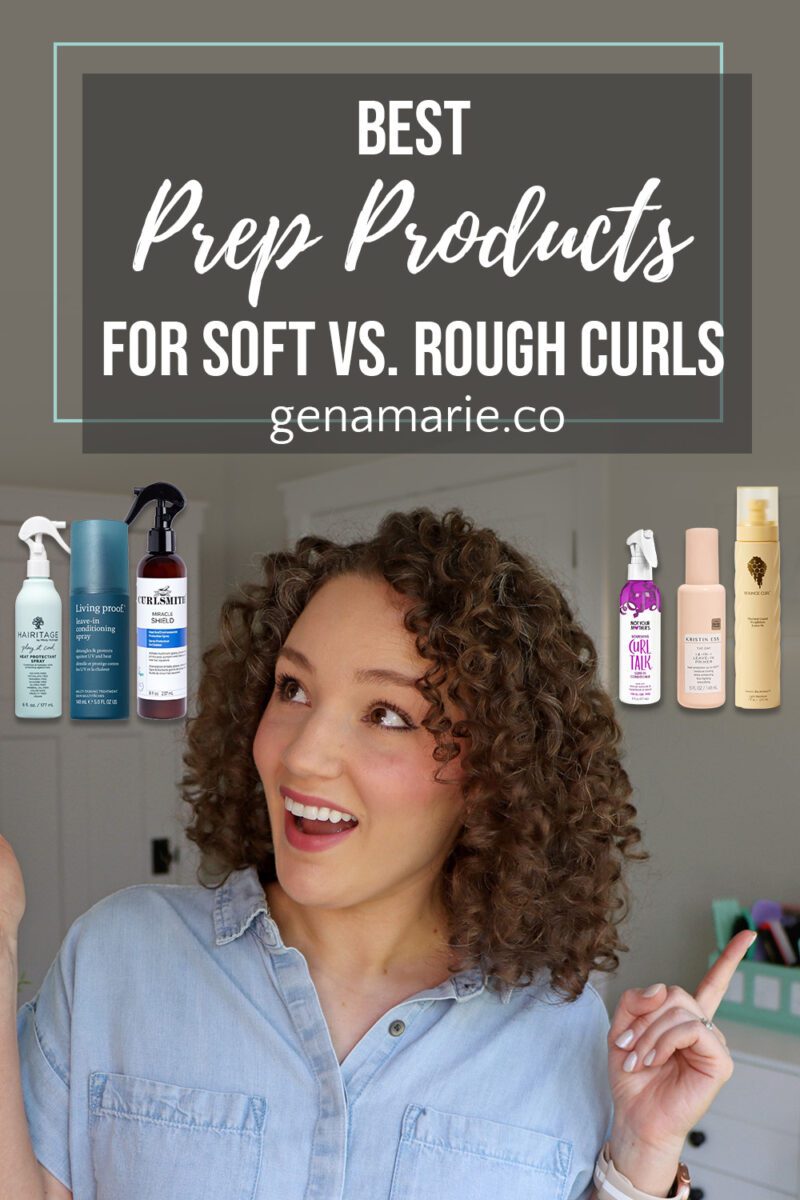
Mist hair with water to ensure it’s evenly wet. Apply a curl cream or leave-in conditioner. Curl cream will help to moisturize, soften, and enhance curl clumps and shrinkage. Rake it in, then comb it through from root to tip for even coverage.
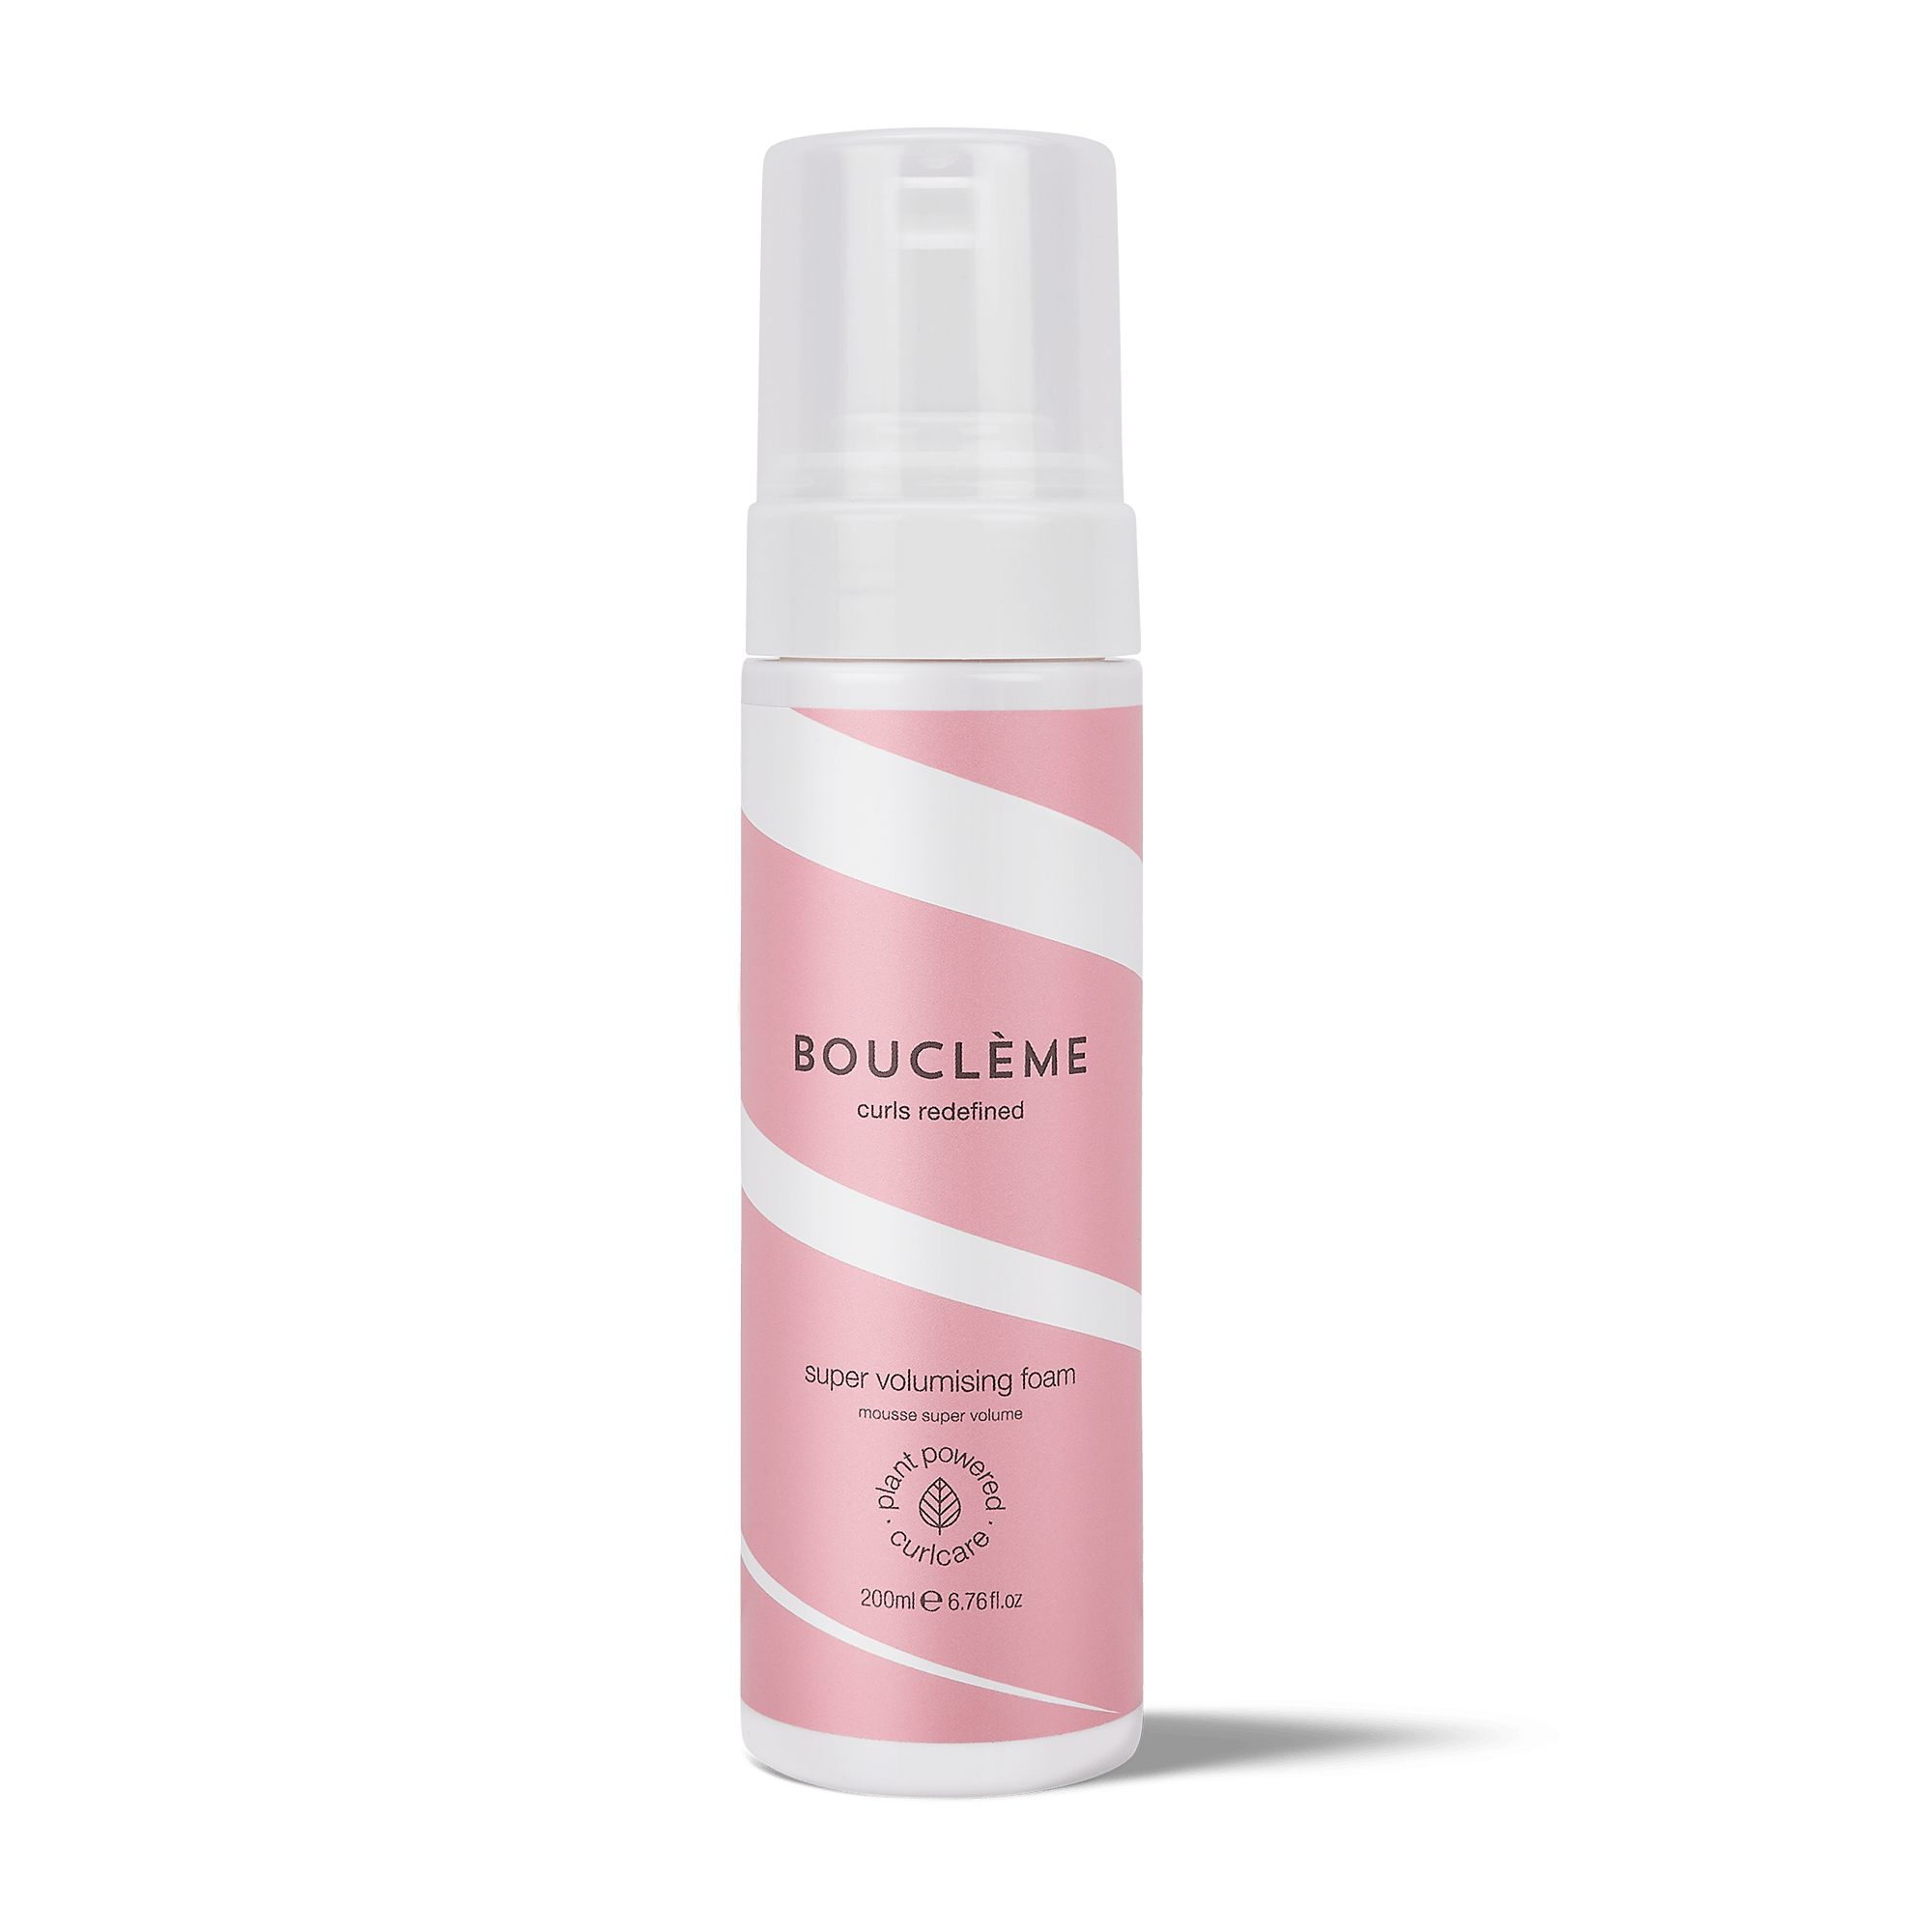
Bonus tip: If you’re worried about your roots getting weighed down, use a foam or a mousse around your root area. This will also help create volume and root lift.
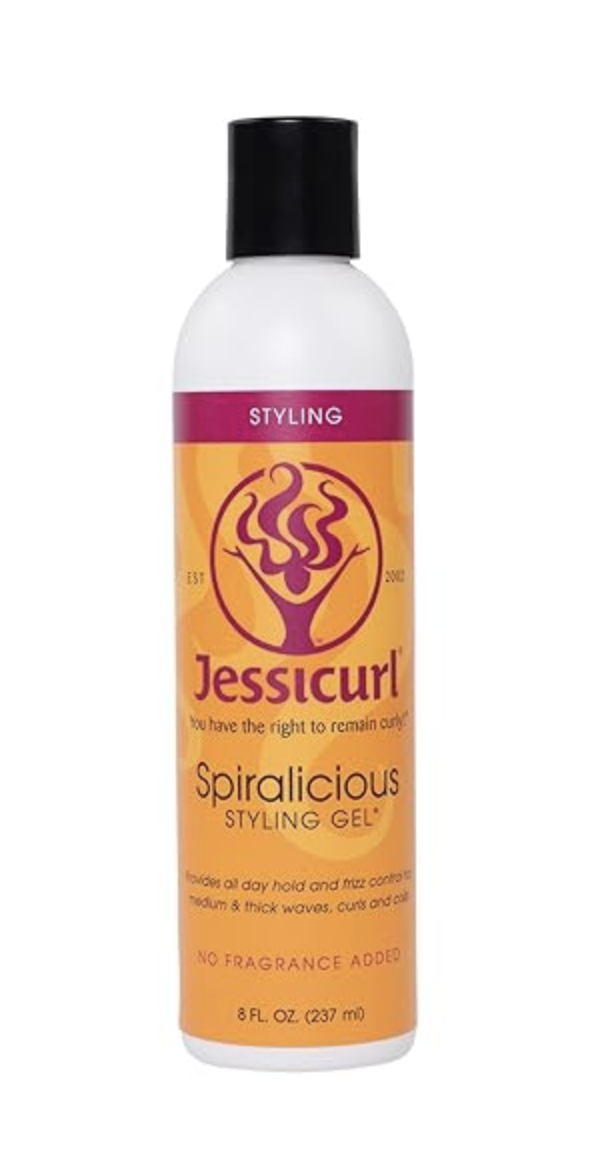
Section your hair so you can focus on one area at a time. This will ensure even coverage of your gel to prevent frizz and give you more control over how your hair will lay. Rake in a gel thoroughly. Gel will provide long-lasting hold, prevent frizz, and protect curls from humidity.
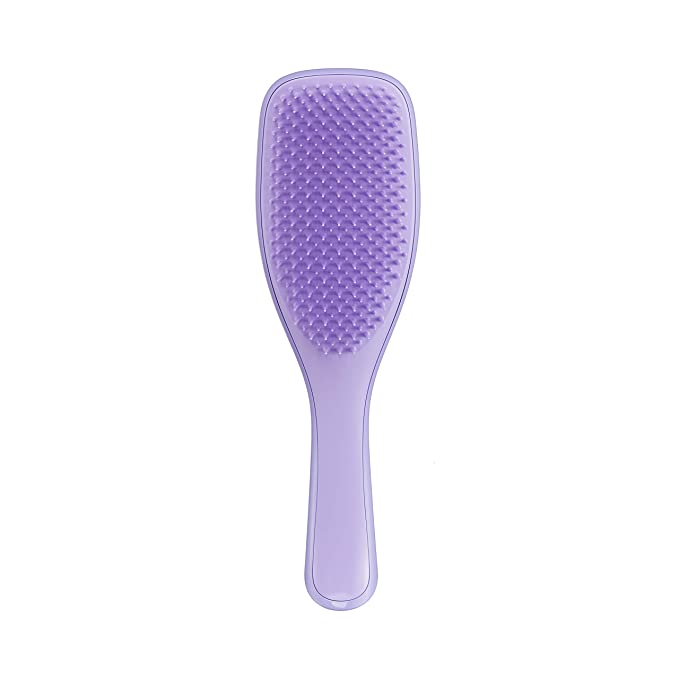
Use a brush to define your curls and encourage clumps. Apply slight pressure as you brush through entire sections at once for a fast method. For even more defined ringlets, pick up vertical sections of hair and apply tension as you brush down the strand.
When you reach the top section around the crown, pick up horizontal sections. Place your brush right at the root and turn your wrist as you glide down the strand to create a nice bend at the root. This will help cover the scalp better than vertical sections.
Bonus tip: For cowlicks and areas where your scalp is showing, gently brush over the area in the opposite direction of the growth pattern. Check the back using a handheld mirror while standing in front of another mirror.
Once you’re done styling, scrunch your curls to encourage shrinkage, if desired. This can also help encourage the curls to form at the roots. Lift the roots up with one hand over your head, and scrunch all the way to the scalp with your other hand. Ensure your hands are wet while scrunching wet hair to prevent frizz. You can also scrunch with your hair towel or T-shirt to absorb excess water and reduce dry time. If you soaked up too much product or if frizz formed, smooth a light layer of gel on top.
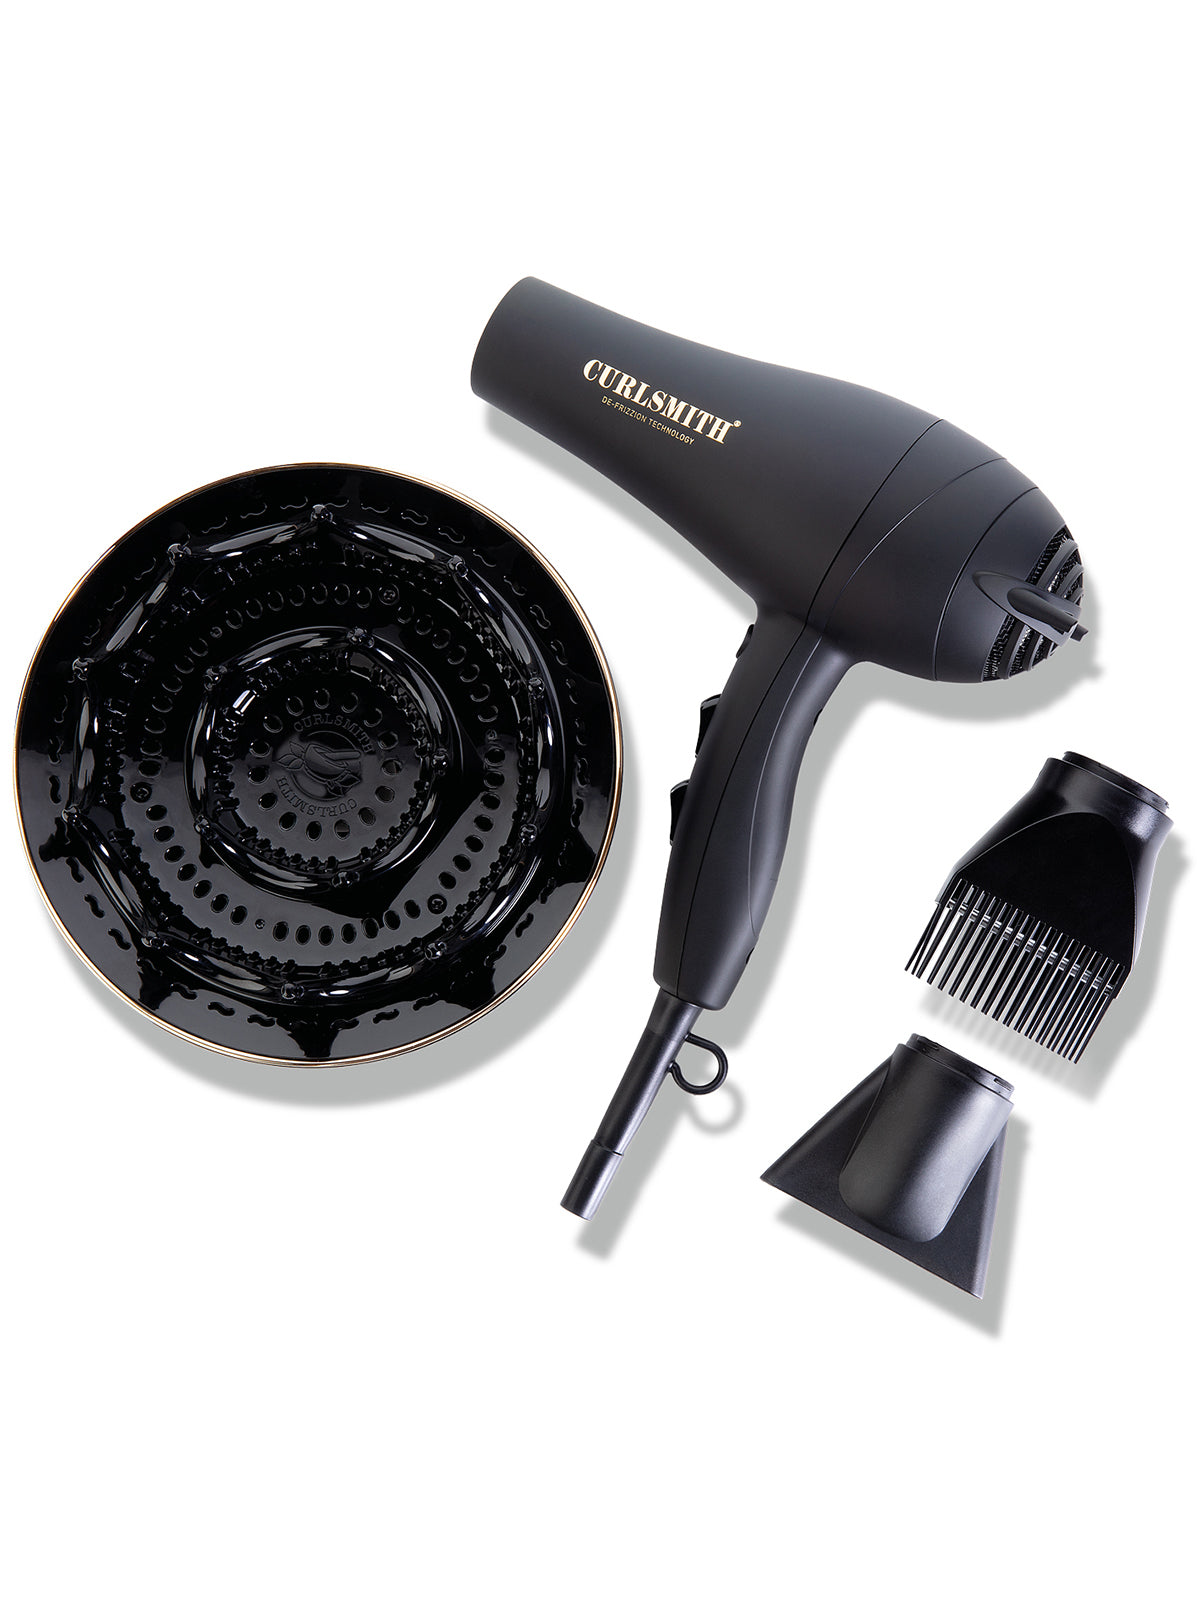
After styling, finish with diffusing which will set the curls into place. Use the prongs of the diffuser to lift the roots and create volume.
Bonus tip: For stubborn cowlicks, place a claw clip over the exposed scalp while the hair finishes dry and setting.
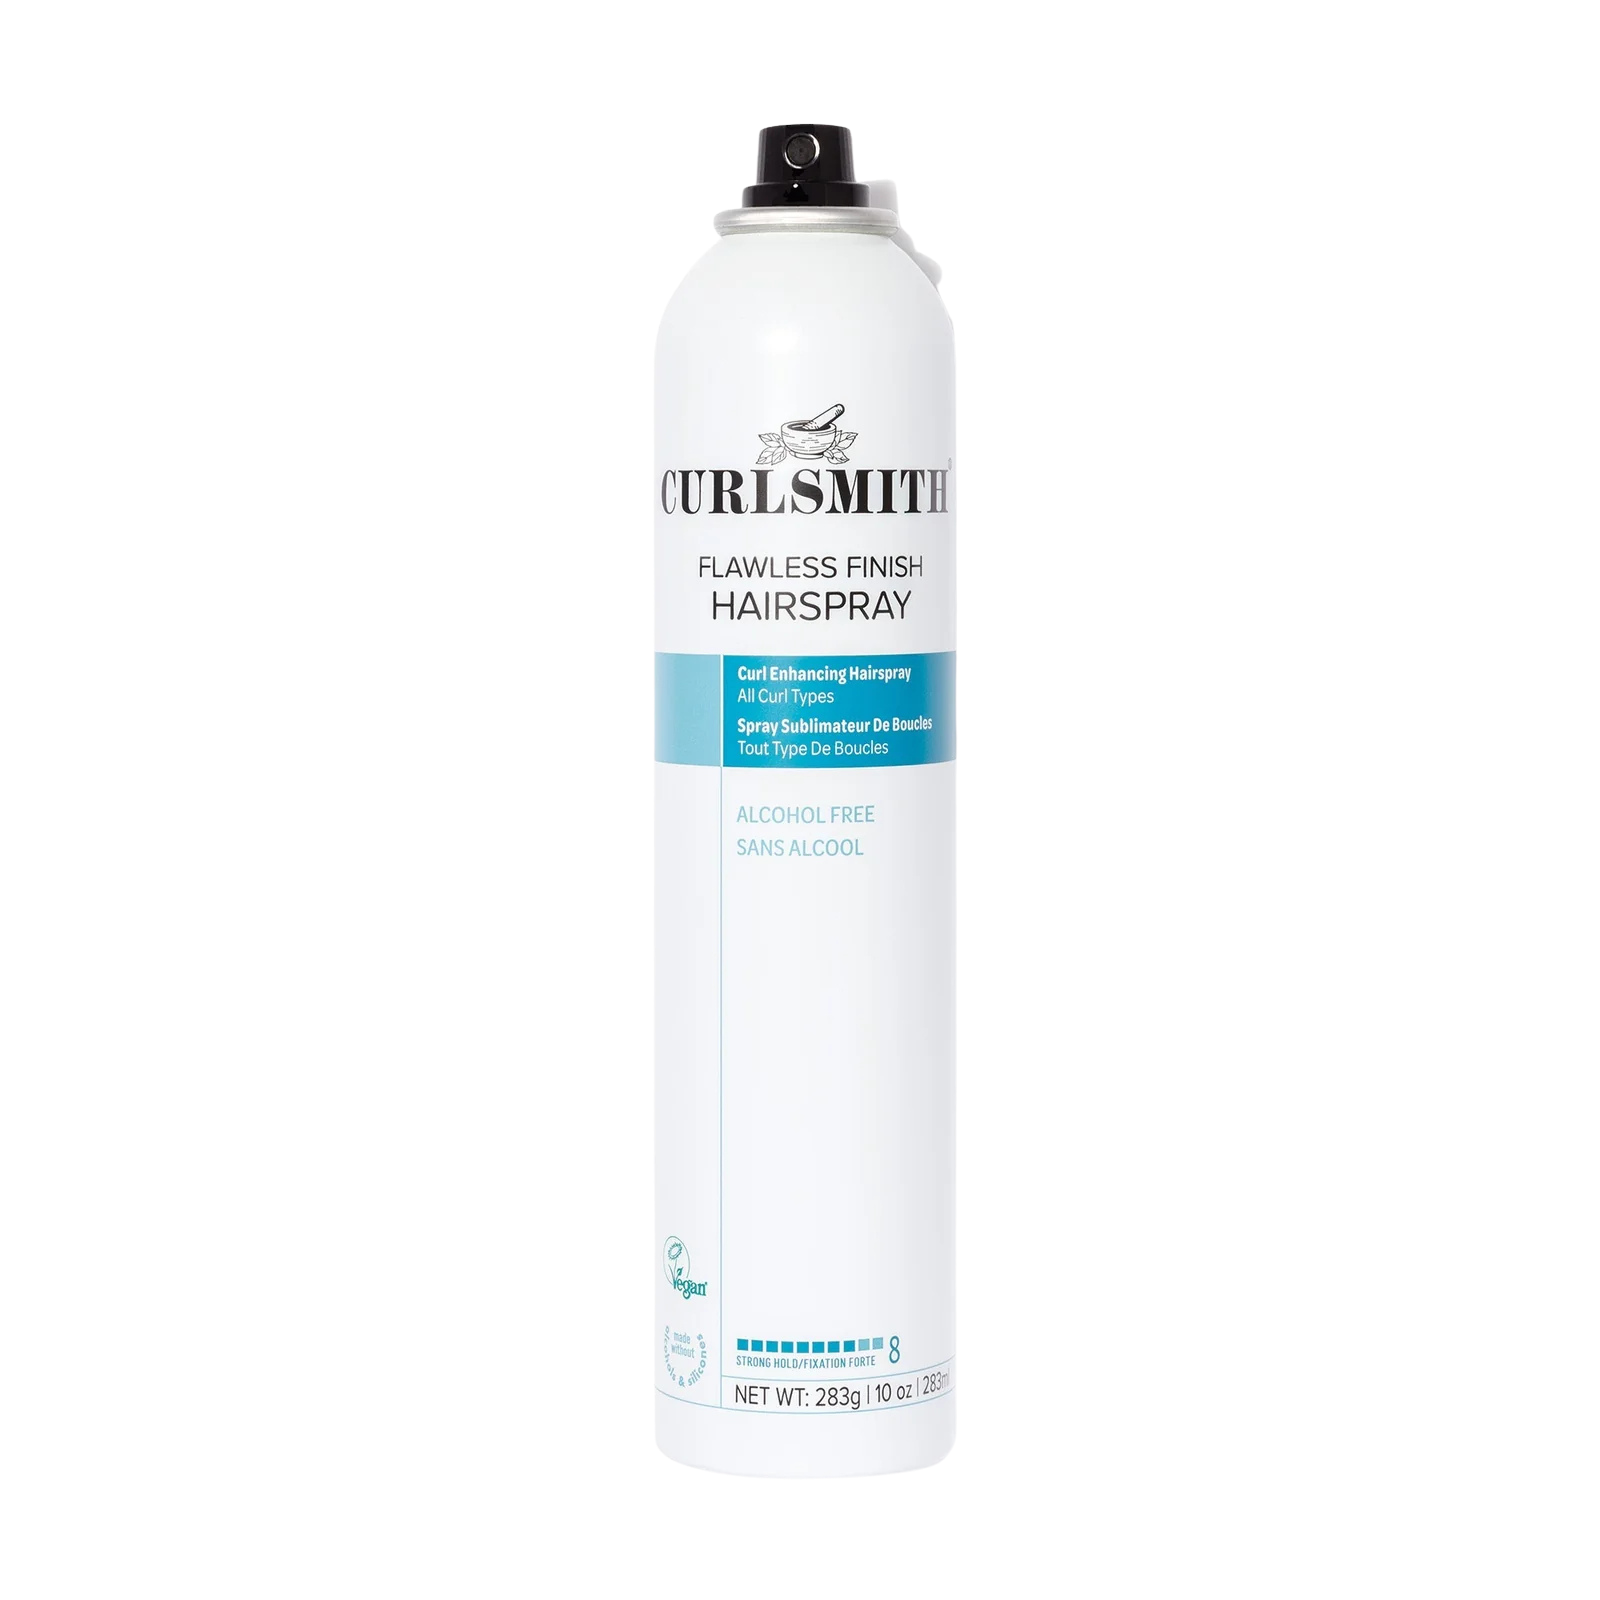
Once hair is completely dry, fluff out roots and scrunch out any unwanted cast with a bit of oil. Finish with a hairspray for added hold and humidity protection if needed. These are both optional.
By putting a bit more effort into the styling process, you can have more control over how your curls turn out. You can certainly skip a lot of these steps and simply rake in your products and scrunch, but ensure you’re doing that in the upright position to prevent wonky curls in the back.
If you are someone who only wants to style upside down and is looking for an alternative way to fix the back curls, check out @sophiemariecurly’s “flip-section method” to see how she comes upright after styling upside down.
Watch this video about How to Cover Your Scalp for more assistance with cowlicks and bald spots.

If your waves or loose curls fall flat every summer — losing definition by midday, never lasting past wash day — this routine is built
Are you using a heat protectant in your curly hair routine? If you’re diffusing or planning to be in the sun, you probably should. But
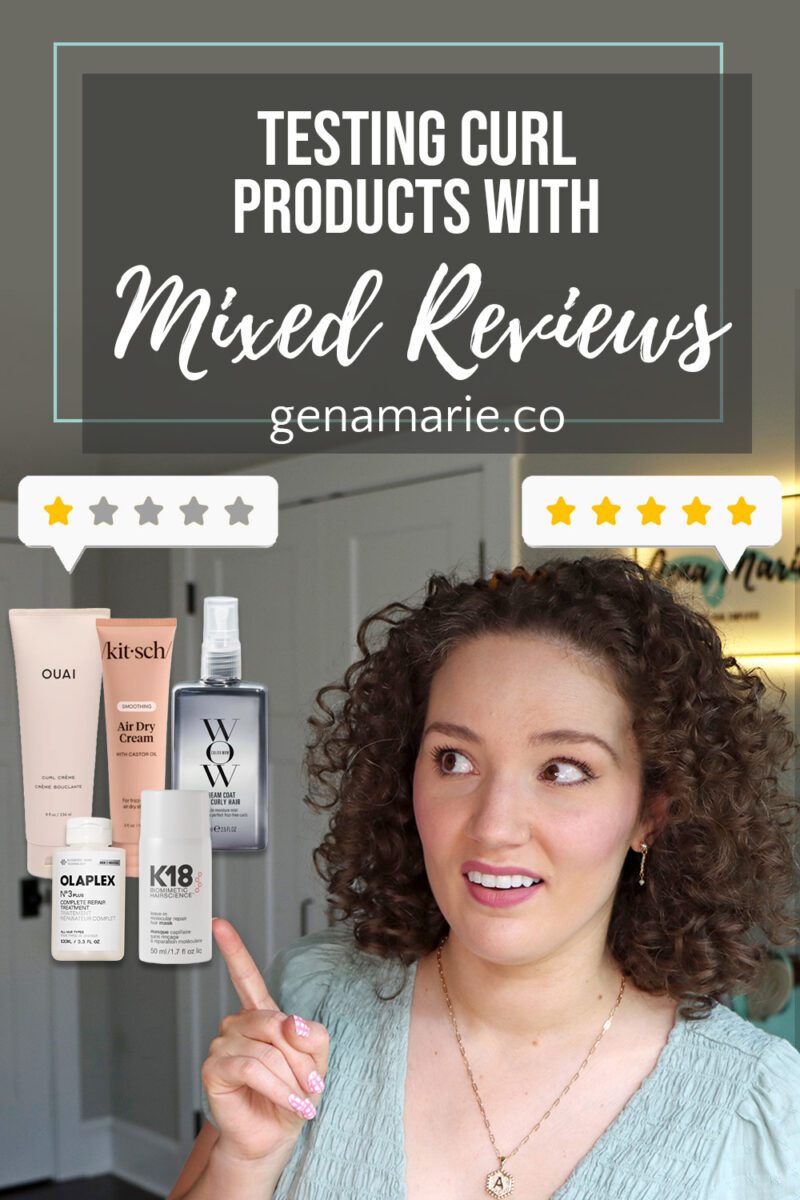
You read the reviews online. One person says a product completely changed their hair. Someone else says it’s the worst thing they’ve ever tried. And
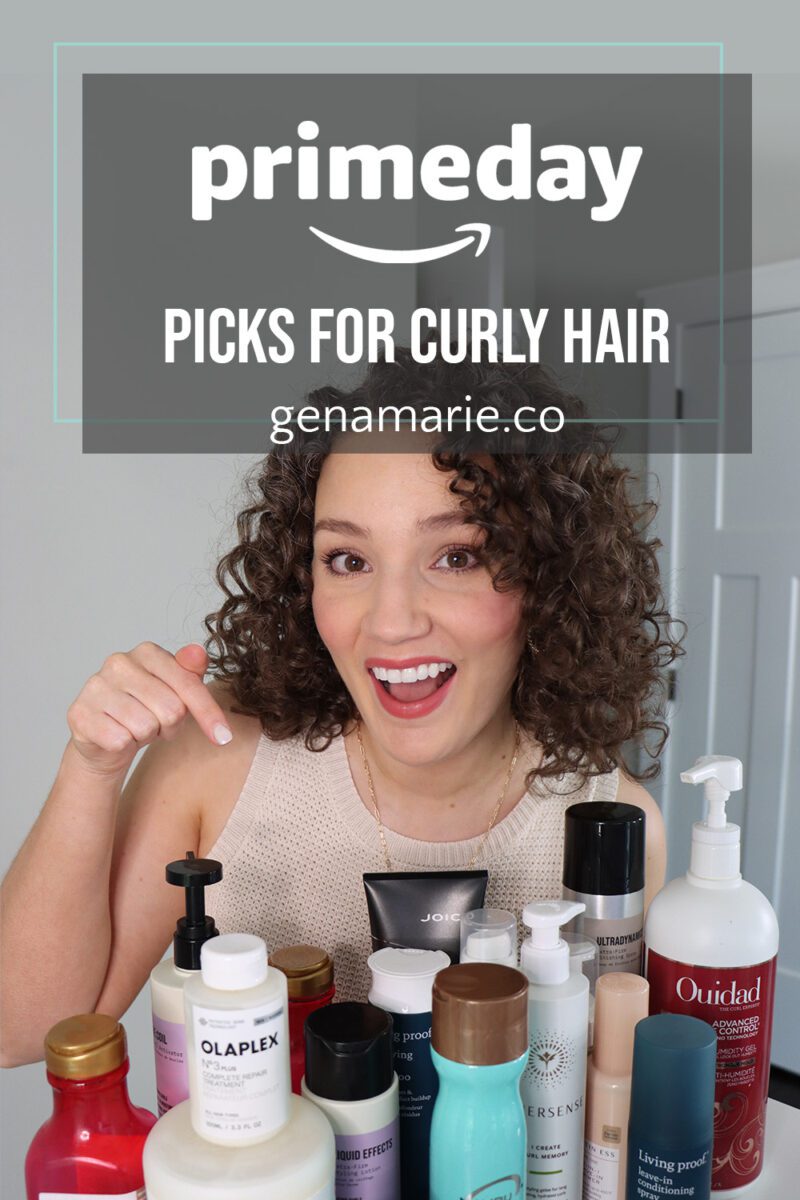
Amazon’s Prime Day Deals are happening today through Friday! I’ve rounded up my top curly hair picks on my Amazon storefront—plus shared quick notes below on each product’s key characteristics to help