


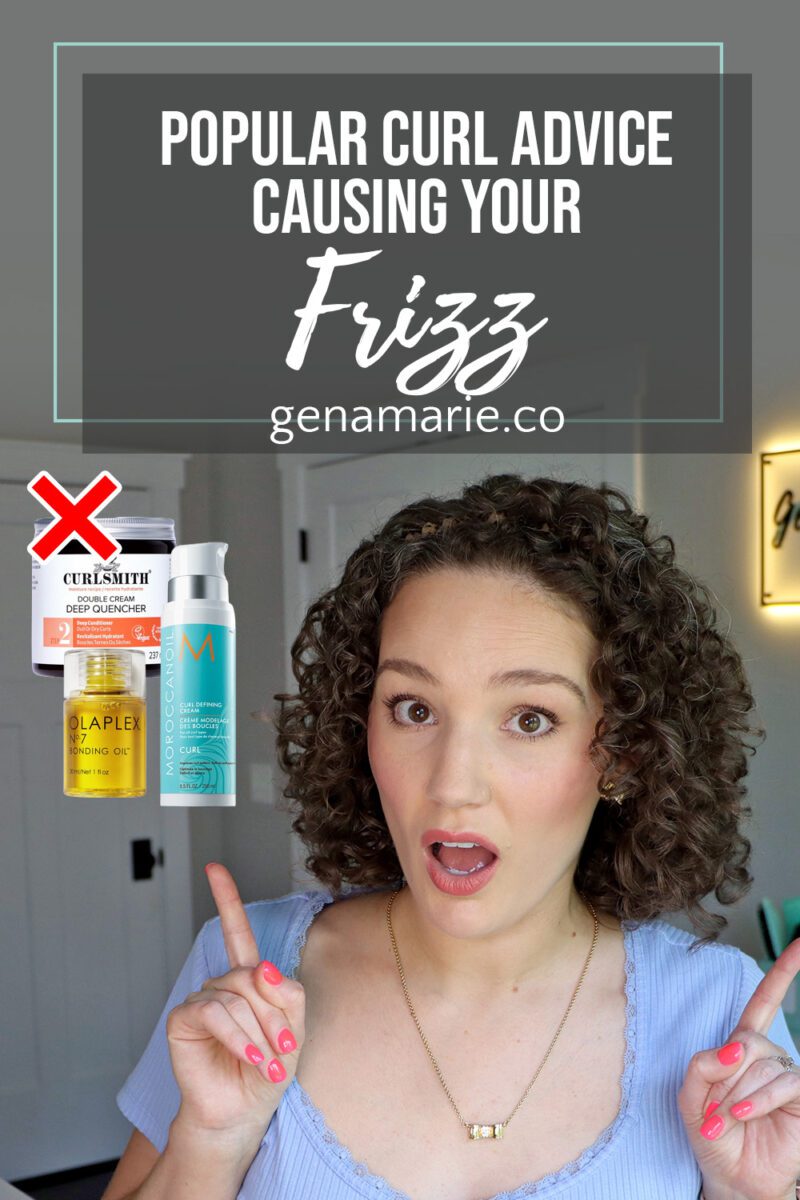
Popular Curl Advice That’s Actually Causing Your Frizz
If your curls are still frizzy and not lasting even though you’ve been doing everything you were told, the advice might be the problem. These
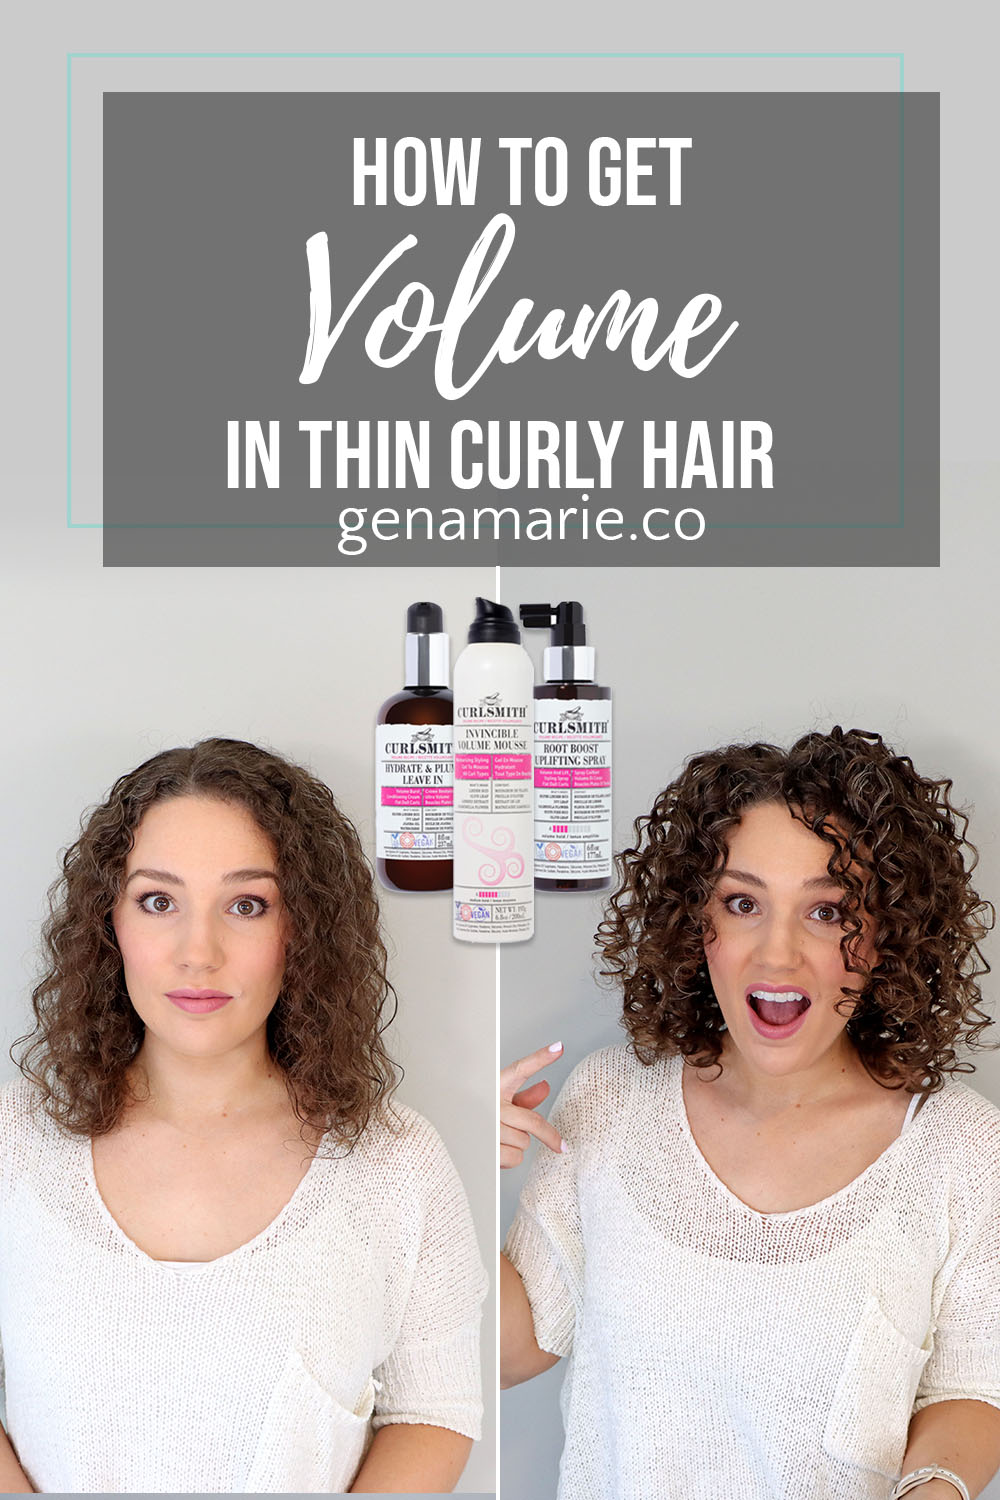
Achieving volume can be so challenging if you have low-density hair like me or for fine curly hair.
In this step-by-step routine, I show you how to get more volume using styling techniques and products from the new Volume range from Curlsmith, who is kindly partnering with me for this video.
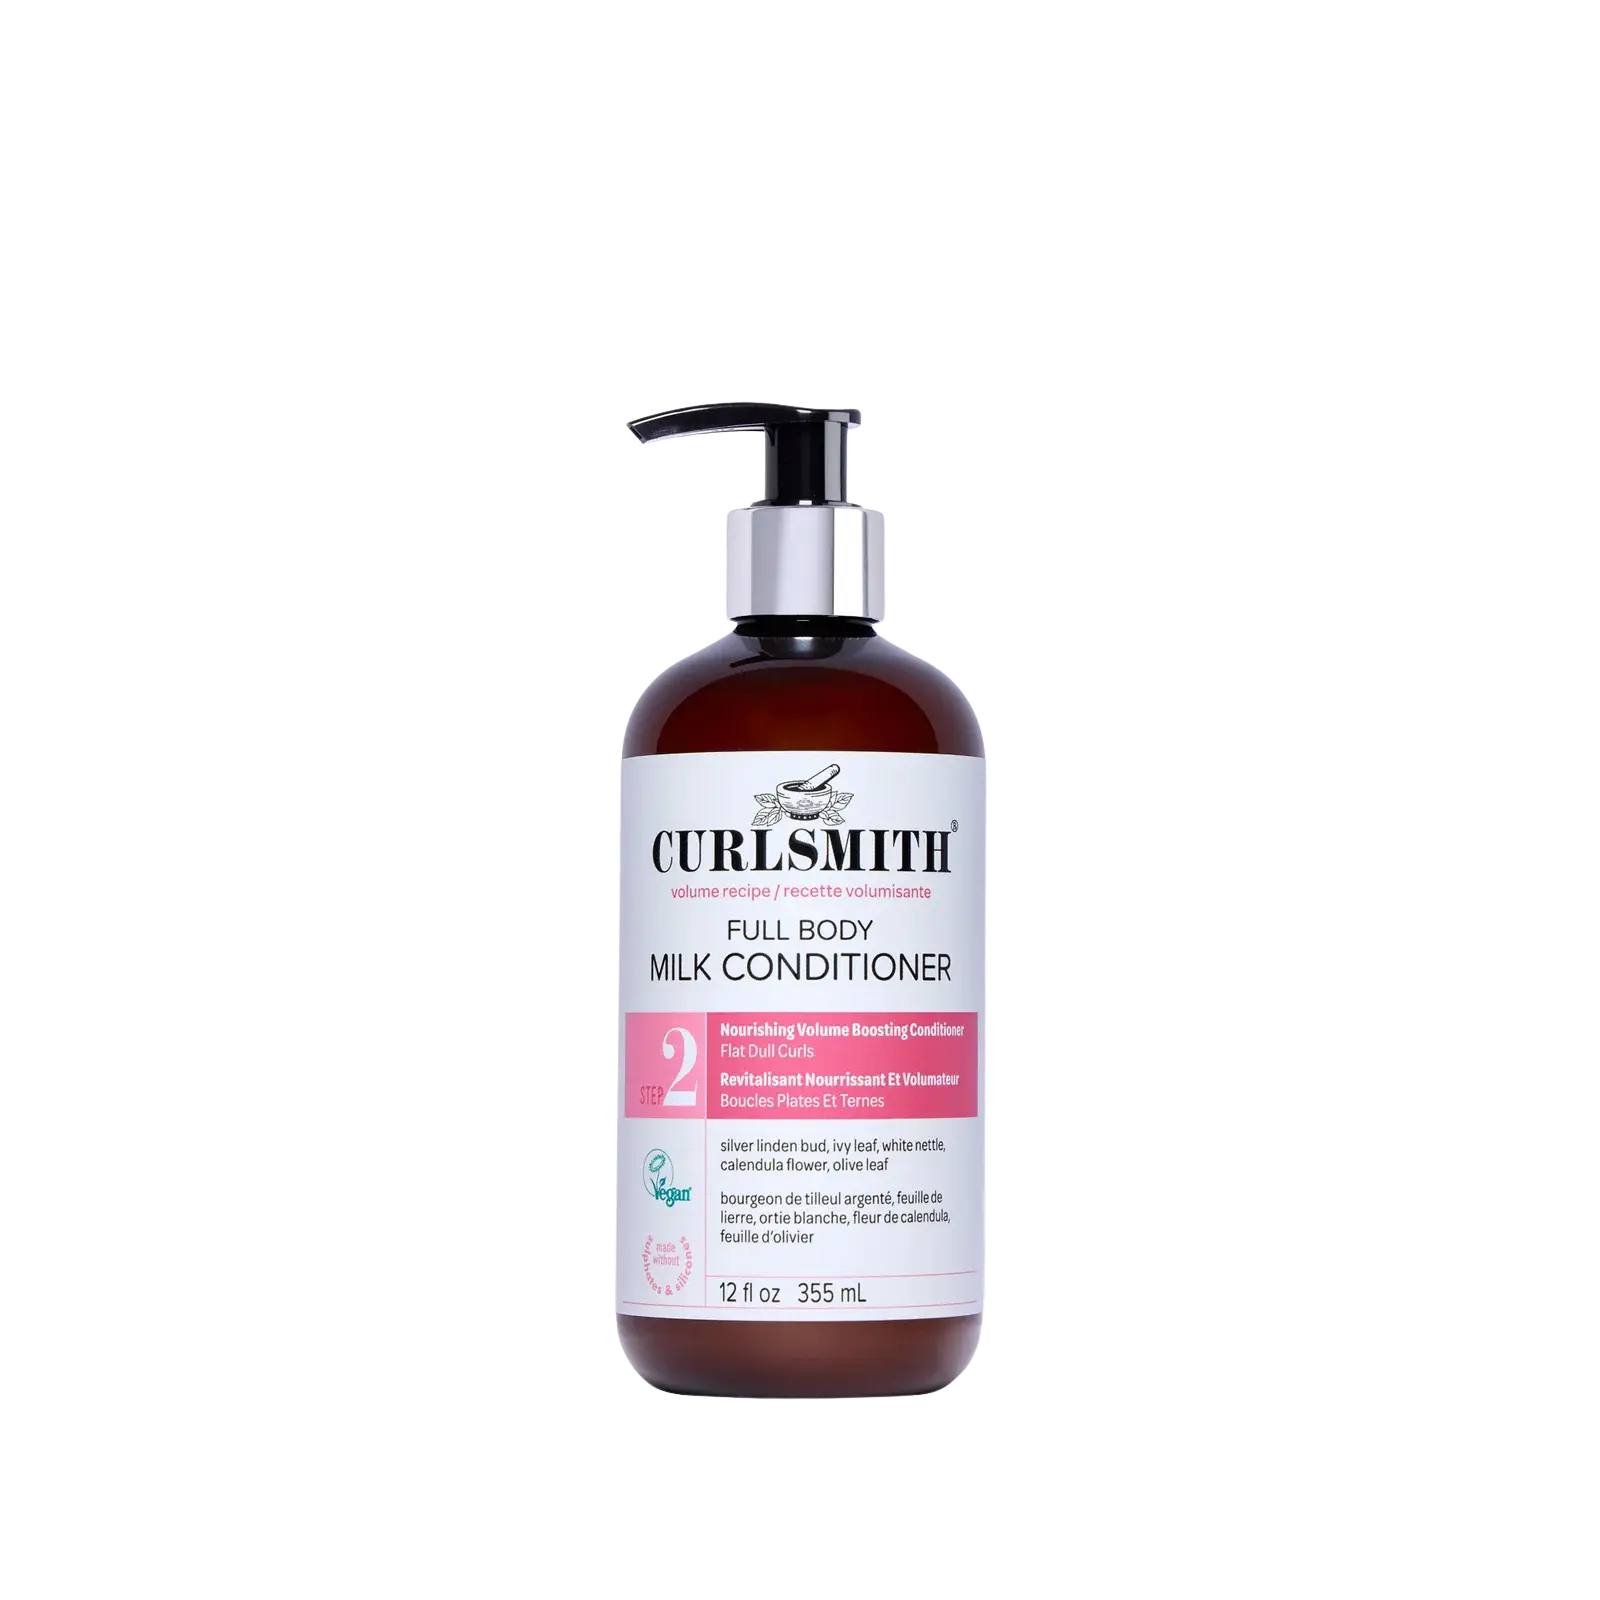
Shampoo and condition using the new Full Body Weightless Cleanser and the Full Body Milk Conditioner.
You want to ensure your hair and scalp are free from buildup and oils that can weigh down your roots and make your curls appear more limp.
This shampoo, along with the rest of this line, contains Calendula Flower which is known for stimulating hair follicles.
The Full Body Weightless Cleanser is a regular shampoo that removes buildup without stripping.
To replenish moisture, follow up with the Full Body Milk Conditioner which is very lightweight. Avoid anything too thick and heavy if you struggle with volume. Concentrate on your lengths and ends first, working any excess to the root but avoiding the scalp. Ensure you’re fully rinsing it out and do not leave it in your hair
Section your hair to ensure it’s fully cleansed and double shampoo, especially if you have oily hair
Before applying products, you want to make sure your hair is evenly wet but not soaked. I towel-dry my roots first, then mist the lengths of my hair with water.
You may see a lot of people recommend applying your products on soaking wet hair, however this can really reduce volume for those of us with thin hair.
Try somewhere in between so that your hair is not frizzy and stringy, but it’s also not dripping and soaking your shirt.
The next step is to apply a moisturizer. You can use a curl cream or a leave-in conditioner. Avoid any heavy oils and butters since they will weigh down your hair and reduce your volume.
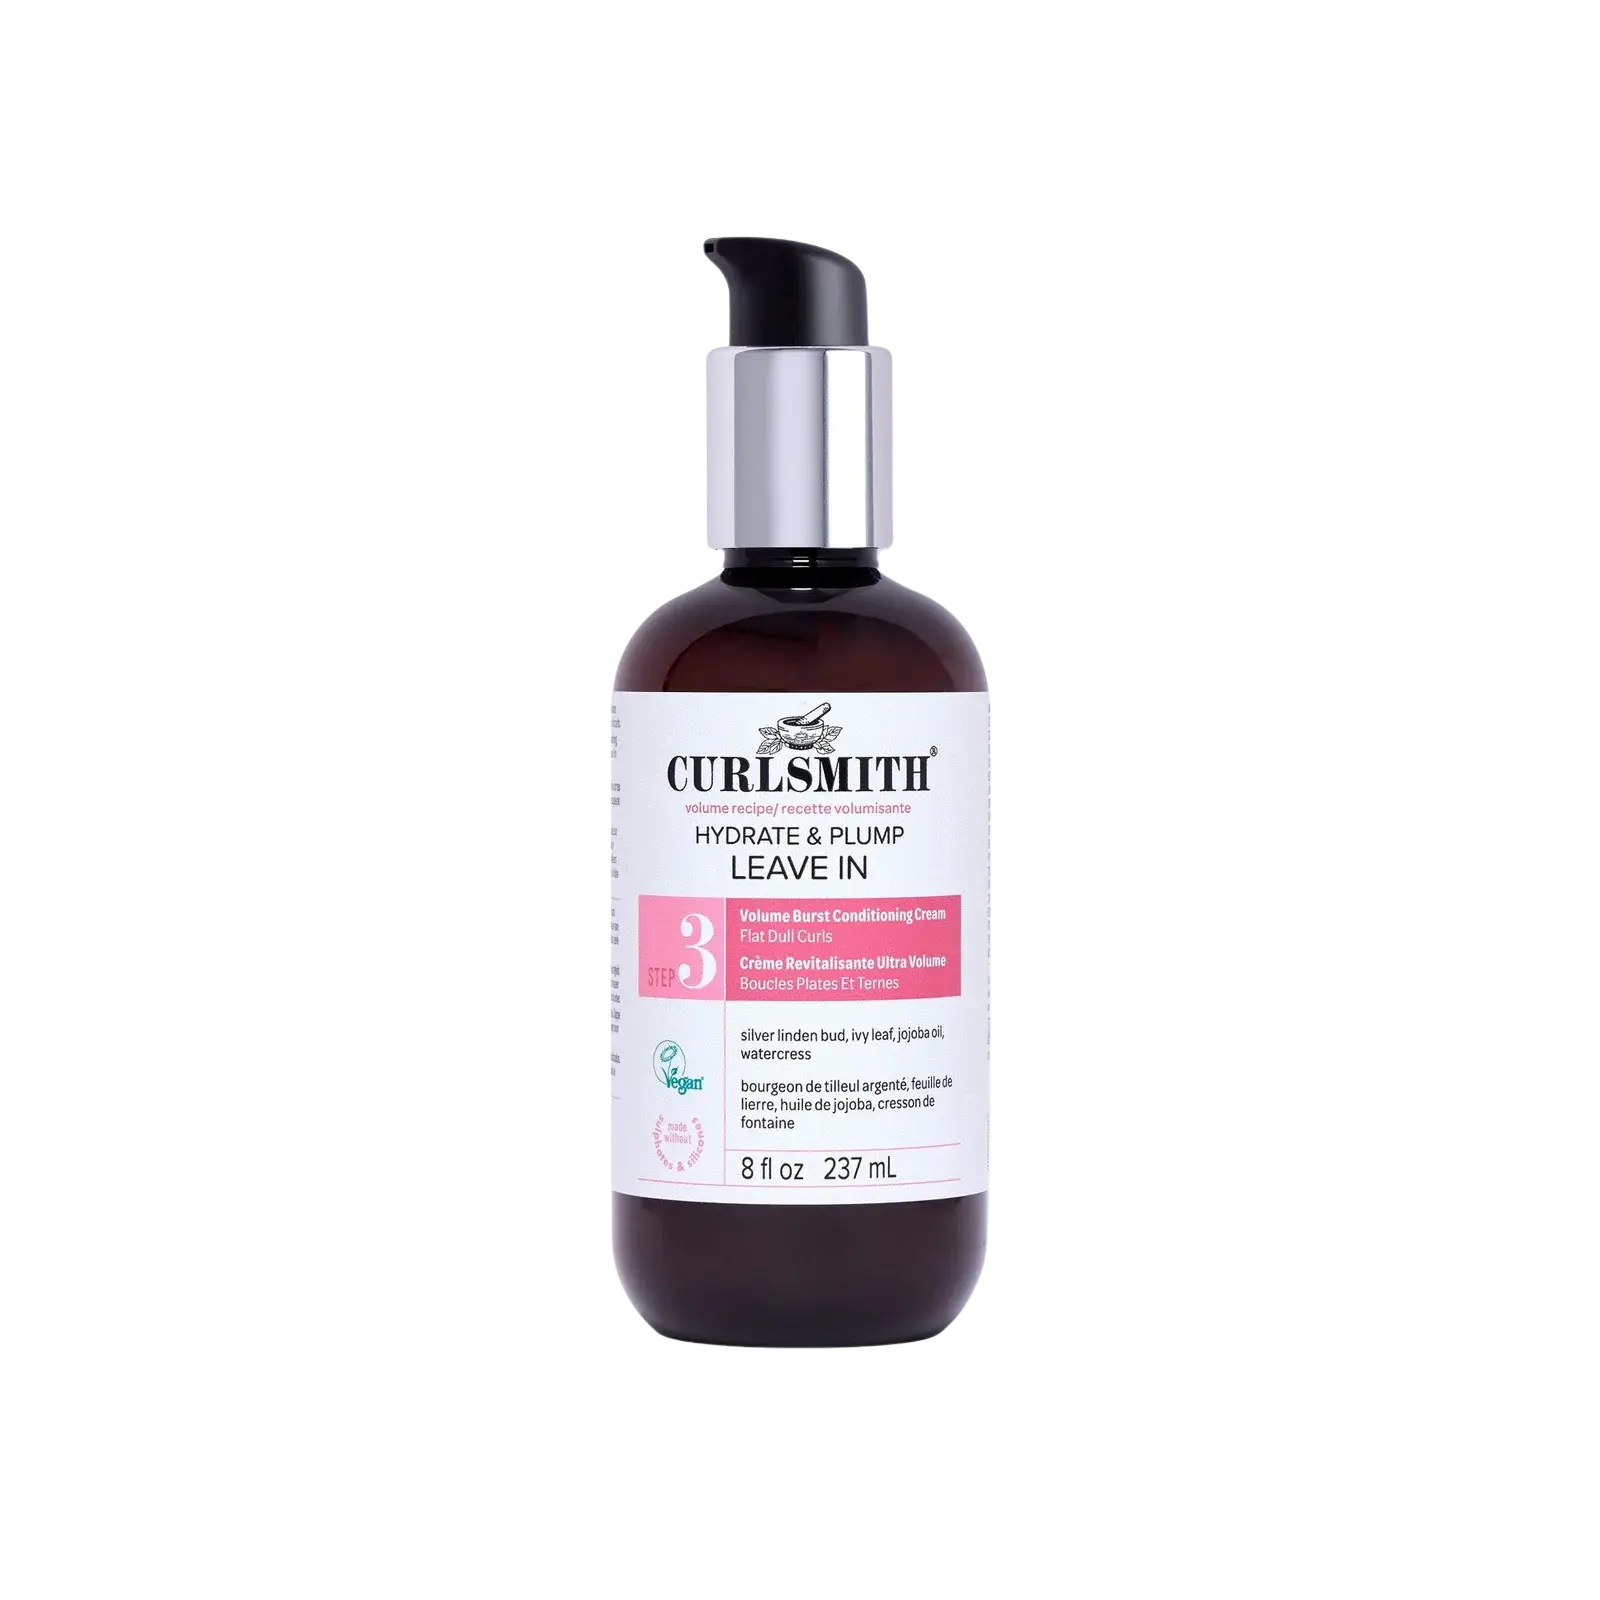
Leave-ins typically are more lightweight than styling creams, especially this one from the new Volume line called the Hydrate & Plump Leave-In.
It contains the Plant-based Stem Cell Complex that is in all of the products from this line, which nourishes the hair’s cortex and plumps from the inside out. This leave-in also contains watercress which is said to help increase hair thickness.
Start at the ends and just smooth the remaining over the surface of the top
Now it’s time for stylers which do most of the heavy lifting in your routine when it comes to volume.
Adding in a volumizer is a great way to boost volume and they can be paired with any holding products like gel or mousse. Volumizers are typically products such as foam, lotions, and sprays.
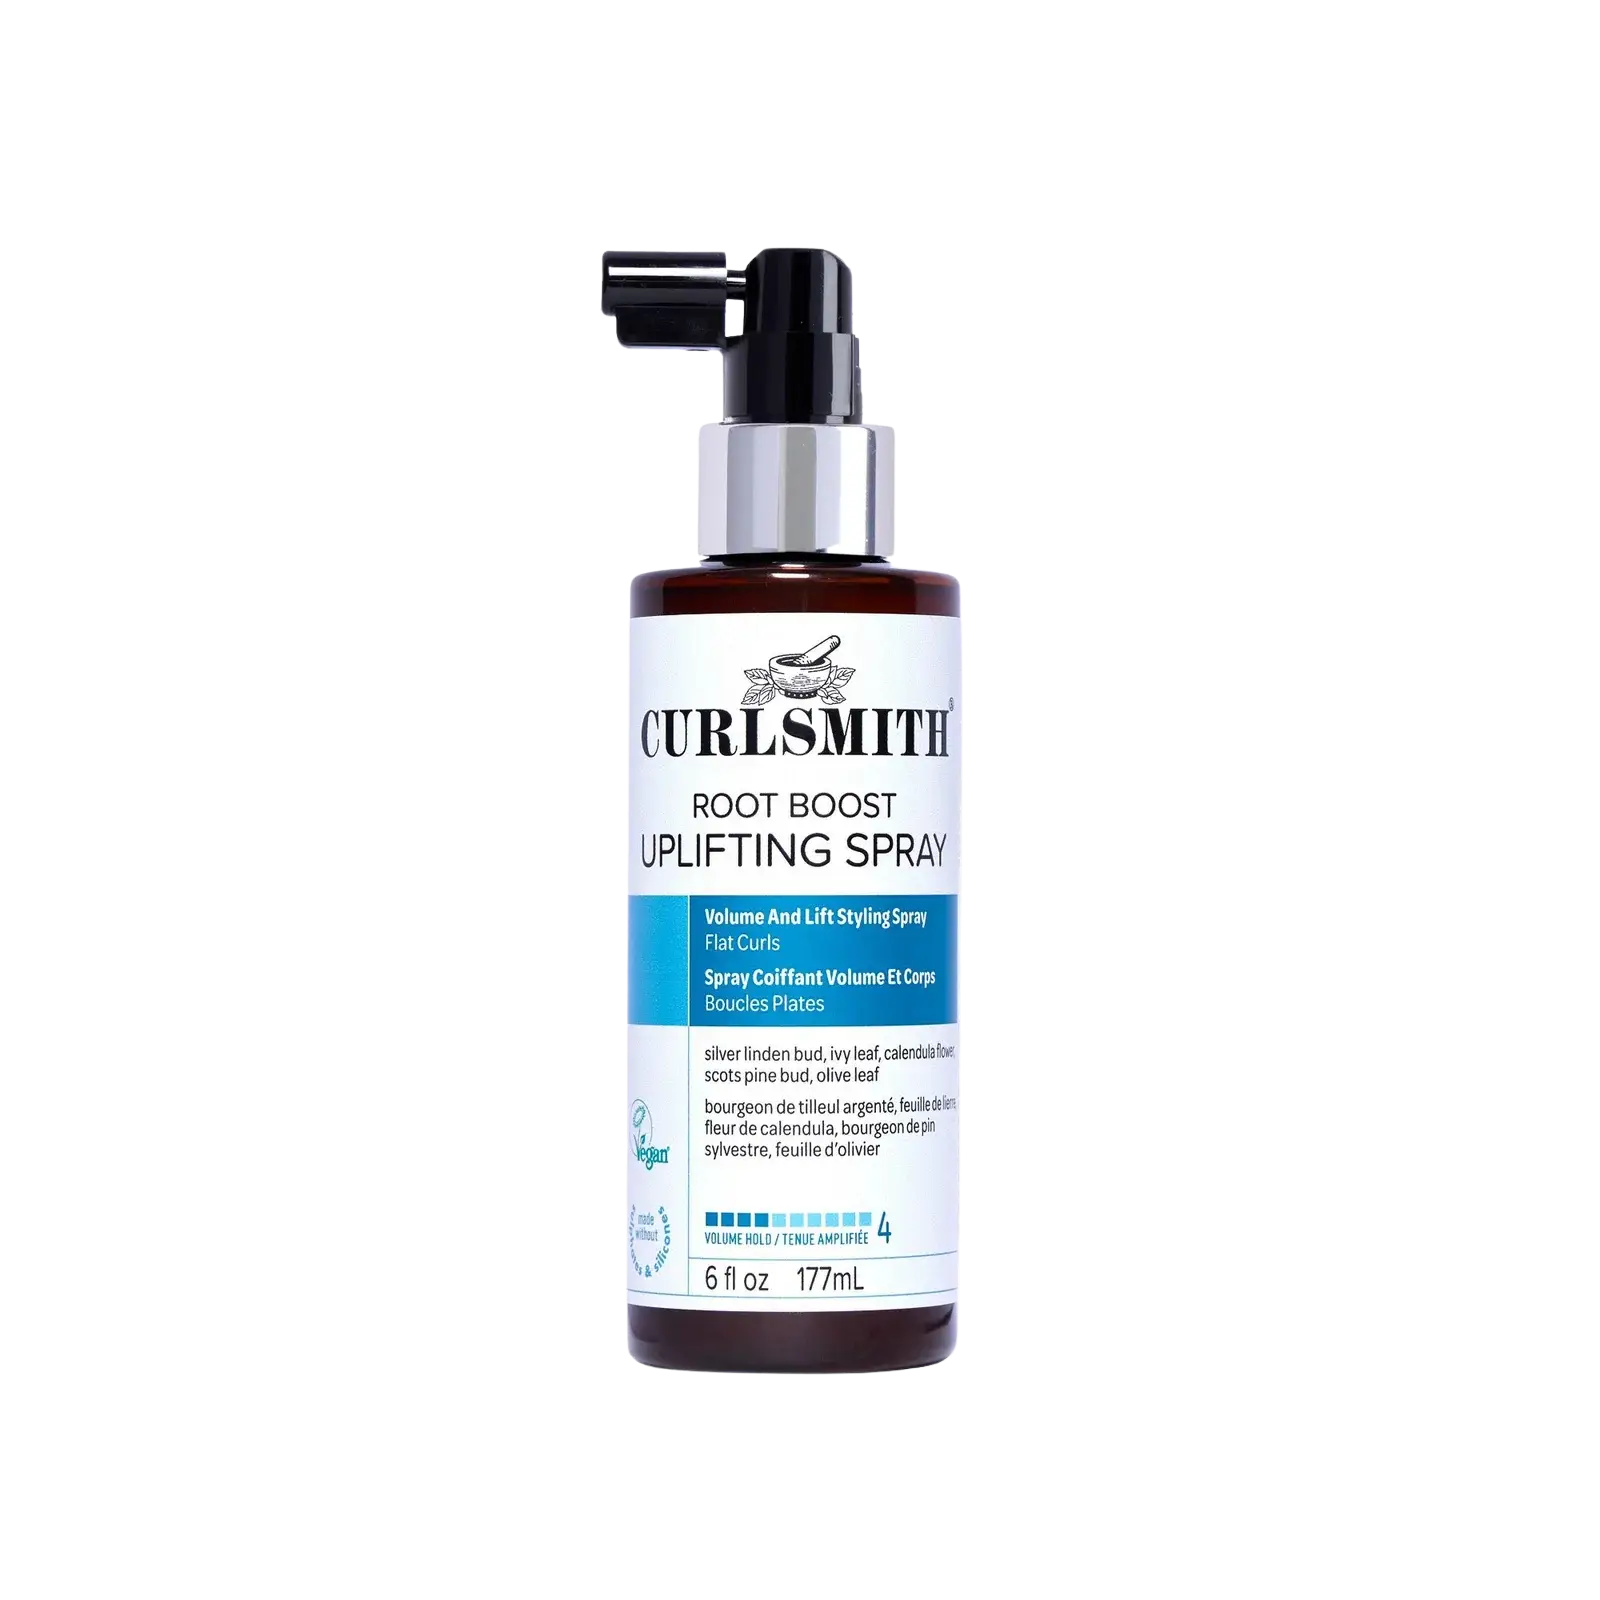
This new line contains 2 products for boosting volume, a spray and a lotion. The Root Boost Uplifting Spray which can be sprayed directly on the roots. It contains the same Plant-Based Stem Cell Complex which has a blend of Olive Stem cell extract and Linden buds for fuller, thicker curls. It’s nice that this product is not sticky or greasy feeling.
Most volumizing sprays create too much texture that doesn’t feel great on the hair, but this one does not give that feeling in the hair.
The lotion is going to give an even softer feel while still enhancing volume.
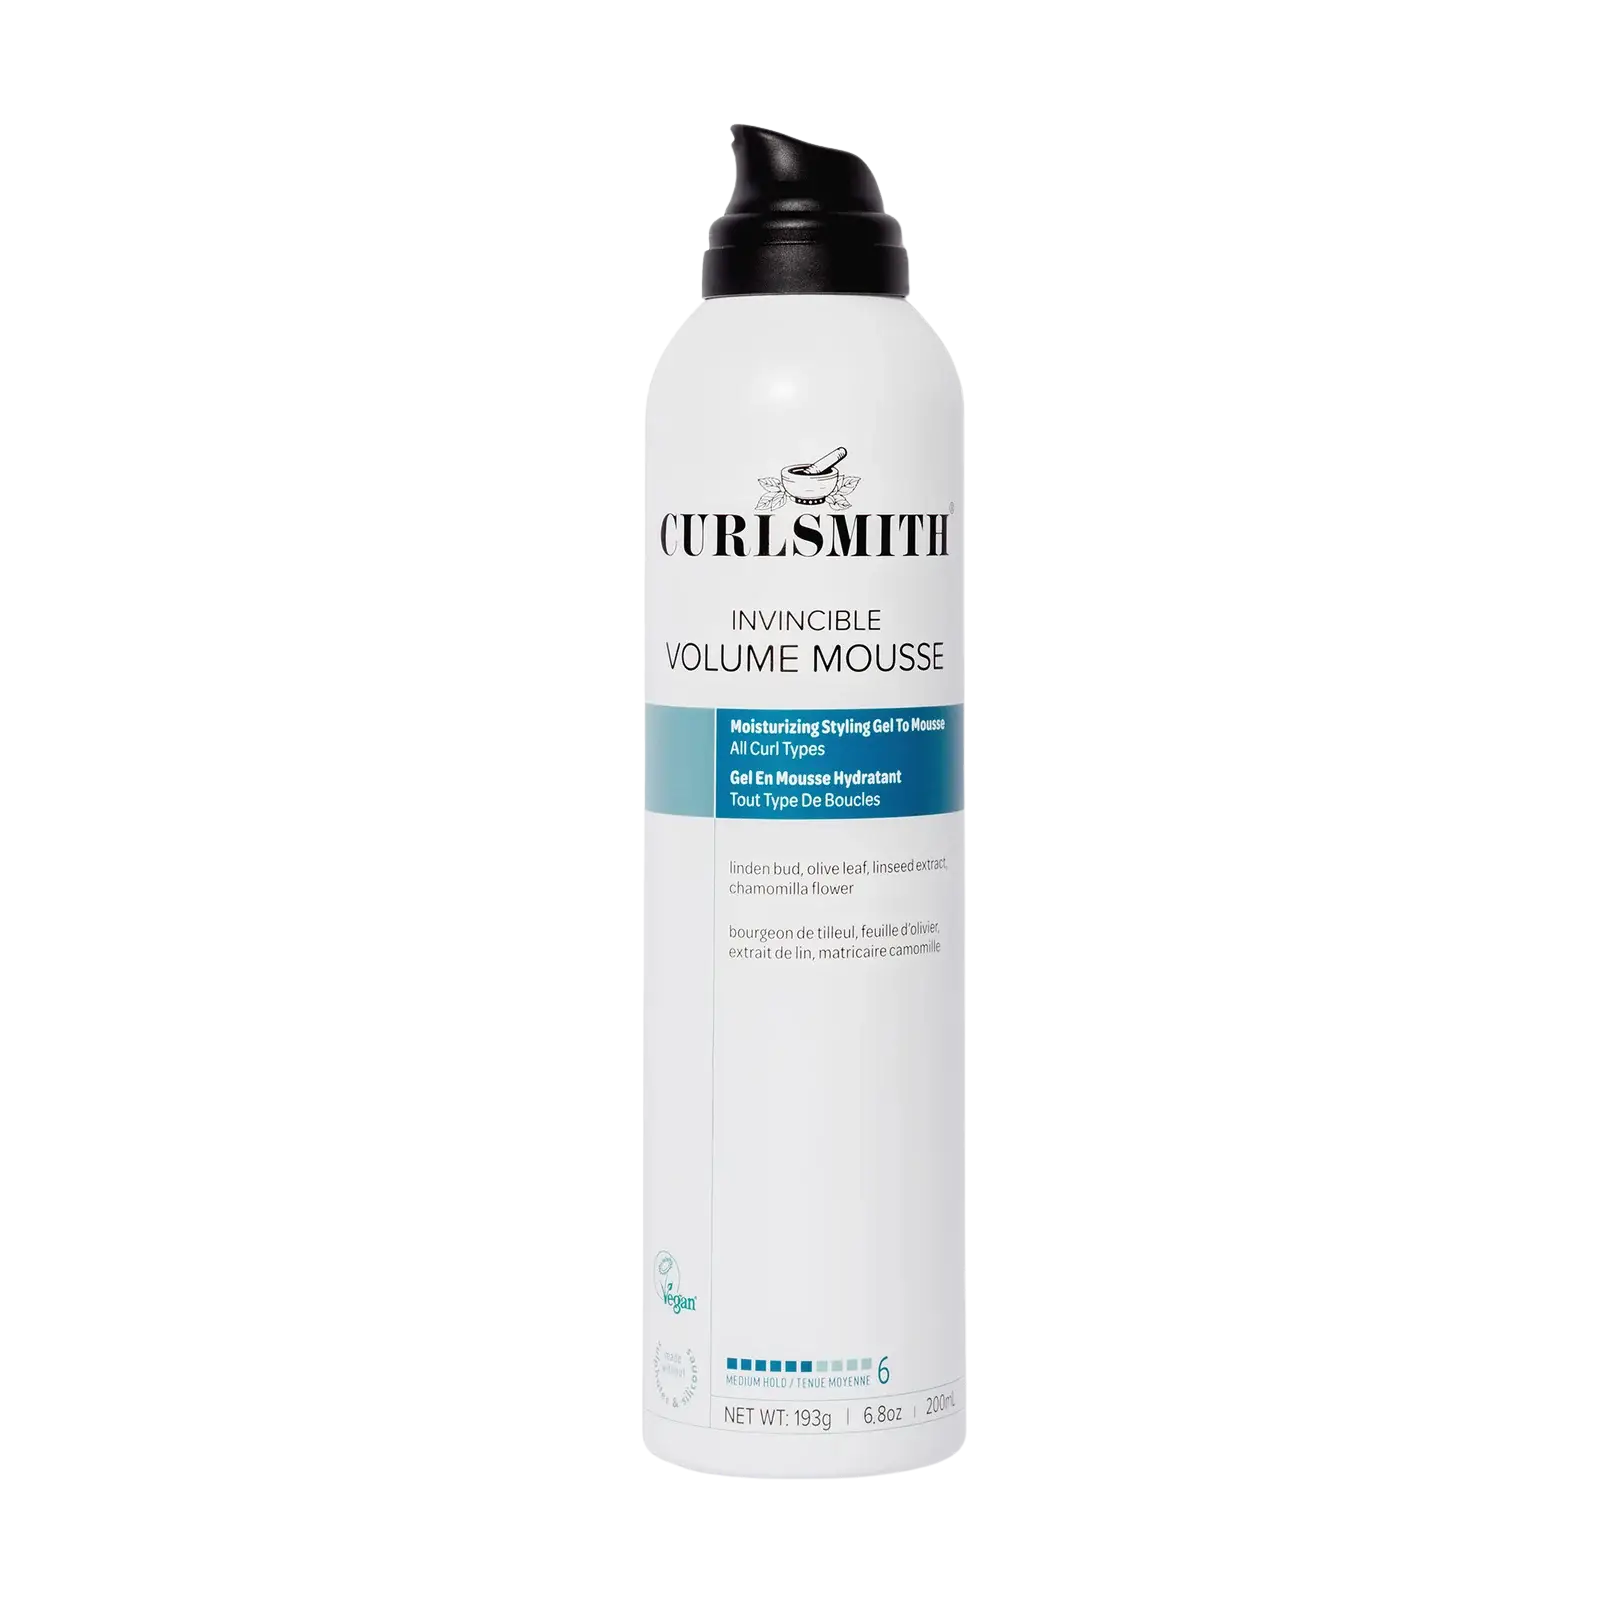
Now for the star of the show, the new Invincible Volume Mousse. You need some type of styler that will hold your curls so they last all day. Products with hold usually include a gel or a mousse. Usually I go with gel, but mousse can pack more of a punch when it comes to volume because of the airy consistency and how it expands.
This is a gel-to-mousse formula that has a level 6 hold. It creates soft, long-lasting volume and definition. I love how this is a moisturizing formula with Ivy Leaf and Camomilla Flower. A lot of mousses tend to be more drying on the hair but this one is moisturizing.
Styling techniques can really amp up the volume and give you control over your results. You could just scrunch your hair and go straight to diffusing, but doing some styling techniques can enhance your root volume and help your curls last longer.
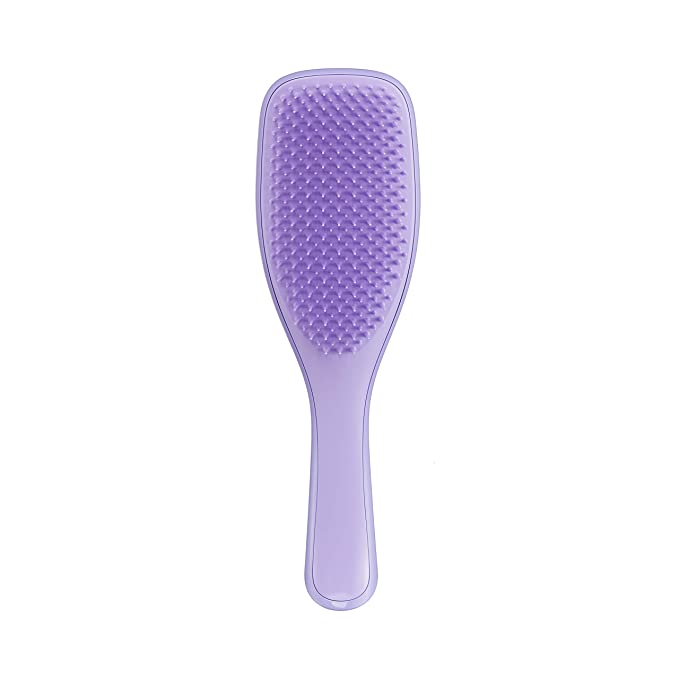
I like using a brush because it helps to smooth frizz and enhance the curls. Usually I will brush style before applying mousse but this mousse is moisturizing and has slip so I’m able to brush style with it in my hair. Having it already in my hair will help control the frizz more because there’s a more even coverage.
If you dont have a ton of frizz and want even more volume, brush style first then scrunch in your mousse.
To maintain more fullness, make sure you’re not overclumping your curls. Brush styling clumps and defines the curls, but you’ll just want to separate them after using your fingers or a wide-tooth comb. The smaller the curl clumps, the more fullness you’ll have.
Pick up a section around the crown area and brush it straight up. Angling the hair up and back is going to create lift at the roots. Turn your brush right at the root to really curl the roots upwards.
Avoid a straight, defined part and go for a messier part for more root lift on top.
When it comes to your part, the way your hair lays is going to impact your volume so much.
Going for more of a no-part look will create height. I continue with horizontal or diagonal sections along the top.
Once I get towards the front, I like to leave just a little 1-2 inch part so that my hair doesn’t fall in my face.
This simple tip makes such a difference if you have low-density hair and you struggle with your scalp showing. Flip upside down after brush styling and gently shake out your roots from underneath. Be careful not to create too much frizz, but this will break up those section lines at the scalp so they don’t show, leaving the clumps on the lengths intact. Use a handheld mirror to check the back.
Flip upside down or to the side after brush styling and gently shake out your roots from underneath. This will break up sectioning lines and ensure the scalp is not exposed.
Scrunch with your hair towel or just your hands, then add a bit more mousse for extra hold if needed. Then you’re ready to diffuse.
Diffusing is critical if you want to creat volume and lift.
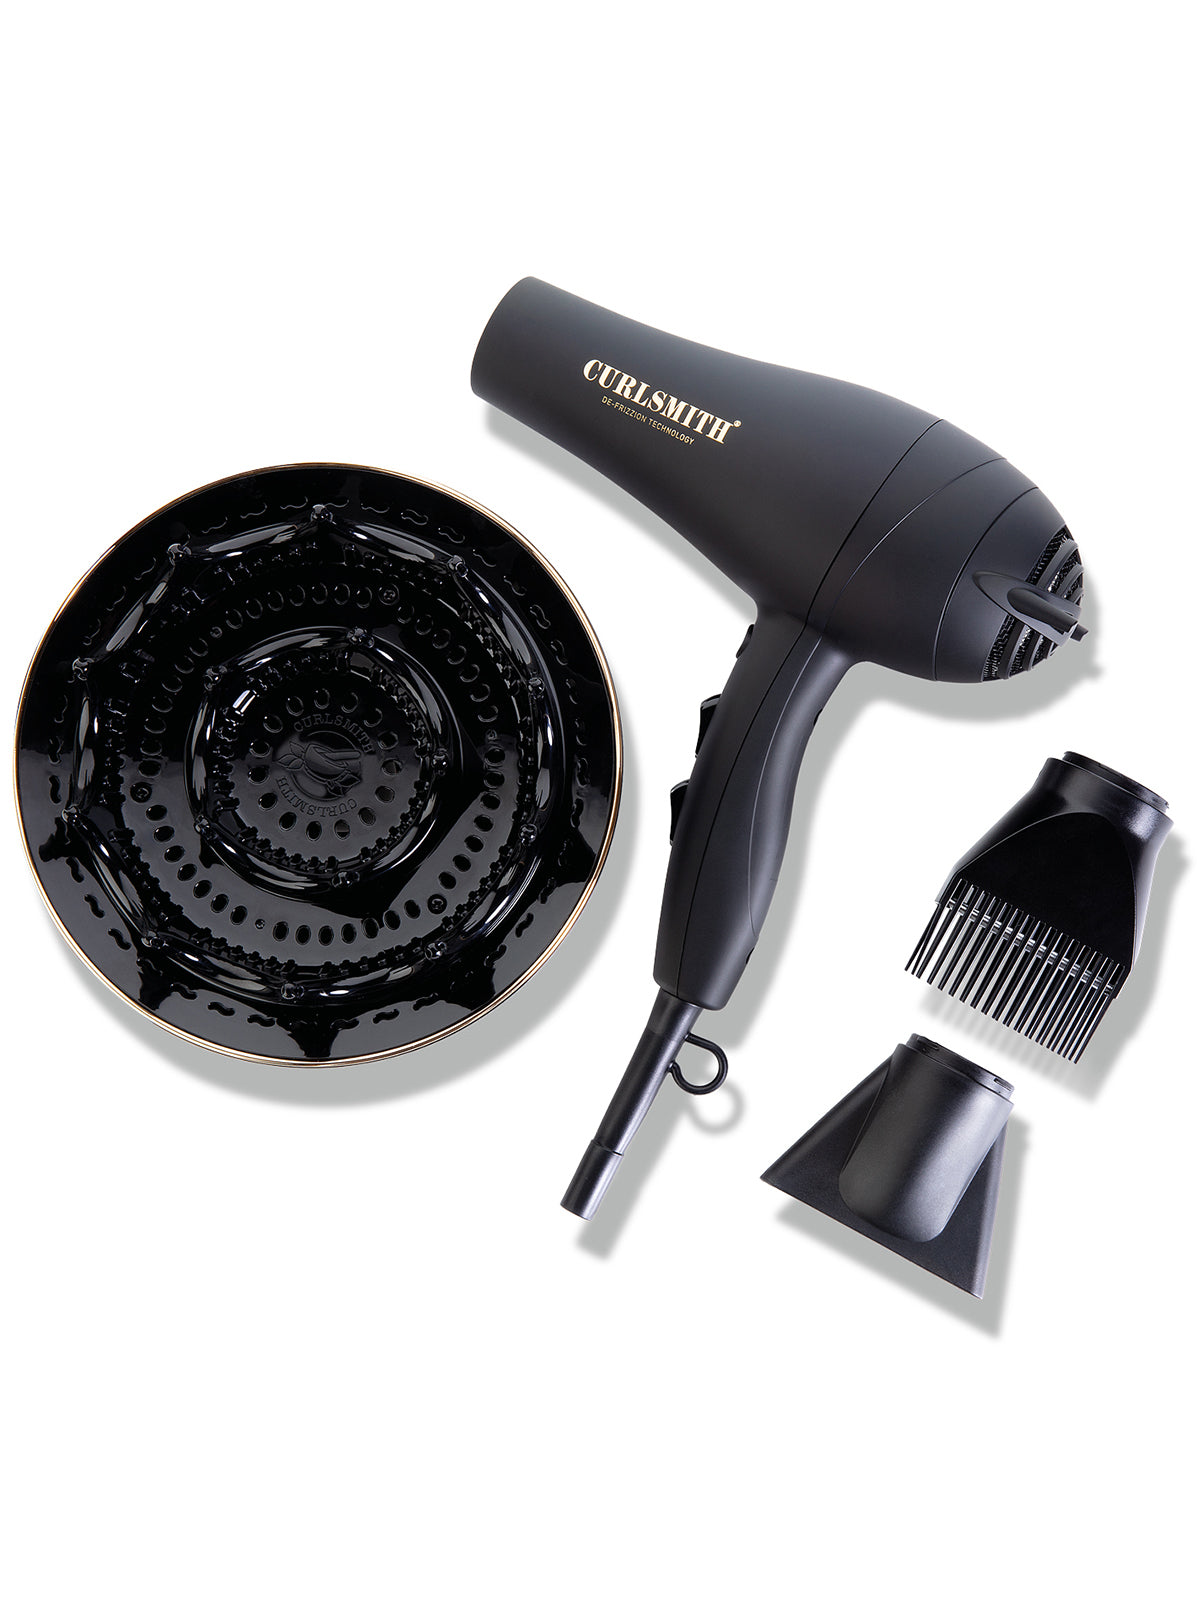
The Curlsmith Defrizzion hair dryer with the XXL Diffuser attachment has the perfect prong design for creating root lift.
Start with your hair flipped upside down so the roots begin to dry away from the scalp.
Switch to diffusing upright once you’re ready to start scrunching your hair with the diffuser.
Flip the hair to each side as you go for more lift.
Use the diffuser prongs to lift the roots up and hold. This makes the biggest difference in create root volume. Did you know our hair will set in place with heat? This is why diffusing can help give you more defined root curls that last. The hair gets set into it’s shape right away.
If you don’t have time to diffuse the whole way, just diffuse for part of the way and then finish air drying.
I usually will diffuse all the way but I still like to let my hair sit for at least 15 minutes or so to cool before I fluff.
Then I flip upside down to shake out the roots with dry hands. This creates instant volume.
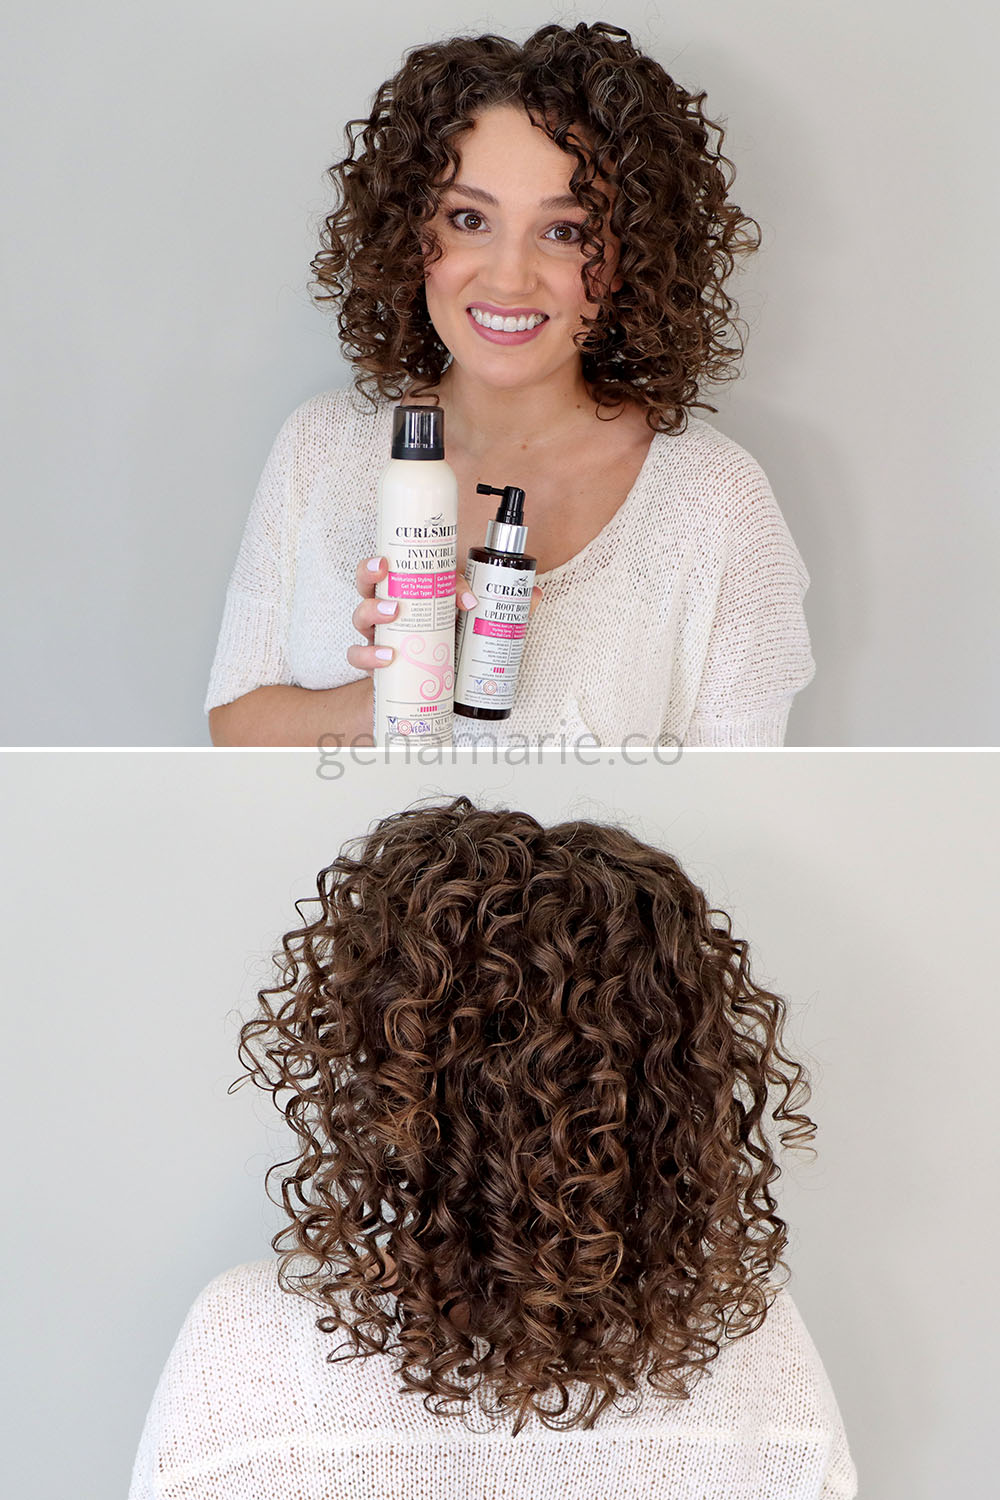
Can you believe this volume!? I don’t think I have ever seen this much volume in my hair that holds after fluffing it. I somehow managed to maintain definition and clumps while getting fullness throughout. That’s a hard combo! The products left a texturized “gritty” feeling in my hair which can be helpful for those who have overly soft, fine hair. For those with coarse hair, this may not be ideal. I think this was from me using too much mousse. A little definitely goes a long way. I like a softer feeling in my hair so I need to use less mousse.
In the video above, I share my day 2 results before and after a very light touch-up/refresh. My results looked great on day 2 before refreshing and I had volume still. I did have a texturized feeling in my hair which is likely from using too much mousse. I have tried this routine again using less mousse and I got great volume and less of a texturized feeling.
What do you think? Let me know below. I would love to test these products out individually next to see how much of a difference they make on their own, so let me know if you want to see more of that.

If your curls are still frizzy and not lasting even though you’ve been doing everything you were told, the advice might be the problem. These

Your styling technique could be the reason your curls are drying flat, stretched out, and stuck to your head — not your products, not your
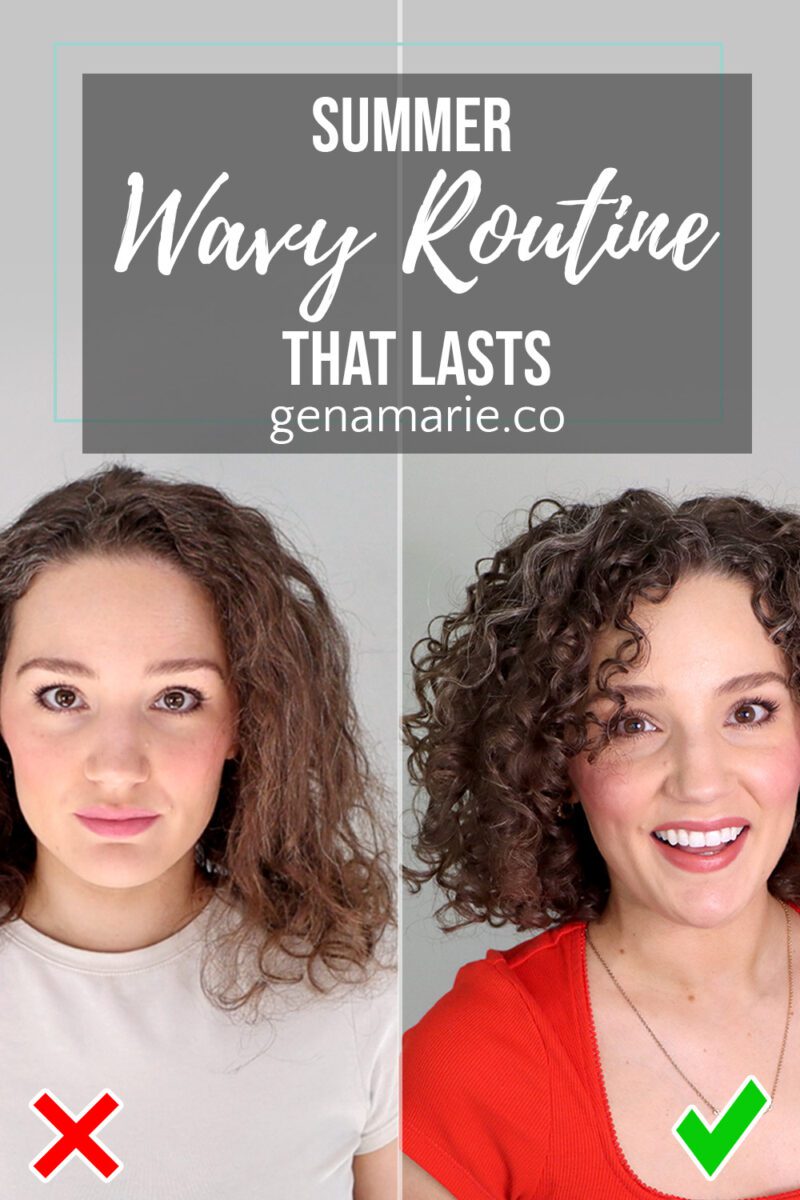
If your waves or loose curls fall flat every summer — losing definition by midday, never lasting past wash day — this routine is built
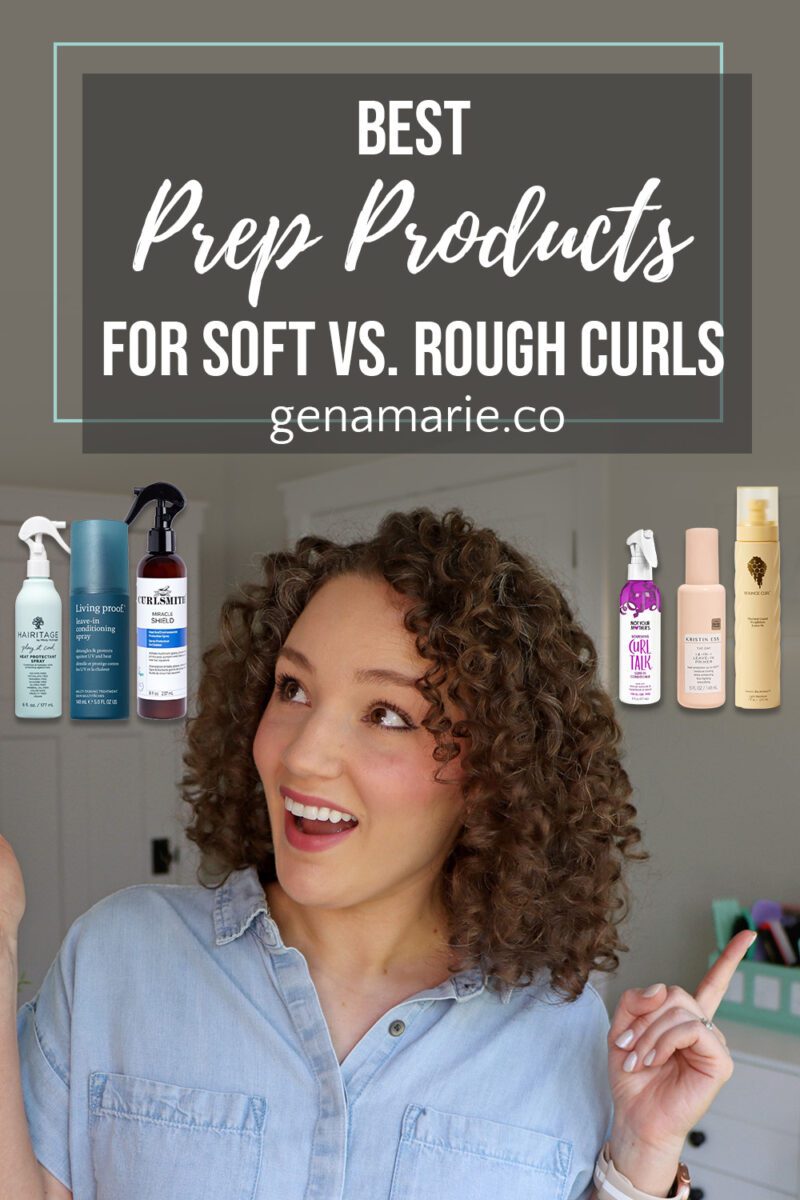
Are you using a heat protectant in your curly hair routine? If you’re diffusing or planning to be in the sun, you probably should. But
One Response
I have, thin, fine, wavy (maybe curly) low porosity bleached hair. I’m so overwhelmed on which products to use. I’ve tried so many. Getting so lost and not feeling successful. What’s a beginner line?