


How to Style Curly Hair for Volume Using the Curl Stacking Method
Your styling technique could be the reason your curls are drying flat, stretched out, and stuck to your head — not your products, not your
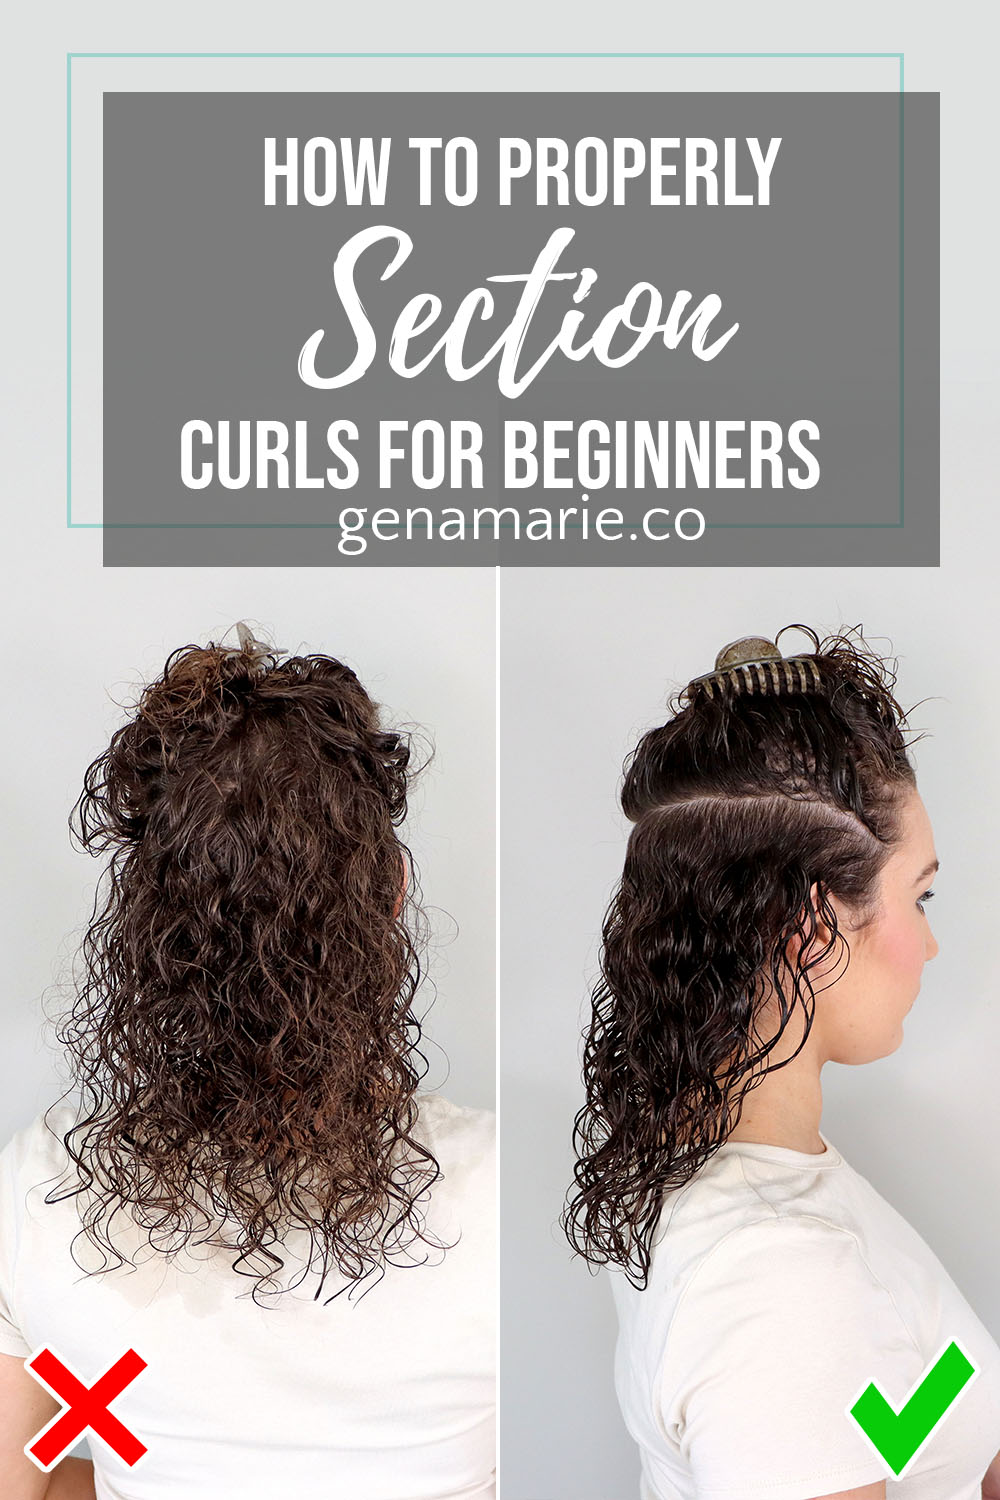
Did you know how you section when styling your curly hair, or not sectioning at all, can impact your results?
I’m sharing a beginner-friendly, step-by-step demonstration of how to section to prevent tangles, webbed frizz, and get more curl definition.
Sectioning is a technique that involves splitting your hair into multiple parts to apply your styling products and/or style your curls such as brush styling or finger coiling.
Start with my clean towel-dried hair, and spray a heat protectant. Mist your hair with water to ensure it’s evenly wet. I like to have a mister spray bottle on hand because my hair will dry as I’m styling and you need it to stay wet.
If it starts to dry, it will be difficult to properly section.

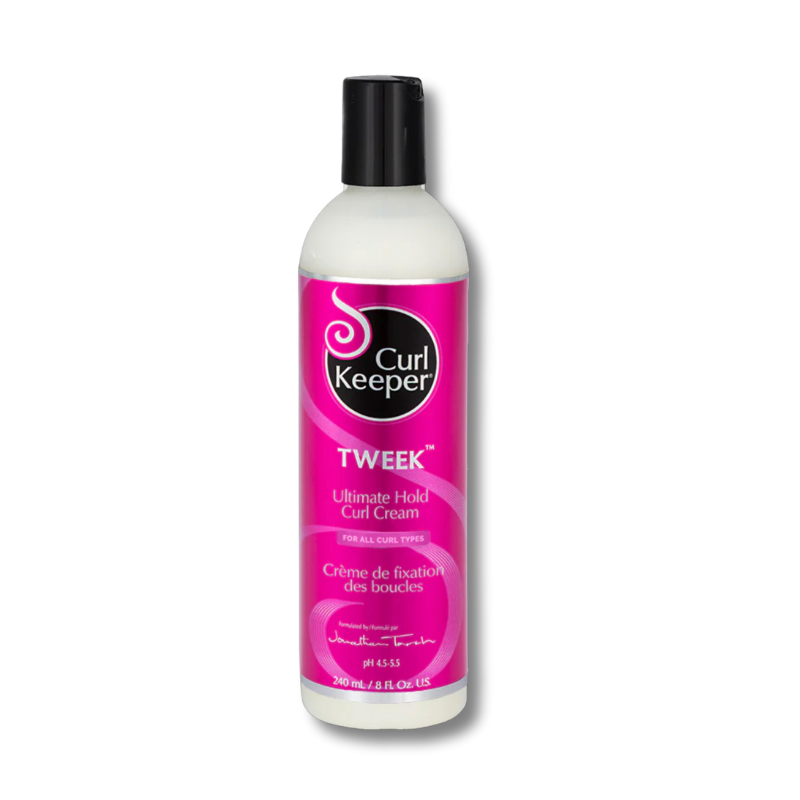
Slip is that soft, smooth feeling in your hair that makes it easy to detangle and brush through. I prefer using a curl cream, but you could use a leave-in conditioner instead of a cream or in addition to your cream.
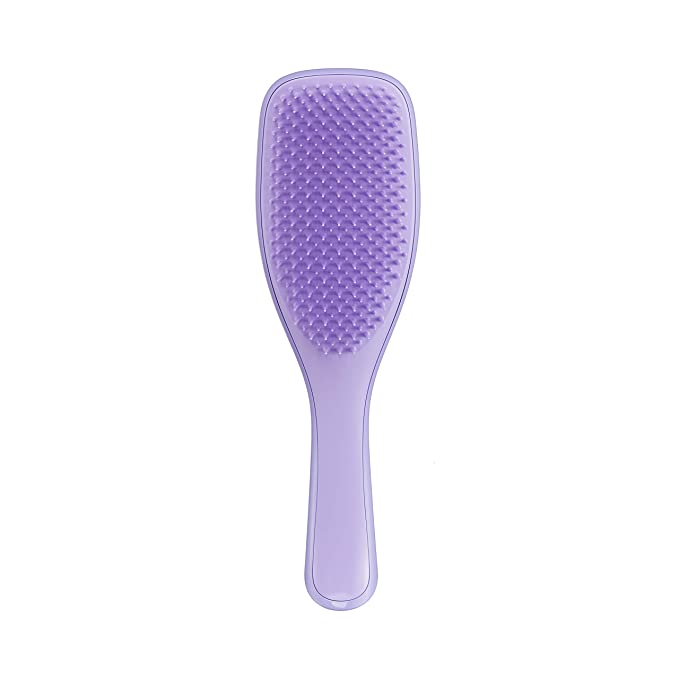
I like to apply my curl cream all over before I section because it helps me create sections easier when there is slip. I always brush through my hair to ensure it’s evenly distributed.
If your hair is tangled or not smooth, it will be difficult to create clean section lines. Brushing through will ensure your hair is smoothed out and ready for styling. Don’t worry about stretching out your curls because we’re going to do styling and scrunching to bring the curls back up.
After brushing, run your hands through your hair and lift it off the scalp. Creating this space at your roots will make it easier to create clean section lines instead of your hair being stuck to your scalp.
I prefer to start at the bottom and work my way up when styling. The number of sections you create will depend on your hair’s thickness. If you have very thin hair, you may not even need to section or may only need 1-2 sections. If you have thick hair you will need more sections. I create about 3 sections, a lower, middle, and top. I also split the top into 2 just to be able to style the hair in different directions for my part, so I guess it’s technically about 4 sections.
Start by your hairline, using 2 fingers on each side of your hairline. Ensure your fingers are on the scalp, underneath the hair. Glide your fingers back until they meet behind your head. As you glide back, carefully press against your scalp to ensure you stay under the hair. If your fingers start to lift, you will end up missing pieces of hair and it won’t be a clean line.
Once your fingers meet in the back, continue with one finger towards the other side so you’re able to grab the top section in one hand. Place your other hand inside the gap and gently separate the hair into sections.
You can also use a pointed end of a comb instead of your fingers if you want, but I find that difficult to go all the way around the head unless you use two.
Watch the video above for a visual demonstration of sectioning clean lines.
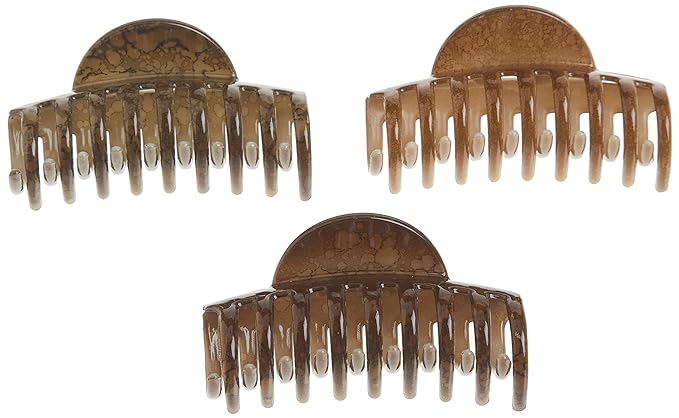
Comb through the top section, lifting it up. Twist it gently and secure it with a claw clip. I prefer claw clips because they are sturdy and they don’t snag like alligator clips. They also hold the hair up securely.
Ensure there is not any hair from the top that is dropped down over the bottom section. This is key because hair drooping down is what causes snags when you’re raking your hands through or brush styling.
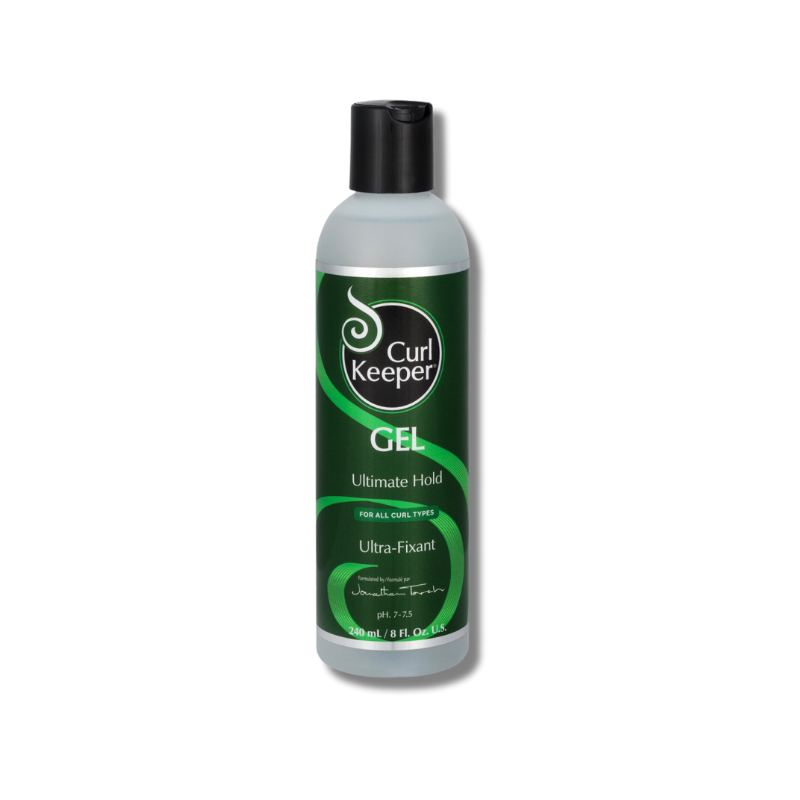
Apply your gel in sections for more even coverage which results in less frizz, more definition, but potentially less volume. I’m going to share styling techniques in the top section for more volume.
I also like to apply my gel before I brush style for more coverage. This may also reduce your volume however you’ll have less frizz. If your gel is too thick or sticky to brush through, apply it after brush styling. However, I don’t usually use those types of gels since they’re hard to apply.
I’m not super precise when picking up sections to brush style, however, if you’re struggling with it you may want to pay attention to the section line.
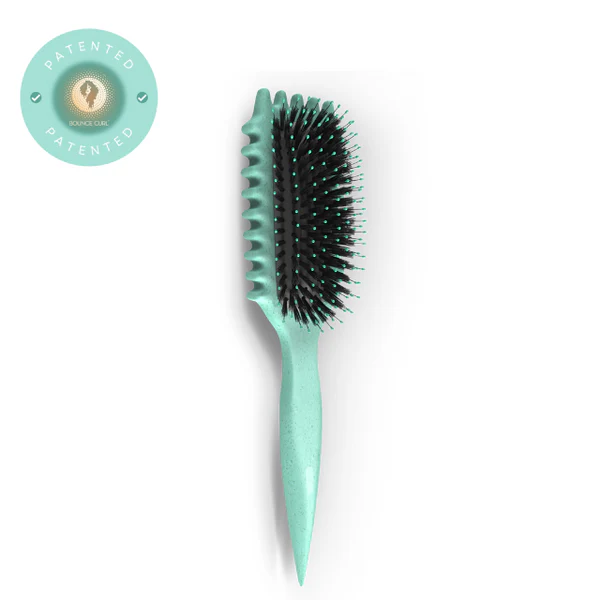
The Bounce Curl brush makes it super easy to pick up clean sections because it has a pointed end.
You just want to make sure that you’re not picking up sections that are too large and wider than your brush.
I usually pick up vertical sections but there are some places where I’ll do horizontal like on the top to direct the hair at the crown back.
When you finish a section, clip it away with another clip to avoid accidentally grabbing it when styling the next section. As long as your hair is wet, it won’t mess up the curls that you just styled. We will be scrunching at the end which will bounce everything back up anyway.
Once I get to the top section, I prefer horizontal sections to better cover the scalp and create volume. For the front section, I brush my hair straight up and see where the curls naturally want to group and then create my part. When brush styling the very front sections, I create vertical sections and do more precise brush styling.
This trick makes the biggest difference if you struggle with your scalp showing from section lines or just from having thin hair. Once you’re done styling, flip upside down or to the side and very gently shake out your roots from underneath. This breaks up those section lines where the hair was split apart and helps cover the scalp.
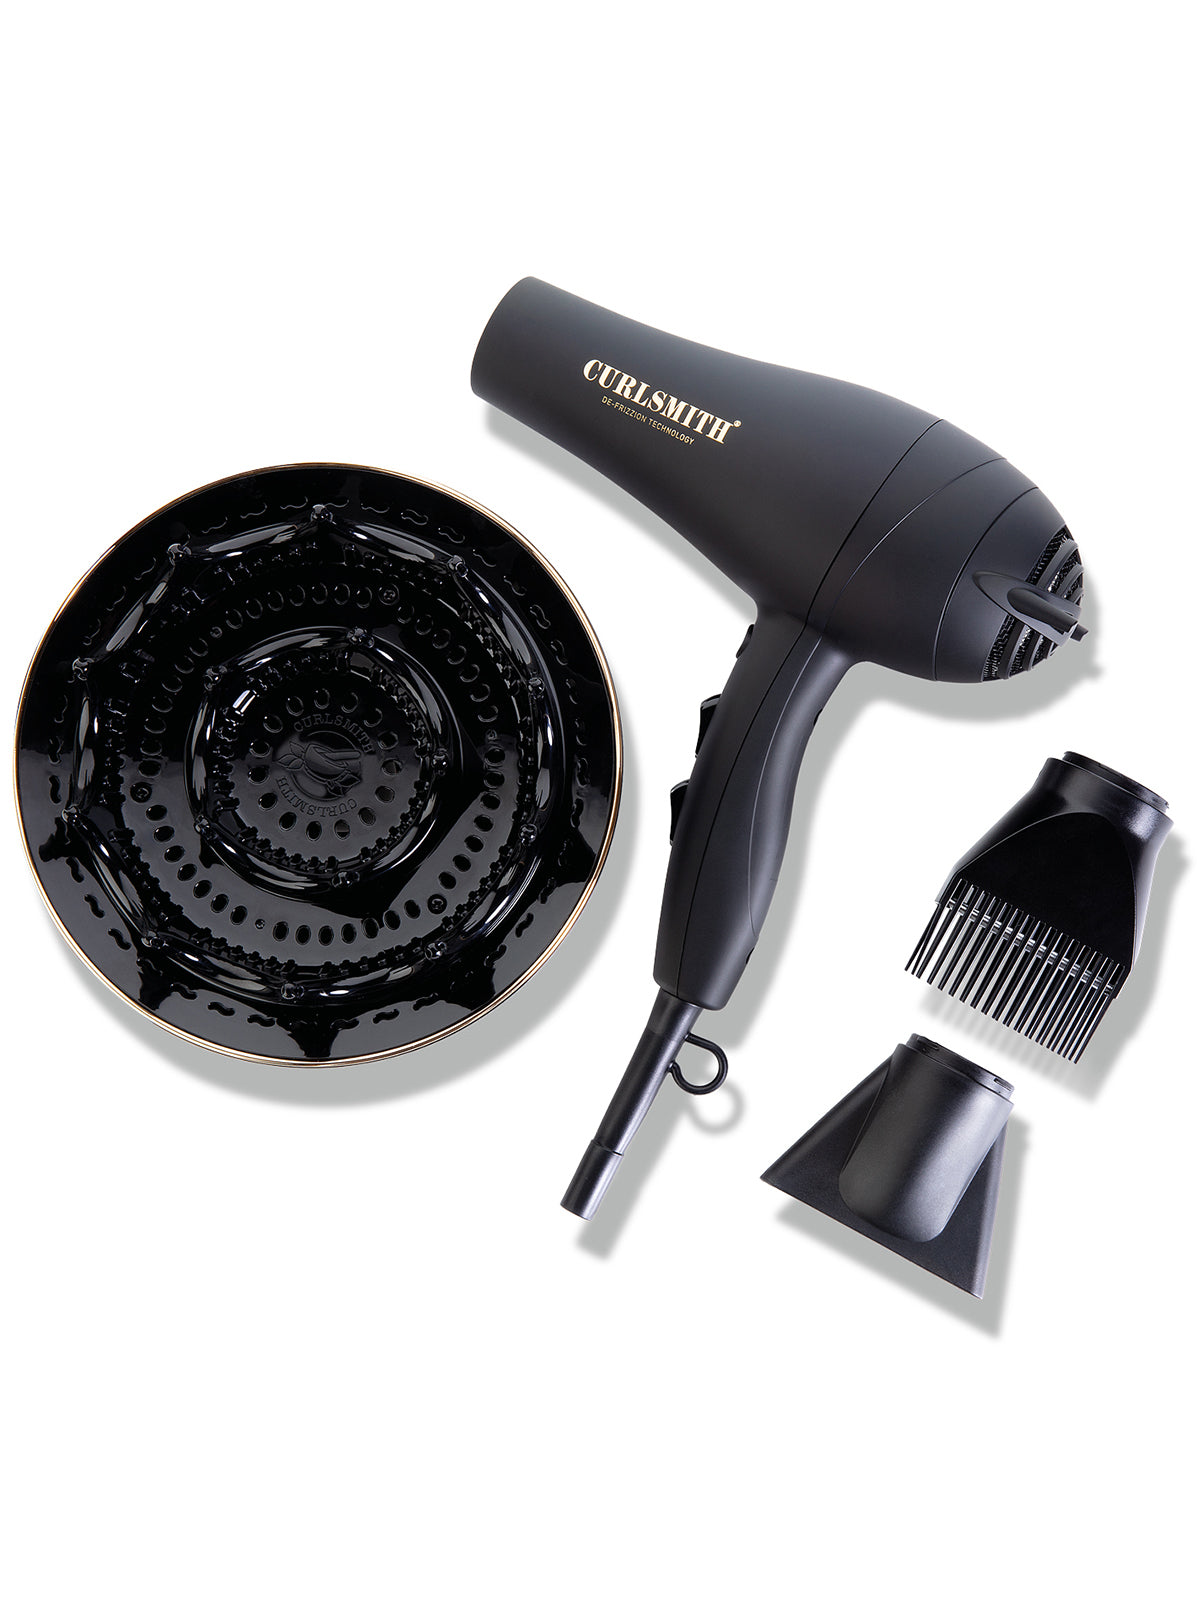
I prefer to diffuse over air drying because it helps to set the curl shape and volume, especially at the roots.
Sectioning while diffusing is not necessary when using the Curlsmith Defrizzion diffuser because it’s so large that it will capture most of your hair at once.
If you have a smaller diffuser, move slowly from section to section and avoid completely drying a section all at once.
Once my hair is completely dry, I fluff the roots and scrunch out the cast for a fuller look.
With sectioning, my hair has more definition, frizz control, and root volume. Sectioning does take a bit more time but my results last much longer, saving me time in between wash days.
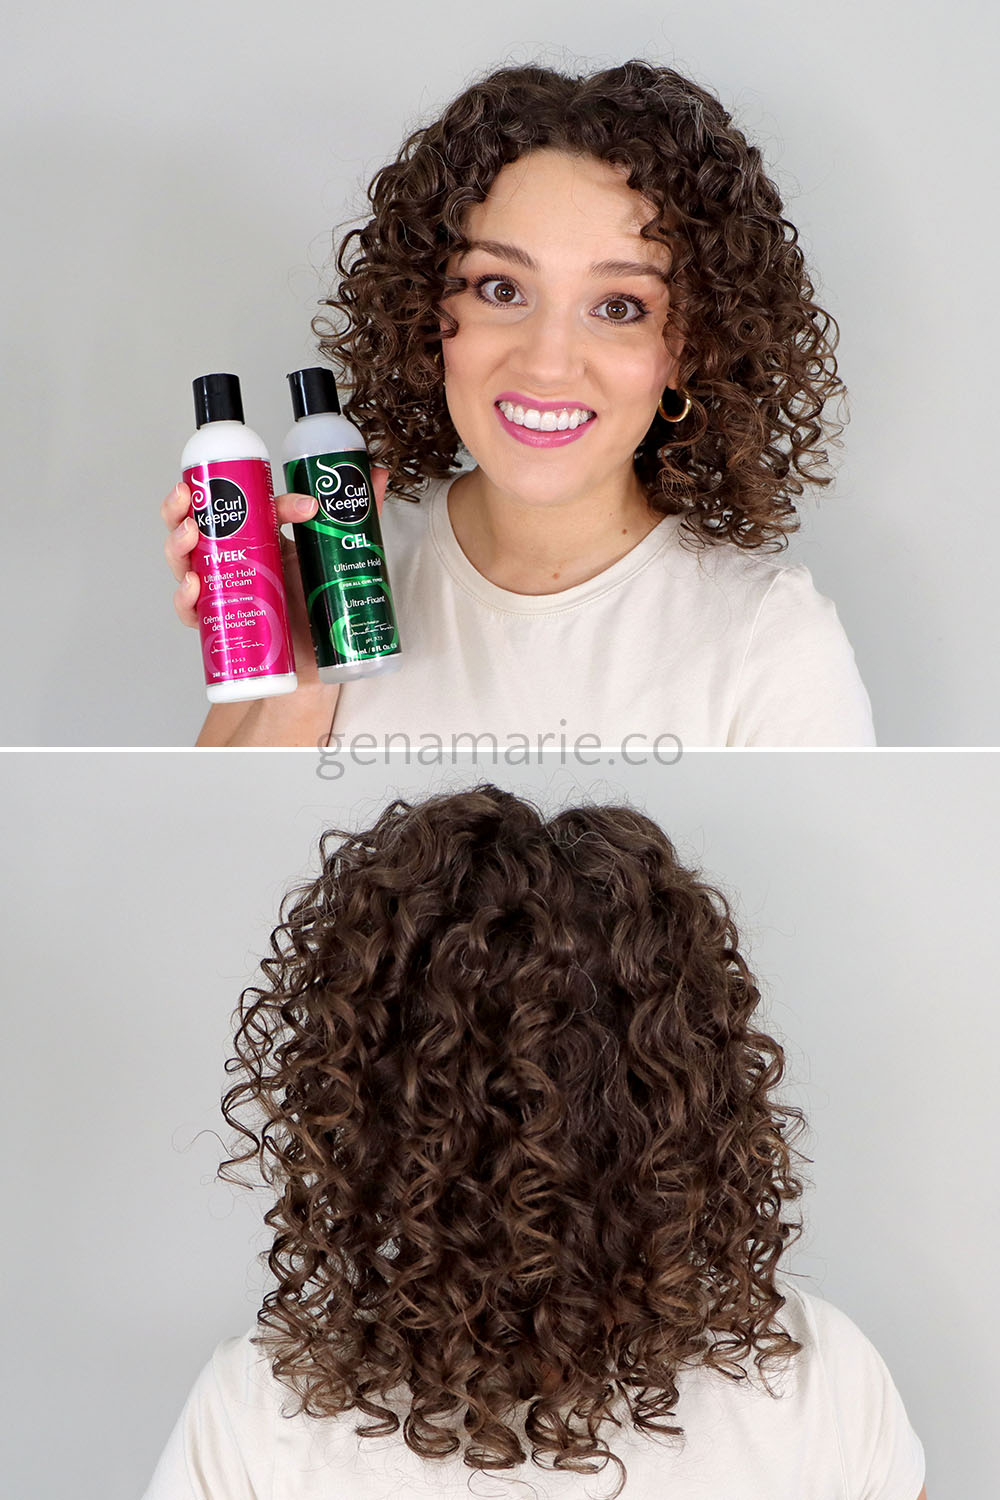
In terms of the styling products used, this Curl Keeper combo is great if you like strong hold like me and if you need something lightweight. I have a ton of definition and volume. The only downside is my hair starts to feel a bit dry and texturized by day 2-4. However, if you have fine hair I think they would be great. Have you tried either of these products?
If you try out any of these sectioning tips next time you style, let me know how it goes!

Your styling technique could be the reason your curls are drying flat, stretched out, and stuck to your head — not your products, not your
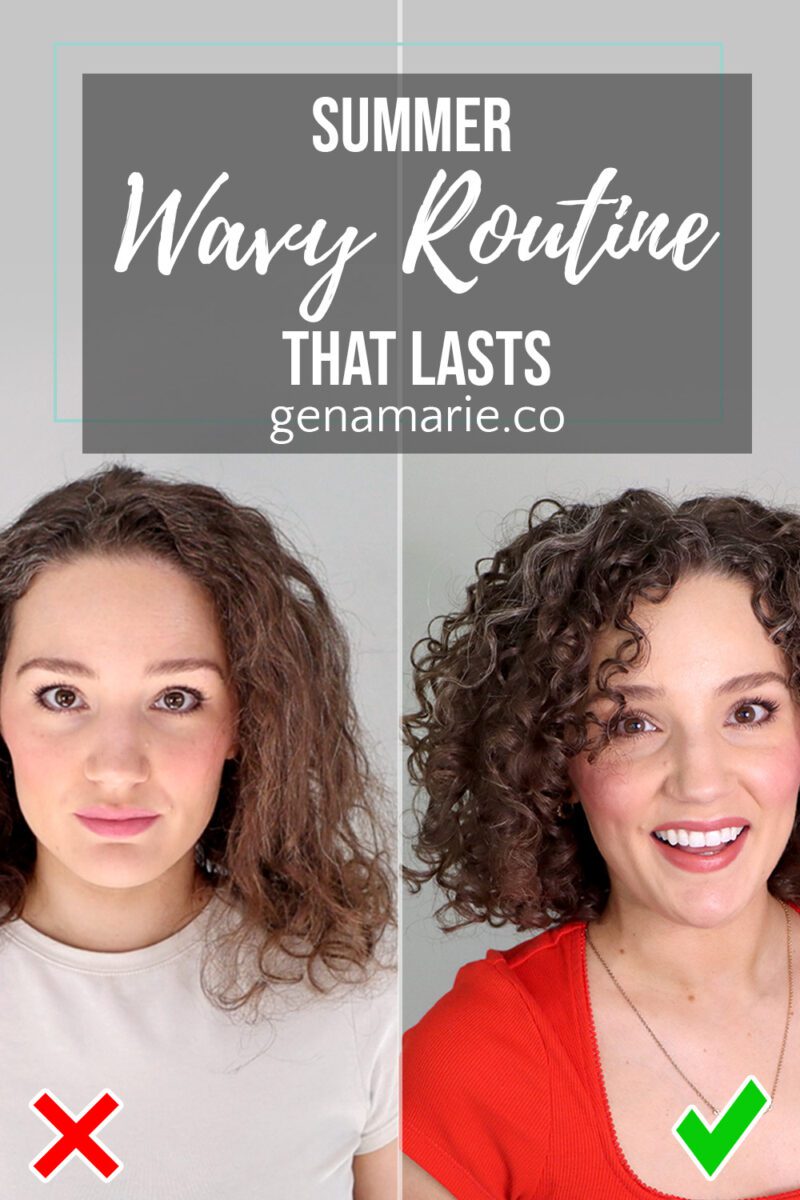
If your waves or loose curls fall flat every summer — losing definition by midday, never lasting past wash day — this routine is built
Are you using a heat protectant in your curly hair routine? If you’re diffusing or planning to be in the sun, you probably should. But
You read the reviews online. One person says a product completely changed their hair. Someone else says it’s the worst thing they’ve ever tried. And