


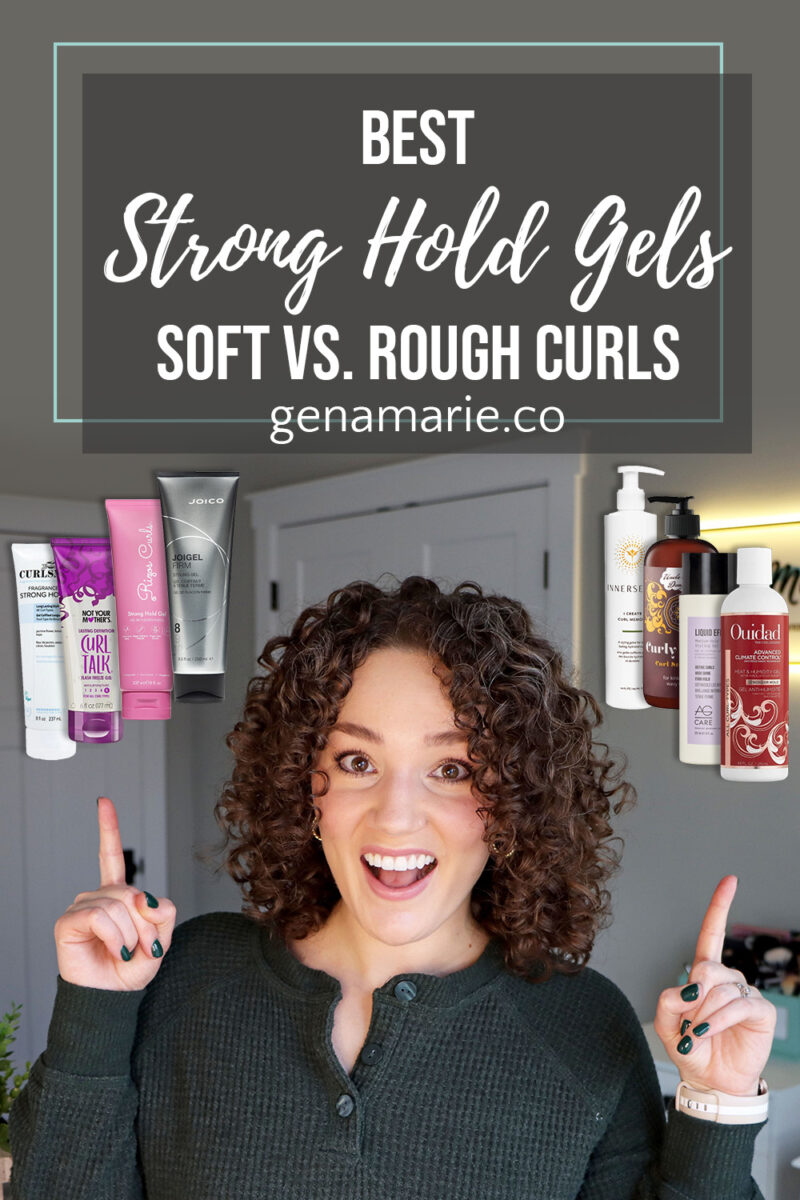
Best Strong Hold Gels for Curly Hair | Soft vs. Rough Finish
If you’ve tried “strong hold” gels but your curls still don’t last, you’re not alone. Strong hold isn’t one-size-fits-all. Some gels are higher in texture
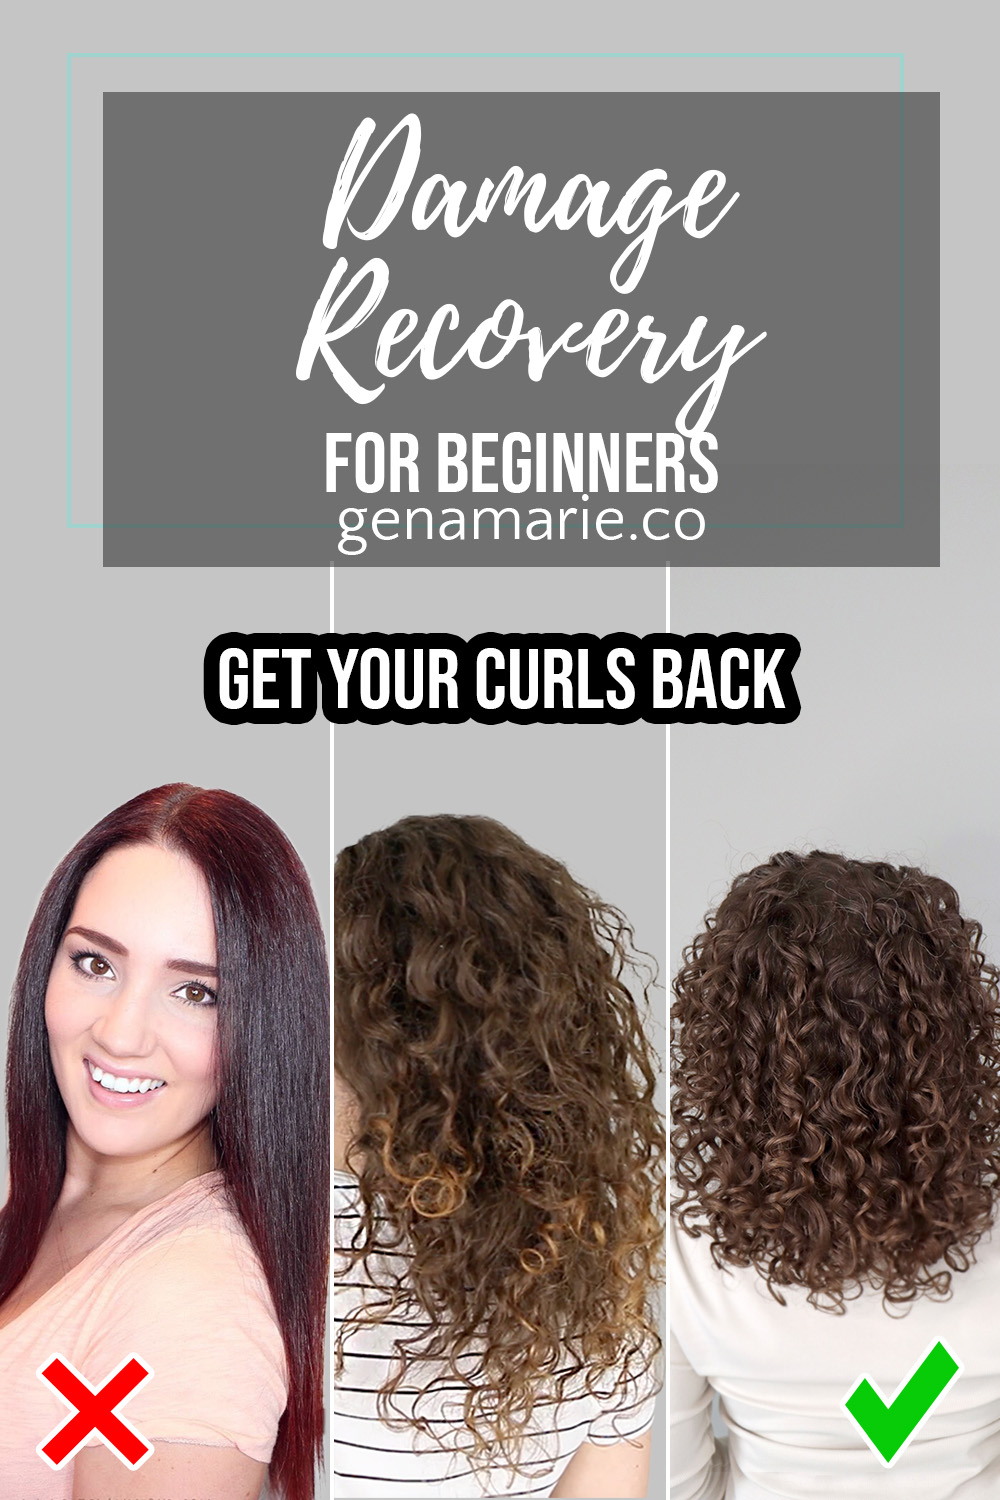
If you’re trying to wear your hair curly and you feel like you’re doing everything right but your hair still doesn’t look how you want, you’re not failing — you’re just starting from damage or curl memory loss.
Most people who are new to wearing their curls aren’t starting from fully intact curl structure. They’re coming from years of heat styling, chemical treatments, hiding their curls in tight ponytails, or simply not wearing their hair curly consistently. That changes what your hair can realistically do right now.
As a curl coach, this is something I see with clients all the time. Recovery isn’t about doing more or overhauling your entire routine. It’s about knowing what to stop so you’re not delaying progress — and what to start so your hair can actually improve while it grows out.
This post is part of my Beginner Curls Series, where I break down what actually matters so you can stop feeling stuck and start seeing progress.
If you straighten your hair every time you get frustrated, you’re constantly resetting the process.
This applies to obvious heat damage, but it also applies to curl memory loss. Hair adapts to how it’s styled. If it’s been blown out, pulled back tightly, or worn straight most of the time, it may not respond immediately when you switch to curly styling.
Curl memory improves with repetition.
When I was in this awkward middle phase, I was fully refreshing daily because my hair didn’t last, and I would go back to straight styles when it felt easier. My curls didn’t start improving until I committed to wearing them curly consistently and stopped switching back and forth.
Consistency gives your hair a chance to show you its real potential.
As a curl coach, I see this transformation all the time once someone stops switching back and forth.

Damaged ends don’t just look dry — they behave differently.
They tangle more easily, feel rougher, struggle to hold definition, and create frizz at the perimeter of your style. Even a few inches of compromised ends can impact the entire result.
Split ends travel upward. Waiting too long between trims allows damage to move higher up the strand.
You don’t have to cut everything off at once. But trimming regularly — and cutting off as much as you can realistically tolerate — makes the grow-out phase significantly easier.
When I slowly grew out my highlights, I held onto damaged length for too long because I didn’t want to lose it. It made styling harder than it needed to be.
Wash day is where a lot of damage quietly happens.
Hair is most fragile when it’s wet. Going straight to shampoo on tangled hair increases friction, and shampoo slightly lifts the cuticle, which can tighten tangles if they’re not removed first.
Remove tangles before cleansing. You can do this in one of two ways:
Option 1: Detangle in the shower with conditioner
Option 2: Use a lightweight oil before washing
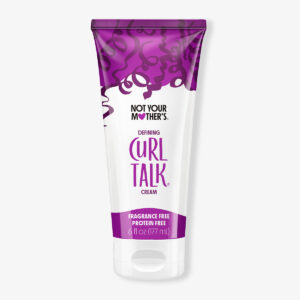
Not Your Mother’s Curl Talk Strengthening Oil is a good drugstore option, but any oil will work.
This isn’t about adding more steps. It’s about reducing breakage during the steps you’re already doing.
If your hair is damaged from heat or chemical services, the issue is structural — not just dryness.
Deep conditioners:
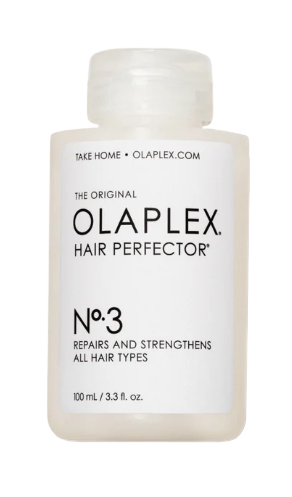
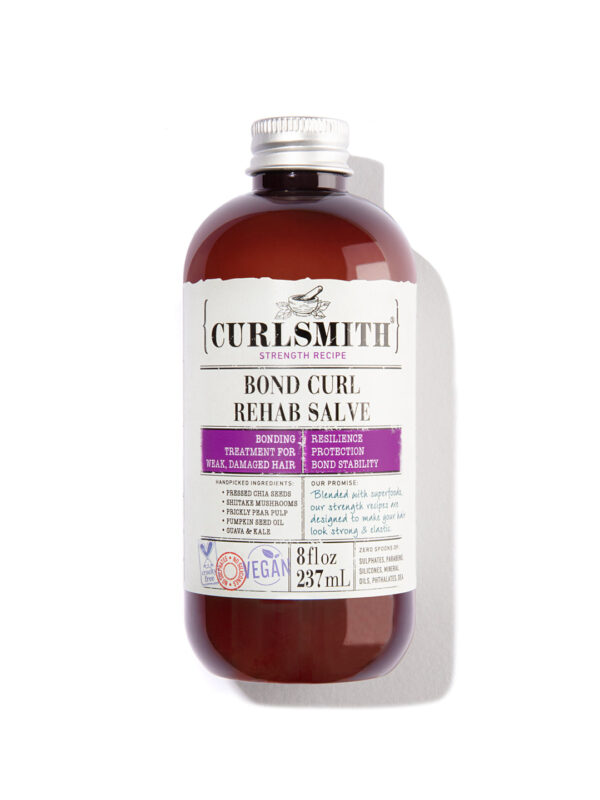
Bond-building treatments:
Olaplex No. 3 is used before shampooing on damp hair and left on to support internal bonds. Curlsmith Bond Curl Rehab Salve is another strengthening option that can support structure, especially when your curl pattern feels inconsistent. These are applied on WET hair and not used on the same day as pre-shampoo oil.
These treatments are not dramatic after one use. Weekly consistency is what supports gradual improvement. Recovery is incremental, not instant.
If you’re layering stylers, oils, conditioners, and treatments without clarifying, buildup can block progress.
Clarifying removes product residue and hard water minerals so your hair can reset.
Some of my favorites:
Clarifying gives your hair a clean foundation so your treatments and stylers can perform the way they’re supposed to.
It’s easy to assume damaged hair needs constant deep conditioning.
But softness alone doesn’t equal health. Overconditioning can make curls limp and harder to hold, especially if your hair is already naturally soft.
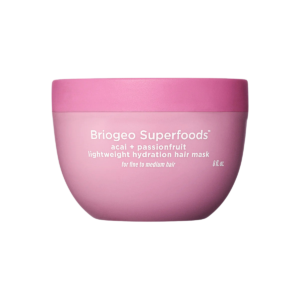
Condition after clarifying. If your hair feels truly dry or brittle, lighter masks like Not Your Mother’s Curl Talk Bond Building Mask or Briogeo Acai & Passionfruit Lightweight Mask can support softness without overwhelming the hair.
The goal is balance — not excess.
If you diffuse, you’re still using heat.
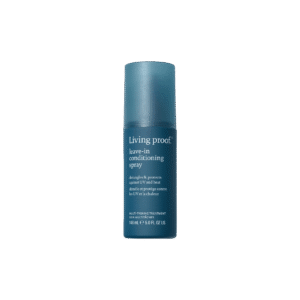
Curlsmith Miracle Shield is a lightweight spray option that provides heat (and UV) protection. Not Your Mother’s Curl Talk Leave-In is another simple prep option that gives slip and protection in one step.
You don’t need multiple prep layers. Keep it simple. One protective product applied evenly is enough.
If you want the full breakdown of styling for hold and longevity so your curls last longer and require less manipulation the next day, that’s covered in the First Wash Day Experiment video in this series.
From here, the focus shifts to protecting that style.
Friction at night can quietly undo your progress.
Switch to a satin or silk pillowcase. The Curlsmith Satin Pillowcase helps reduce friction and preserve your style overnight.
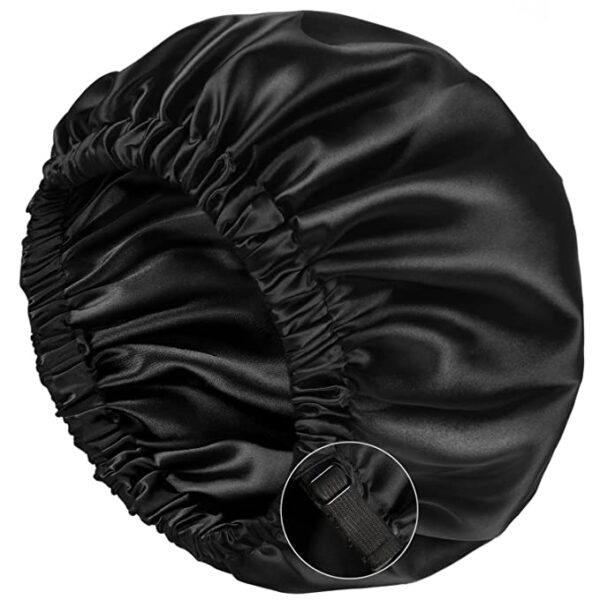
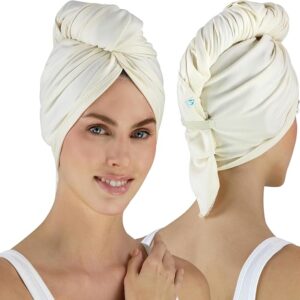
For additional protection, use a satin bonnet with an adjustable band to keep curls gently gathered. This reduces friction and helps maintain shape so you’re not forced to fully refresh the next morning.
Night protection supports long-term recovery.
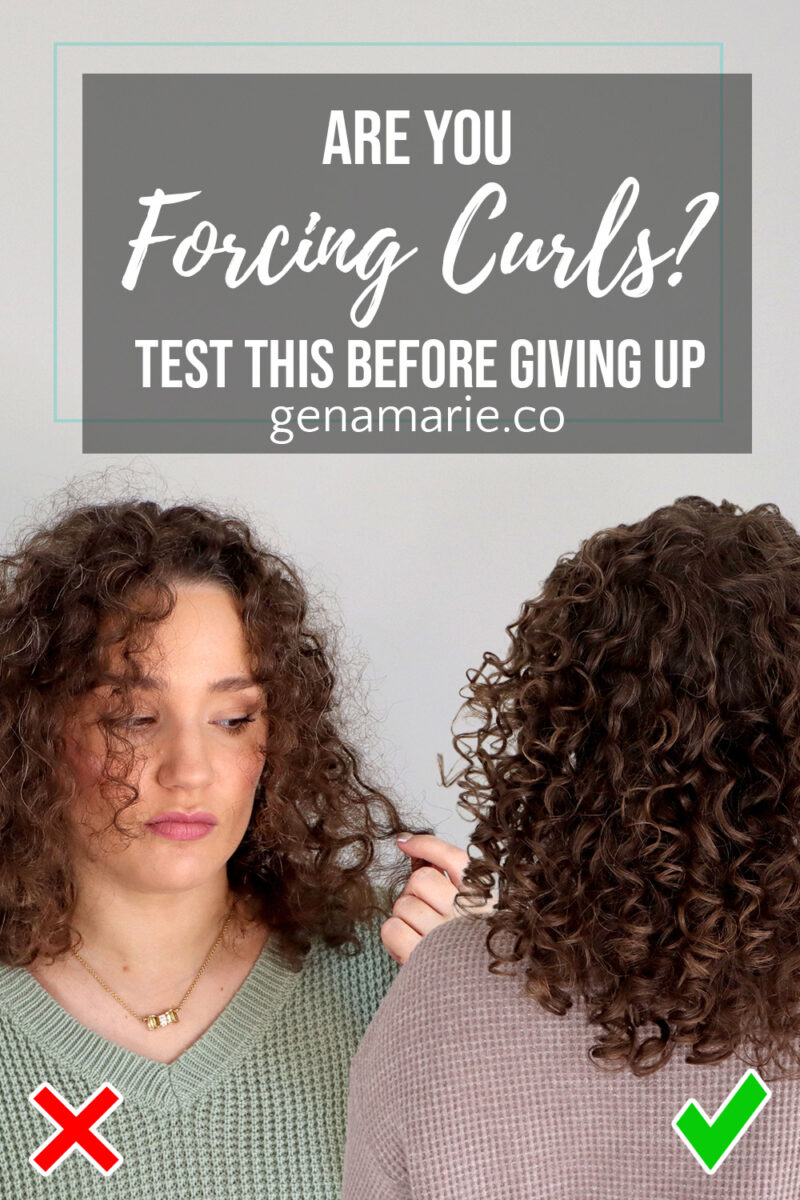
Constantly re-wetting and restyling creates unnecessary manipulation — especially on fragile ends.
Instead of fully refreshing daily, let styles last as long as you reasonably can. If certain areas get frizzy or flat, hide them safely rather than redoing everything.
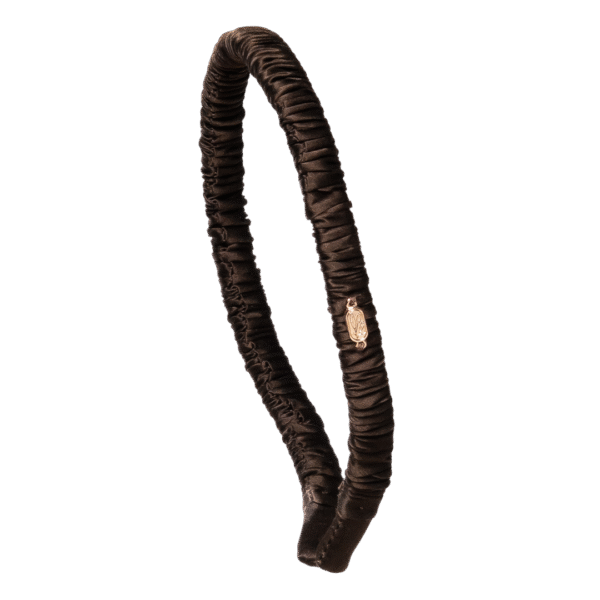
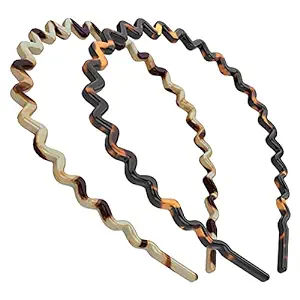
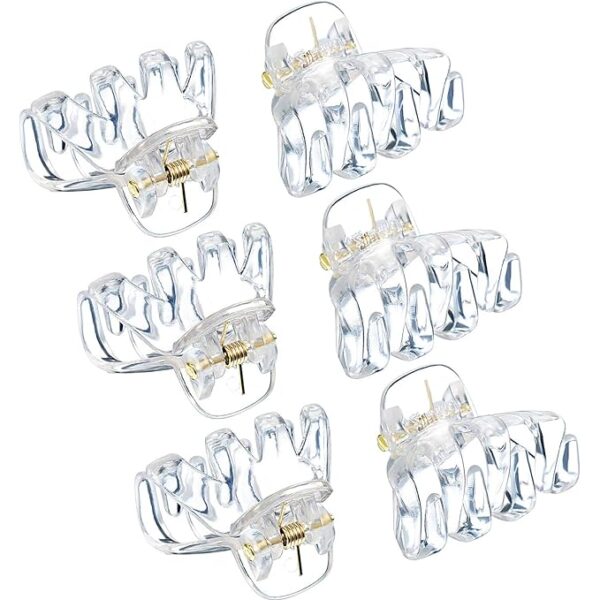
Low-tension options that help during the awkward phase:
These let you tuck pieces back, disguise frizz at the perimeter, or get hair off your face without creating tension that disrupts curl memory.
Hiding safely during this phase isn’t failure. It’s a strategy that helps you stay consistent while your hair improves.
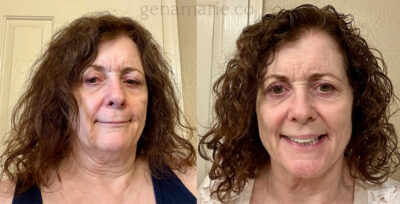
Recovery is gradual — but this is what it can look like.
I was happy to learn that Gena keeps the group size small enough that she can give each member the specific help they each need. She constantly checks in with us to tailor the program to what the members want to learn. The members add a lot of feedback so we can help each other with similar challenges. I no longer buy products based on someone’s results that I saw on social media, what works for one hair type may not work for me. I transformed my hair step by step with the support I’ve received.
I have saved money on wrong products, have less frustration as I learn to recognize issues caused by wrong application of products, no longer making styling mistakes and my overall hair condition has improved.
I am more confident wearing my curls, understand my hair better, and have more patience and reasonable expectations. I have simplified my routine for better results.
Recovery takes time. You can absolutely see better definition, less frizz, and improved longevity even while damaged ends are still growing out.
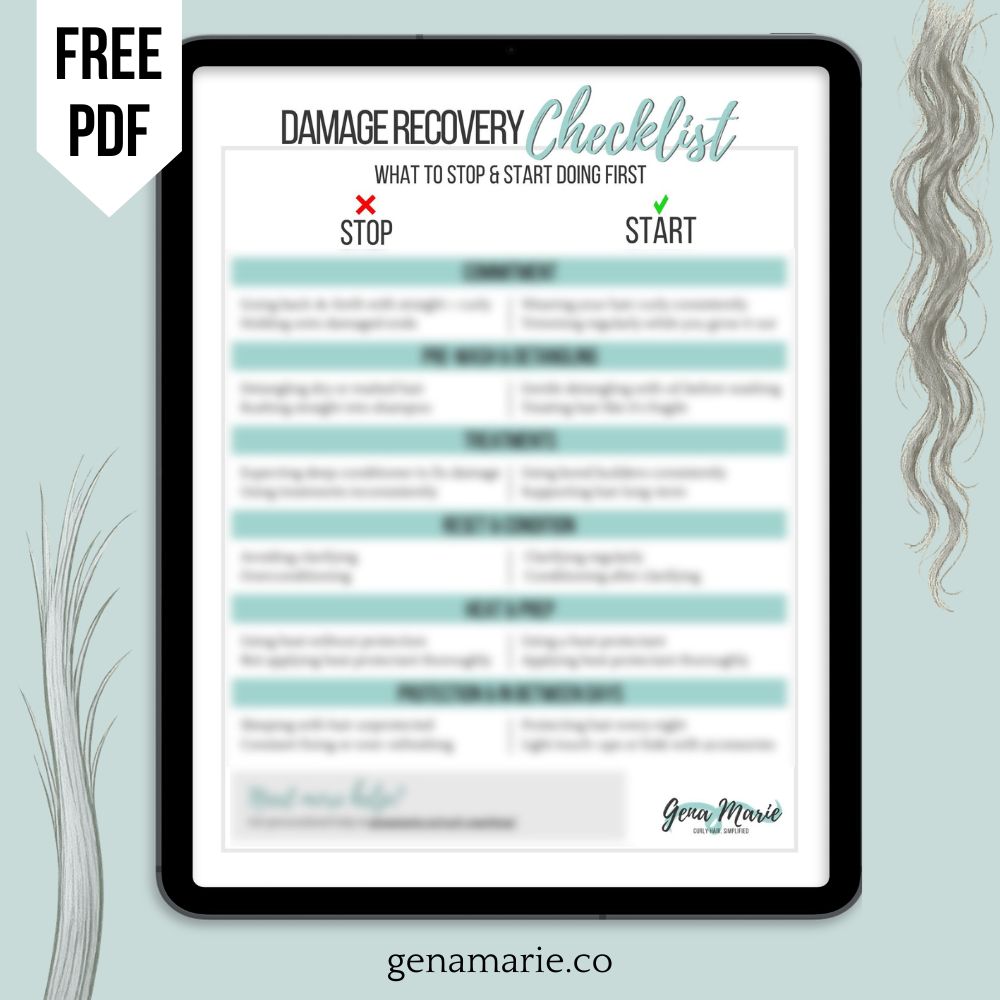
You don’t need a brand-new routine. You need consistency, realistic expectations, and a clear plan for what to stop and what to start doing.
If you want everything summarized in one place, download the Damage Recovery Checklist and use it as a guide while your hair grows out.
If you’re ready to fast-track your curl recovery journey or just get your curls in order this year, no matter what stage you're in, join my upcoming Spring Group Curl Coaching Program. I work with clients to build a damage recovery plan together and guide them through this stage so they don’t have to guess.
Enrollment closes on March 15!

If you’ve tried “strong hold” gels but your curls still don’t last, you’re not alone. Strong hold isn’t one-size-fits-all. Some gels are higher in texture
Feeling discouraged, frustrated, or unsure whether wearing your naturally curly or wavy hair is even worth it? If you’ve been following this Beginner Curl Series,

If you’re trying to wear your hair curly and you feel like you’re doing everything right but your hair still doesn’t look how you want,
If you think you might have curly hair but don’t know where to start — or you tried before and your curls were frizzy and
Notifications
One Response
Ssdly the products you recommend are NOT availanbe in Australia…