


How to Style Curly Hair for Volume Using the Curl Stacking Method
Your styling technique could be the reason your curls are drying flat, stretched out, and stuck to your head — not your products, not your
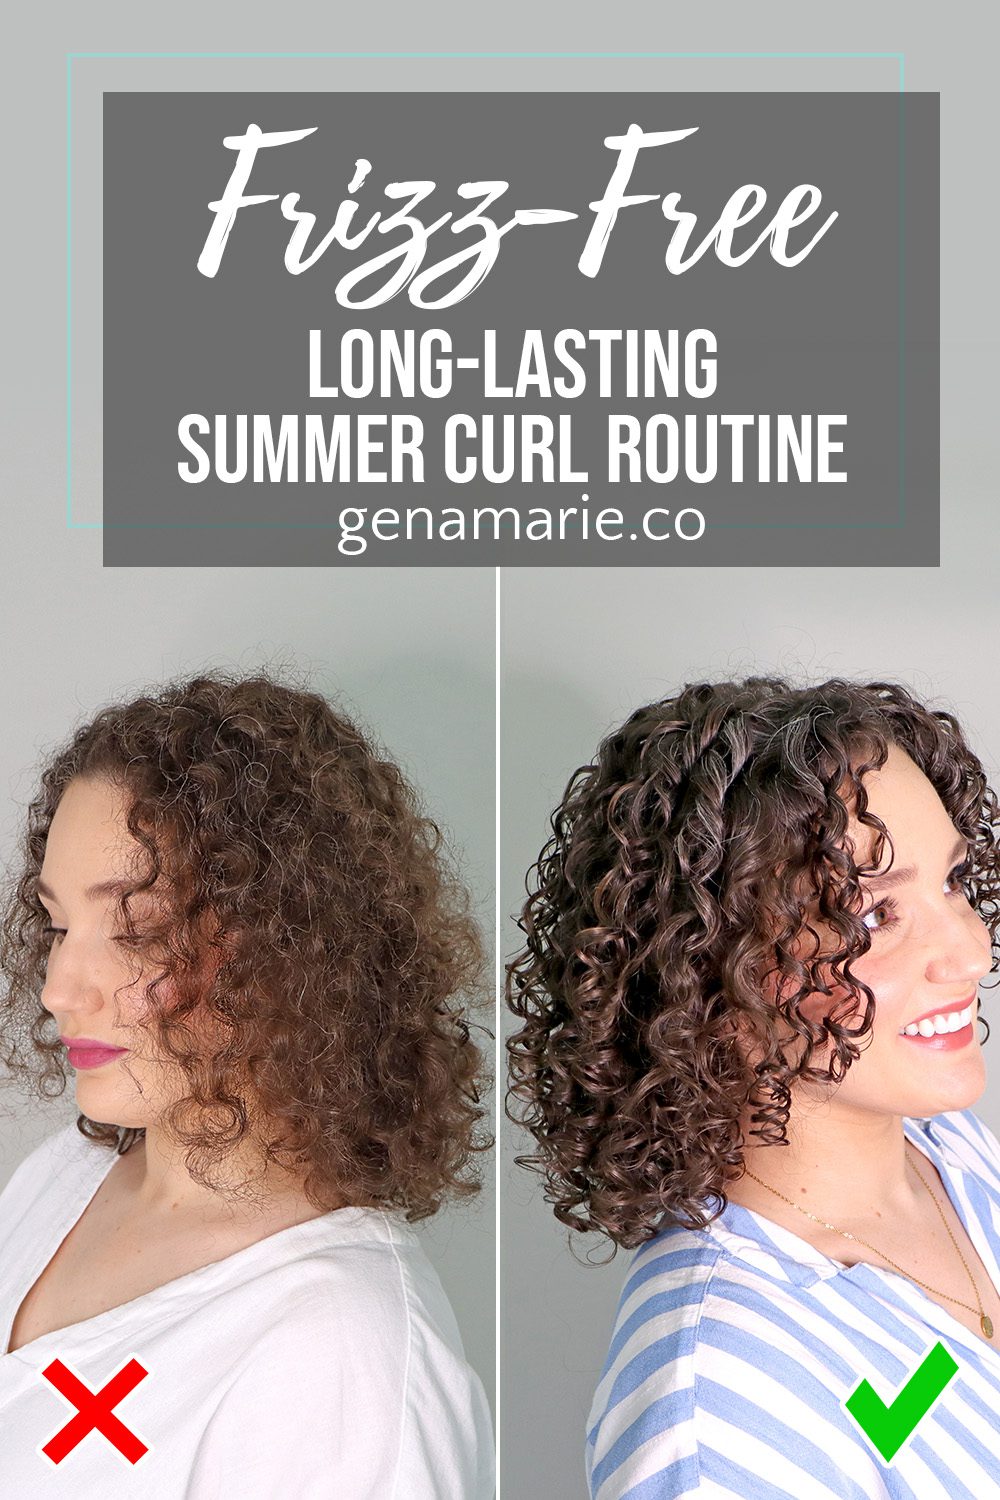
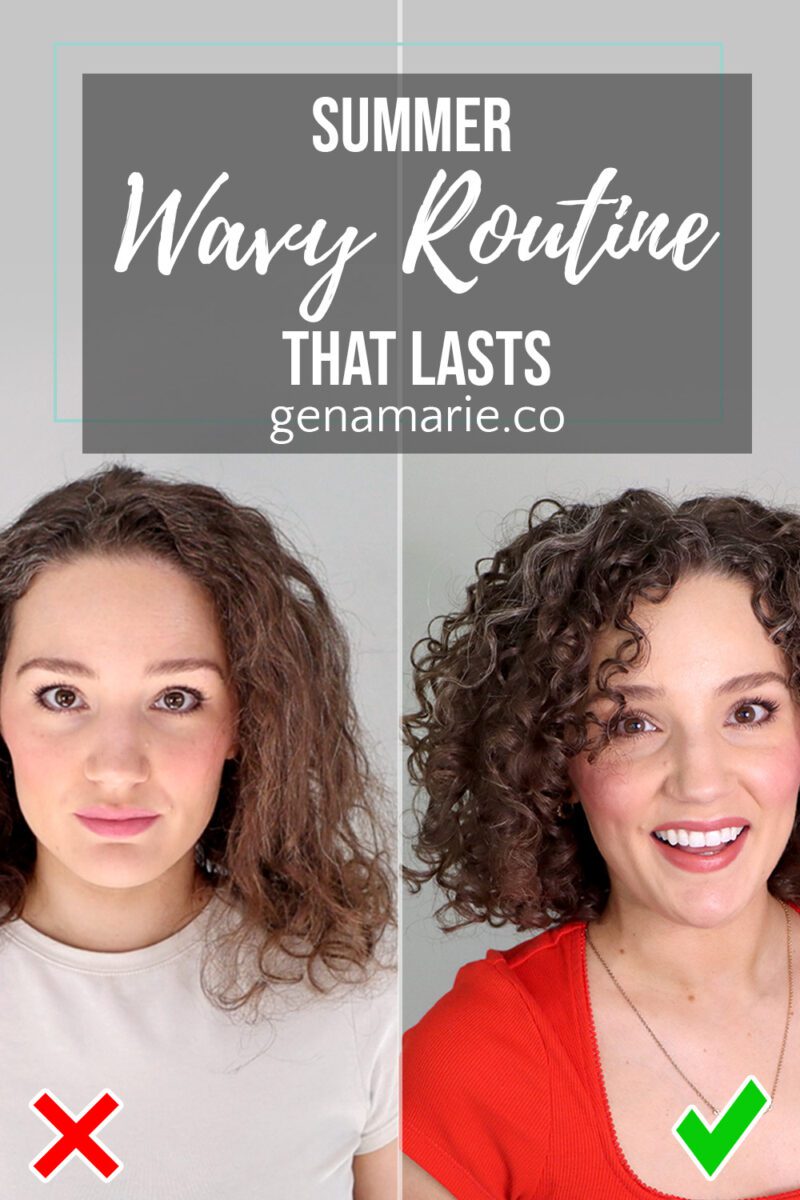
If your curls are frizzing, falling flat, and costing you way too much time every single week this summer, the problem is not that it’s summer. The problem is your foundation.
Summer does not require a completely different routine. What it does is make a weak routine impossible to ignore. The humidity, the sweat, the chlorine — all of it just exposes what was already not working.
This is the routine I use year-round, with a few small summer-specific adjustments built in at each step. When you do it right, you style once and your hair works for you for the rest of the week. That is the entire goal.
Before we get into the steps, here’s the framework behind everything I’m doing.
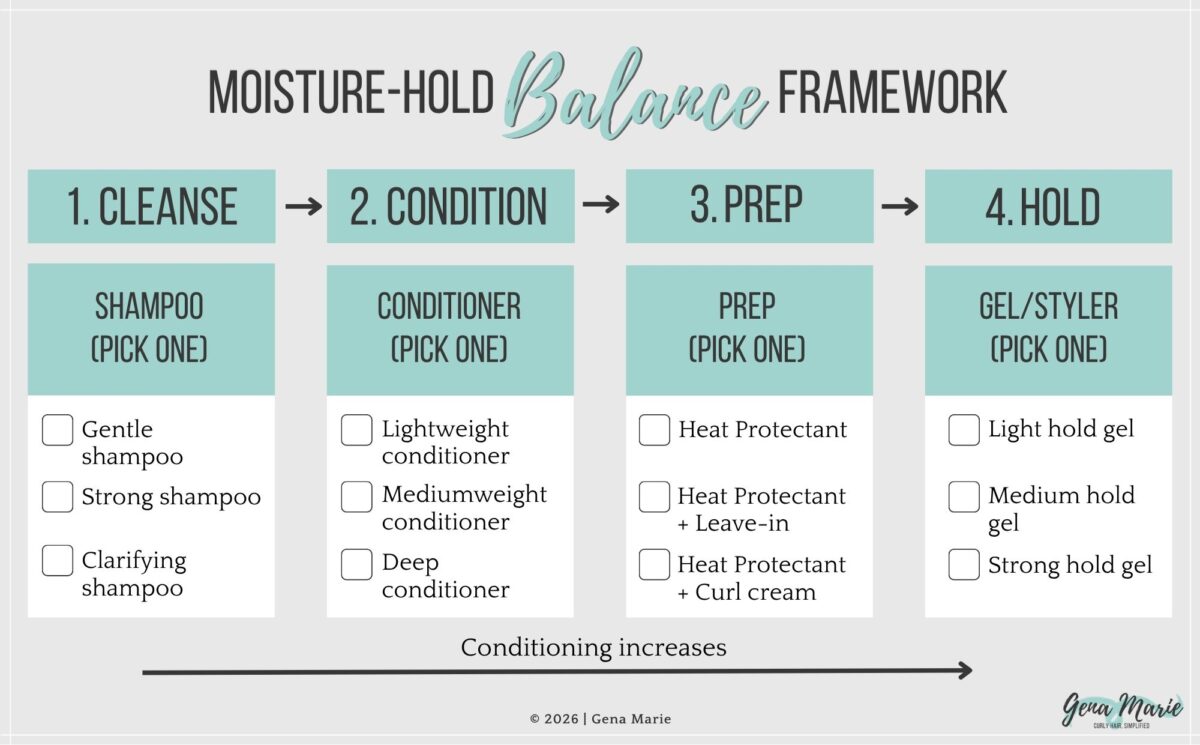
Every step in this routine is built around one principle: minimize the moisture loading your hair before gel so your gel can actually do its job.
The routine follows four core steps — shampoo, conditioner, prep, and gel. Conditioning accumulates across all four of those steps. If there is too much conditioning in the hair before you reach gel, the gel cannot grip properly, hold suffers, and curls fall faster. This is why I keep everything before the gel lightweight and deliberate.
Hold and heaviness are not the same thing. Hold comes from your gel. Heaviness comes from over-conditioning. Keeping these separate is what this entire routine is built on.
Want the full explanation? I have a dedicated post on the Moisture-Hold Balance Framework. I won’t re-teach it here, but understanding it will make every step below make more sense.
Summer puts more on your hair than any other season — sweat, oil, chlorine, sunscreen, product buildup. Your shampoo needs to actually remove it. That means using something with a real lather and real cleaning ability, not something mild that leaves residue behind.
Residue is not neutral. It sits on your hair and actively blocks every product you apply afterward from working properly. It contributes to frizz. It undermines hold. Starting with a clean base is not optional — it is what makes every step after this work.
Do not be afraid to wash more frequently in summer. Your hair can handle it. What it cannot handle is buildup layering on top of buildup or leaving chlorine or salt water in your hair.
❌ Co-washing in summer: Co-washing feels gentler, but it cannot effectively remove chlorine, sunscreen, or heavy product buildup. That residue is what blocks your products and contributes to frizz. Save co-washing for a season when your hair isn’t dealing with all of that.
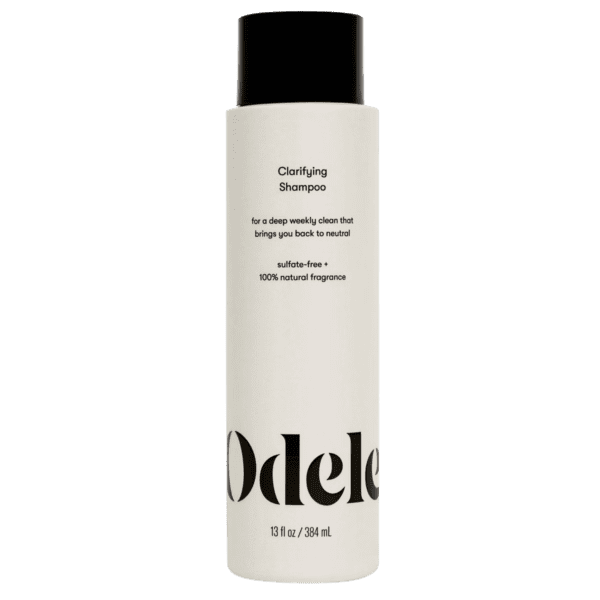
If you’ve been swimming, or if you’re doing a wash day before travel and want your results to last as long as possible, swap your regular shampoo for a clarifying shampoo.
The Odele Clarifying Shampoo is affordable, color-safe, effective without stripping.
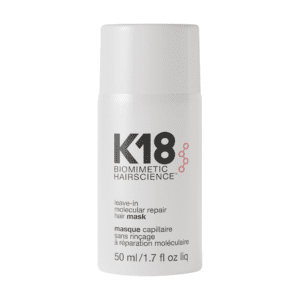
When I clarify before a trip, I also add a bond-building treatment to set my hair up for longevity. I don’t do both shampoos on the same wash day — it’s one or the other depending on what my hair needs.
What a clean base buys you: every product you apply after this can actually penetrate and work. Your hold goes up because nothing is sitting in between.
This is where a lot of people overcorrect in summer. They assume heat and humidity mean their hair needs more moisture. In most cases, the opposite is true.
There is already moisture in the air. Over-conditioning before gel adds more moisture on top of that, weighs curls down, and gives hold nothing to grip. For summer, I stay light.
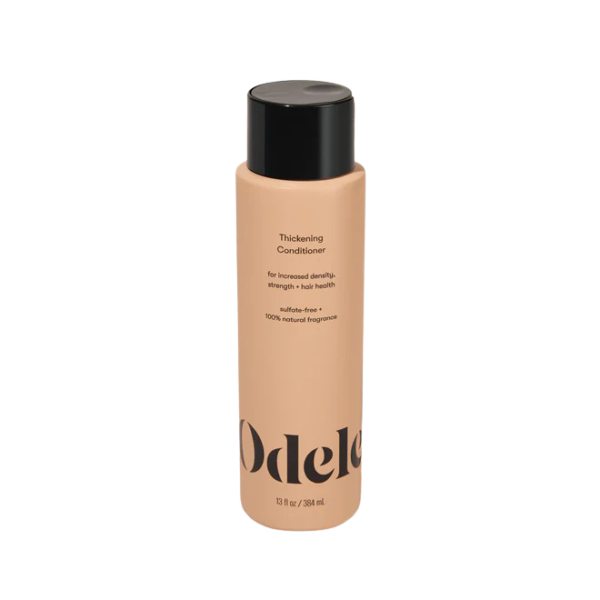
Choose your conditioner based on your hair’s finish type and texture, not the season. Fine or easily weighed-down hair: use something lightweight and rinse it thoroughly. Medium to rough finish hair: a medium-weight conditioner, fully rinsed. The goal at this step is manageability, not softness.
Spend time rinsing. Conditioner residue left on the hair will follow you through every step that comes after this.
❌ Over-conditioning before gel: Summer does not mean more conditioning — it might mean less. Loading up on moisture before your gel step gives hold less to grip and curls more weight to carry in humidity. Less conditioning here means better hold later.
What the right conditioning level buys you: your gel can actually grab onto your hair and form a strong cast. Hold works better when moisture isn’t competing with it.
Before you apply anything, re-wet your hair. Hair that is starting to dry before styling will have patchy areas and uneven product distribution. You want it evenly damp — not dripping, and not dry in spots.
The amount of water matters. Too much water dilutes hold before your gel even has a chance to work. Evenly wet, not soaking.
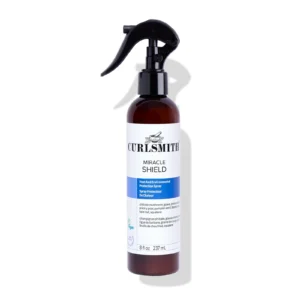
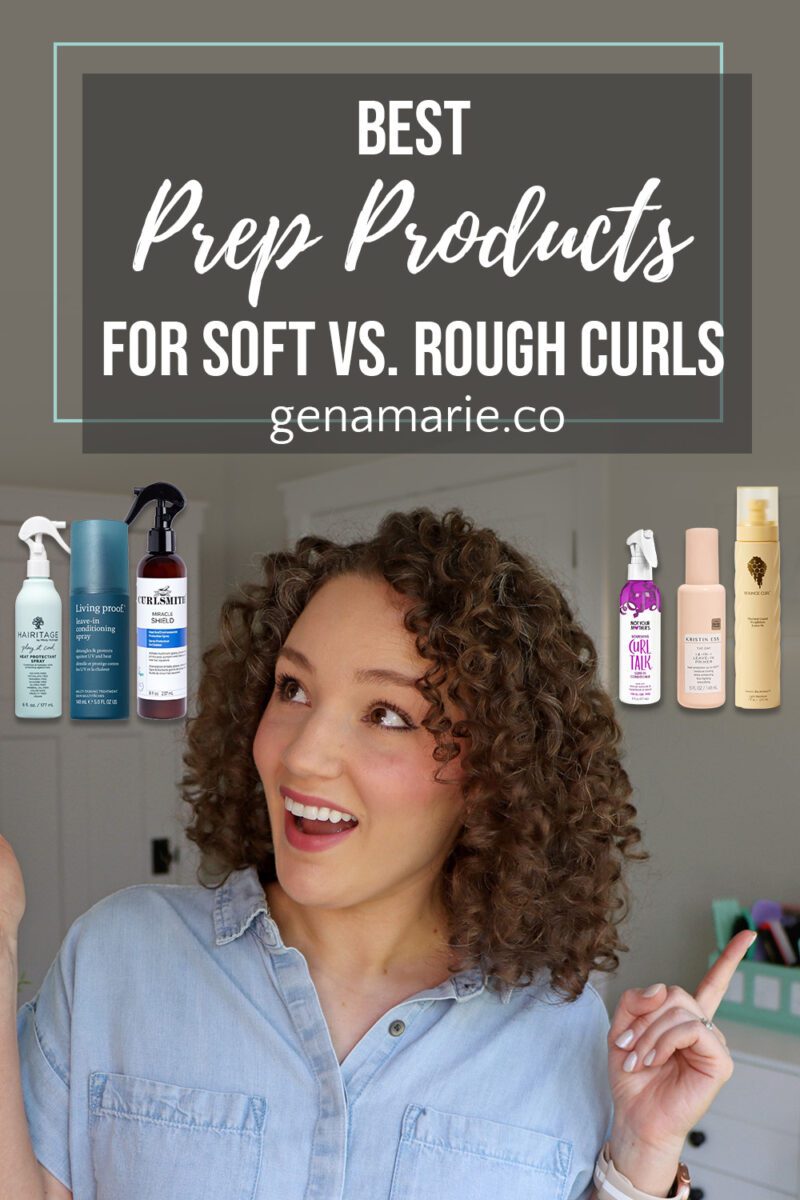
What you’re looking for is something lightweight that adds a small amount of moisture appropriate for your finish type, protects from diffuser heat, and — for summer specifically — includes UV and chlorine protection. Curlsmith Miracle Shield does all of that. It is the prep product I use year-round, and it is especially well-suited for summer because of the UV protection.
❌ Reaching for a curl cream at this step: Curl creams and air dry creams feel like an easy, multi-purpose solution. They are not. Loading conditioning weight onto your hair at this step dilutes hold before you even get to gel. The “easy” product is the one that costs you the most refreshes. Skip the curl cream. One lightweight product.
Look for UV protection and chlorine protection on the label of your prep product. This is the step where those ingredients matter most. If your hair turns lighter in summer from sun exposure, that is damage — UV protection at this step helps prevent it.
What the right prep step buys you: hair that is protected going into styling, manageable without being weighed down, and not competing with the hold you’re about to apply.
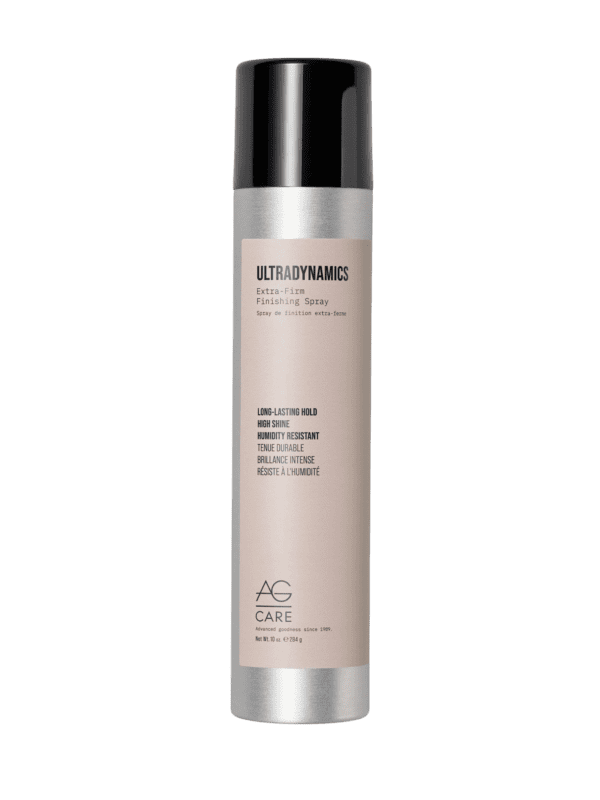
This step is not the place to go minimal. Apply your gel generously, from root to tip, following all the way through the ends. The biggest cause of frizzy ends is not applying gel thoroughly. Keep adding more as you work through each section until you can feel that slippery coating in your hair.
When you rake your gel through, apply some pressure and tension. You are not just distributing product — you are smoothing the cuticle so strands lay together cleanly. That tension is intentional.
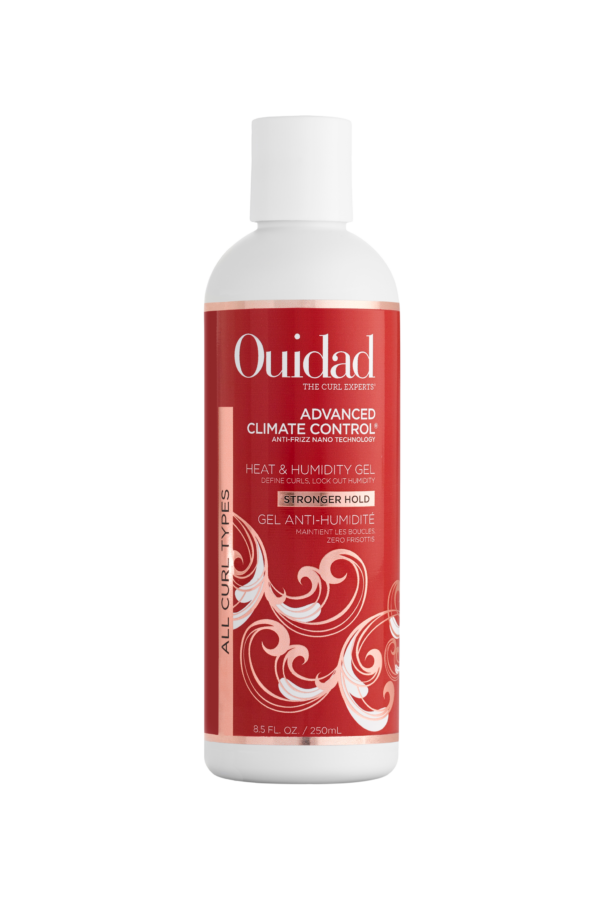
The Ouidad Advanced Climate Control Heat & Humidity Stronger Hold Gel is a thin, liquidy gel that spreads easily and works well for hair that tolerates moisture and conditioning.
If your hair gets weighed down easily or you have fine, soft finish hair, the Curlsmith Fragrance-Free Strong Hold is the better fit. It is thicker, has more texturizing ingredients to prevent soft hair from falling flat, and is fragrance-free. Because of the thickness, you will need more water when applying it.
❌ Only using a curl cream: Many people will choose to use just a curl cream in their hair for an easy low-maintenance routine. However, gel is actually the lowest-maintenance choice because it lasts longer, requiring less refreshing. You are just swapping the product you were applying anyway — and getting hold in return. The curl cream or air dry cream routine is the one that needs the most refreshing. Gel is what buys you the week.
Strong hold — because that is what makes results last.
Anti-humidity ingredients — even in a dry climate. These ingredients help your curls hold their shape longer regardless of weather type. If you are not sure what to look for, I have a free Anti-Humidity Ingredients Checklist you can download.

Anti-humidity ingredients still work for longevity in dry heat — keep them in. If your hair tends to feel brittle, opt for a prep product that is a bit more conditioning. You do not need a different routine, just a small tweak.
❌ Scrunching and going: Raking product through and scrunching once is not enough to build definition that lasts. Raking distributes. Technique — brush, finger coil, intentional scrunching — is what creates clumping and curl pattern before you ever touch the diffuser.
Every styling technique involves two things in sequence: first, something that smooths the hair — laying strands together and reducing frizz at the cuticle level — and then scrunching to bring the curl pattern back. Everyone finishes with a scrunch regardless of curl type.
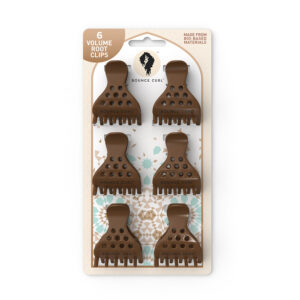
Sectioning is not mandatory, but if you want even product distribution and consistent clumping, it makes the technique steps below significantly more effective. Working in sections means the brush or your hands have less hair to manage at once, clumps form more evenly, and you avoid flat spots at the root that happen when too much hair gets redirected at once.
I work in three sections: lower, middle, and top. For the top section, I split it in half so I can work with the direction the hair grows naturally — this prevents bends at the root and gives volume without that flat part look. Once all sections are styled, I take the clips down, blend the section lines with my hands, and give the whole head a final scrunch.
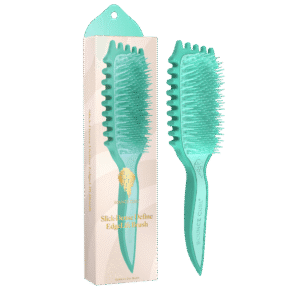
Rake through each section with intention and some tension — this is your smoothing step. Optional: a light pass with the brush through the section to encourage clumping, then run hands through to break up any pieces that clumped too heavily. Finish with a scrunch upward. Less manipulation is better for looser patterns, so stop when definition looks good.
Brush style through each section using the edge of the brush to encourage clumping — the grooves help the hair form defined pieces. Separate any clumps that are too large. For stubborn areas like the temples and hairline, finger coil individually to get definition where it tends to fall flat. Finish with scrunching. In summer, adding more finger coiling throughout helps results hold their shape longer and reduces mid-week refreshing.
What the right styling technique buys you: definition and clumping built in at the styling stage, results that hold their shape before you even diffuse.
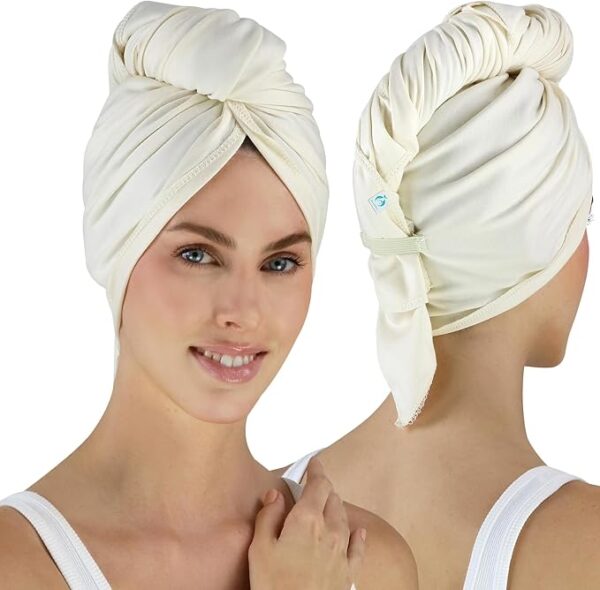
This step is optional, but if your hair takes forever to dry or you struggle to get a strong cast, it is not optional for you.
Take a damp section of your microfiber towel and gently scrunch the hair — not roughly, just enough to absorb excess water without disturbing the curl clumps you just built. Focus on the underside layer, which tends to hold the most water and slow down diffuse time the most.
Don’t Skip This if You Struggle with Hold:
Apply a thin glaze of your gel over the top. I add a small amount of water to my palm first to thin it out, which makes it easier to spread without restyling. Run it over the surface of the hair with praying hands through the ends, then a light scrunch to bring the curls back up. You are sealing the surface, not starting over.
When This Step Matters Most
👉🏼 You used a softer or more watered-down gel
👉🏼 You styled with more water than usual
👉🏼 You struggle with getting a cast or with hold
👉🏼 You need to get dry faster
What microplopping and the extra gel layer buys you: a tighter, more defined cast going into the diffuser, faster dry time, and a stronger hold result on the other side.
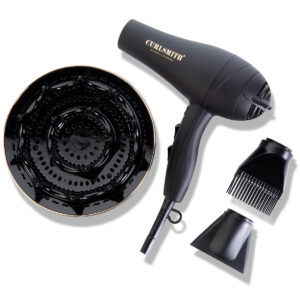
Diffuse before you go outside. Every time. This is the step most people skip in summer, and it is the reason their curls do not last.
When your hair air dries in humidity, the curls are still forming while they are exposed to moisture in the air. The gel cast has not set. The curl pattern is not locked. By the time your hair is dry, frizz is already built in. Diffusing takes that variable away entirely — you lock the curl pattern and set the cast before humidity can interfere.
❌ Skipping diffusing because it’s “too hot” or “takes too long”: Diffusing should take 10 to 20 minutes at most. When I filmed this routine, it took me 7 to 8 minutes. Air drying in summer takes hours and often ends with a result you have to fix anyway — which costs you more time, not less. Diffusing once buys you the rest of the week.
Air drying is acceptable if you want elongation over volume and you are fully dry before going into humidity or before bed. If you are going outside while still damp, air drying is not the right choice for that day.
I use what I call scrunch diffusing — cupping the hair with the diffuser prongs and pressing upward into the roots. This gives maximum curl formation and volume. If you prefer more elongation, hovering is fine, but at minimum get as much dry time as possible before going outside.
Work through sections gradually and get the hair as dry as you can before stepping out. The gentle heat also helps set the curl shape and the cast — if you struggle with waves or loose curls that never form a cast, this is the step that fixes it.
What diffusing buys you: curl pattern locked before humidity can reach it, longer-lasting results, and fewer refreshes across the week.
After diffusing you have two options, and the right one depends on what you are doing next.
If you are about to go outside — especially into humidity, wind, or direct sun — leave your cast in. The cast acts as a protective barrier between your finished curls and the moisture in the air. Wait until you reach your destination, then scrunch it out or let it gradually release on its own throughout the day. This is what maximizes longevity.
If you are staying home or have time to let your hair fully cool before going out, scrunch out the cast with dry hands and fluff the roots. This releases the crunchy texture and softens the finish.
If your hair still looks wet after breaking the cast, go back in with the diffuser for another minute or two. The Ouidad gel in particular holds onto moisture — that residual dampness can cause frizz if you walk into humidity with it still there. Get it fully dry.
Hairspray is the most underrated finishing product in summer, and it is the one I reach for over anything else when I want results to last.
You can apply it two ways: spray directly at the roots for extra texture, grit, and hold for soft finish hair that tends to fall flat, or apply all over for a general humidity-resistance layer. An aerosol spray with alcohol in the formula also helps reduce the wet look on day one — the alcohol helps the last bit of surface moisture absorb without drying out the hair underneath.
❌ Finishing with an oil or humidity serum: Oil softens your curl pattern and creates a surface barrier that makes refreshing harder the next day. When you go to refresh with oil on your hair, you cannot get a cast back as easily — the oil is sitting in between the gel and the hair. For most people, oil as a finishing product in summer is making things worse. Skip it.
If you have very rough, brittle-feeling finish hair and you are using it purely for softness, a small amount of oil is fine. But for the majority of people — hairspray is the better choice.
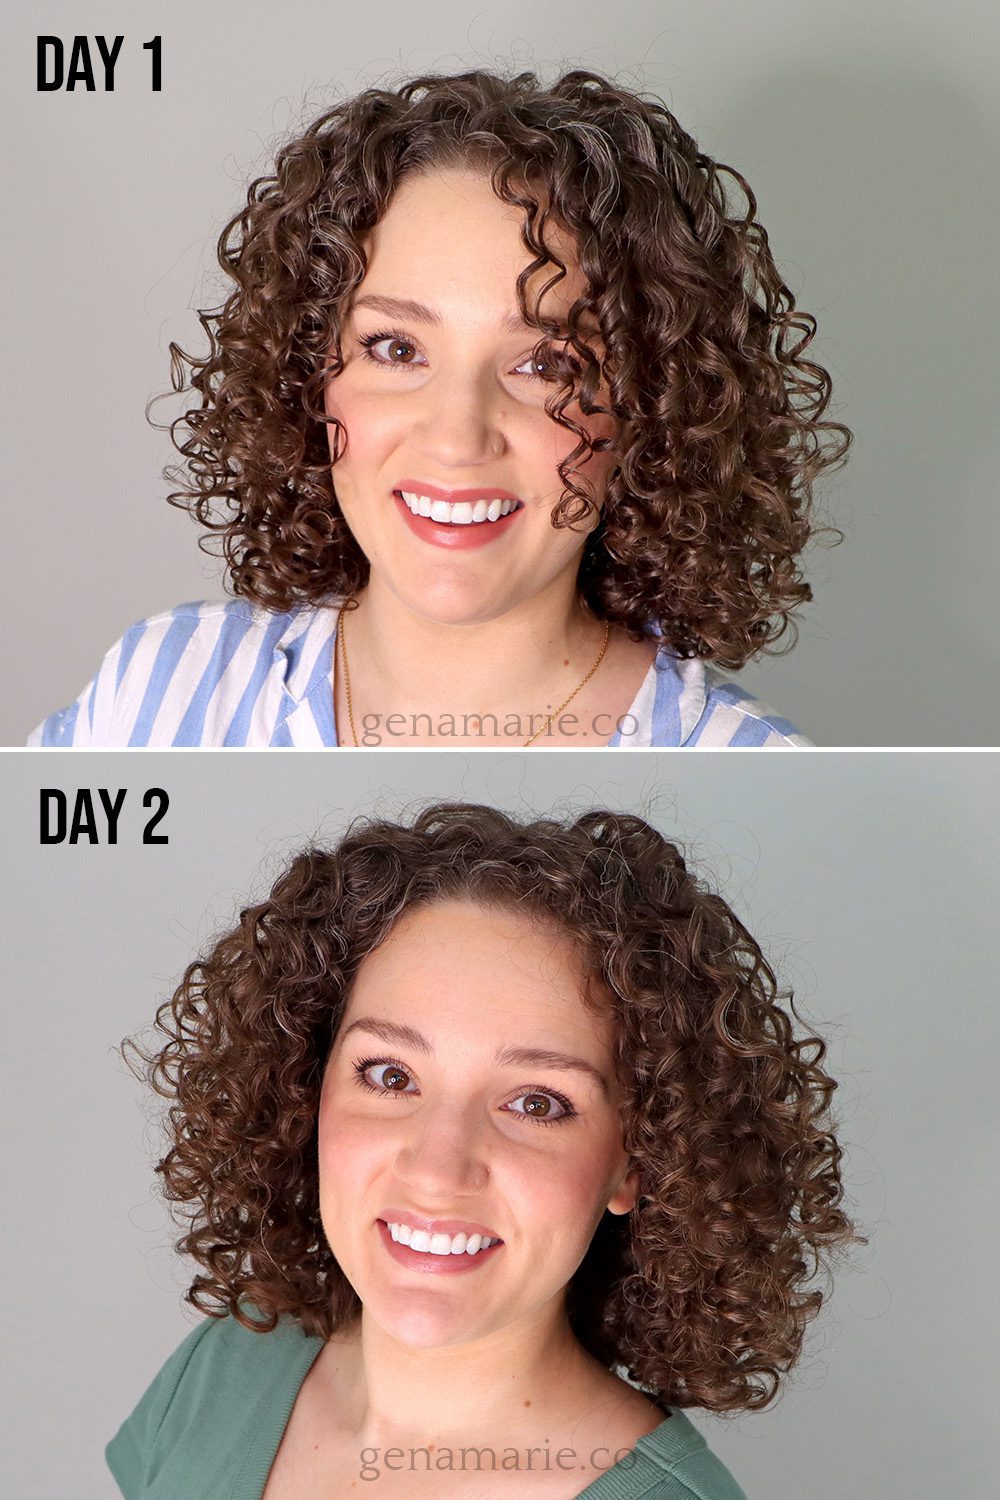
After breaking the cast, I have strong definition, good volume, and curls that are clearly set. They might look a little overly defined on day one — that is intentional. You are building results that will look even better the next day.
By day two, with no refreshing at all, the curls have softened slightly, the volume is still there, and the frizz is minimal. I separated a few overly clumped pieces and dry finger coiled a couple of spots back into place. That is all it took.
The hairspray made a clear difference in texture. My hair still felt soft overall, but with just enough grit and hold to keep volume through the day without feeling dirty or sticky.
This is the routine I always do before a trip because my goal is to make it to day three with only a light touch-up.
This is the routine I use year-round because I prioritize longevity. The foundation does not change by season.
Summer does not create curl problems — it reveals them. If your curls are struggling this summer, the weak point was already in your base routine. Fix the foundation, and summer stops being a problem.
A simple but intentional routine, done right once. Your hair works for you for the rest of the week. That is the whole point.
But if you are still finding yourself guessing — why something worked one week and not the next, what to adjust when things change — that is exactly what coaching is for. Inside my Curl Coaching Program, you learn to understand your own hair, not just follow a routine. You learn to diagnose it, adjust it, and own it. That is what makes results repeatable.
Enrollment is open now through Monday, June 15th — or until spots fill. After that, you won’t be able to get in until later in the year. If your curls are struggling this summer, now is the time.

Your styling technique could be the reason your curls are drying flat, stretched out, and stuck to your head — not your products, not your
If your waves or loose curls fall flat every summer — losing definition by midday, never lasting past wash day — this routine is built
Are you using a heat protectant in your curly hair routine? If you’re diffusing or planning to be in the sun, you probably should. But
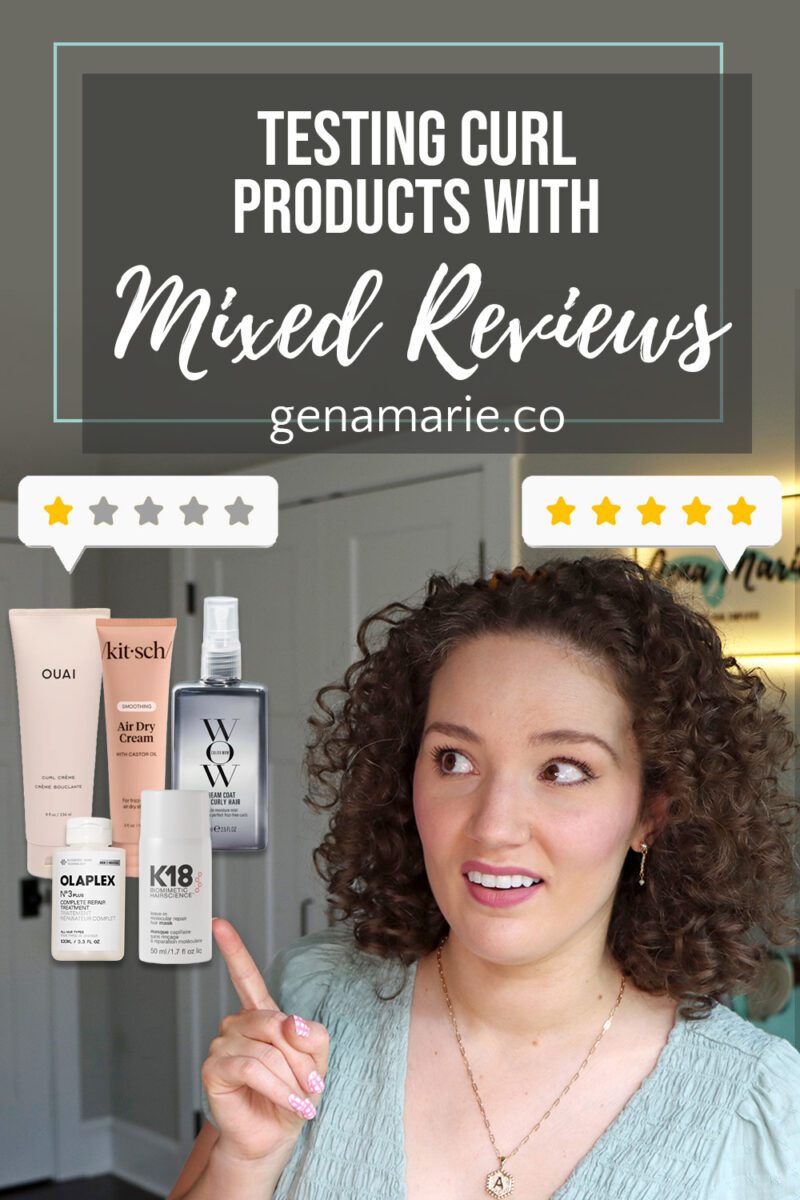
You read the reviews online. One person says a product completely changed their hair. Someone else says it’s the worst thing they’ve ever tried. And
Notifications