


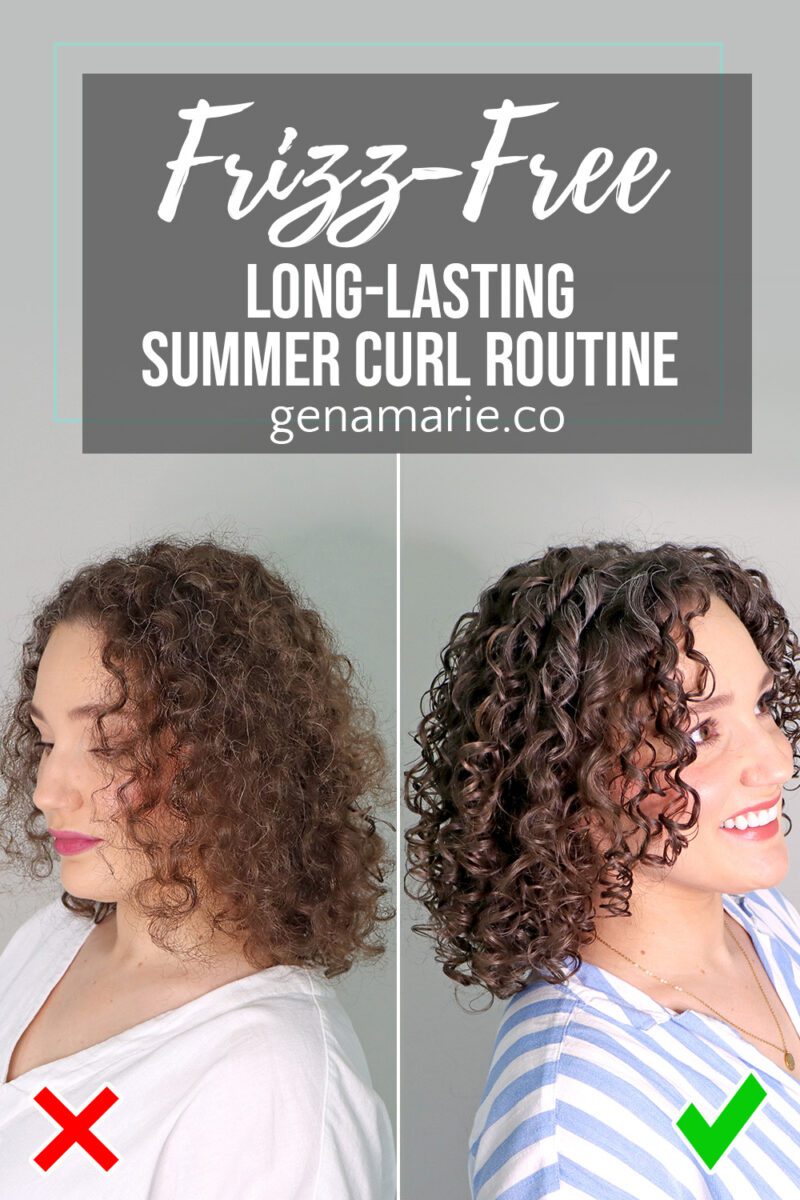
Frizz-Free Summer Curl Routine: A Step-by-Step Guide for Long-Lasting Curls
If your curls are frizzing, falling flat, and costing you way too much time every single week this summer, the problem is not that it’s
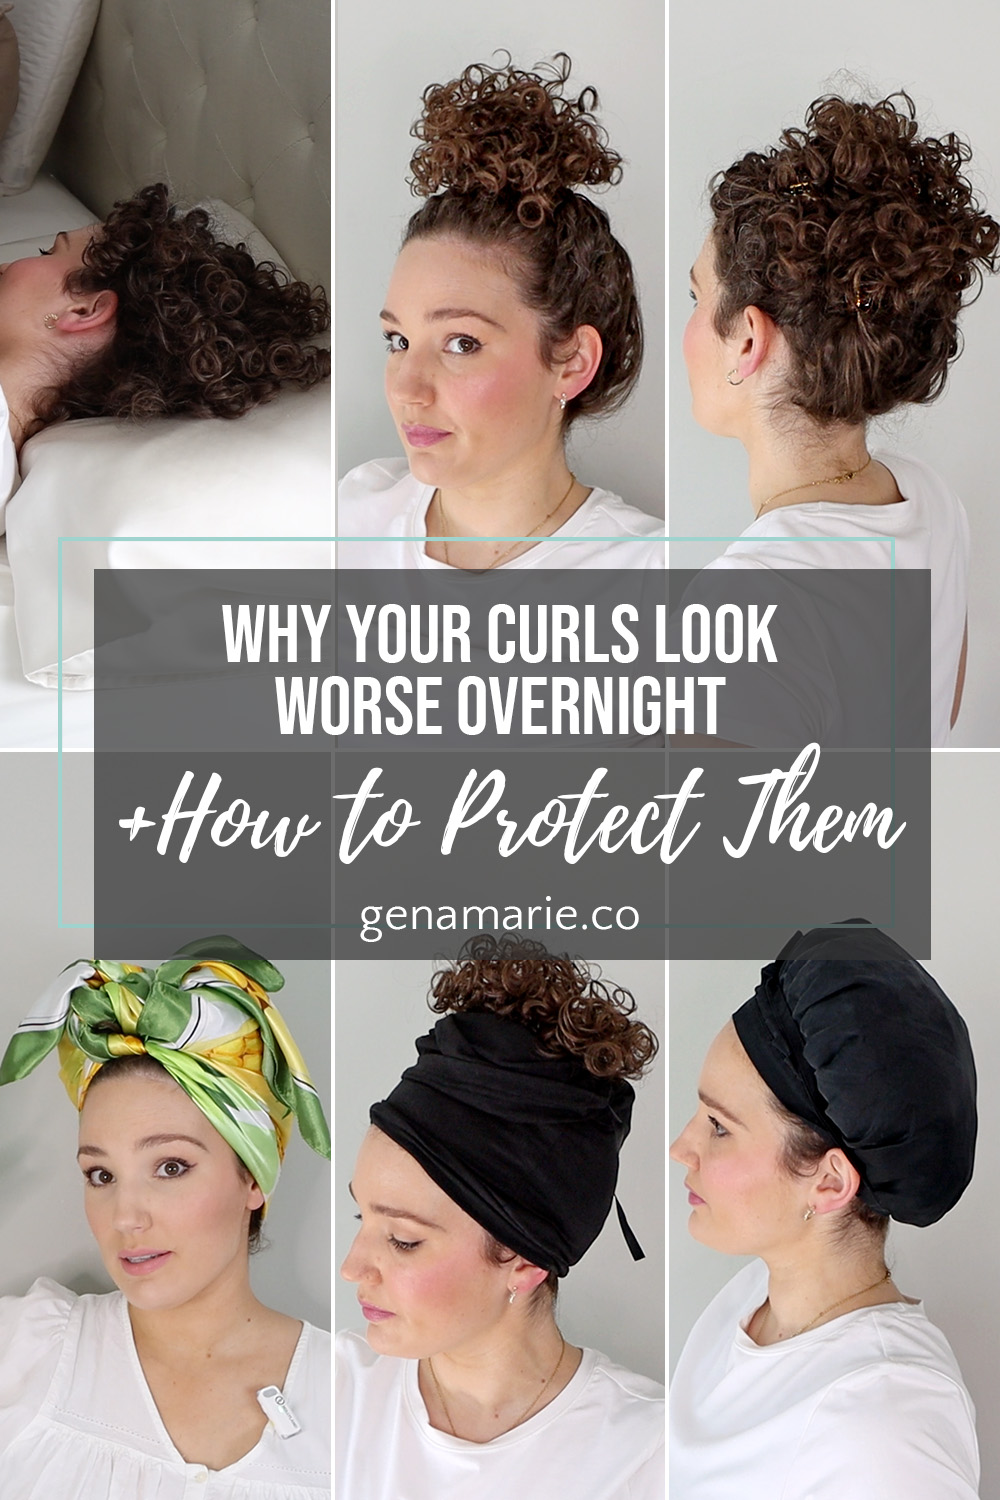
If your curls look good before bed but worse in the morning, your styling routine usually isn’t the problem. Your sleep protection is.
Most people either skip sleep protection entirely, or they try one method once, it doesn’t work, and they give up. But sleep protection isn’t one-size-fits-all. The method that works for someone else’s hair might actually be making yours worse.
This is part of the Beginner Curl Series, where I cover everything you need for longer-lasting curls — product choice, styling, refreshing — and sleep protection is that last piece. If you’re missing it, your results won’t last as long as they could.
Here I’m walking you through every sleep protection method, what each one does well, where it falls short, and how to choose the right one based on your specific hair. There’s also a comparison table at the end you can use as a quick reference when you’re shopping or troubleshooting.
Before choosing a method, it helps to understand what’s actually happening while you sleep. Overnight curl disruption comes from four main sources:
Friction against your pillow — Cotton pillowcases create drag that roughens the cuticle, causes frizz, and pulls curls out of shape while you move in your sleep.
Stretching — When hair is left loose or unsecured, the weight of your head and neck movement gradually stretches curl clumps, especially on the underside and crown.
Neck tangling — Longer hair that falls along the neck gets compressed and tangled from hours of contact and movement.
Humidity exposure — Depending on your sleep environment, overnight humidity shifts can cause frizz and reshape curl clumps even without direct contact.
One thing worth noting: sometimes curls actually change more in the shower than overnight. That’s a separate issue — and I cover it at the end of this post in the shower section.
If you’re not sure whether your sleep routine is responsible for your results fading, look for these signals in the morning:
❌ Excessive frizz
❌ Neck tangling
❌ Misshaped curl clumps
❌ Stretched or elongated underside
The diagnostic rule is simple: if your curls look good before bed but noticeably worse after sleeping, you have a protection mismatch — either the wrong method, incorrect placement, or no protection at all.

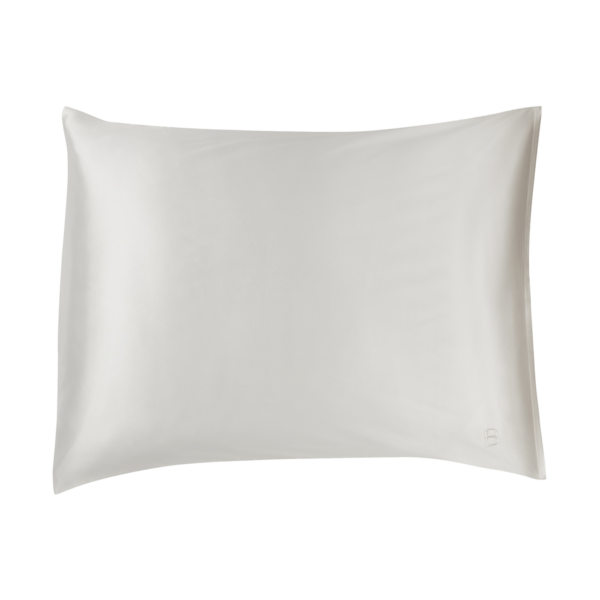
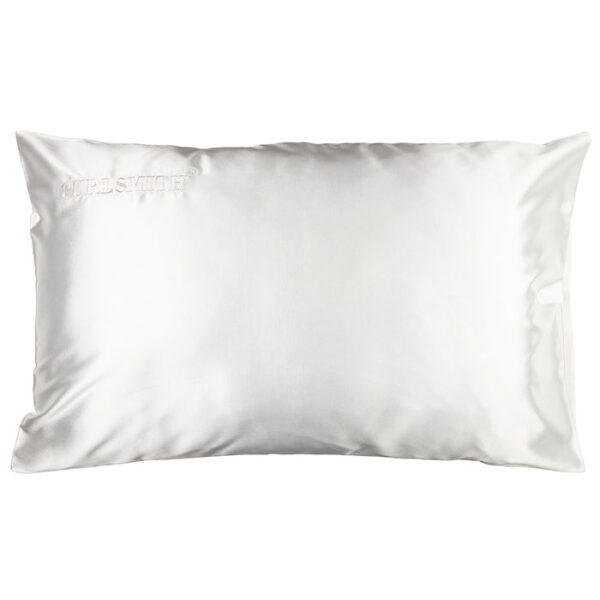
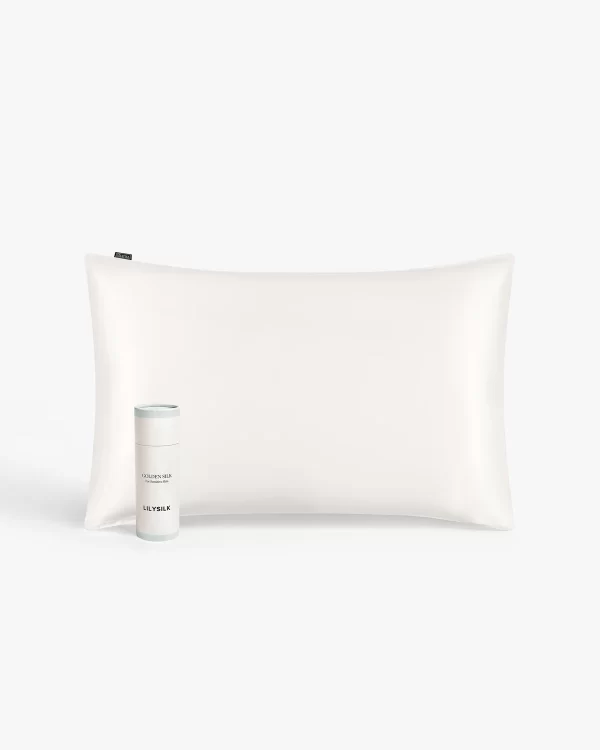
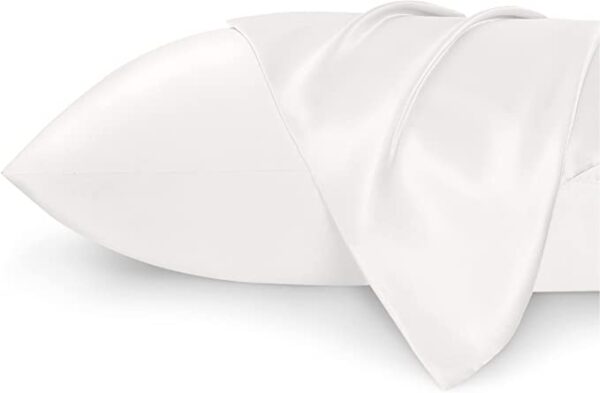
Before choosing any additional method, everyone needs a silk or satin pillowcase. This is the baseline layer that applies regardless of what else you use.
What this method does well
✅ Reduces friction overnight
✅ Protects hair while sleeping
✅ Acts as the baseline layer under all other protection methods
✅ Reduces tangling compared to cotton pillowcases
What to watch for
❌ Does not keep hair off the neck
❌ Hair can still shift overnight
❌ Medium to long hair usually needs additional containment
Common mistake to avoid
⚠️ Sleeping directly on curls instead of lifting them above your head before lying down
Silk vs. satin: Silk is made of a natural material that is breathable, antimicrobial, and hypoallergenic, which is why it’s often more expensive. Silk is delicate, so it requires more careful maintenance, such as special, gentle detergents. Satin is made from synthetic fibers like polyester, rayon, or nylon, and can be a bit more slippery. Satin can be easier to care for because it doesn’t require special detergents, and still provides significant friction reduction. Either works.
You don’t need all of these. The goal is to find what fits your hair and your sleep habits, then layer as needed. Work through the options based on your length, density, curl tightness, and comfort tolerance.
If this is your first time sleeping with something on your head: it will feel strange at first. That’s normal. Consistency matters more than comfort in the first few weeks — most people reach a point where they can’t sleep without it.

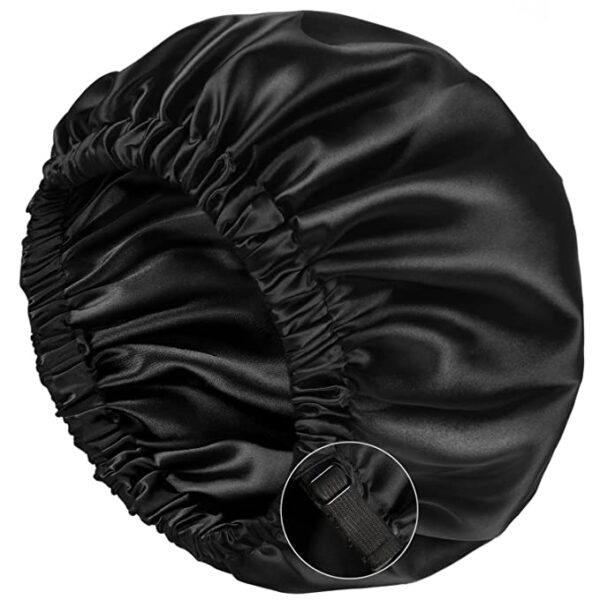
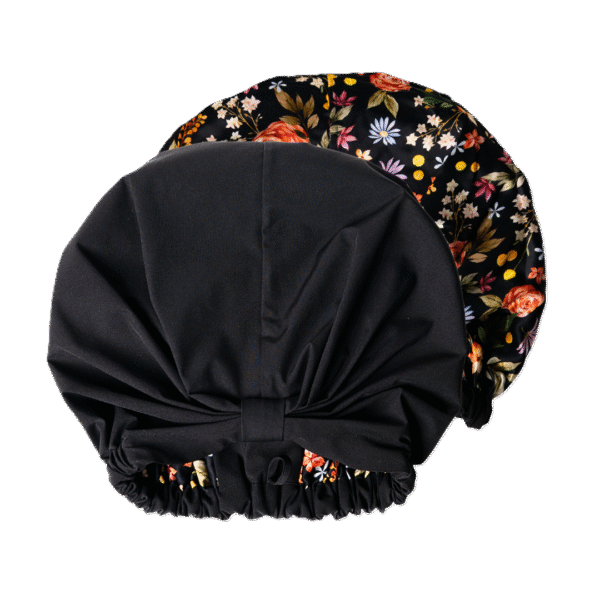
Bonnets have some of the most curl-preserving benefits and are what I troubleshoot most often with clients — because they’re also the most commonly misused.
What this method does well
✅ Keeps curls scrunched and contained overnight
✅ Reduces stretching while sleeping
✅ Reduces tangling and friction
✅ Keeps hair off the neck when properly fitted
What to watch for
❌ Hair falling down inside if the bonnet is too large
❌ Curls becoming compressed if the bonnet is too small
❌ Slippery fabrics shifting overnight
❌ Better results with adjustable designs
Common mistakes to avoid
⚠️ Using the wrong placement method for your length
⚠️ Not flipping forward before putting on for medium to long hair
⚠️ Not adjusting the rim for a secure fit

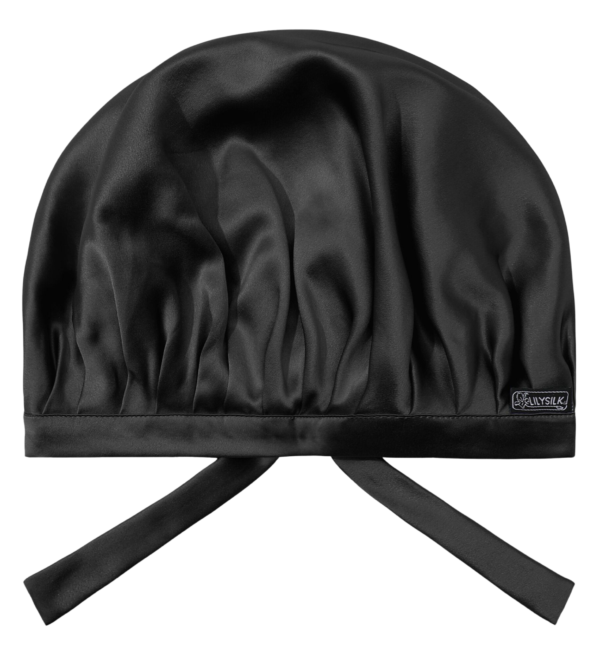
Buffs offer similar benefits to a bonnet but with a more secure, snug fit around the head. They’re a good option for anyone whose bonnet keeps slipping off.
What this method does well
✅ Holds hair upright when satin or silk coverings slide off
✅ Provides secure containment without tying
✅ Reduces tangling and friction
✅ Helps prevent ends from becoming misshaped overnight
What to watch for
❌ Snug fit can stretch curls underneath
❌ May feel too tight depending on sleep preference
Common mistakes to avoid
⚠️ Closing the buff too tightly at the crown
⚠️ Leaving hair fully extended inside instead of scrunching toward your head first
Worth knowing: The snug fit that makes buffs effective can also stretch curls underneath for some hair types. This doesn’t automatically mean the method isn’t working — evaluate after curls have had time to settle before switching.

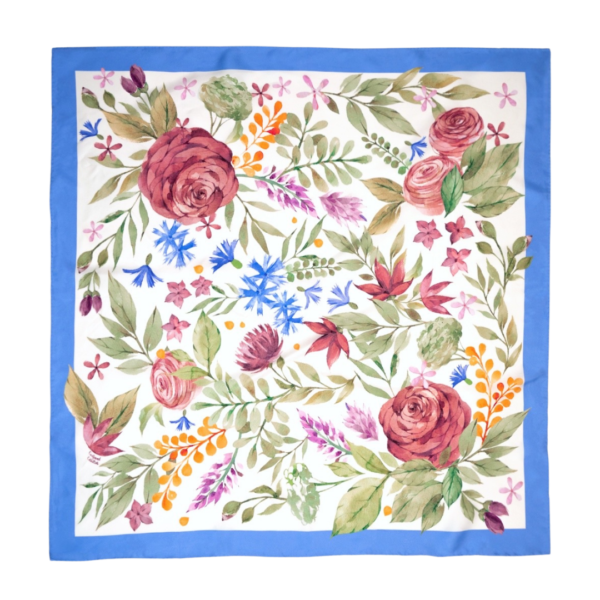
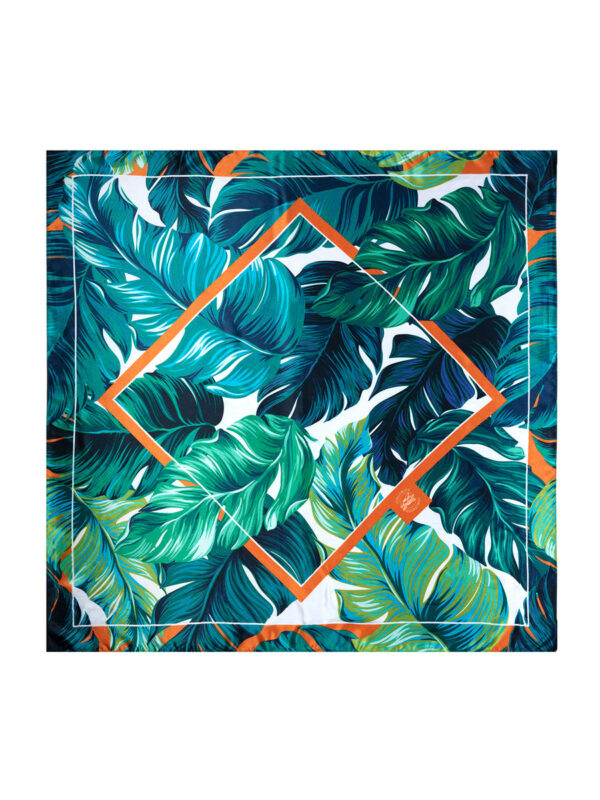
Scarves offer the most adjustability of any method and are particularly useful for longer hair that needs neck coverage without full containment.
What this method does well
✅ Keeps hair off the neck
✅ Reduces tangling and friction
✅ Provides more adjustable containment than a bonnet or buff
✅ Allows ends to stay in or out depending on placement
What to watch for
❌ Slippery fabrics may shift overnight
❌ Placement technique affects results
Common mistakes to avoid
⚠️ Tying too tightly
⚠️ Tying too low on the head
⚠️ Stretching curls during placement

The pineapple is one of the most widely recommended sleep methods in curly hair spaces — and one of the most overrated for a large portion of curl types. I generally don’t recommend it as a primary method, but it works well for specific situations.
What this method does well
✅ Keeps hair off the neck
✅ Reduces tangling
✅ Simple option if you prefer not to sleep with a head covering
What to watch for
❌ Scrunchie may leave a dent
❌ Curls may stretch or lose shape
❌ Layers or shorter hair may fall out
Common mistakes to avoid
⚠️ Placing the pineapple too tightly
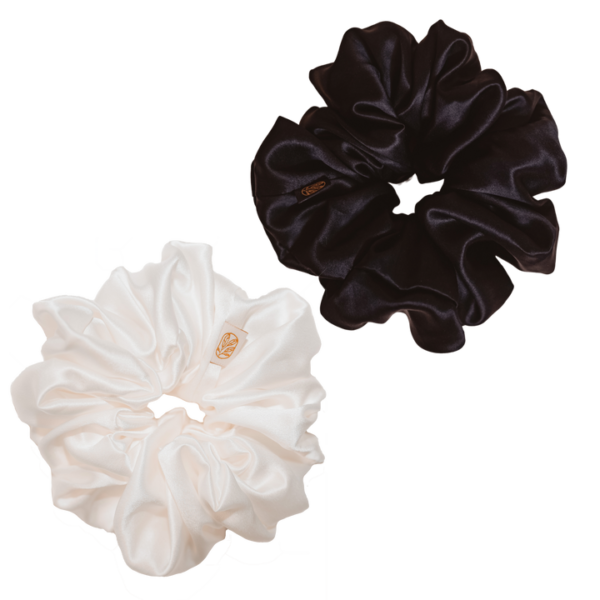
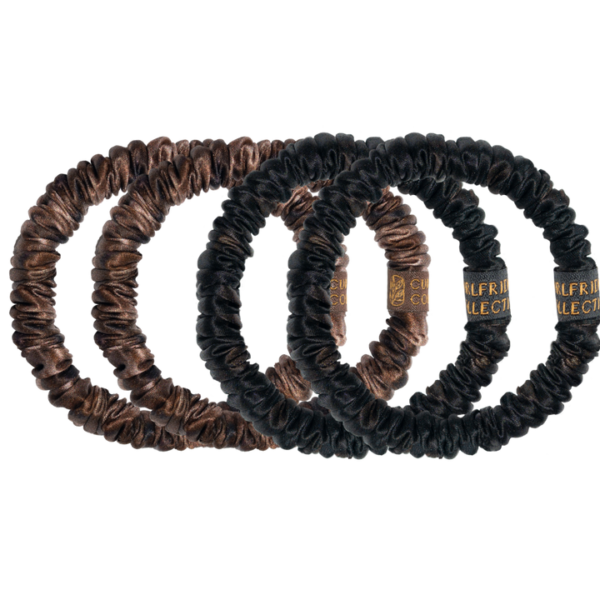
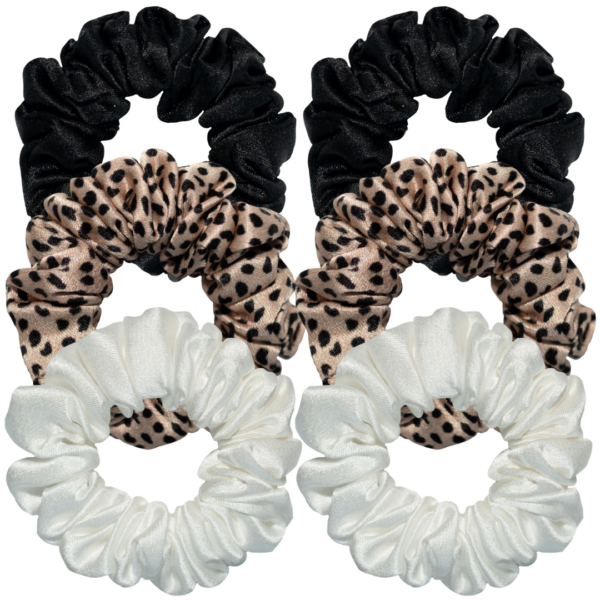
⚠️ Using regular elastics instead of satin or silk scrunchies
If your curls are stretching overnight with a pineapple and loosening the placement doesn’t solve it, move to sectioning instead of continuing to troubleshoot the pineapple.

Sectioning is the most underused method for the hair types that need it most — particularly waves and layered cuts that pineapple doesn’t work for.
What this method does well
✅ Reduces stretching by keeping curls closer to where they grow
✅ Preserves curl placement better than a pineapple
✅ Secures layered cuts more effectively
✅ Reduces tangling overnight
What to watch for
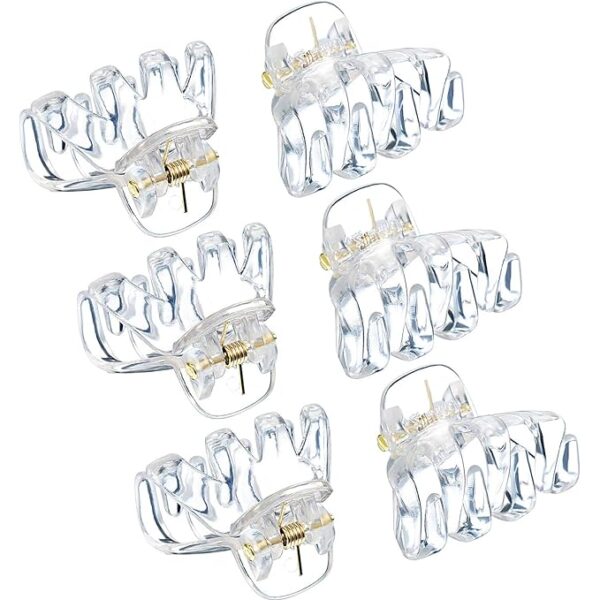
❌ Clips or scrunchies may create dents
❌ Sections may shift depending on sleep position
❌ Placement comfort varies by location on the head
Common mistakes to avoid
⚠️ Grouping sections too large instead of dividing into smaller zones
Optional: Sectioning can be combined with a bonnet for additional containment overnight.

This is one of the most overlooked parts of curl preservation between wash days — and one I see come up repeatedly with clients.
Steam from the shower reshapes curls. If you’re stepping into a hot shower without covering your hair, you may be undoing your sleep protection results before you even get dressed.
The decision to make intentionally:
Most beginners don’t realize this is a choice at all — they assume curls need to be wetted or steamed daily. They don’t.
What this method does well
✅ Keeps water off curls between wash days
✅ Blocks steam exposure that can cause frizz
✅ Helps preserve curl shape between washes
What to watch for
❌ Hair can fall down inside if too large
❌ Curls may become compressed if too small
❌ Adjustable caps improve fit and consistency
Common mistakes to avoid
⚠️ Using terry cloth–lined caps
⚠️ Pulling hair into a tight pineapple inside the cap instead of letting curls stay lifted naturally
What to use: Silk or satin-lined shower caps are ideal, but the cap does not need to be silk-lined to be effective. What matters most is fit — a cap that’s too large lets hair fall down inside, and one that’s too small compresses curls. Look for adjustable caps
If your hair is short or low-density, I recommend a cap that is adjustable on top, like the one from Kitsch below. If your hair is very long or dense, you may like the Curlfriend Collective one.
Method | What This Does Well | What to Watch For |
Silk / Satin Pillowcase | • reduces tangling & friction • protects hair while sleeping • acts as the baseline layer under all other protection methods | • does not keep hair off the neck • hair can still shift overnight • medium to long hair often needs additional containment |
Pineapple (Scrunchie) | • keeps hair off the neck • reduces tangling • simple option if you prefer not to sleep with a covering | • scrunchie may leave a dent • curls may stretch or lose shape • layers or short hair may fall out |
Securing Hair in Sections | • reduces stretching by keeping curls closer to where they grow • secures layered cuts • reduces tangling | • clips or scrunchies may create dents • clips may shift depending on sleep position |
Scarf | • keeps hair off the neck • reduces tangling & friction • provides more adjustable containment than a bonnet | • slippery fabrics may shift overnight • curls may stretch during placement |
Buff (Open-ended or closed) | • holds hair upright when satin or silk coverings slide off • reduces tangling & friction • provides secure containment without tying | • snug fit can stretch curls underneath • may feel too tight for some sleepers |
Bonnet | • keeps curls scrunched and contained overnight • reduces stretching while sleeping • reduces tangling & friction | • slippery fabrics may shift overnight • hair can fall down inside if too large • curls may become compressed if too small • opt for adjustable designs |
Shower Cap (Between Wash Days) | • keeps water off curls between wash days • blocks steam exposure that causes frizz • helps preserve curl shape between washes | • avoid terry cloth lining • opt for adjustable designs • hair can fall down inside if too large • curls may become compressed if too small |
This is where a lot of people go wrong in the troubleshooting process.
Sleep protection effectiveness cannot be evaluated immediately after you take it off. Curls that have been contained overnight will often look compressed, uneven, or undefined right after removal. That’s normal — it doesn’t mean the method failed.
Fluff your hair out and allow curls to settle before making any decisions about switching methods. Movement restores shape. What looks like a bad result at 7am may look completely different by the time you leave the house.
Important expectation to set: Some hair types will always see more overnight change than others. Fine hair, low-density hair, soft curl patterns, and damaged hair have lower curl memory, which means they’re more susceptible to disruption regardless of the method. The goal of sleep protection is to reduce disruption — not eliminate it completely.
This connects directly to the Level 0 step in the Minimal Refresh Method. If you haven’t downloaded that yet, it walks you through exactly how to assess your hair each morning and decide whether to leave it alone, add product, or refresh.
If you’re working through the Beginner Curl Series, I recommend the Minimal Refresh Method — how to assess your hair each morning and decide what it actually needs.
Download my free Minimal Refresh Method Flowchart here.
And if you want personalized guidance on applying any of this to your specific hair — length, density, curl pattern, and all — this is exactly the kind of thing I work through with clients in my Group Curl Coaching Program.

If your curls are frizzing, falling flat, and costing you way too much time every single week this summer, the problem is not that it’s
Most curl creams don’t actually provide hold — they just moisturize your hair. But there’s a small category that do, and I tested six of
“I can’t believe I used to think a curl cream or an oil would solve my frizz.”“I used to think I had to make it
If your curls are weighed down, falling flat, and won’t last — or they feel dry, brittle, and hard to manage — you might be
Notifications