Stop Overcomplicating Curly Hair: How to Get Low-Maintenance Curls That Last
Curly hair does not have to be hard or high maintenance. Most people have just been taught to overcomplicate it. Too many products, a routine found online with a dozen steps you can’t explain, and results that still don’t last.
This post covers four changes that simplify your routine by helping your curls last longer, take less time, and work with your busy lifestyle.
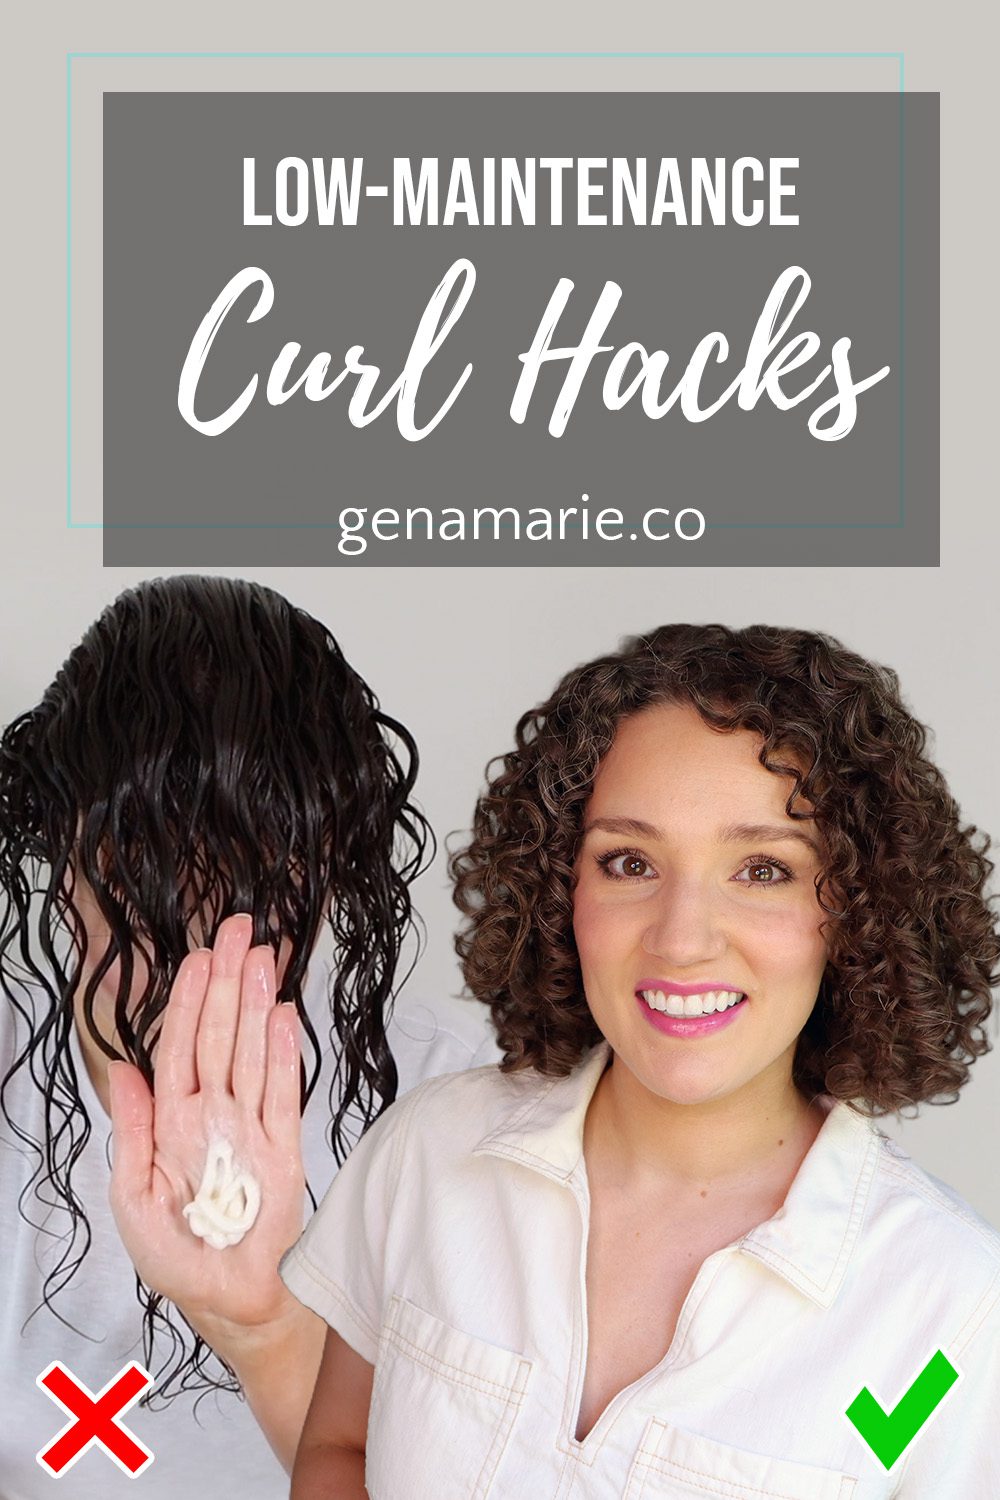
❌ Layering Several Styling Products ✅ Use One to Two Styling Products
This is usually the first thing I have coaching clients do when they tell me they aren’t getting hold, their curls are frizzy, and nothing lasts.
Try your gel by itself for at least one wash day. No curl creams, no thick heavy leave-ins, no foams, no mousses.
Most people assume curl cream is the default styler for curly hair. It isn’t a requirement. If you want hold and frizz control, you need something with hold, and most of the time gel alone is enough. In most cases it actually performs better on its own, because it can really grip your hair.
Why Curl Cream Alone Won’t Give You Hold
The opposite version of this mistake is going cream-only because it feels like the easier one-and-done option for summer. Then curls end up frizzy, they don’t last, and you’re restyling the next day. That isn’t low maintenance.
If you’re washing daily and longevity doesn’t matter to you, cream-only makes sense. But for a lower maintenance week overall, you need longevity so you’re only doing your hair about twice a week.
Why This Matters More in Summer
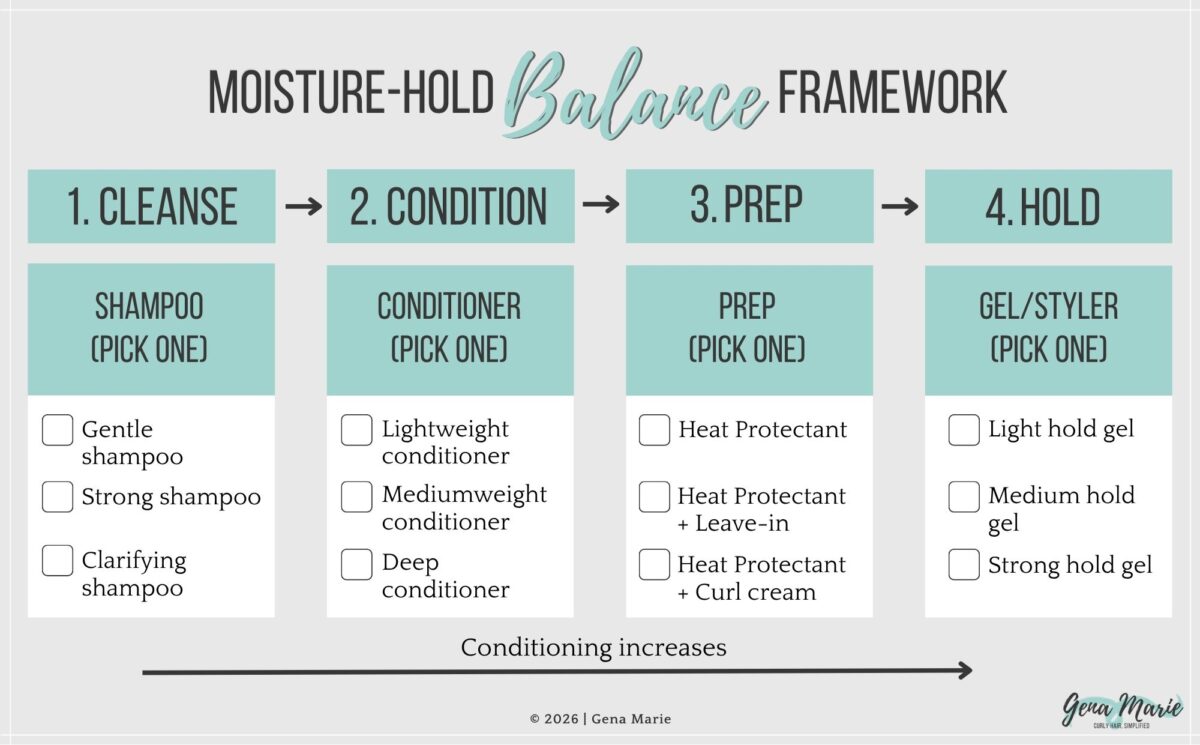
Everything you put on under your gel impacts your hold. That’s my Moisture-Hold Balance Framework, a simple four-step process that teaches you how to manage the moisture and conditioning underneath your gel in order to maximize hold.
In summer you really need that hold maximized, because humidity, or dry air if you’re in a dry climate, is working against you.
Don’t worry about your hair being dry. Your conditioner step, step two of the framework, handles the moisture and conditioning in your routine, and for most curl types that’s enough.
What to Try on Your Next Wash Day
Pull everything out from under your gel for one wash day.
Apply your gel directly to wet hair, and apply it thoroughly using My Strong Hold Method.
Compare your hold to what you normally get.
If you truly need more moisture after that, then we can evaluate how much conditioning you need at your prep step. If you applied thoroughly and still aren’t getting hold, the gel itself is the problem.
❌ Using Gels That Don’t Last ✅ Look for Anti-Humidity Ingredients, Texture or Slip for Your Finish, and Heat and UV Protection
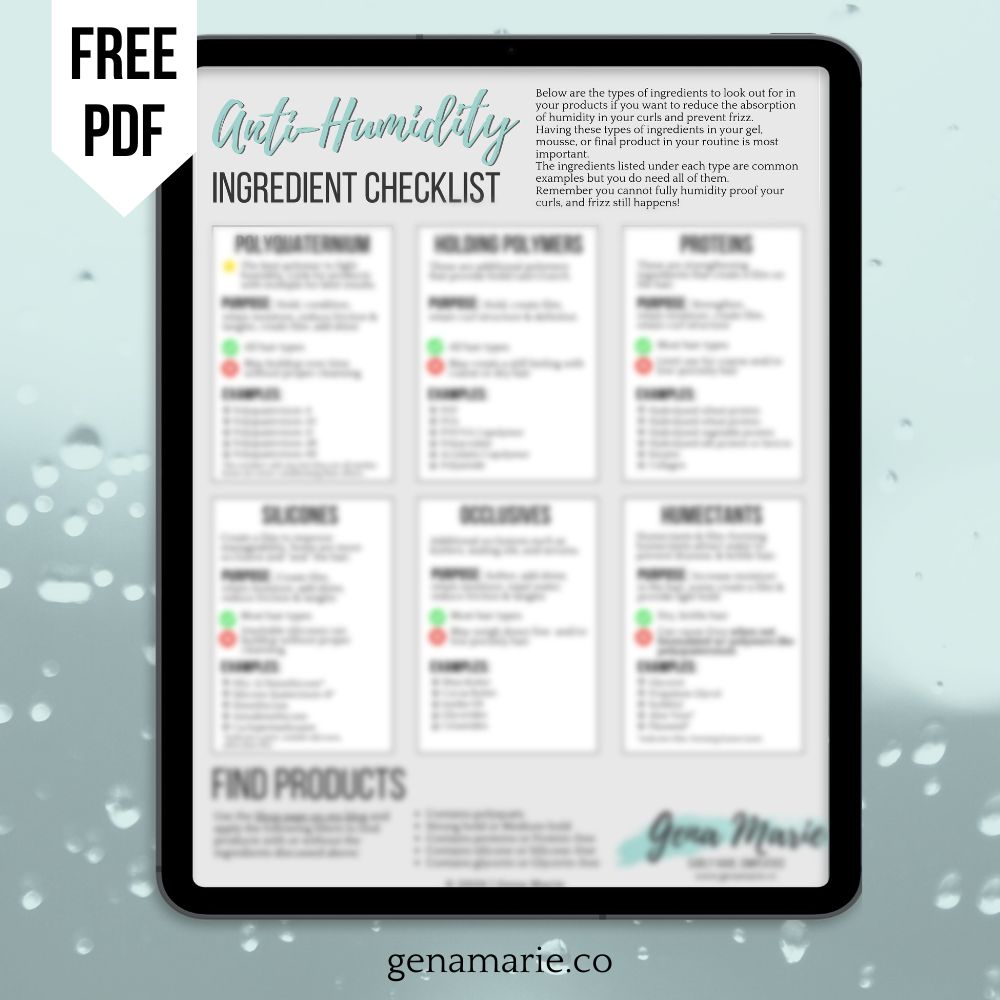
1. Anti-Humidity Ingredients
Look for these even if you don’t live in a humid climate. They help your hold withstand more wear and tear throughout the week, which means longer lasting results anywhere. If you’re in a dry climate, you can tolerate slightly more moisture in your styling products, but this checklist still applies.
Keep in mind you can never waterproof your hair. These ingredients help your results last longer, not become immune.
To learn more about hair finish type, check out @itsbarbiedelle, who teaches the difference between soft and rough finish hair.
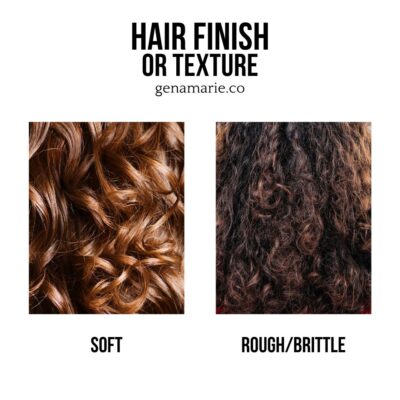
In my opinion, your finish is almost more important than knowing your exact porosity, texture, and curl pattern, because finish combines all three of those things and it’s much easier to figure out. You can simply observe your hair.
Soft finish: curls are soft and fall out easily. You need gels with strong hold plus texture and grit to counteract that softness, because really soft curls don’t last.
Rough finish: coarser texture. This is where my own hair leans. You may not like texture and grit as much. More slip and softness helps with manageability.
Both finish types still need strong hold if you want longevity.
This is a starting point, not an absolute rule. I have clients using all types of gels across both finish types who like having some of each so they can customize their results.
3. Heat and UV Protection
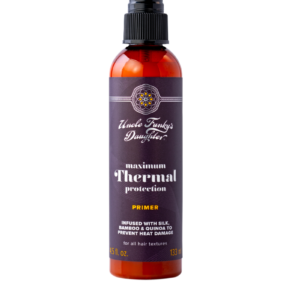
Heat protection matters if you’re going to be diffusing, which I highly recommend. That protection can come from your prep product or be built into your gel.
UV protection matters in summer. You’d be surprised how much damage the sun can cause. If your ends are getting lighter in the summer, that’s a sign of UV damage, and damaged hair is a lot more maintenance.
If your gel has heat and UV protection built in, that’s your one and done. If it doesn’t, you need one prep product underneath before you diffuse. That’s still two products maximum.
One-and-Done Gels
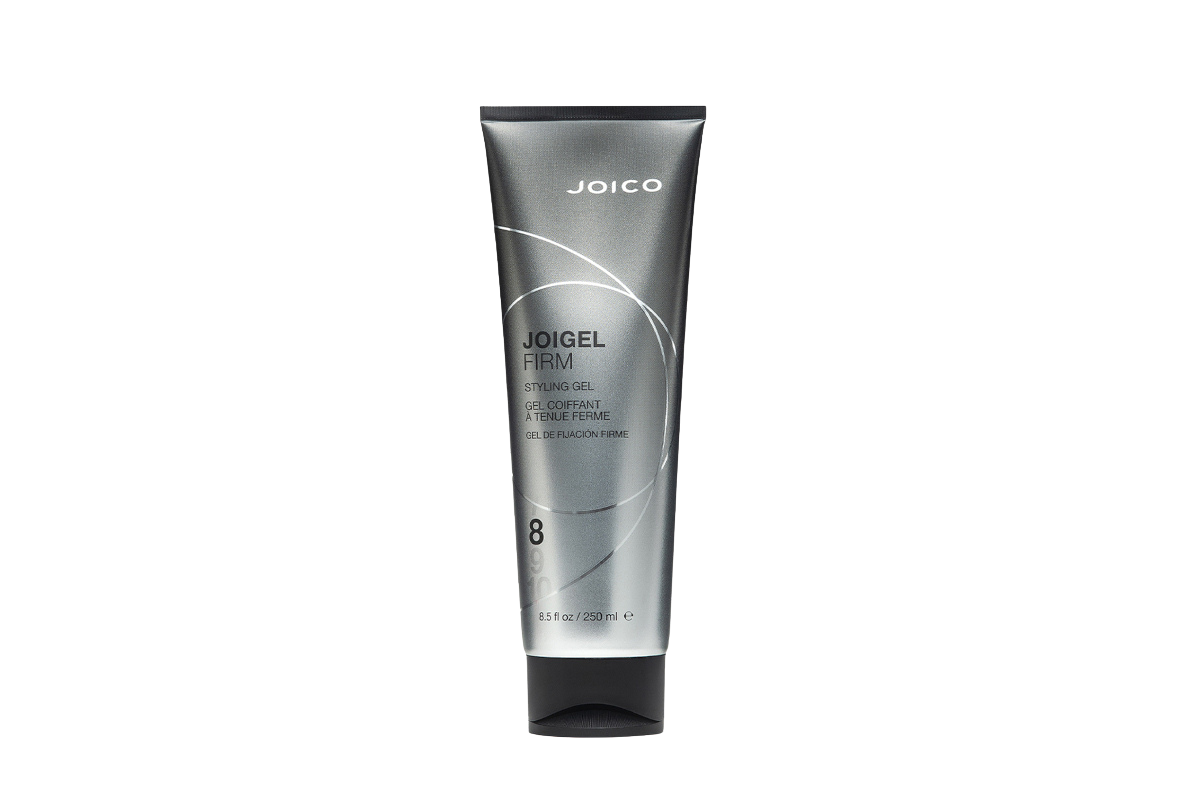
Joico Joigel Firm Styling Gel
I’ve been using this one a lot recently. It combines hold with heat and UV protection, and it’s lower in moisture, but I can use it by itself even though my hair tends to run drier, at least in summer. It has some slip, so it isn’t as thick and sticky as some others. Great for softer finish hair, and rough finish hair can use it too.
One of my all-time favorite gels. It lasts a long time, and the slip makes it easy to work with and easy to refresh, sometimes with just a little water or even dry hands, which is a win for a lower maintenance routine. It’s very moisturizing, so I’d avoid it with very soft finish hair unless you prefer a more slippery conditioning gel. It has UV protection but no built-in heat protection, so add a prep product if you’re diffusing.
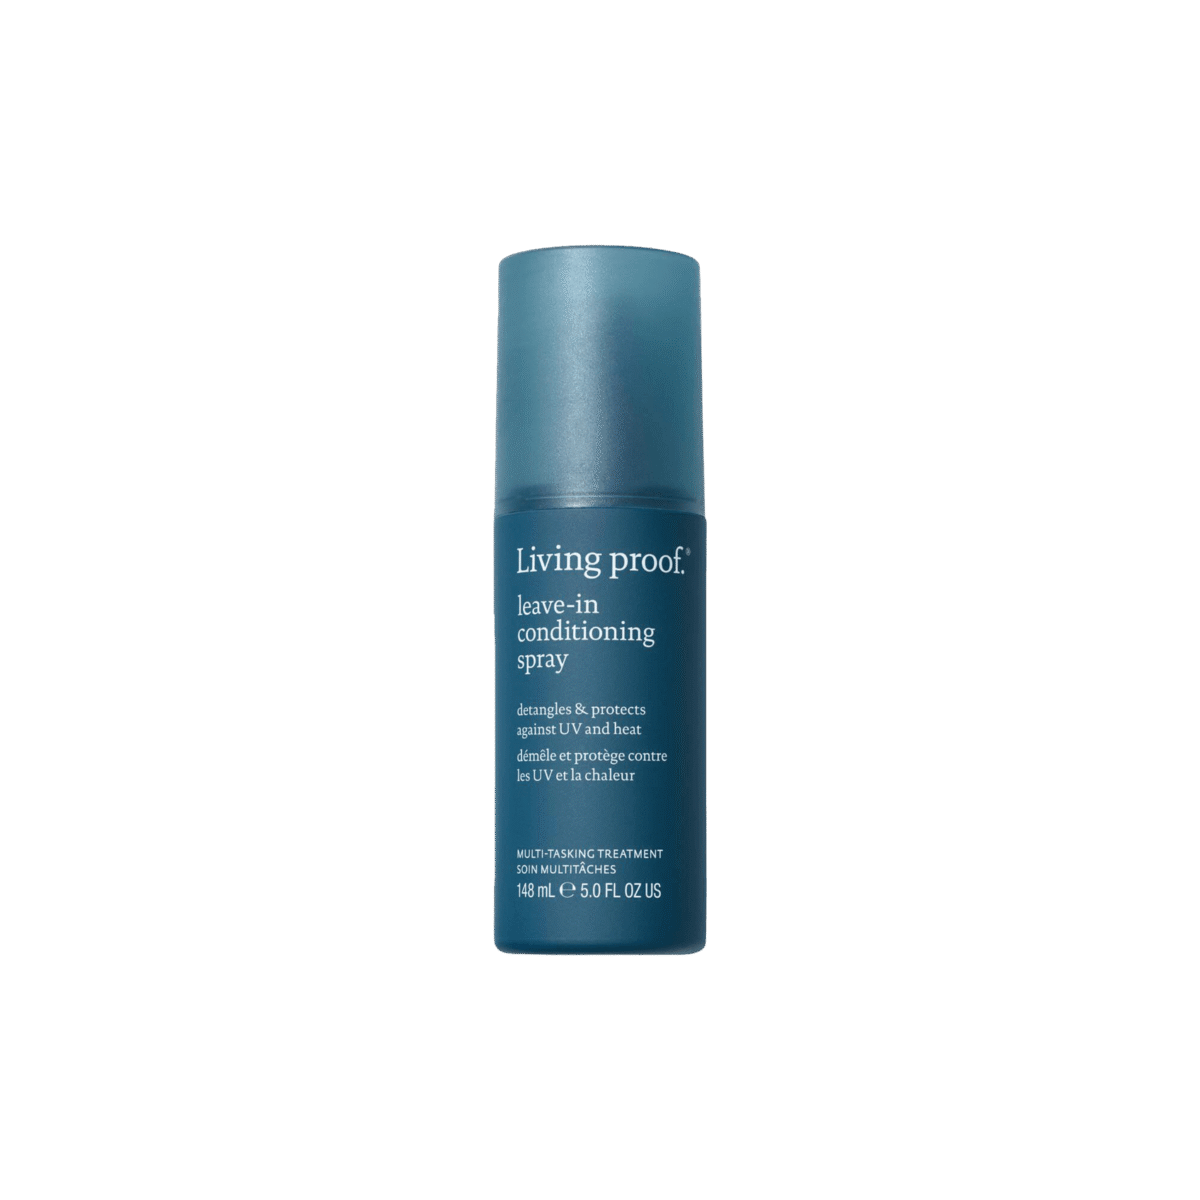
Works for all hair types. It’s very lightweight while still giving some conditioning and light moisture, so soft finish hair should go with this one. Rough finish hair can use either prep option.
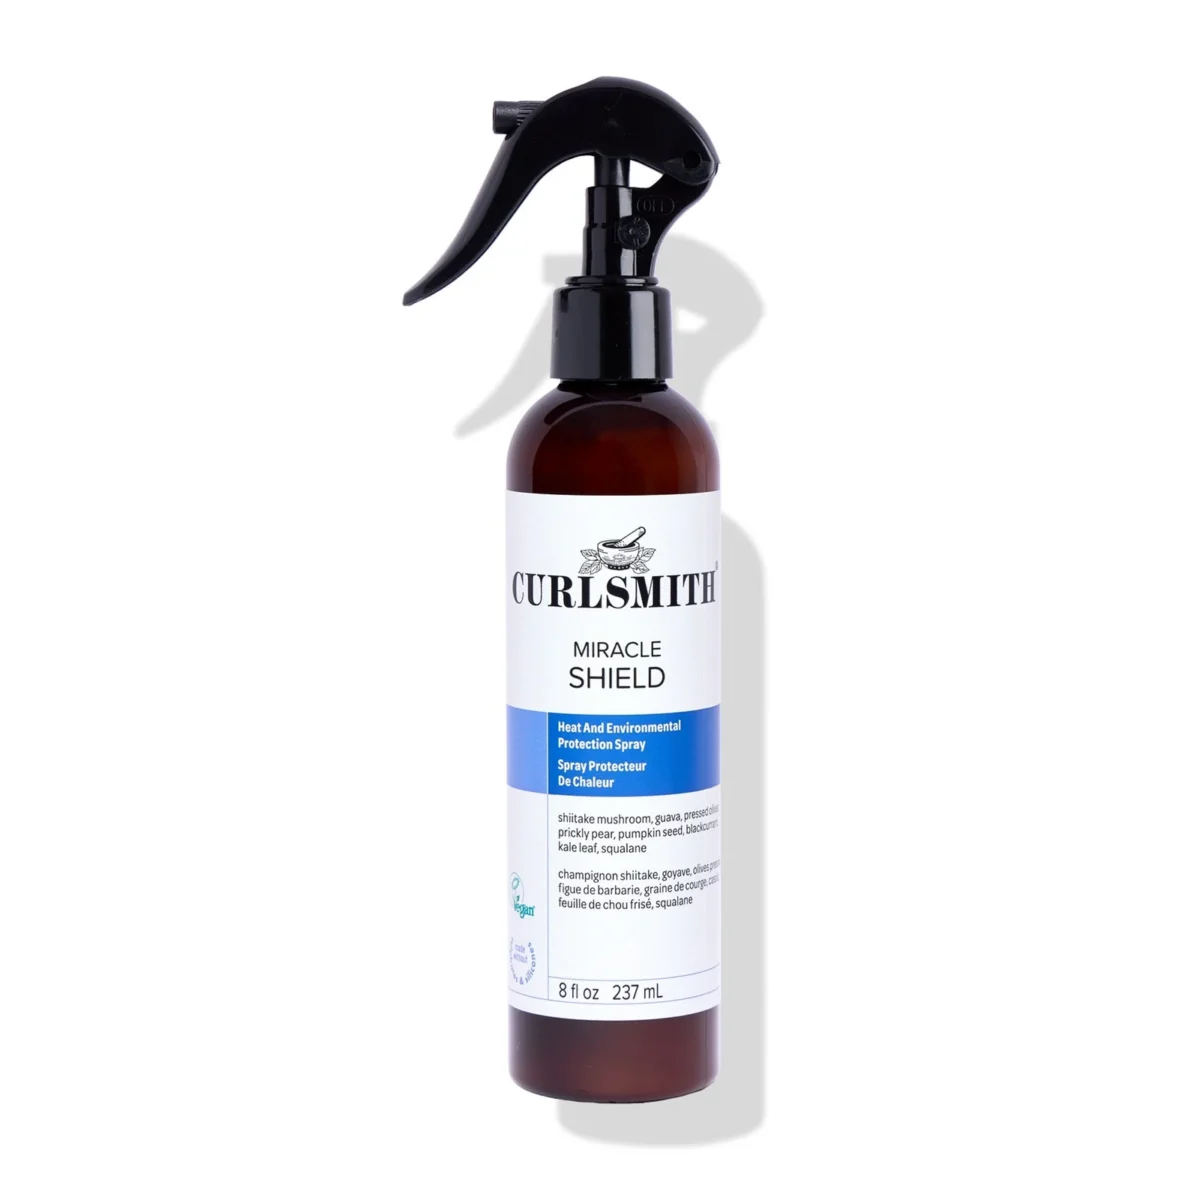
Curlsmith Miracle Shield
A bit creamier with more conditioning than the Living Proof, though still fairly lightweight. Also works for all hair types, but soft finish hair may get weighed down by it. It adds chlorine and saltwater protection, which makes it a strong summer option.
I have a full post that goes deeper on prep products with heat and UV protection HERE.
2. Gel
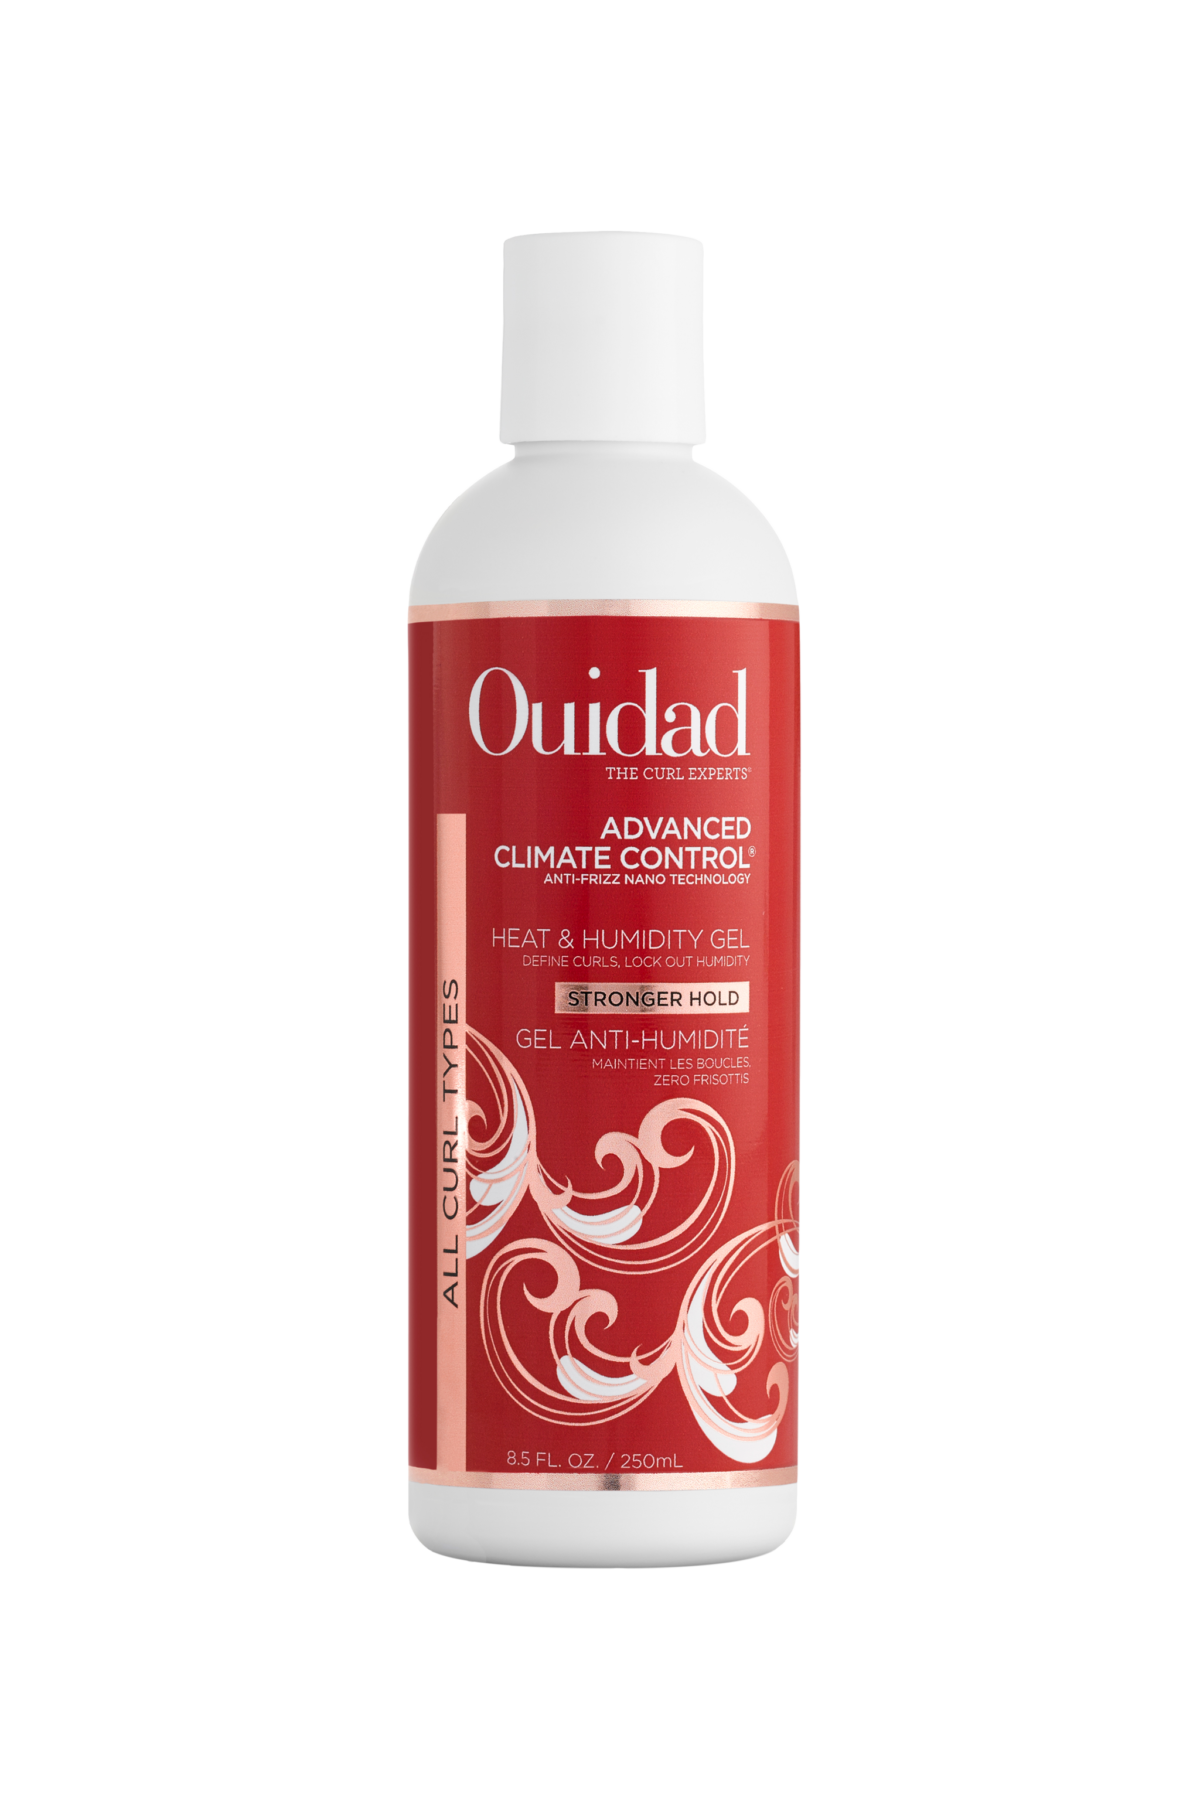
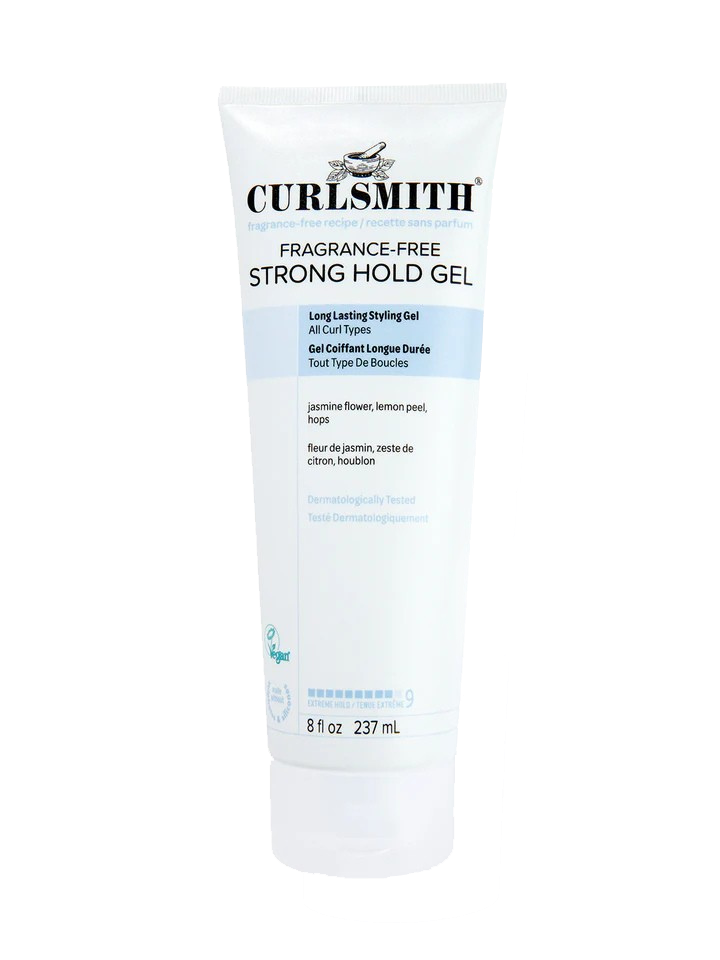
Curlsmith Fragrance-Free Strong Hold Gel
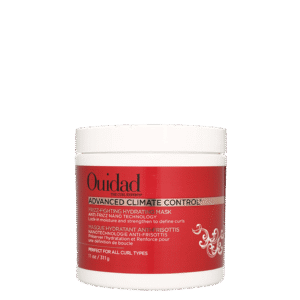
Another all-time favorite, and one of the strongest hold gels that has humidity-blocking ingredients. It’s low in conditioning, so it won’t over-condition your hair, which means you get your conditioning at the prep step and your hold from the gel. Almost all of my clients have used this one and really like it. If you’ve already tried the Ouidad and didn’t get enough hold, this is your next step.
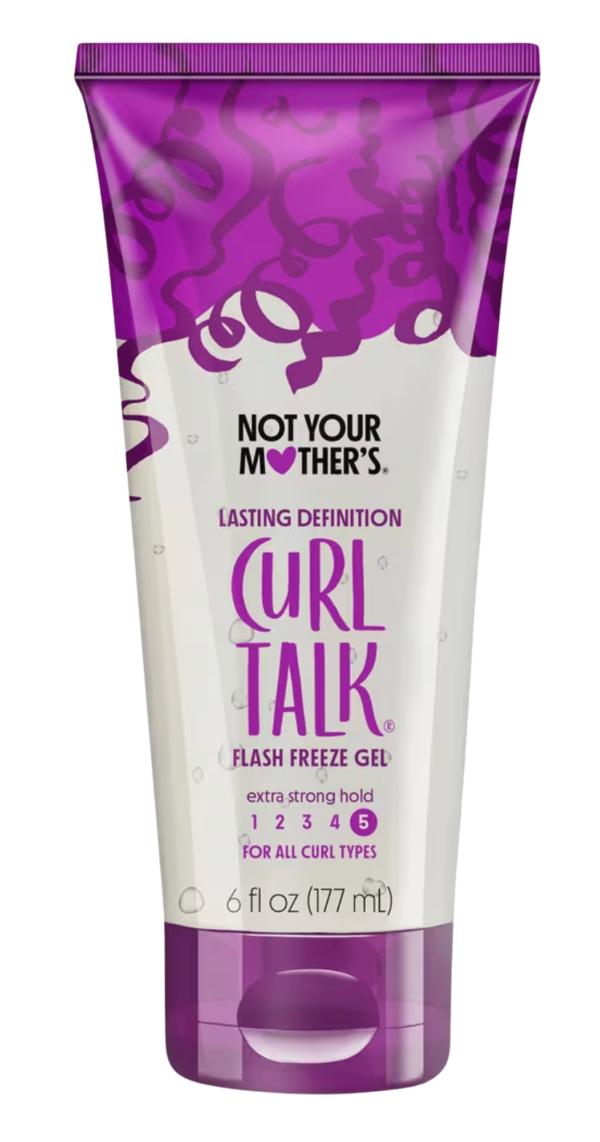
Not Your Mother’s Curl Talk Flash Freeze Gel
A drugstore option with a similar texture. Keep in mind it isn’t fragrance-free.
Both of these gels are great for softer finish hair because of the texture and grit, although anyone can use them, and both give strong, long-lasting results.
❌ Spending Too Long Drying ✅ Dry Hair Faster: Microplop, Diffuse Right Away, Finish With Air Drying If Needed
1. Microplop After Styling
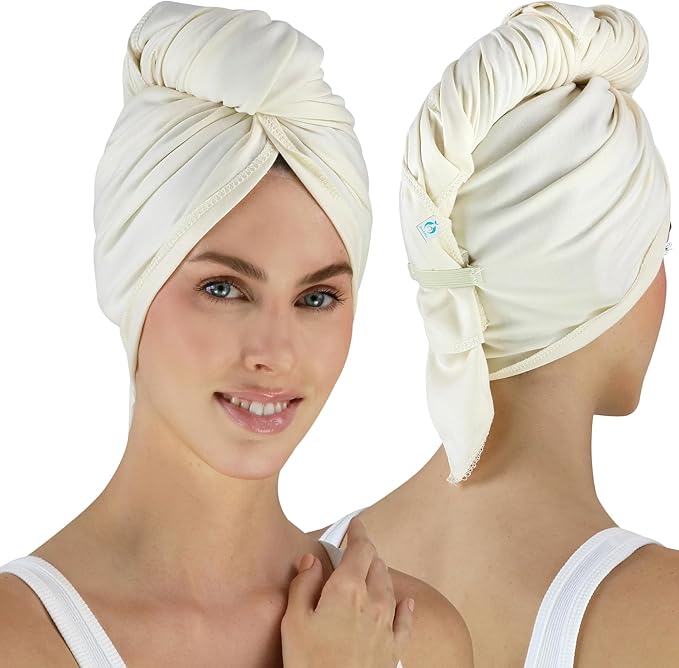
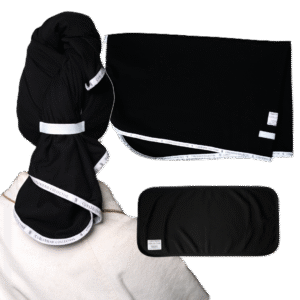
Do this after you’re done styling and before you diffuse or air dry. You need a hair towel that’s flat and smooth, not the kind with little fibers. A t-shirt or pillowcase works too.
Pick up a wet section of the towel, which prevents it from soaking up too much product.
Go around and gently scrunch, working slowly to press out the excess water.
Go back in with a light glaze of gel using praying hands and scrunching. I like to mix mine with a little water so it isn’t too sticky.
Don’t skip step three if you’re seeing frizz or struggling to get a cast. It adds a lot of extra hold and puts back product that may have been absorbed. Microplopping doesn’t remove your product, but areas like your ends can release a little. One exception: if you over-applied your gel, skip the extra glaze and go straight to diffusing.
This saves dry time regardless of how you’re drying.
Don’t microplop or style and then wait around air drying first, and skip traditional plopping. Wet hair is in a fragile state at that point and gets disrupted easily.
Start right away with your diffuser. That gentle heat sets the curl shape immediately and starts setting your cast. The sooner your hair locks into the gel cast, the longer your results last.
If you’re currently air drying and seeing a lot of frizz, curls falling easily, or not enough volume and definition, diffusing fixes those things.
3. You Don’t Have to Diffuse All the Way
If you’re short on time, diffuse until your gel cast sets or until you’re happy with the overall shape of your curls, then finish air drying. Even five minutes of diffusing makes a difference.
Two limits: don’t go out in humidity if your hair isn’t dry yet, because that will disrupt your curls, and don’t go to bed with wet hair. If you’re styling at night, make sure you have time to fully air dry.
Use a Diffuser Built for Curls
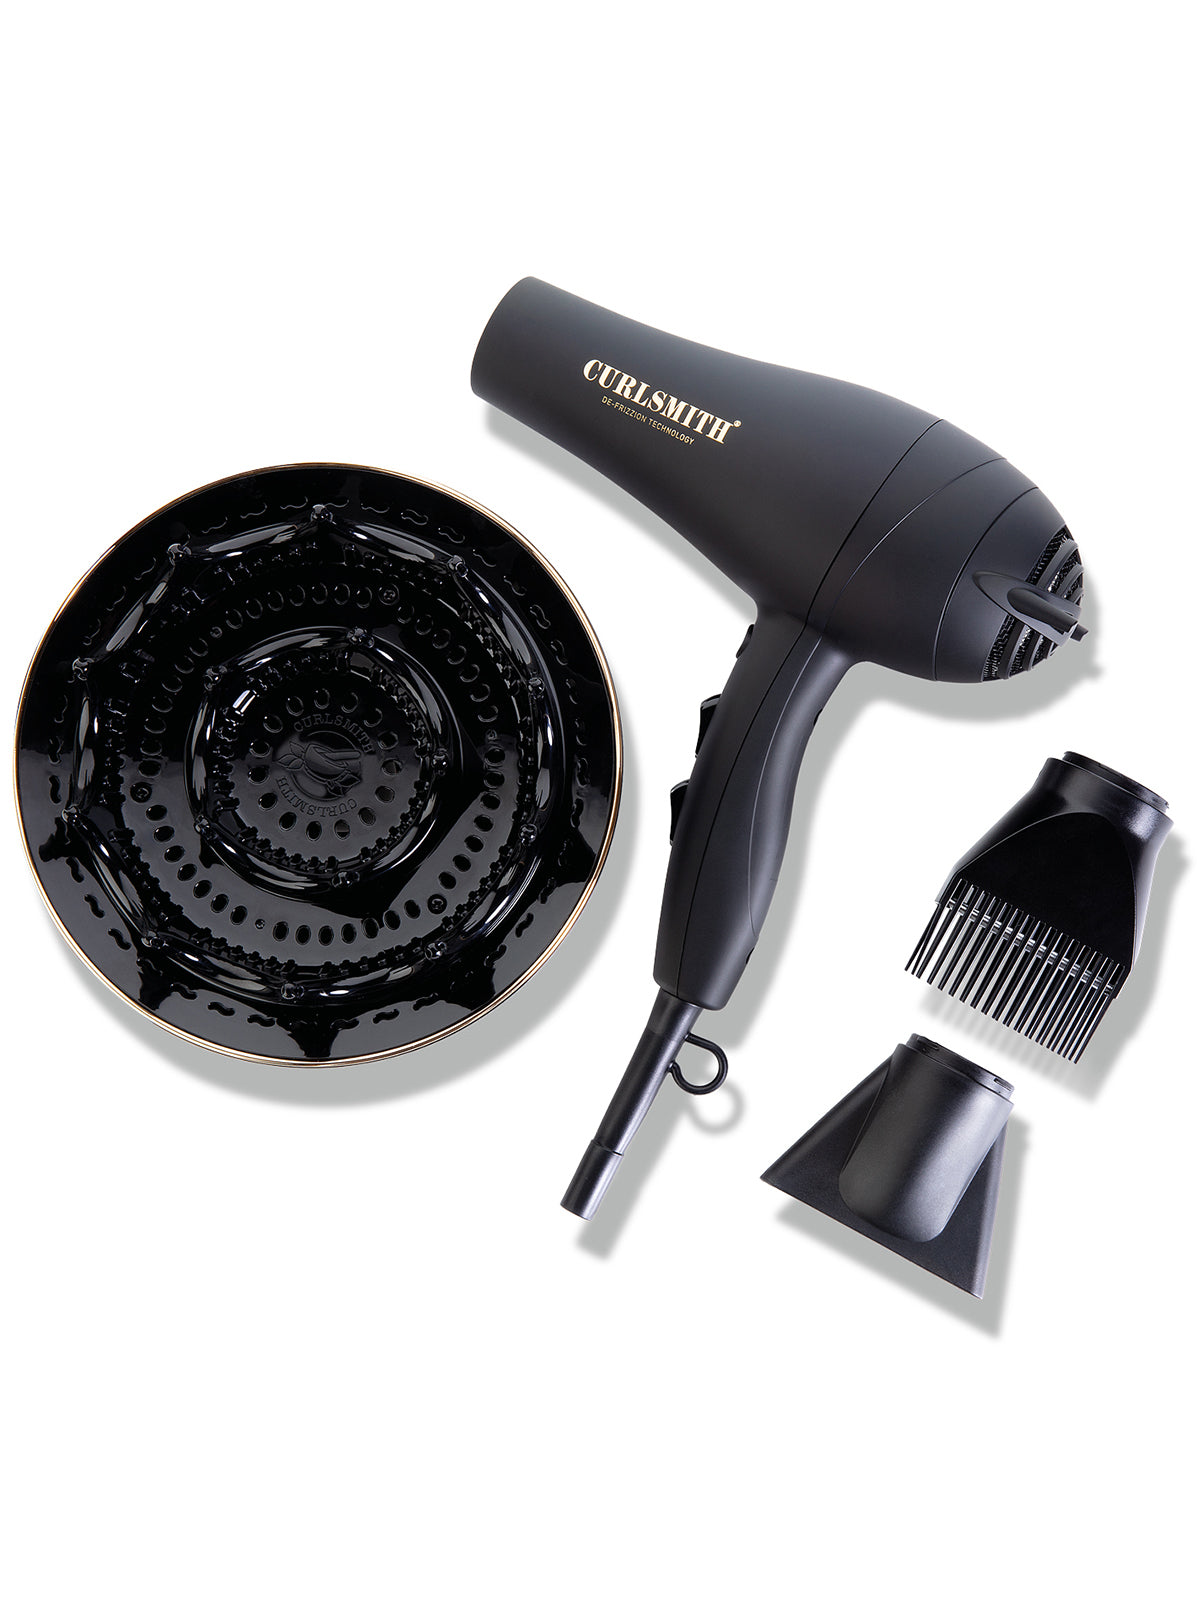
The Curlsmith Diffusion Hair Dryer with XXL Diffuser Attachment dries my hair in about 10 minutes using less heat than most hair dryers. That comes down to the large size of the diffuser head and the drying power of the dryer. They make a smaller travel version as well, but this one dries my hair the fastest.
Ten minutes of diffusing gains me time overall, because my curls last for days without having to touch them up.
Cutting back on moisture in your routine also speeds up drying, since there’s less water for your hair to release. If you aren’t going to diffuse at all, choose a product that works with your dry time. A lower-moisture gel is the fastest drying gel option, and mousse dries faster than gel by nature.
❌ Restyling Daily or Wearing Your Hair Up Tightly ✅ Preserve Your Curls: Scarves, Bonnets, Loose Scrunchies, Headbands
You Shouldn’t Have to Restyle Every Day
I do a full wash day about twice a week and I don’t really touch my hair much in between. I rarely have to refresh, and I certainly don’t restyle from scratch. Most of the time I can just leave it alone or do a very simple dry refresh. I share this so you know it’s possible with the right routine.
Some hair types naturally need more touch-ups. But if you’re soaking your hair down and completely redoing it every day, or throwing it up in a bun because it doesn’t look good the next day, there’s something to improve on your wash day. My clients always get at least another day or so by the time they finish my program.
Winter Group Coaching
Before joining, I had no curl definition, hundreds of products in my bathroom, and no understanding of how to style my hair or that there were even options. Now I’m washing less often, have narrowed down the products that work for my hair, and I’m most shocked that simple, consistent routines give me lasting results. I’m appreciating my curls more now. It’s life-changing because there is so much more to curly hair than product packaging… Read more “Winter Group Coaching”
Kendylle Corliss, Fall-Winter Group Coaching Member
Annual Group Coaching (Winter)
Before joining, I struggled with refreshing. Now I can get to day 2 and sometimes day 3 hair, and I have more confidence trying new things. I now absolutely trust my routine and trust my ability to observe when I need to make changes. I’ve grown so much in my ability to determine what my hair needs, and I’m much more comfortable with refreshing.
Michelle, Annual Group Coaching Member
Annual Spring Group Coaching
Before joining, I had inconsistent curls not lasting, losing definition, undefined. I was using inappropriate products for my hair’s needs and spent a lot of money on products hoping to fix the problems. Now my results are more consistent, better lasting curls with less refresh needed. I’m not afraid of a bad hair day and feel more confident. I’m buying fewer products and having better results. I’m also not afraid to start over if my… Read more “Annual Spring Group Coaching”
Miriam Gomberg, Annual Member
Spring Group Coaching
My hair was very frizzy. I wasn’t washing it enough. I also used a lot of different products, thinking that would help. I struggled with refreshing and used too many products there as well. I spent a lot of money on products and was frustrated. I thought about giving up and just straightening my hair. Now I wash more frequently. My hair is less frizzy and I have more curls. I feel much more confident… Read more “Spring Group Coaching”
If your wash day is dialed in and your curls still aren't lasting, the issue is preservation. In summer that means protecting your curls in wind, at the pool, and at the beach, not just overnight.
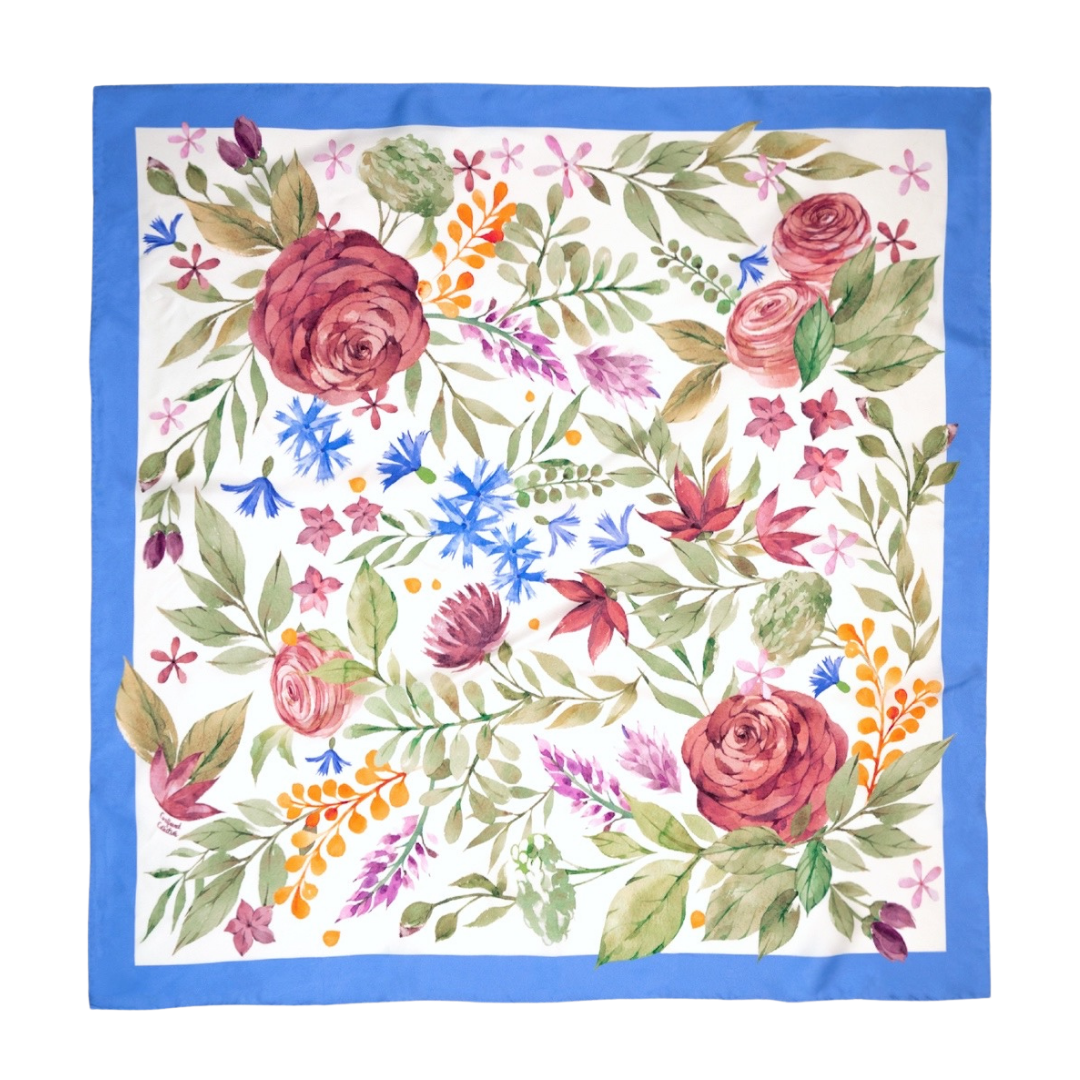
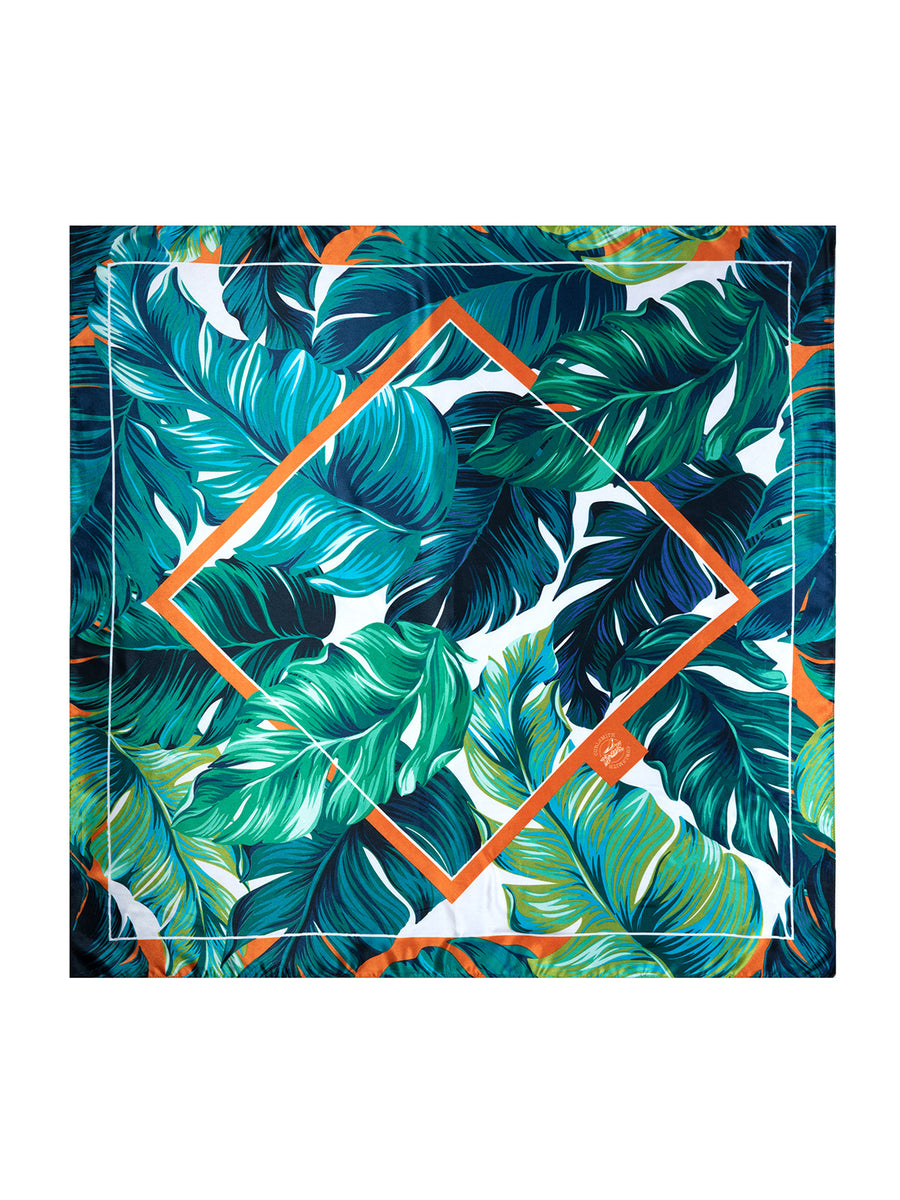
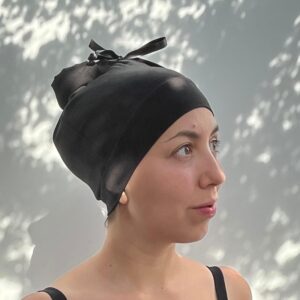
1. Silk or Satin Scarf
This one is really underrated, and it looks cute tied up. It works like putting your hair in a bun or scrunchie, but it doesn't dent your hair and it keeps the back covered, which is the area that rubs against everything.
I wear one at the beach and the pool, usually under a hat or visor. It also works for walking or exercising outside. Silk and satin are lightweight, so it won't feel hot on your head.
Wear one to sleep, during workouts, and around the house.
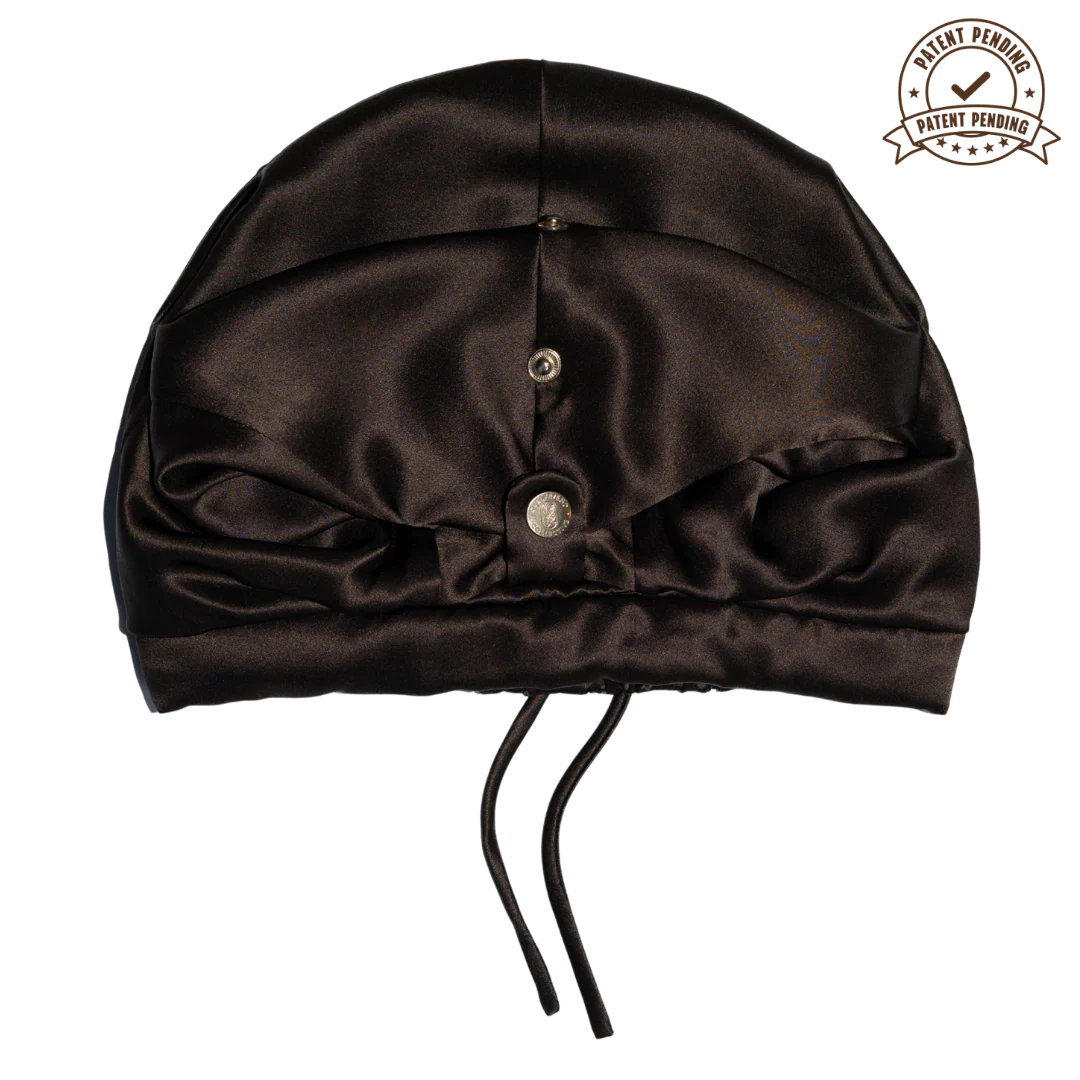
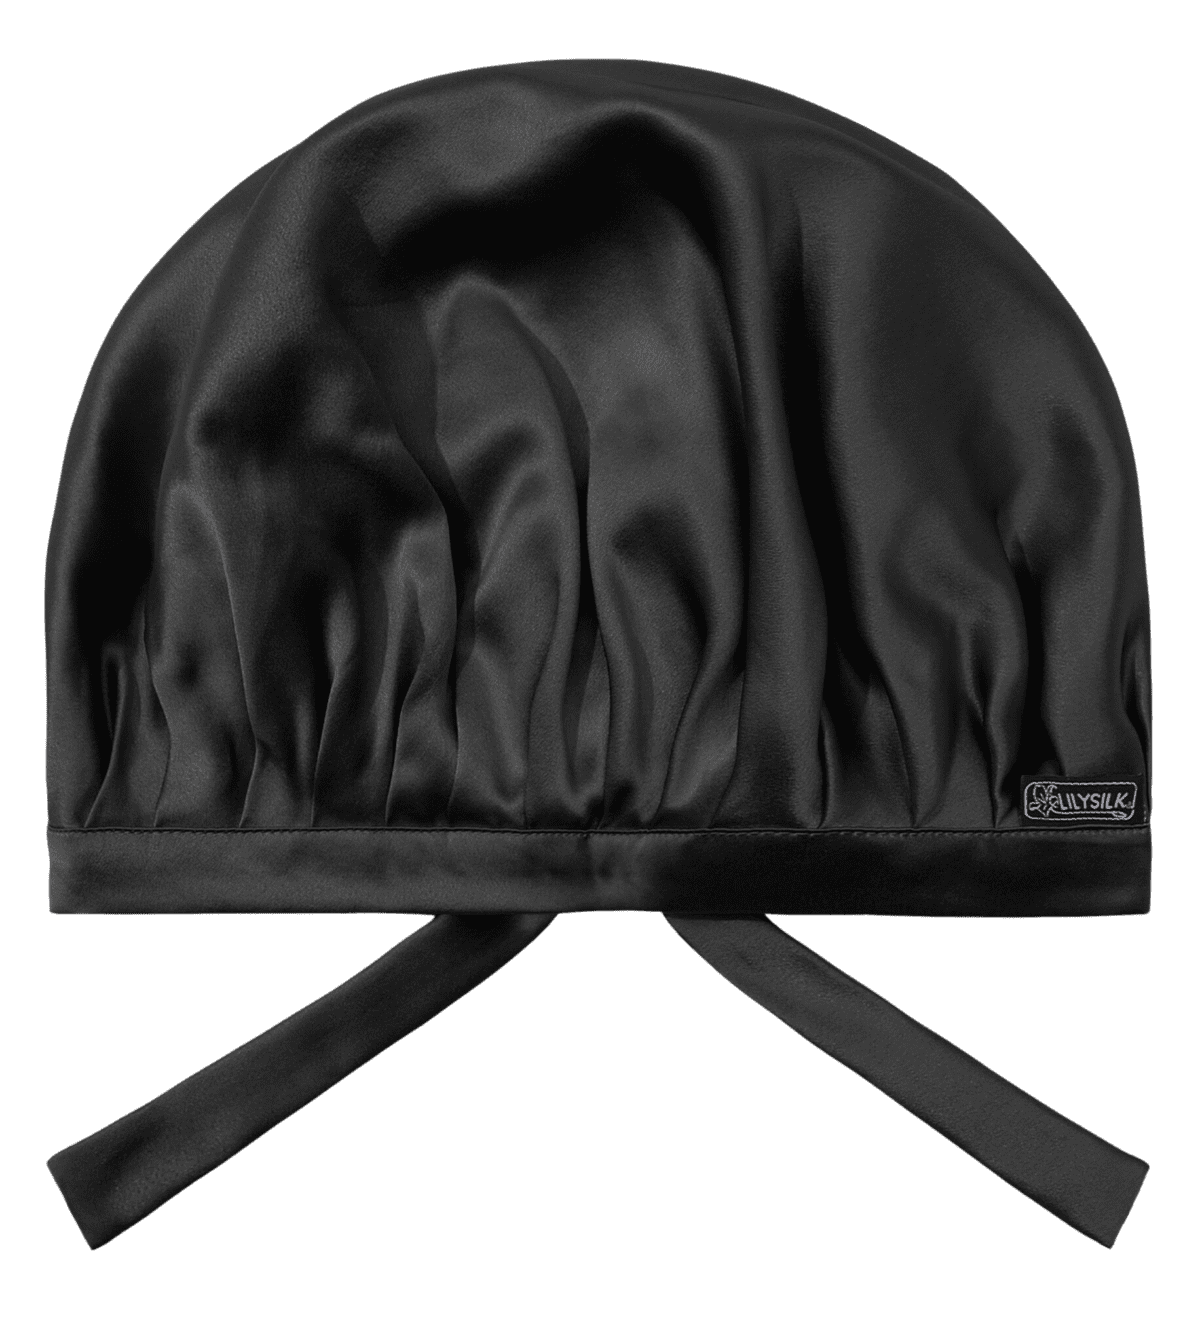
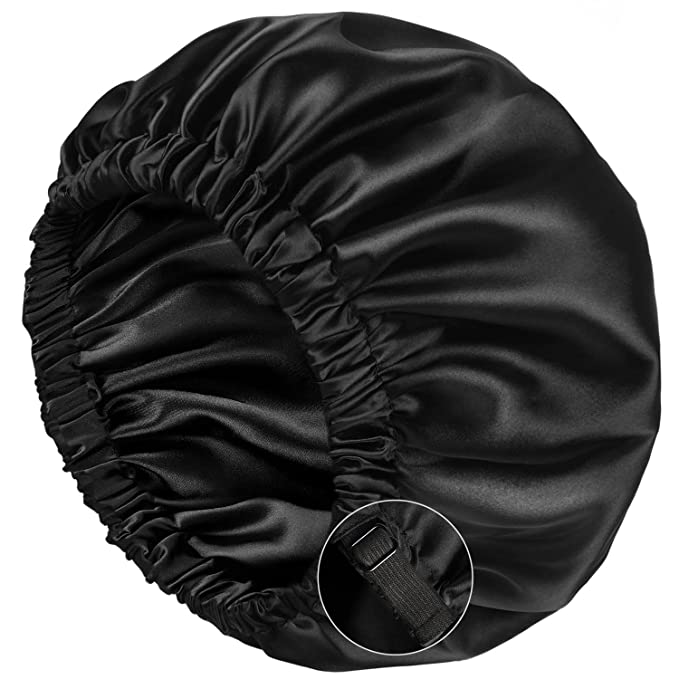
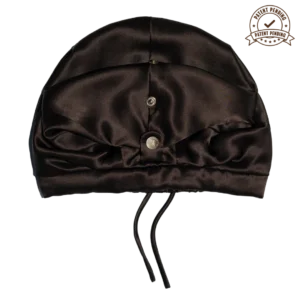
I've been testing the new Curlfriend Collective bonnet for almost 2 weeks now. It's real silk, double lined, with a comfort band around the top that won't leave dents. What sold me is that it adjusts. Most bonnets are way too big, and if yours isn't holding your hair up on top of your head, it isn't really doing anything while you sleep. This one has snaps so you can fold it over and tighten it across the top, and it adjusts in the back, so those of you with low density or short curly hair finally have a bonnet that fits.
It is a little snug on me around the band, though others have said it doesn't feel tight on them, so if hats tend to not fit you, keep that in mind. Wearing it further back helps. It's a pricey one, but it stays on, and most bonnets have been falling off me lately.
Your hair doesn't have to be down and perfect every day. A loose updo on day two or three isn't giving up, it's a low maintenance strategy, and it needs no product.
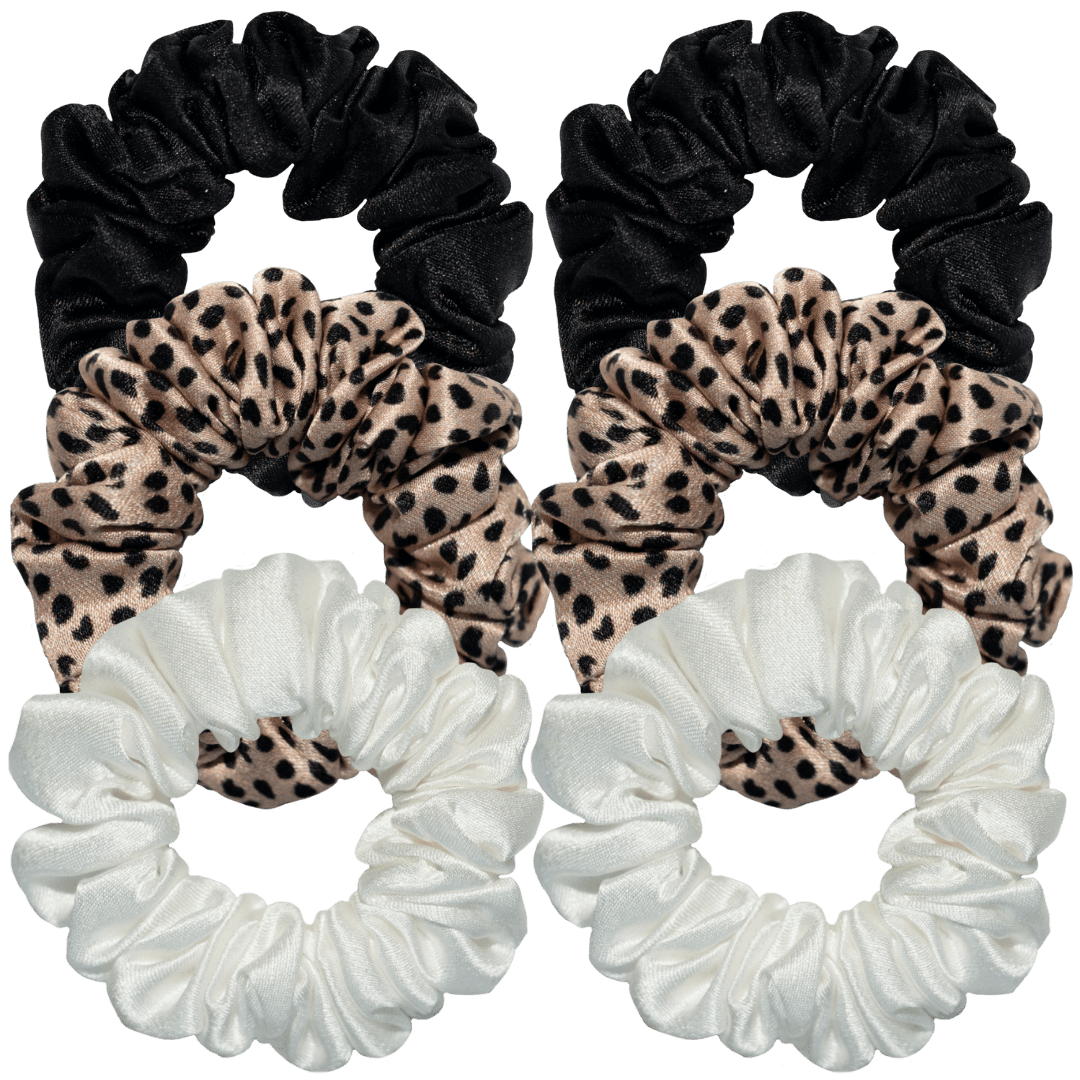
The key word is loose. Skip the tight scrunchie or the slicked-back style as a daily habit. Once in a while is fine.
I recommend the Curlfriend Collective scrunchies for this, because they're real silk and won't damage your hair.
I have clients who wear their curls once or twice a week and put them up in between, and that's totally fine. Live your life with your curls. Wearing them up loosely protects your curl memory.
Headbands
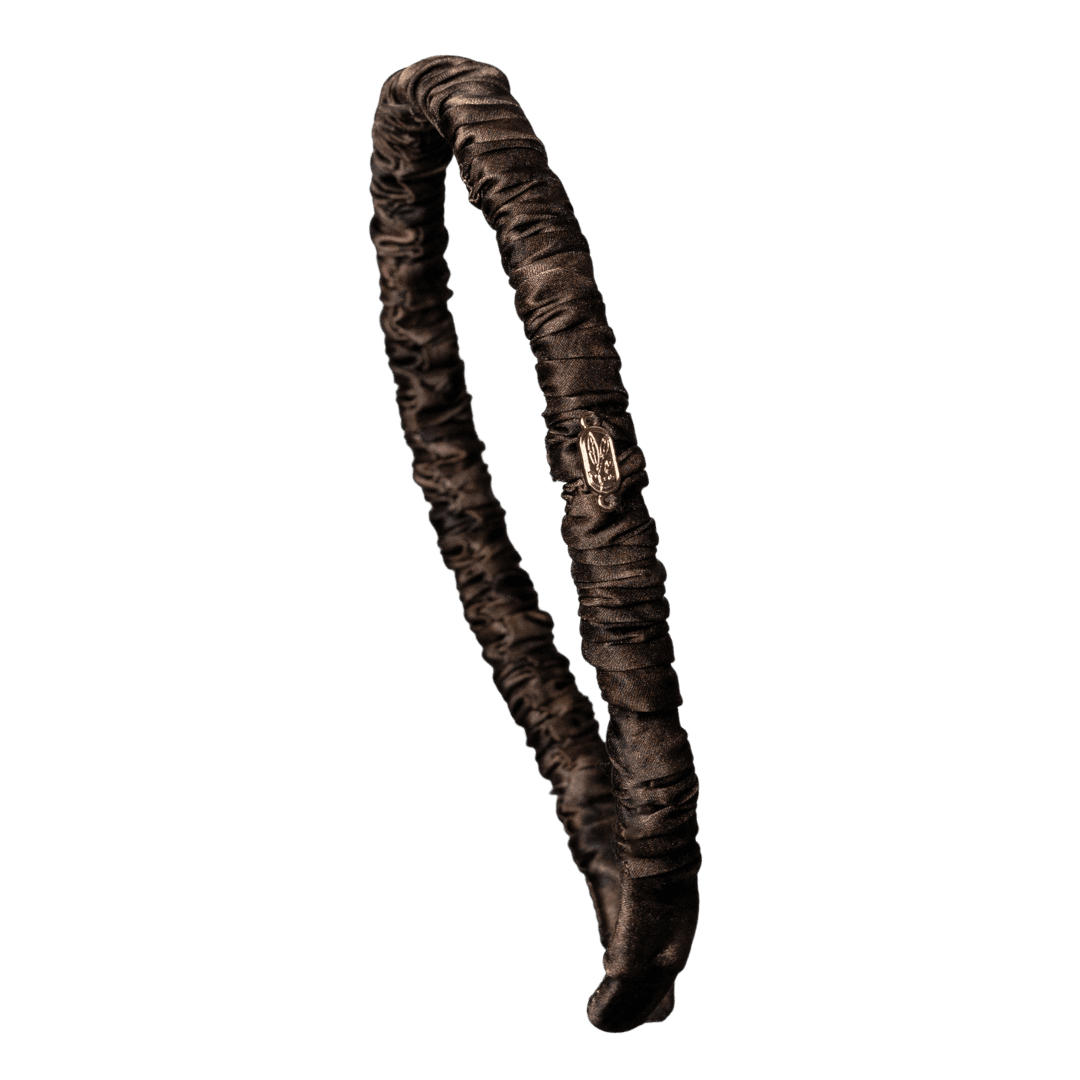
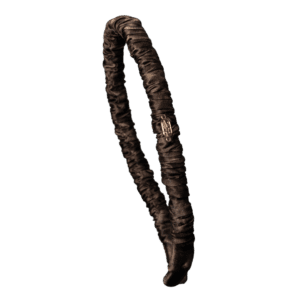
I wear headbands almost every day because I don't like my curls in my face. The Curlfriend Collective Comfort Curve headbands are nice because they don't give you a headache and you can wear them with glasses and sunglasses.
If you're swimming this summer and it's turning into a ton of maintenance because you're washing so much, I put together a full Pre-Swim and Post-Swim Protocol.
Still Need Help?
If you only change one thing from this post, use your gel alone for one wash day. That single change tells you more about your hair than anything else on this list.
Most of the frustration people feel with curly hair isn't a hair problem, it's an information problem. Everyone who comes to me is spending way too much time, not getting the results they want, and restyling every day. We work backward to get to the bottom of why.
What it comes down to is that you have more control than you think. Once you understand the levers you can pull and the things you can adjust, like dialing back your moisture to increase your hold, you realize you can actually control your result. It doesn't have to be a surprise every time you wash your hair.
If you've been trying to figure this out on your own and it isn't clicking, that's exactly what my Group Curl Coaching Program is for. Over there we keep things simple and achievable, and I teach you the skills, tools, and diagnostic mindset to make curly hair manageable consistently.
Pre-registration is open for the Fall program until Aug 31, so apply here to secure your seat early.
Amazon’s Prime Day Deals are happening today and tomorrow only! I’ve rounded up my top curly hair picks on my Amazon storefront plus shared quick notes below on each product’s key characteristics to help you decide what’s worth grabbing. I also went live on YouTube to break down these deals, explain how to choose for your hair type, and even picked out products for many of you! 🎥 Watch the replay here: Prime Day Picks Please note: Prices and deal amounts are subject to change and mayRead more “LIVE REPLAY: Curly Deals for Prime Days | Helping You Pick Products”
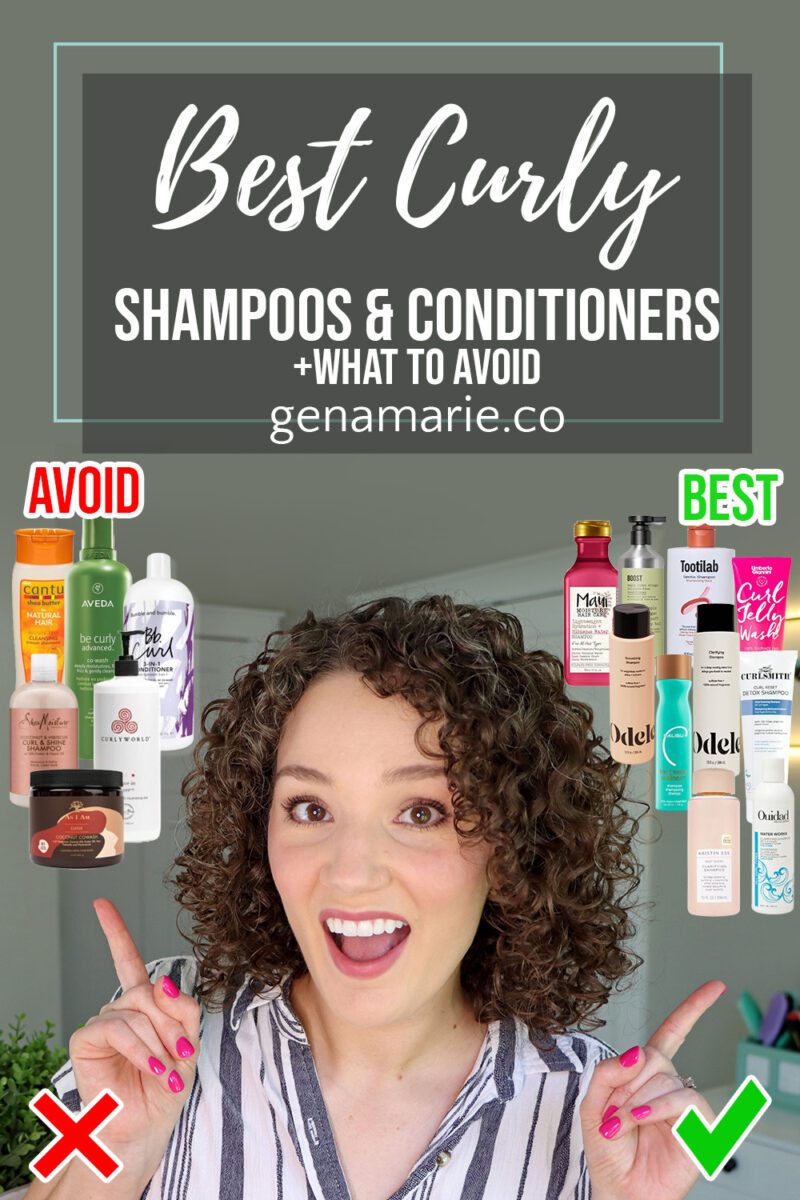
The shampoo and conditioner you use affect your curls more than you think. It doesn’t have to be complicated. You just need to know what to look for and what to avoid. As a Curl Coach, I’ve tested hundreds of products. These are the ones that have worked for my clients, no matter their hair type. Best Shampoo and Conditioner Pairs for Curly Hair These pairs are listed from lightest to most conditioning. All theRead more “Best Shampoos & Conditioners for Curly Hair + What to Avoid | Updated 2026 List”
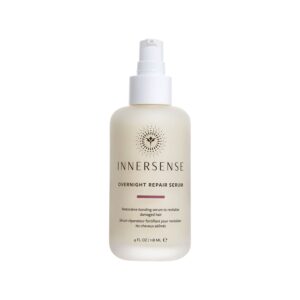
Are you constantly waking up with your curls looking a mess? With the right nighttime routine, you can refresh and protect your curls while you sleep. I am using the new Overnight Repair Serum from Innersense, who is kindly partnering with me for this post. What Is Already in My Hair From Wash Day First, let me show you what day I am on and what is already in my hair, because that changes theRead more “My Nighttime Curl Routine: Refresh, Repair & Protect While You Sleep”
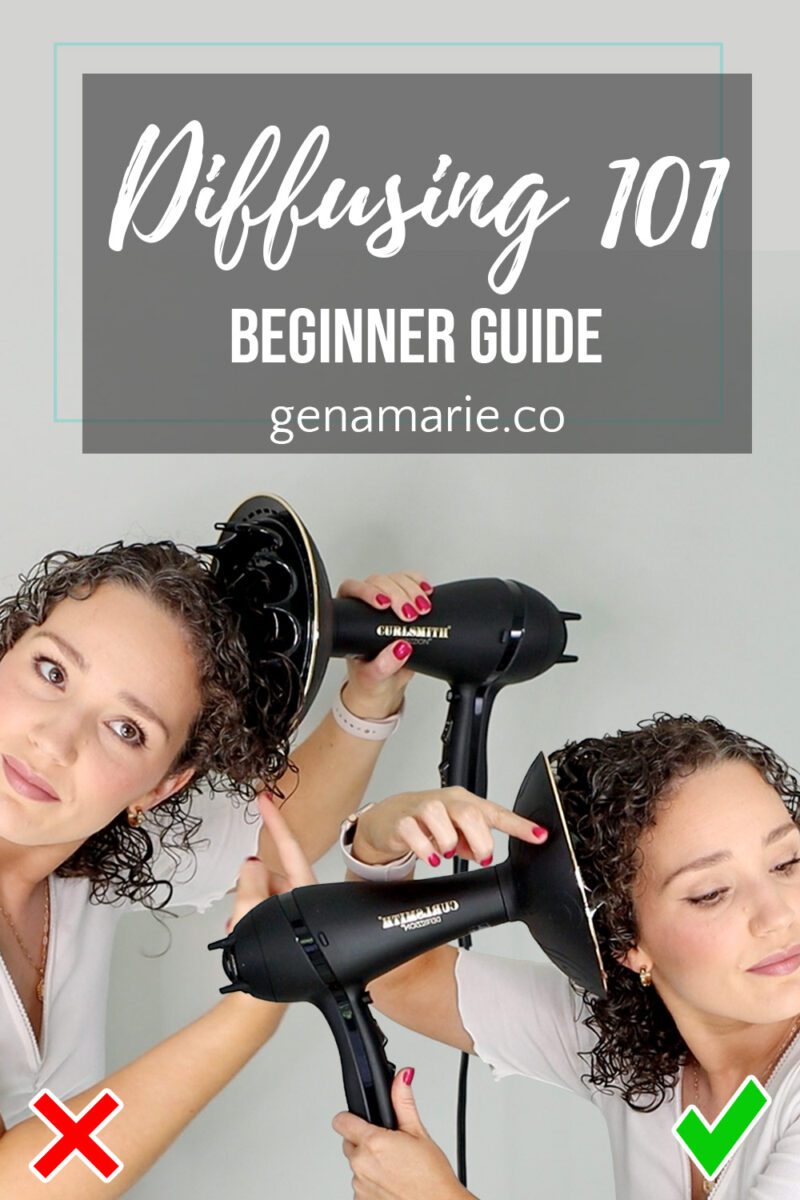
If diffusing always gives you frizz or wonky curls, or you’ve decided it isn’t worth your time, it’s not diffusing itself. It’s that no one has taught you how to do it properly. You have more control over your curls than you think, and diffusing is one of the best ways to get it. This guide walks through the six steps, and where most people go wrong in each one. It’s part of my BeginnerRead more “How to Diffuse Curly Hair Without Frizz: A Step-by-Step Guide”