


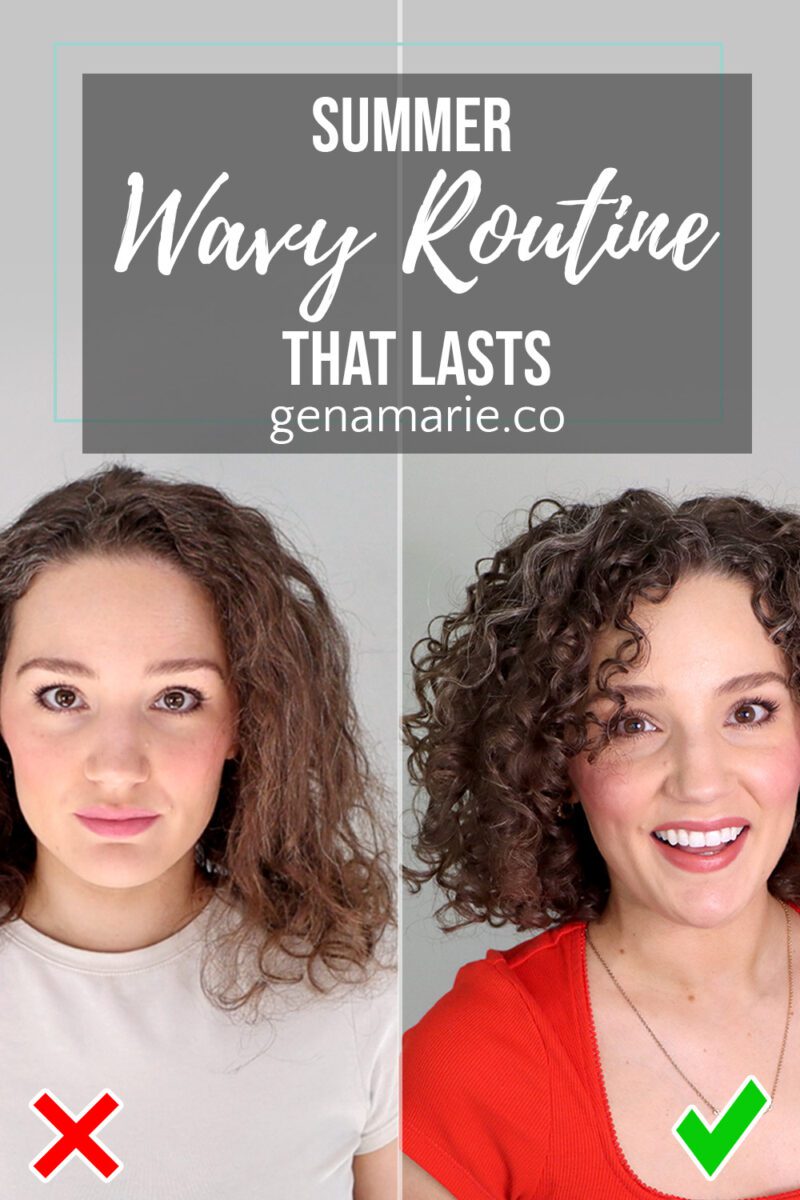
Wavy + Loose Curl Summer Routine That Actually Lasts
If your waves or loose curls fall flat every summer — losing definition by midday, never lasting past wash day — this routine is built
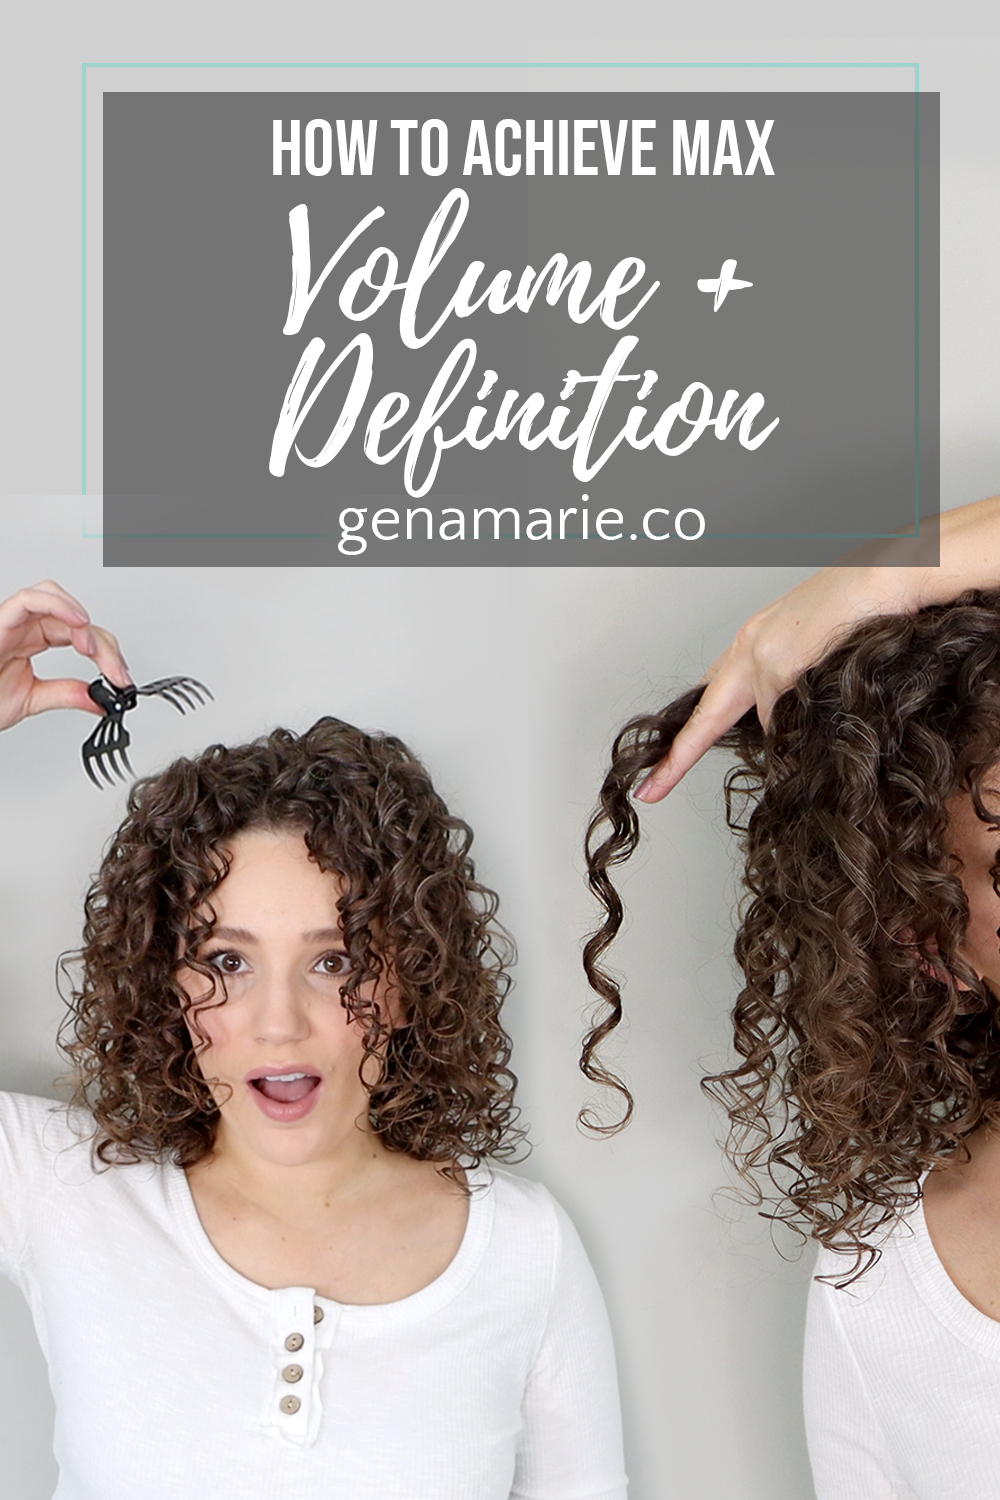
Are you trying to get defined curls and volume? While this combo has been said to be the most difficult to achieve with naturally curly, I’m going to share my best tips for achieving volume and definition.
I also wanted to thank Curlsmith for partnering with me on this video. I’m testing a new #CurlsmithCombo to achieve the exact results I want. I love how their products can be mixed and matched to customize your look.
Before styling, I shampooed with the Curlsmith Frizz Control Cleanser, a gentle lathering shampoo that removes product residue, oil, and sweat without stripping. I followed up with the Frizz Control Duo Conditioner which is multi-purpose, so it can be used as a regular rinse-out conditioner or a leave-in conditioner. I left a bit of it in to help smooth frizz and detangle.
Purpose: Curls need water to help them form their shape and be defined.
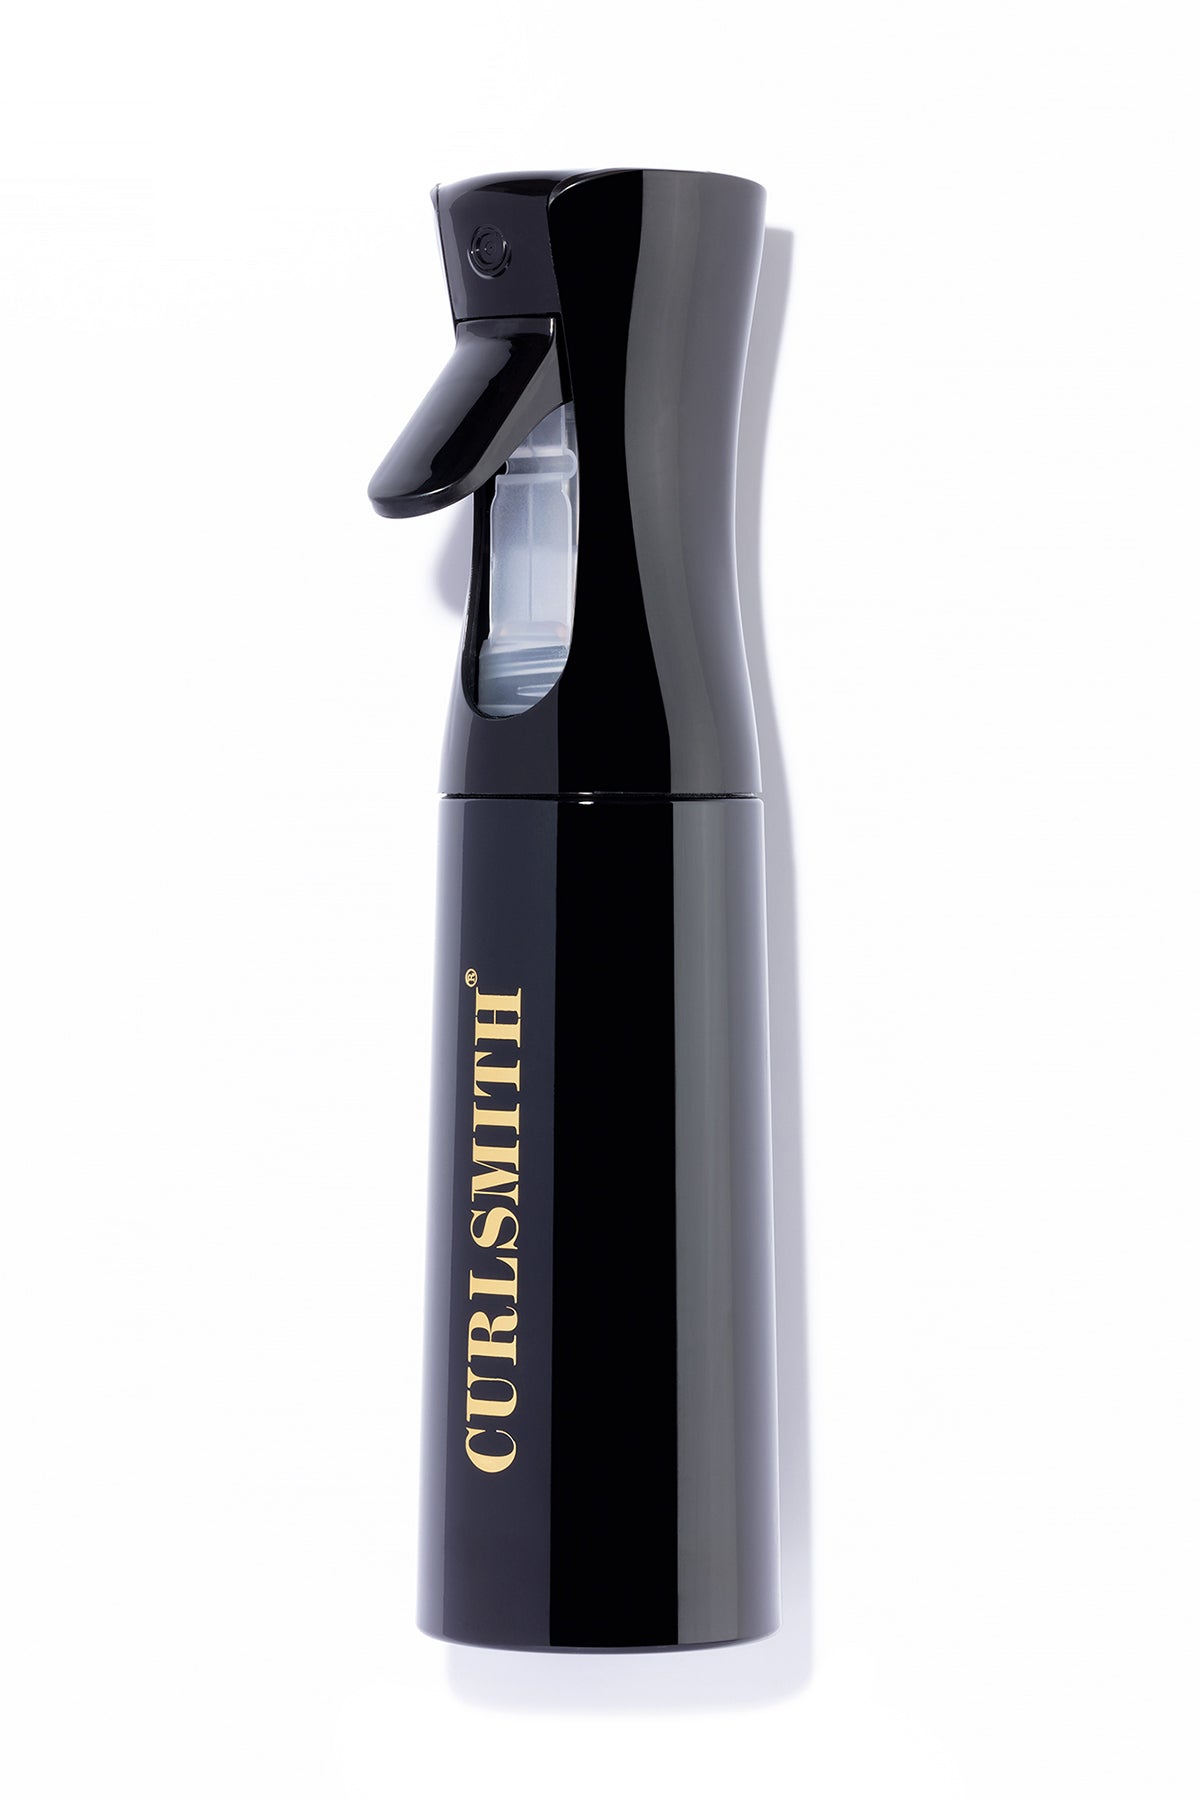
Tips: Evenly wet the hair but don’t soak it to where it’s dripping to maintain volume.
Product: Spray bottle
Before we apply our styling products, we want to make sure our hair has the right amount of water in it.
The more water in your hair, the more defined and clumped your curls will be, but the less volume you will have.
The more dry your hair, the more volume you will have with more frizz and stringiness.
I like a balance of both. I achieve this by towel-drying my hair first to soak up the excess at the roots, then misting the lengths of my hair so they’re evenly wet. It’s not dripping or soaking my shirt.
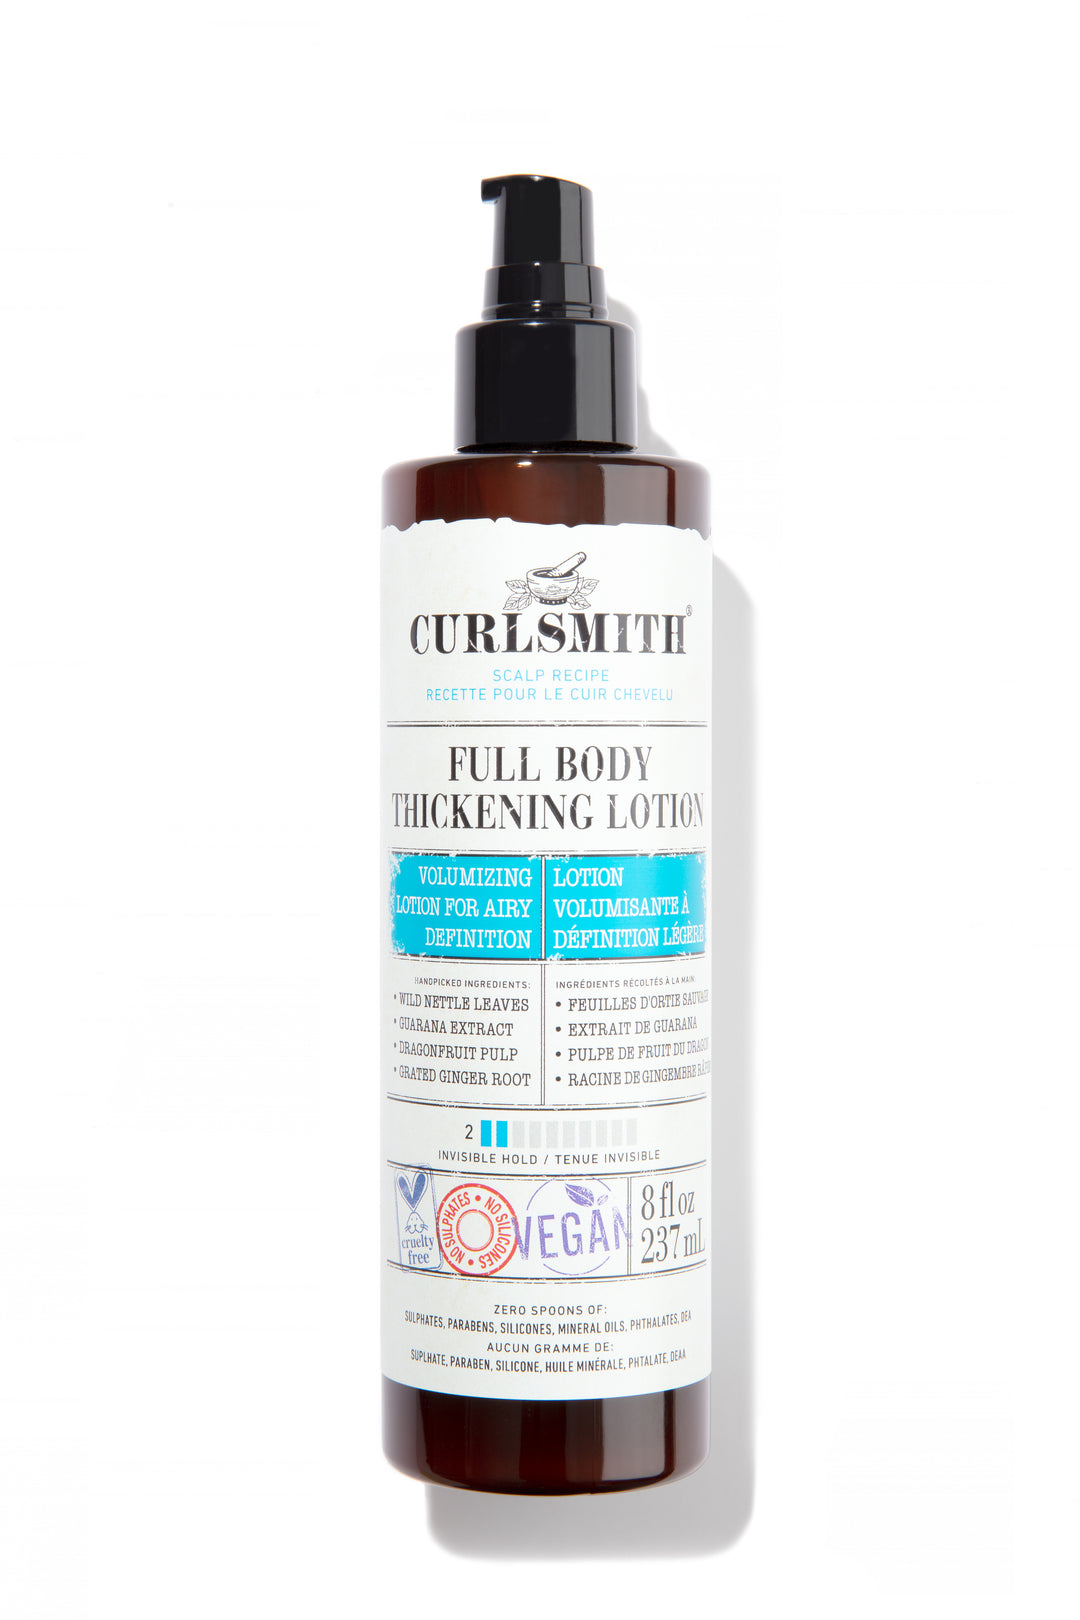
Purpose: Aid in fullness, plump curls, provide grit
Tips: Focus it on your roots
Product: Volumizing lotion, spray, foam
This step is optional, but to really amp up the volume in your hair you can apply a specific product for volume. Some people like to use foams or texturizing sprays, but I prefer this Curlsmith Volumizing Lotion because I can really see a difference in the fullness in my hair and it’s not drying. This creates fullness within the hair strands themselves.
If you’re using something like foam, you can definitely focus that on your roots area to create grit there.
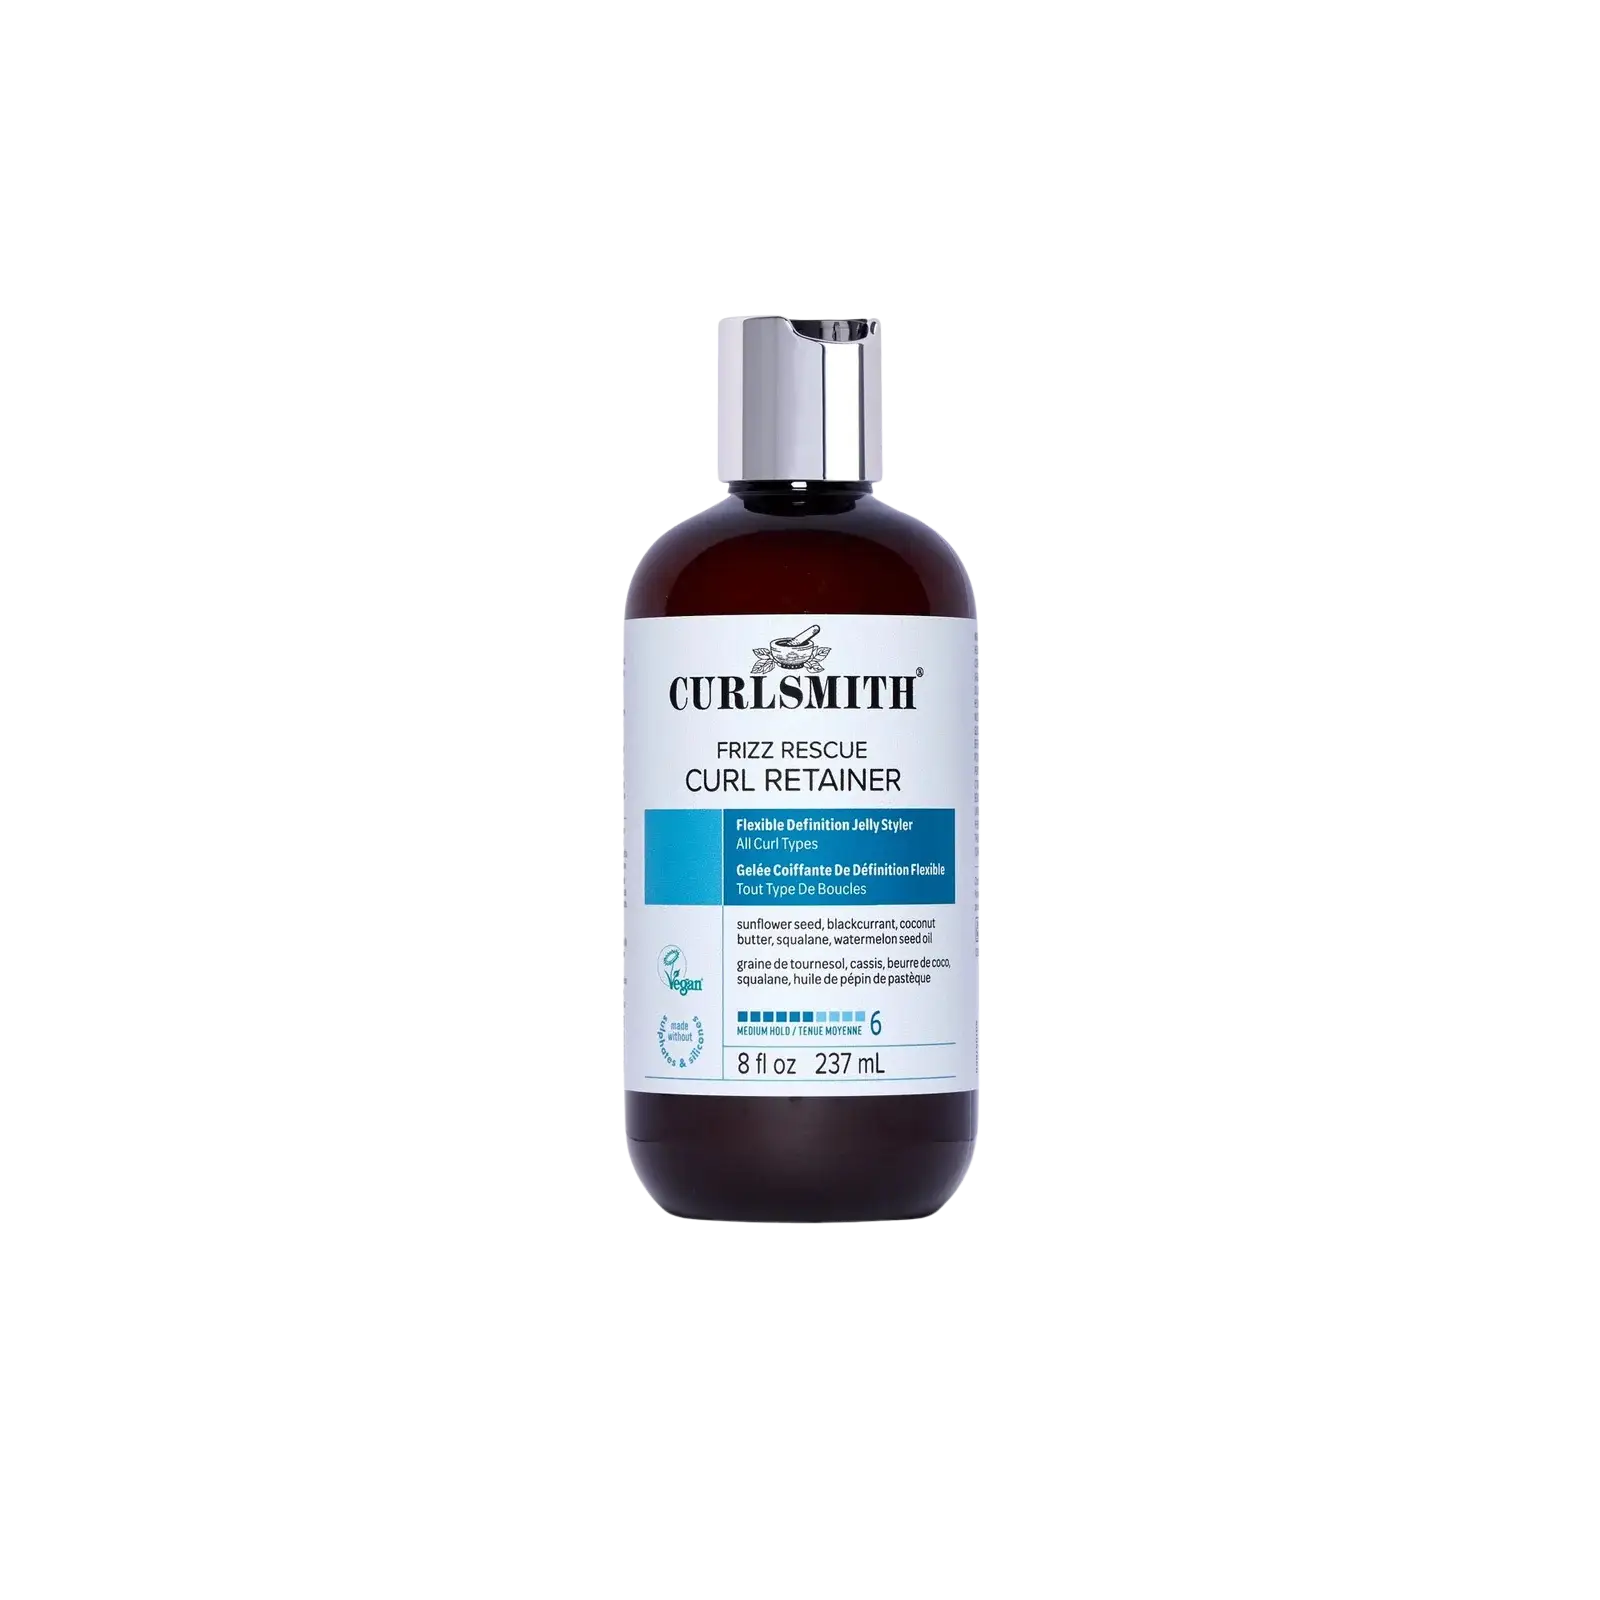
Purpose: Moisturize, clump curls, smooth frizz
Tips: Opt for something lightweight to maintain volume and something with a bit of hold to aid in definition
Product: Leave-in, curl cream, light hold gel
Next is a moisturizing base styler, which can be in the form of a leave-in conditioner, a style cream, or a light-hold gel. If your hair is very fine and doesn’t need much moisture, you can skip this step too.
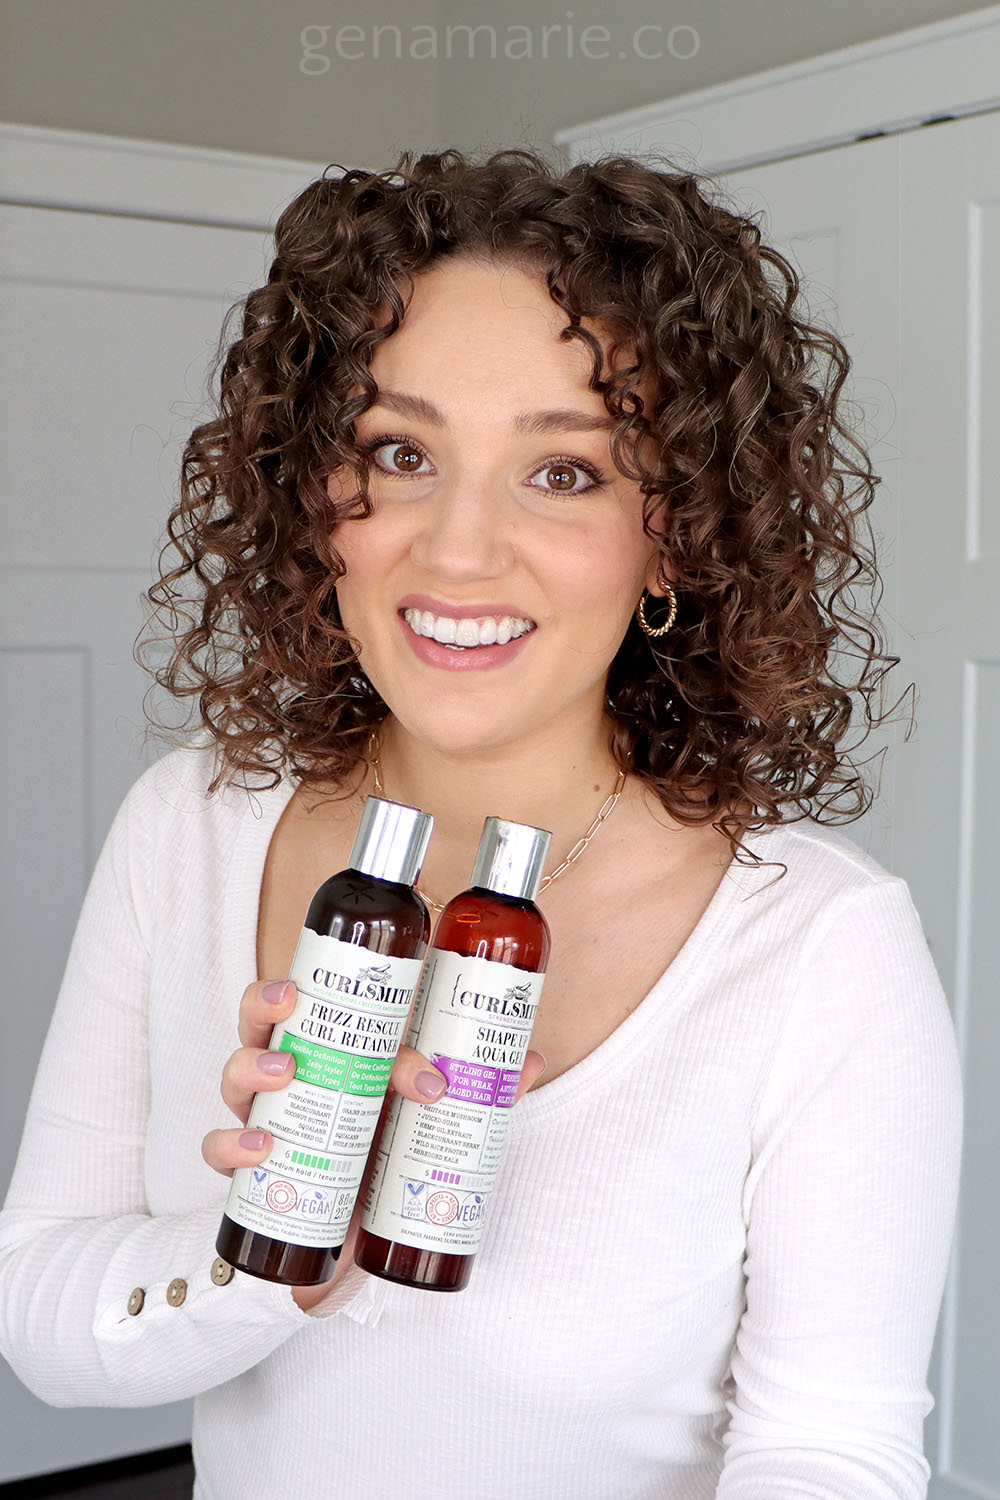
I’ve been experimenting with the Frizz-Free Rescue Curl Retainer which is actually more of a gel, but I find it to be very moisturizing due to the oil content and it provides just a soft hold so I like to layer it with other gels.
This Curl Retainer contains a tri-oil blend of sunflower seed, watermelon seed, and argan oil. It’s supposed to help in humidity by providing an invisible coat on the hair.
I’m usually a 1-2 styler max type of girl, but some people really love laying more than one styling product or even using two gels to achieve max definition. In general, you want to start with the lightest hold product first and follow with the strongest hold.
If you’re someone who doesn’t want crunchy curls but wants definition, this is what I would go with it. You still get some control in your curls but they won’t have a cast on them or appear wet.
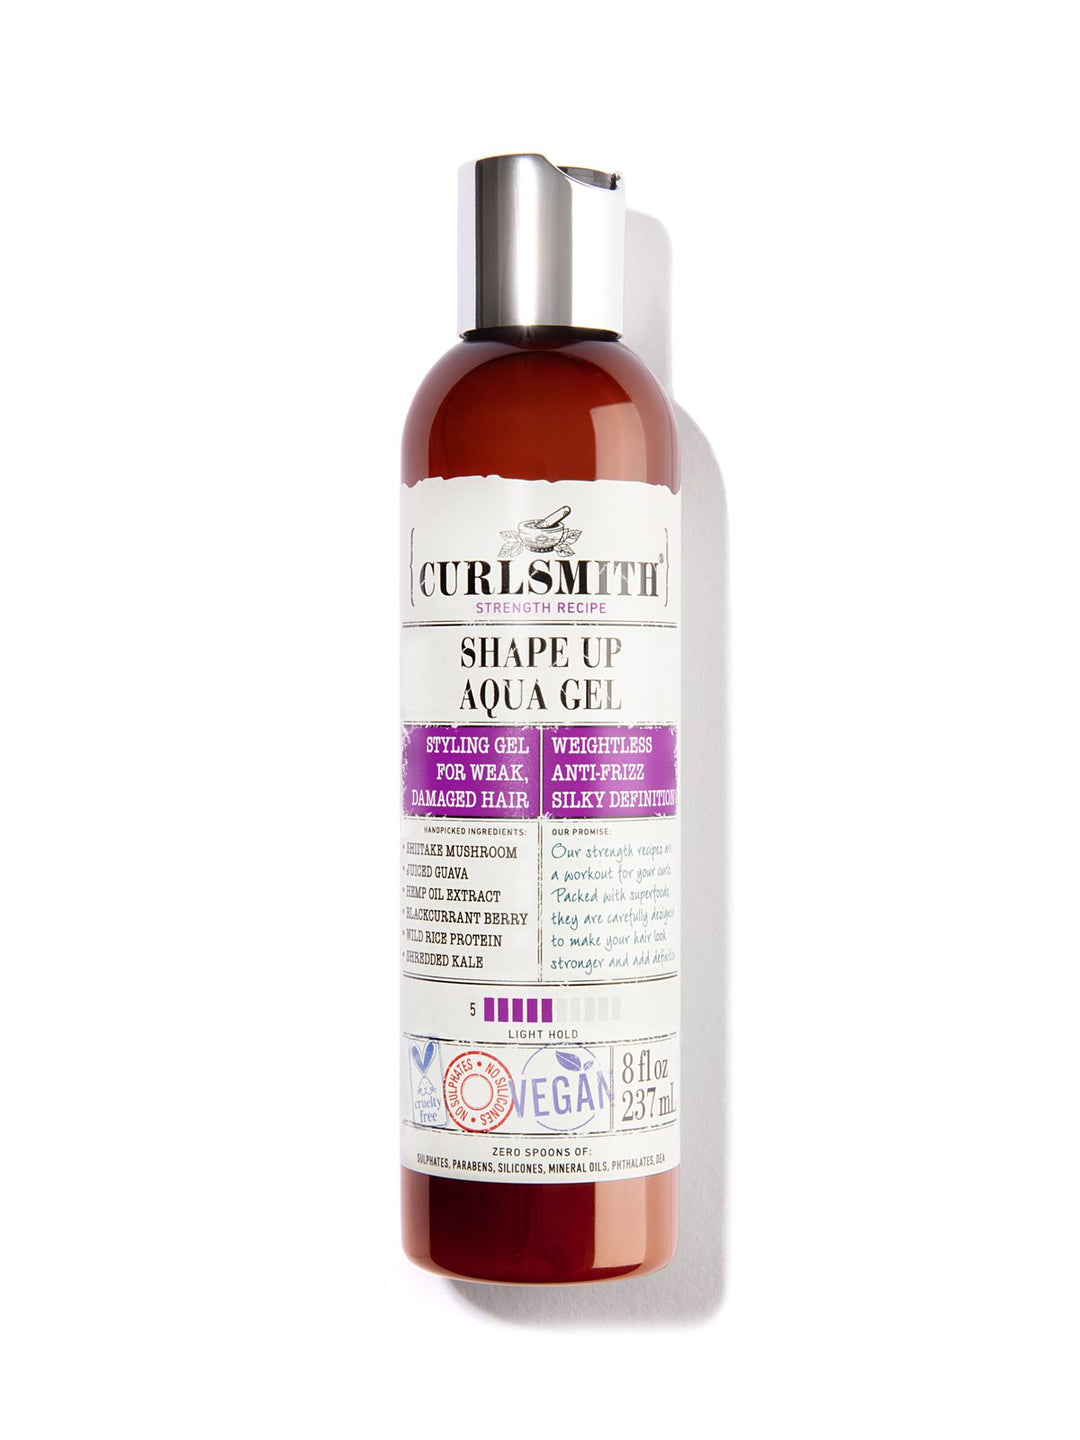
Purpose: Tame frizz, define curls, create shine
Tips: Opt for a medium-hold gel to maintain more fullness. Apply gels before styling for max definition.
Product: Gel
The next step is probably the most important product, and that is to apply a gel. I used the Shape Up Aqua Gel which has become one of my favorite gels of Curlsmith’s because it has that lightweight liquidy texture that I love. It contains moisturizing ingredients so you could even use this as a single styler if needed.
It provides a light to medium hold which will provide that definition that we’re going for and longevity.
To still get good hold out of this, I recommend applying it liberally in sections for maximum coverage. You can also apply it before you brush style for extra definition. This gel has a ton of slip so it’s easy to style with it in.
Usually, you will see me use a strong hold gel for the most frizz and humidity protection, but often the stronger your hold is, the less volume and fullness you’ll get. If your hair has ever looked crunchy and really piecey, it was likely more see-through and was lacking volume.
Purpose: Enhance curl definition and clumps, increase longevity, control curls
Tips: Avoid over-clumping the curls and separate them when wet
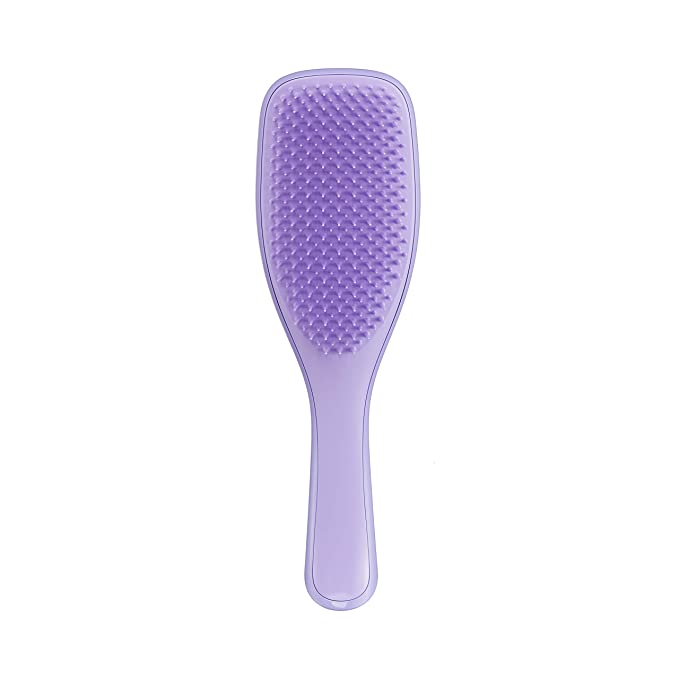
Product: Styling brush and/or comb, or just use fingers
This is probably the most important and that is styling. Styling techniques are what give you control over how your curls turn out. If I skip styling and go straight to diffusing, my curls end up stringy and flat.
You can style by using a brush or just your hands with various techniques.
Brushes help to smooth frizz, and clump the hairs together, which is great for definition but can reduce your volume. Use a wide-tooth comb or your fingers to separate thick curl clumps created by the brush. I also do some finger coiling when I’m styling. This is great for people who naturally have very small curl clumps or if your curls are stubborn and often change direction.
The way you part your hair will make the biggest difference in your root volume. I like to avoid my part going back too far, so I section it and half and direct the back half up and back all at once to better cover my scalp.
I do more precise brush styling in the front section, wrapping the hair right at the root around the brush handle. Instead of leaving thick curl clumps, I separate them with my fingers where they are naturally grouped. This also helps to tuck in my grays and short frizzy baby hairs. I allow my front pieces to fall forward more which gives the appearance of more volume.
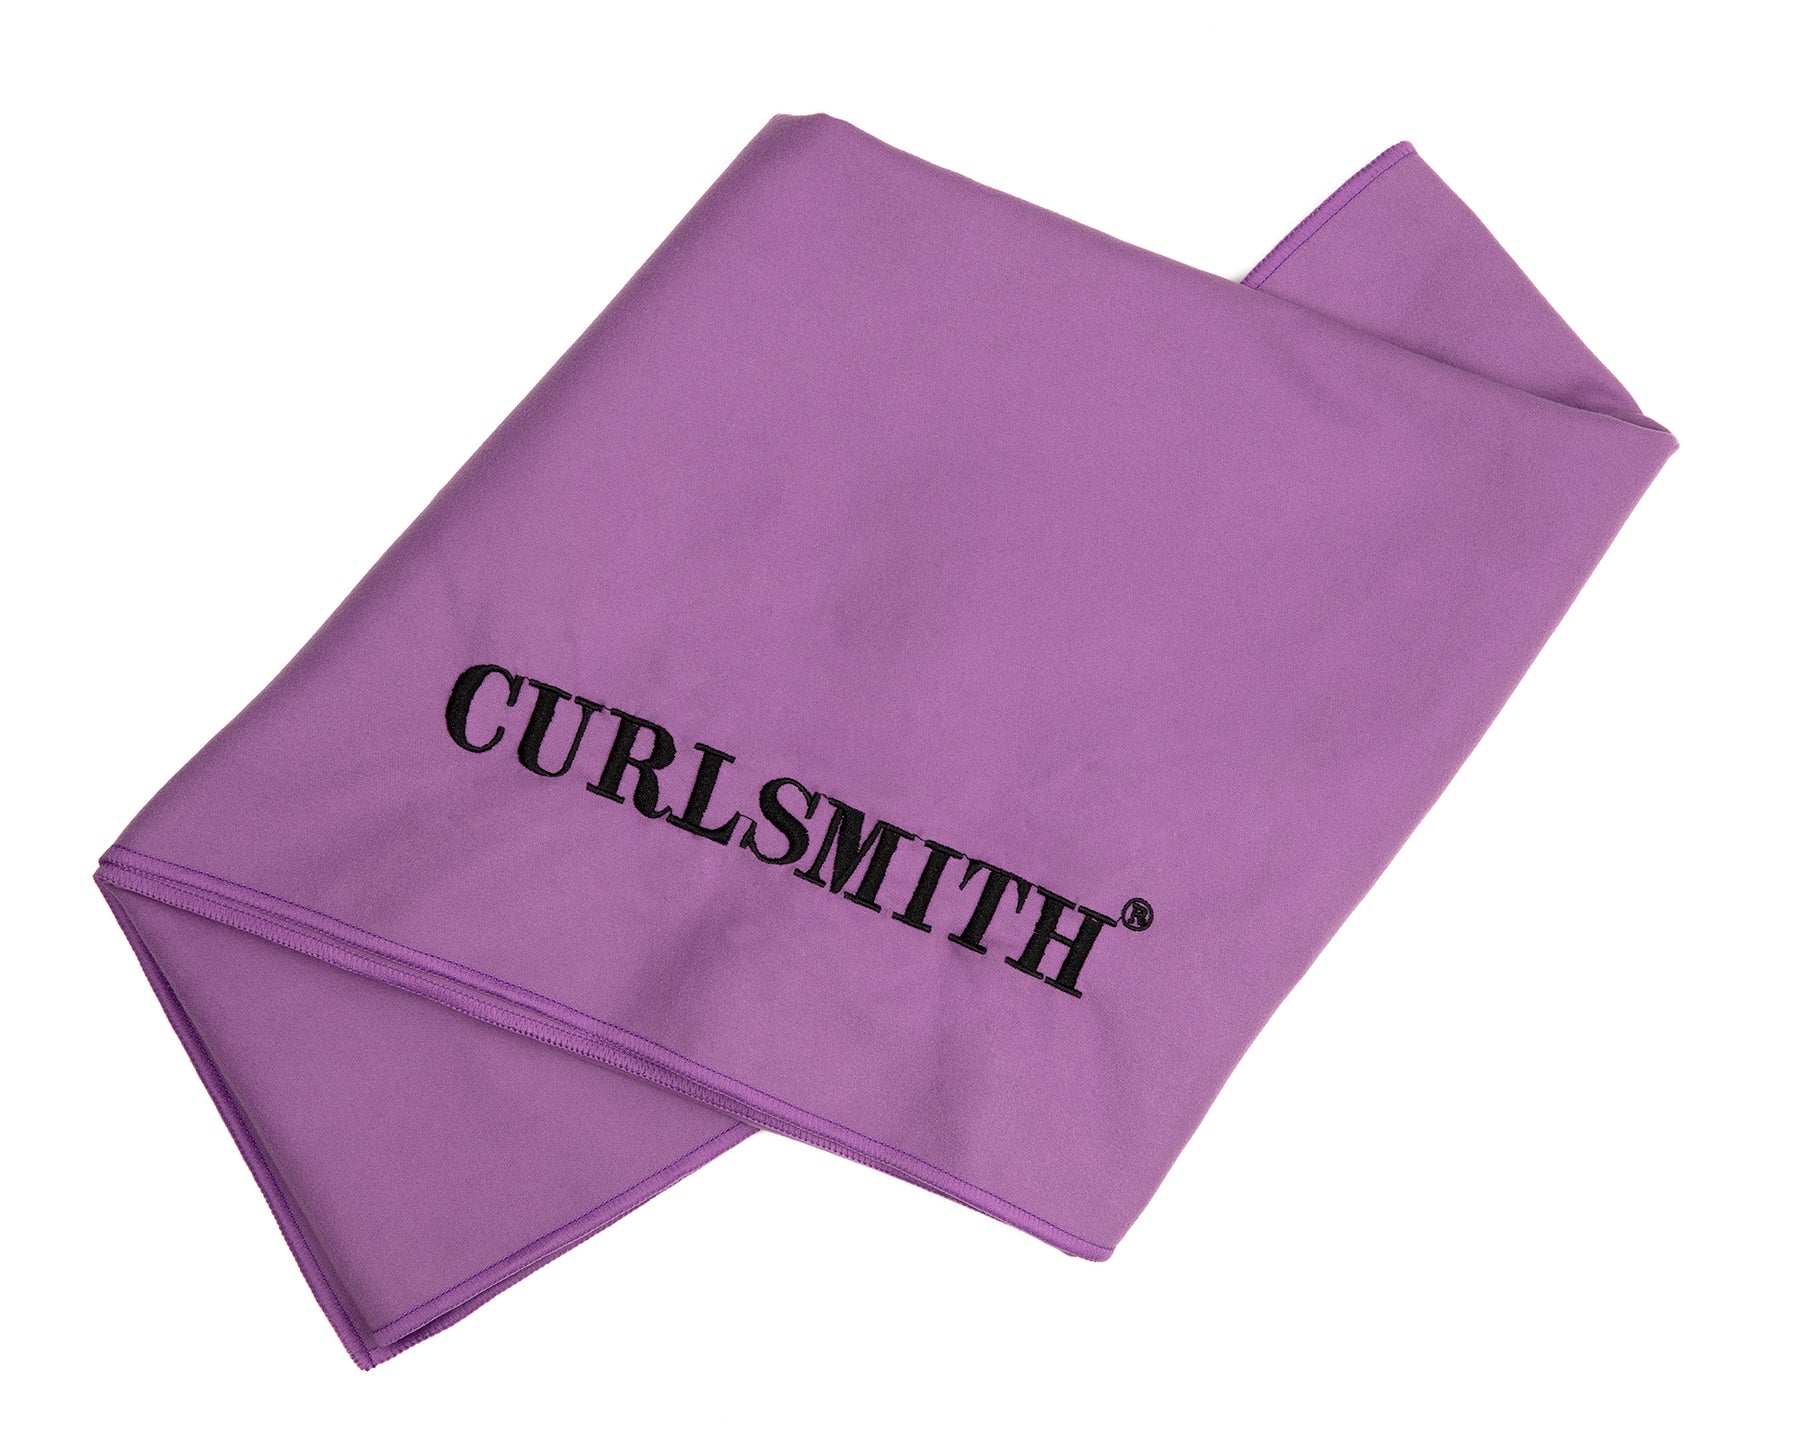
Purpose: Absorb excess water to decrease dry time and enhance volume
Tips: Lift the hair at the root and scrunch all the way to the top for more root definition
Product: Hair towel
This step is quick but it’s essential if you have a lot of water in your hair still and especially if you plan to air dry.
Microplopping is simply scrunching with a hair towel which absorbs excess water and creates added definition and shrinkage.
Water is heavy, and will weigh down your curls if you’re air drying because of gravity. Even if you’re diffusing, it will take forever if you don’t get that excess water out first.
If frizz forms after scrunching, simply glaze in a bit of gel to tame it. This will give you so much extra hold too since you’re applying gel to hair that is starting to dry.
Purpose: Lock in curl cast, curl shape, and volume. Lift roots.
Tips: Use diffuser prongs to lift roots
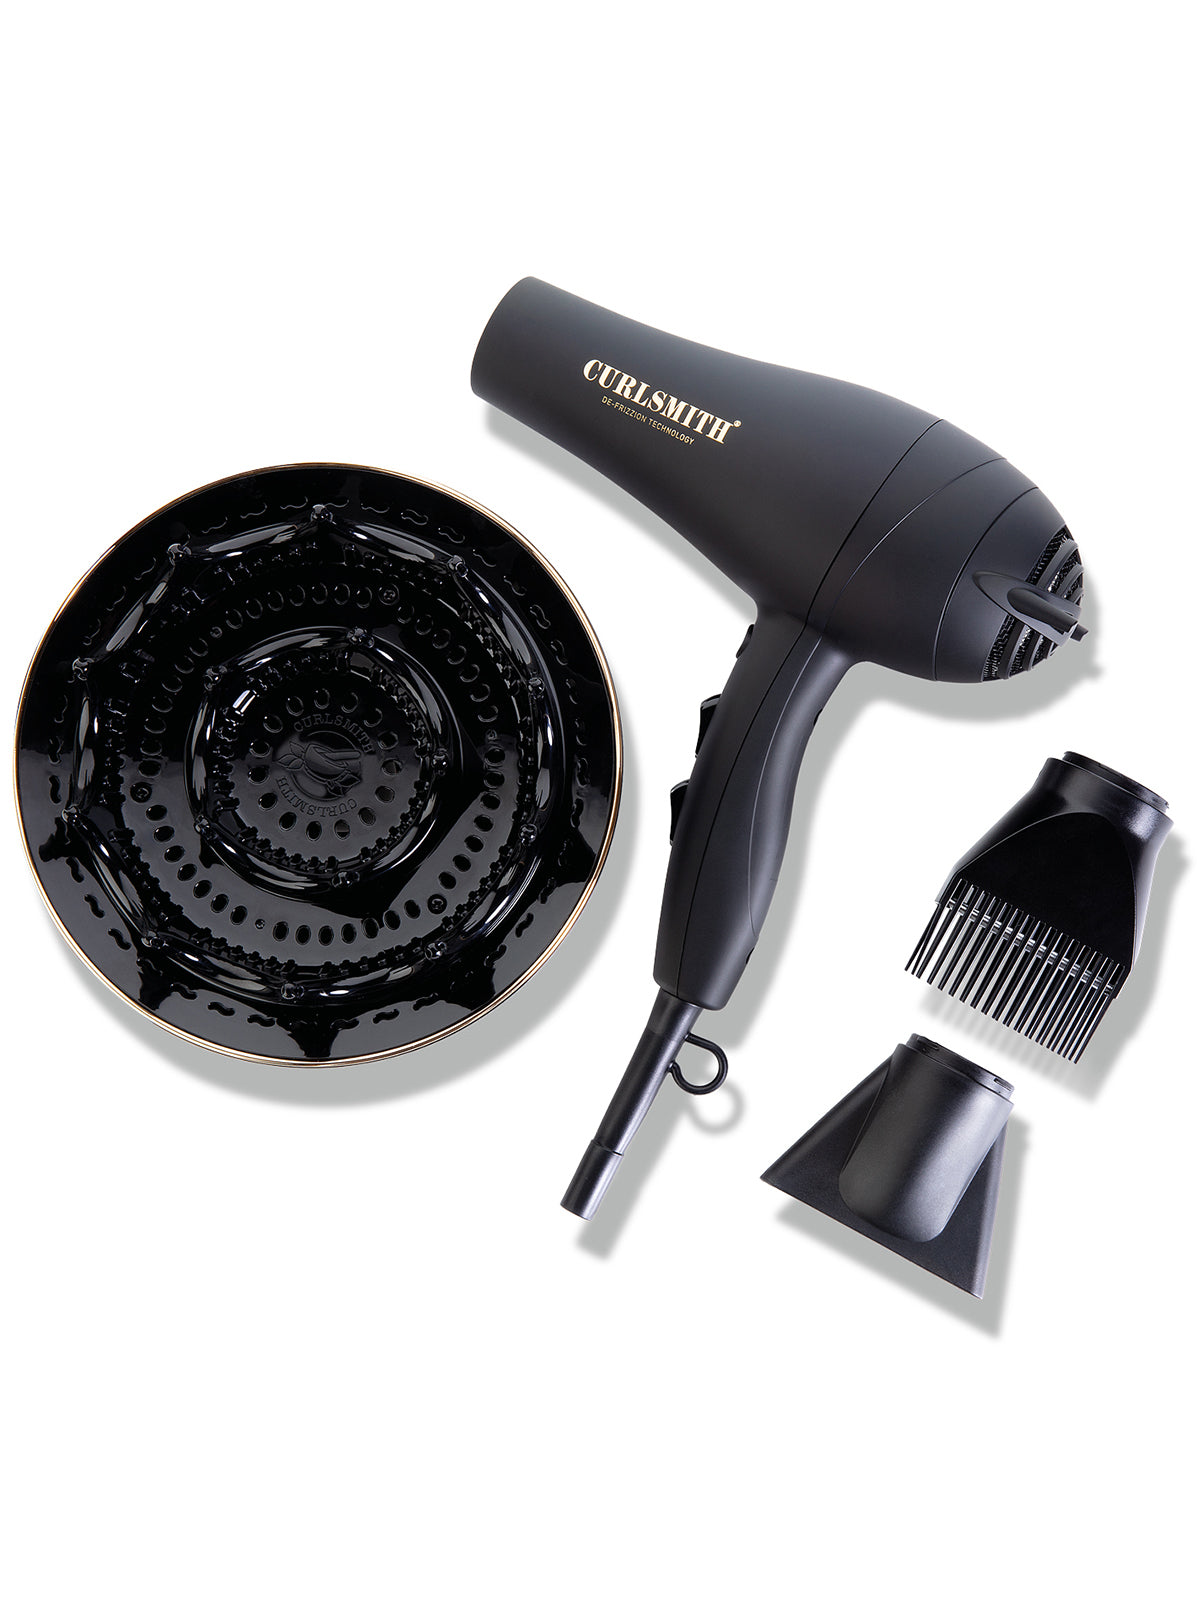
Product: Hair dryer and diffuser attachment
The next step is to diffuse and this is crucial if you want your roots to actually dry with some volume. I use the Curlsmith Defrizzion hair dryer and the XXL diffuser attachment, which allows me to cover basically my entire head at once. It also has prongs that extend out past the end of the diffuser which helps to create root lift and volume.
I do some upside-down diffusing while hovering just to start the drying process, but scrunch diffusing gives me the best volume and definition.
Make sure you’re not moving too fast when diffusing or being rough or it’ll create frizz.
Use the prongs of the diffuser to lift the hair at the roots and hold. The heat of your diffuser will set the bonds in your hair which create that curl shape, locking it in.
With air drying, the hair is fighting against gravity and is going to be more elongated and flat at the roots.
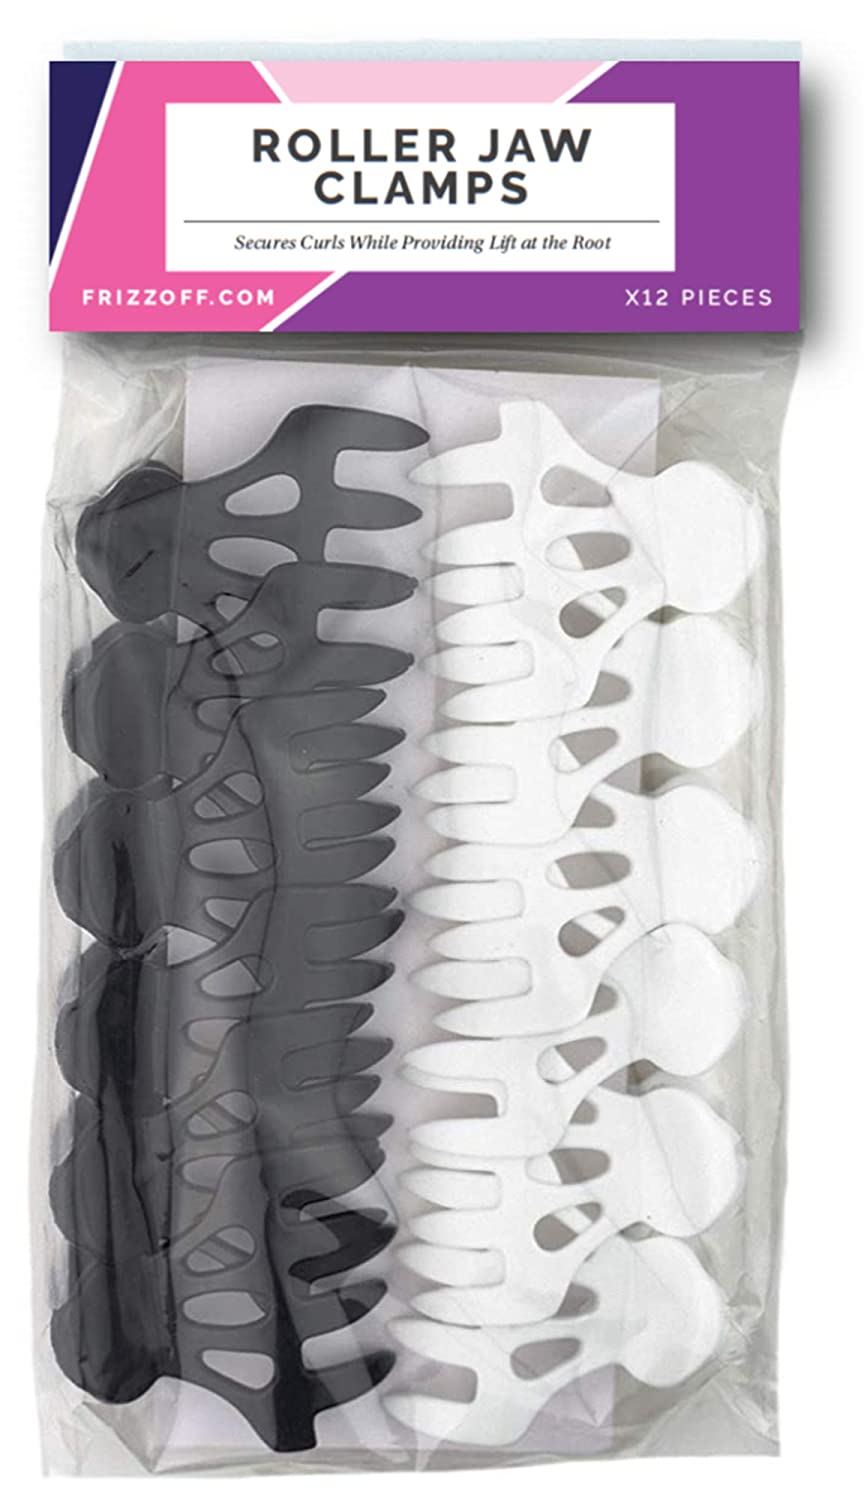
It usually takes me about 10-15 minutes to diffuse my hair. If you’re short on time, diffuse for just 5 minutes and then finish air drying. You can place root clips along the top for extra root lift as you finish drying.
Purpose: Extend the longevity of curl definition, add texture for volume
Tips: Lift roots up or apply claw clips and mist roots with hairspray
Product: Hairspray
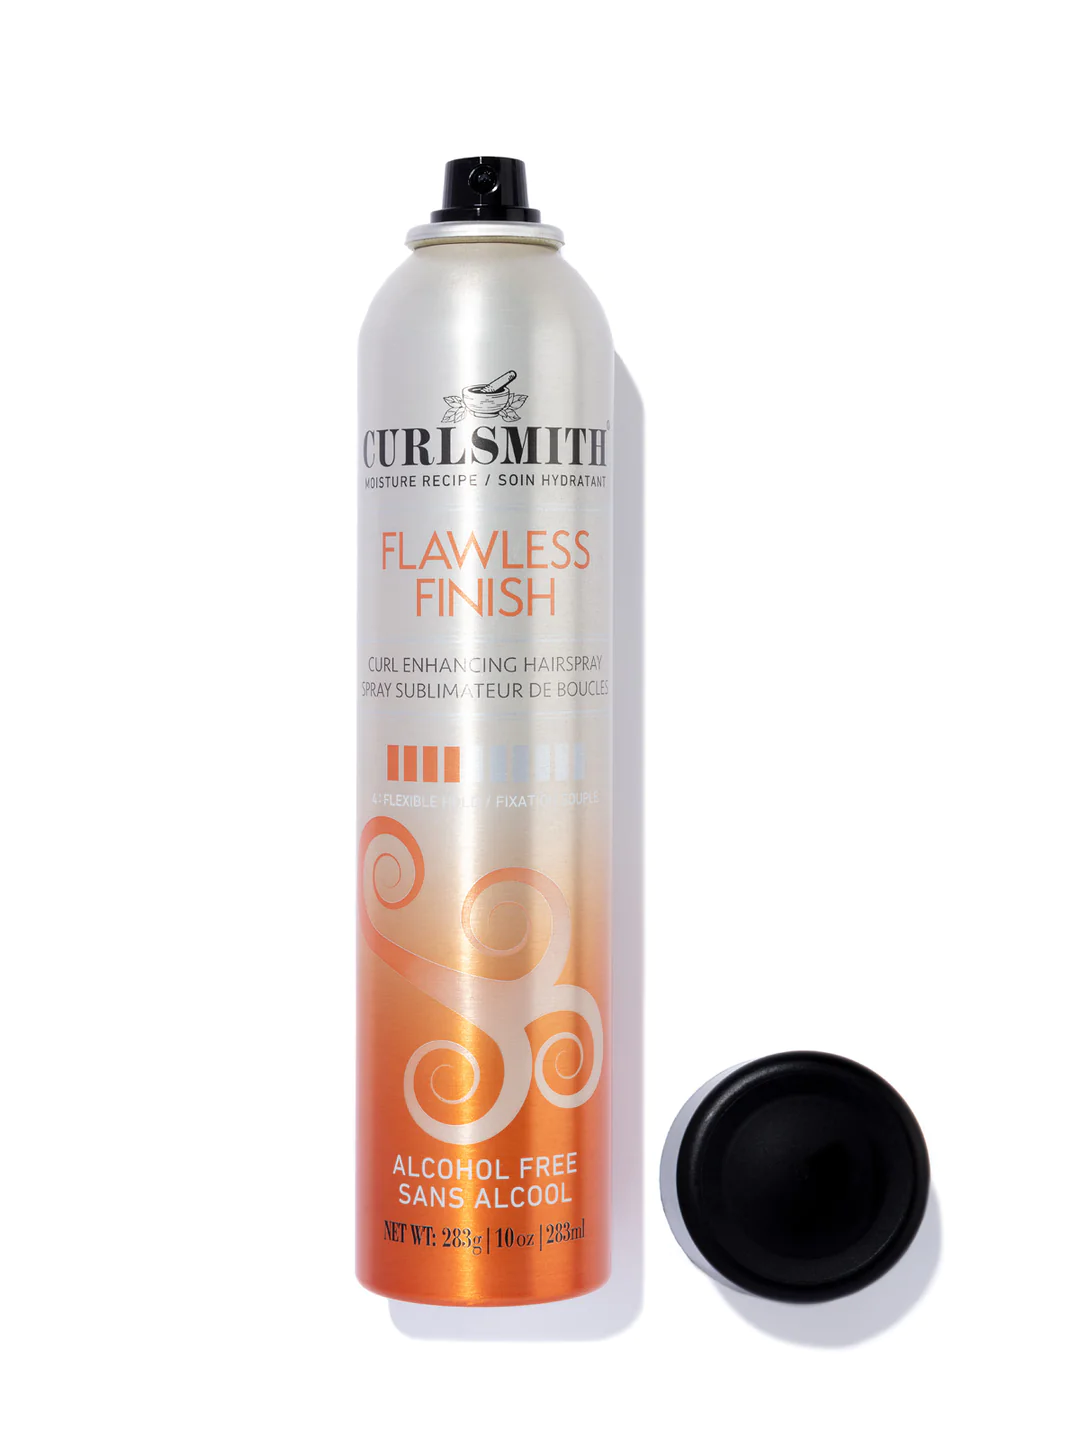
This is a completely optional step, but adding a hairspray can really help if you’re someone who struggles to get hold or your hair feels too soft and won’t hold volume.
The Curlsmith Flawless Finish Flexible Hold Hairspray gives a firm hold but it allows you to have more movement and flexibility in your curls.
Lift your hair at the root and give it a little spritz. Use your hands to full up the roots. You’ll notice more texture and grit that will hold the volume up longer. You can also try spritzing it while your hair is in the clips too.
Don’t scrunch out all the crunch if you want to maintain definition. Sometimes I will just scrunch it out halfway to get that balance of both volume and definition. Your definition will last longer if you leave the cast in, but you’ll get more volume when you scrunch it out fully.
This was the most volume I have had in a while! The hold was great and my curls were very defined. I like this method of combining gels and want to experiment more with it. I think it will be helpful for those of you who say you struggle with getting hold or with cream weighing down your hair.
What do you think? Do you use more than one gel?

If your waves or loose curls fall flat every summer — losing definition by midday, never lasting past wash day — this routine is built
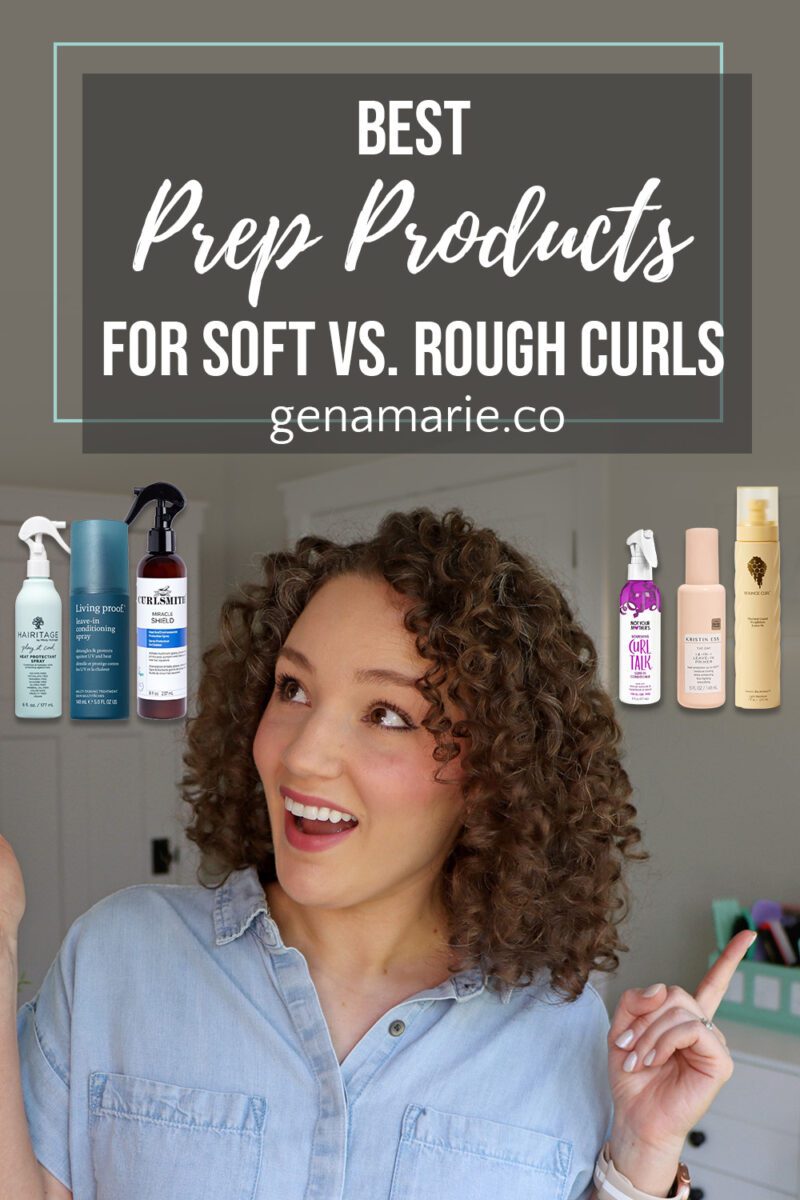
Are you using a heat protectant in your curly hair routine? If you’re diffusing or planning to be in the sun, you probably should. But
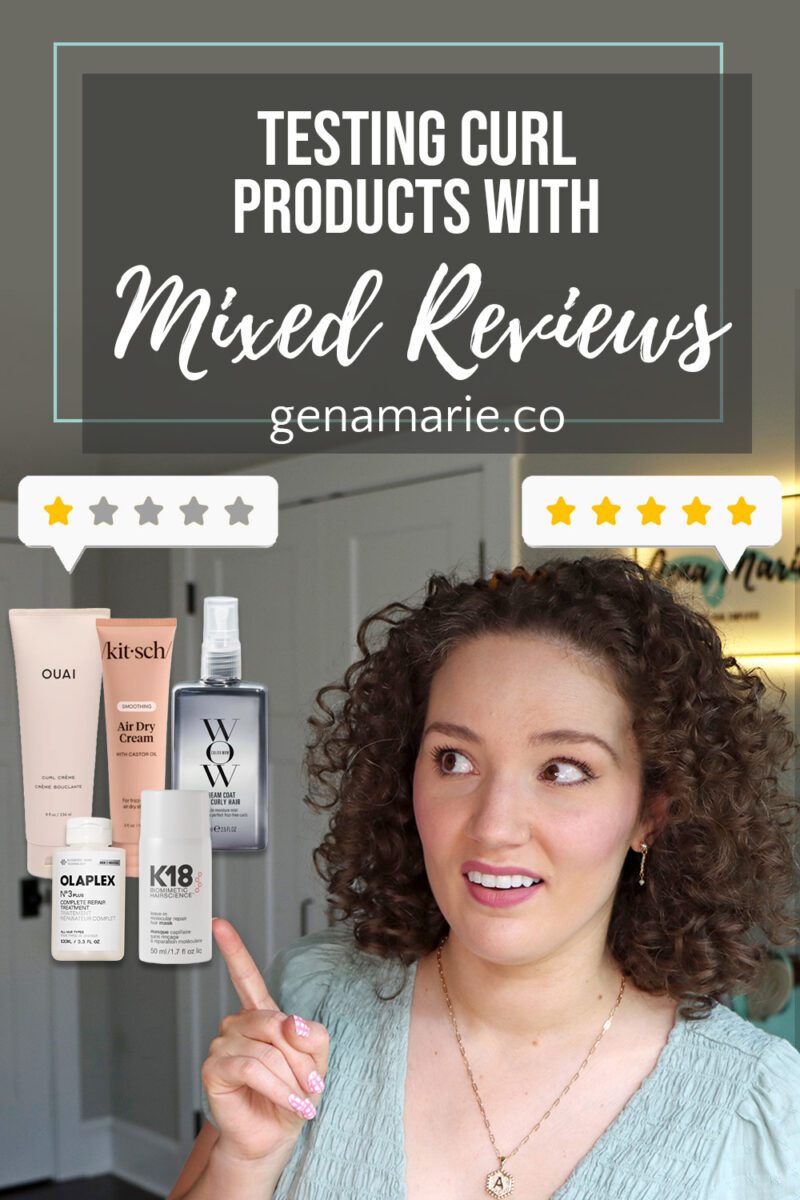
You read the reviews online. One person says a product completely changed their hair. Someone else says it’s the worst thing they’ve ever tried. And
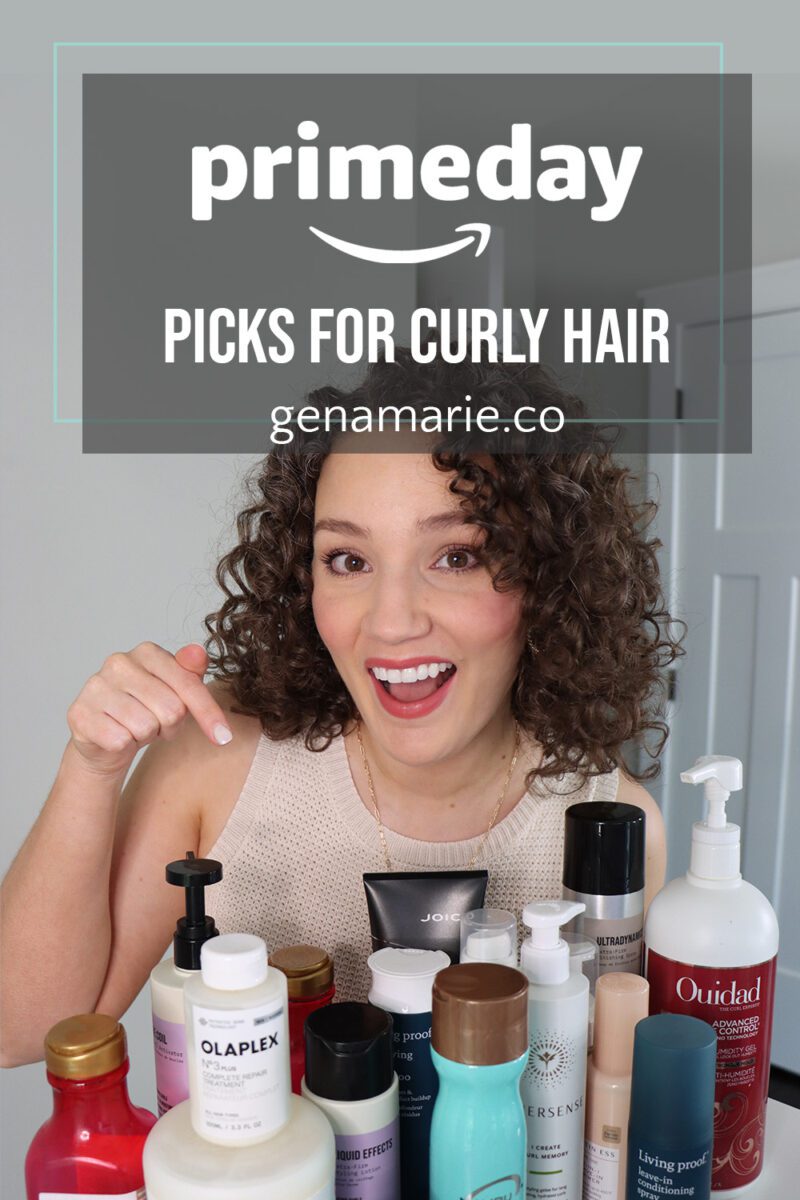
Amazon’s Prime Day Deals are happening today through Friday! I’ve rounded up my top curly hair picks on my Amazon storefront—plus shared quick notes below on each product’s key characteristics to help
2 Responses
Could you please, please repeat this same focus but with Evolvh products? Thank you for avery informative article!
I tried them awhile ago and was not a fan of the products. They were too lightweight for my hair so my hair was dry and didn’t have any hold.