
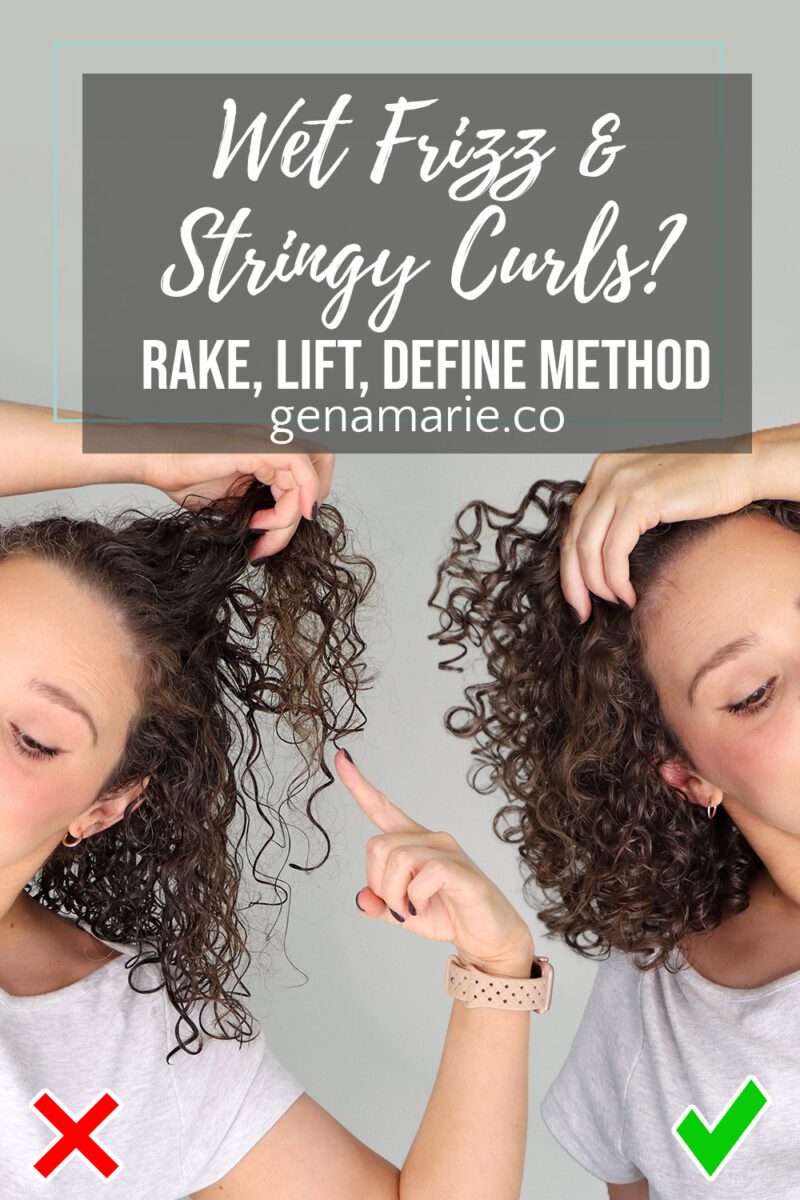

Wet Frizz & Stringy Curls? How to Apply Your Products With the Rake, Lift, Define Method
If your curls look frizzy and stringy while they’re wet, they often dry that way too. You’re probably overlooking a few application steps that rarely

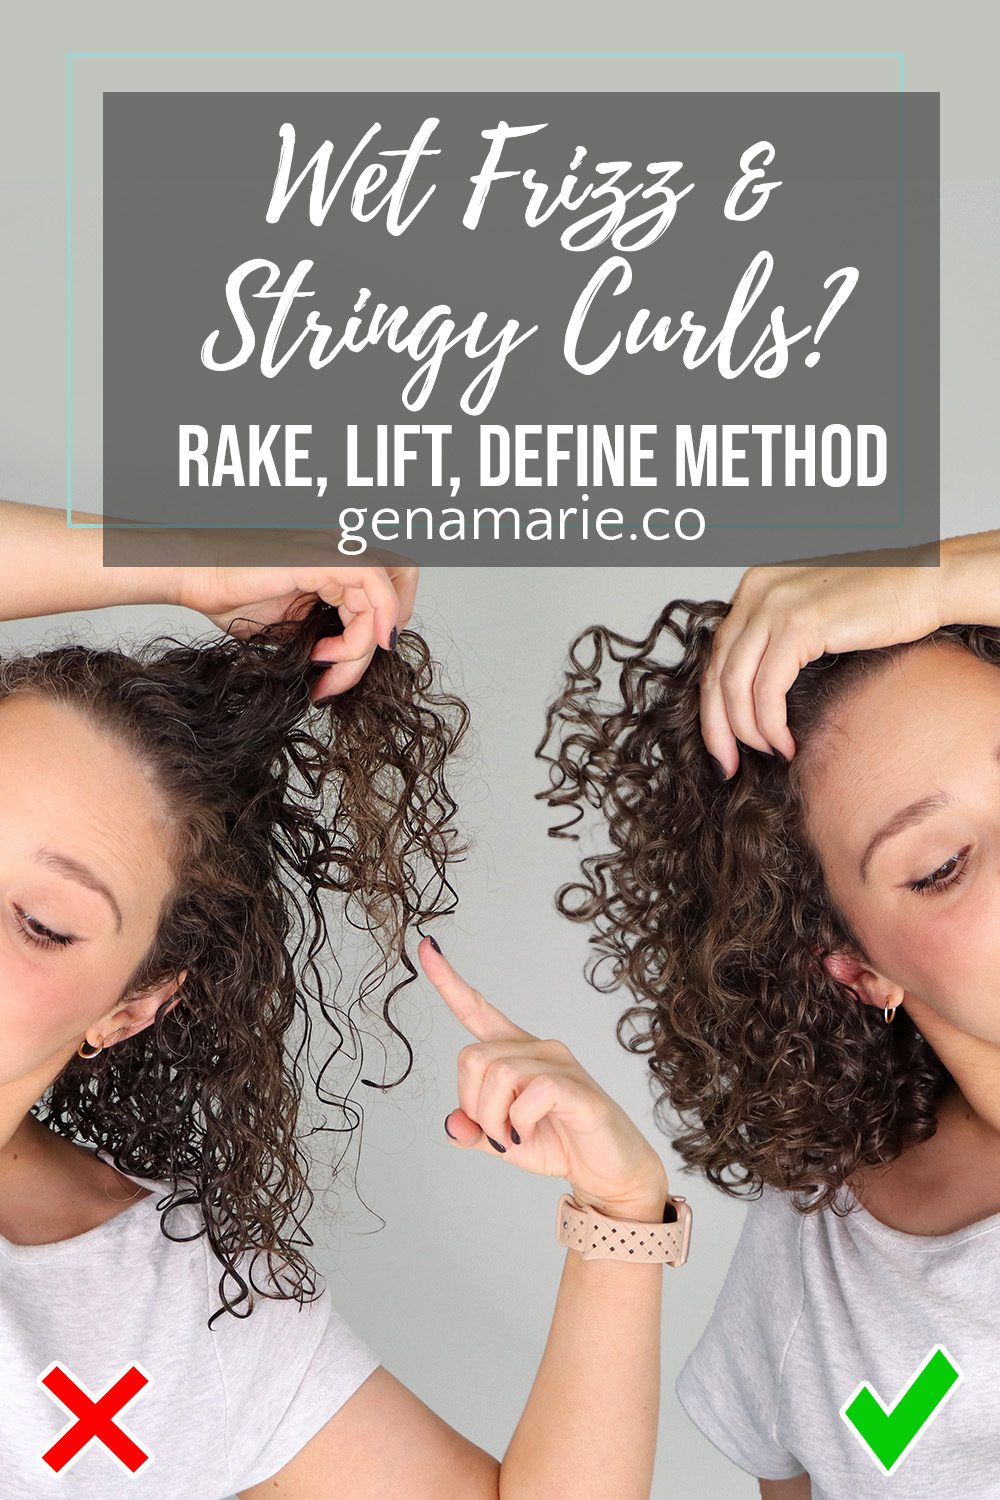
If your curls look frizzy and stringy while they’re wet, they often dry that way too. You’re probably overlooking a few application steps that rarely get talked about.
As a curl coach, I watch my clients style their hair, and these are the steps I end up adjusting most. My Rake, Lift, Define method breaks product application into three simple steps. Here’s how it looks at a glance:
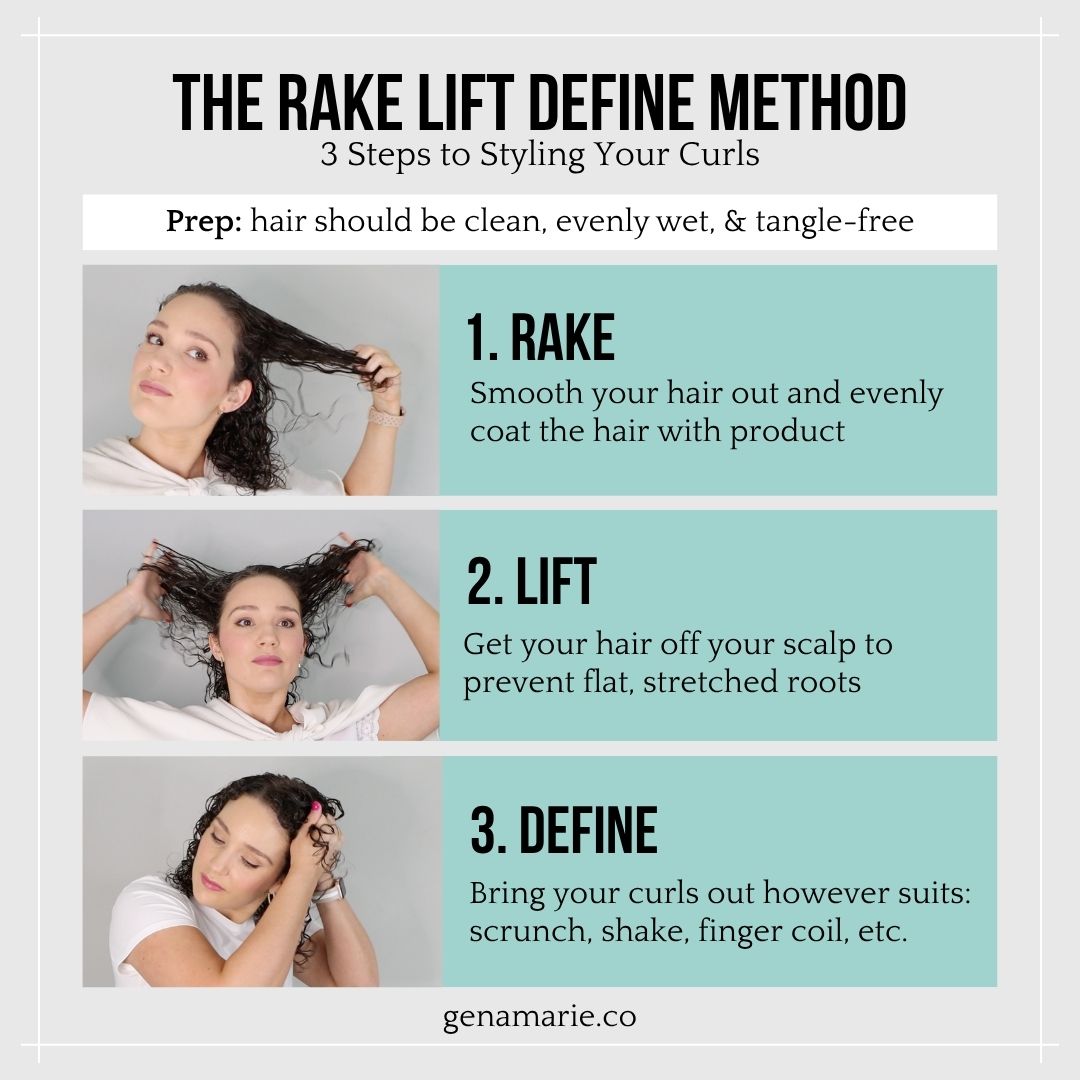
Below, I’ll walk you through prepping your hair, each of the three steps, and how to set everything in place. This guide is part of my Beginner Curl Series.
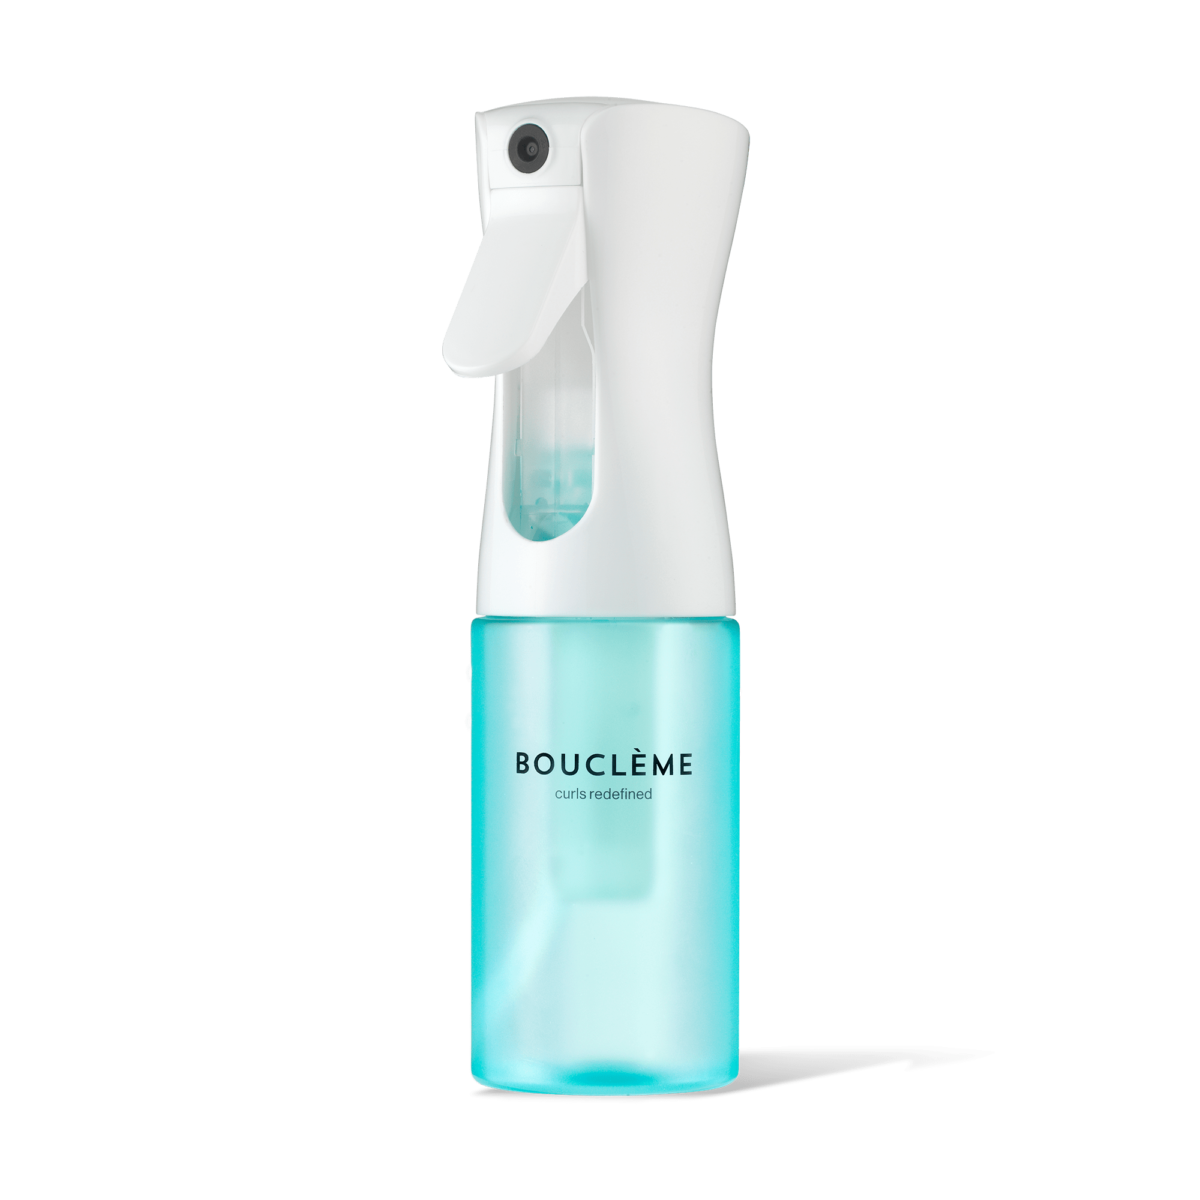
Prep sets you up for even product coverage. Here’s what usually gets in the way:
Checkpoint: Before any gel goes on, your hair should be evenly wet, smoothed out, tangle-free, and lifted off your scalp. How can you tell it’s starting to dry? Those areas look lighter, puff up, and start to frizz. Mist as you go so each area is evenly wet when product goes on.
Rake is the step that matters most, and it’s the one that gets overlooked most. These mistakes are what usually leave patchy product, dry areas, and stringy ends:
Checkpoint: Your hair should look practically straight and feel smooth and evenly coated from root to tip. Is wet frizz forming? You probably need a little more water, and maybe more gel in that spot. A little wet frizz is okay when you know you have enough product in.
After raking, your hair is usually stuck to your head. If it dries that way, your roots will be flat and stretched, without much volume.
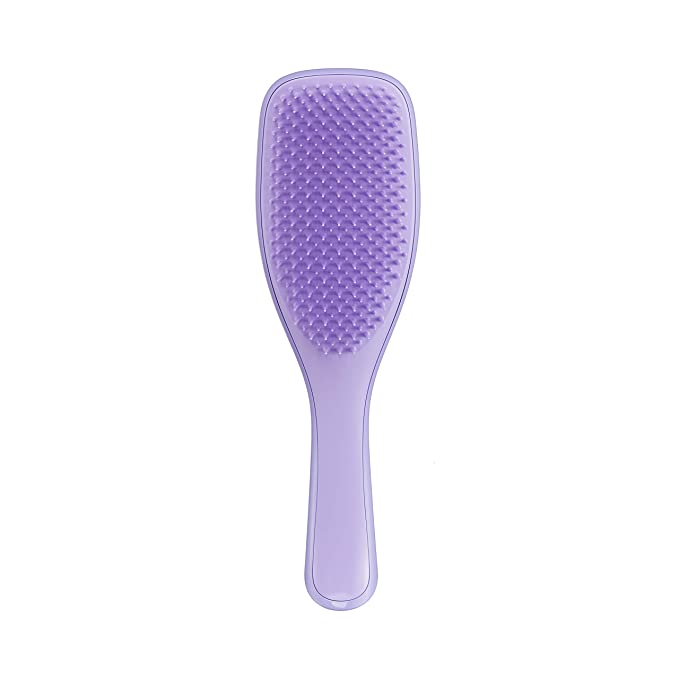
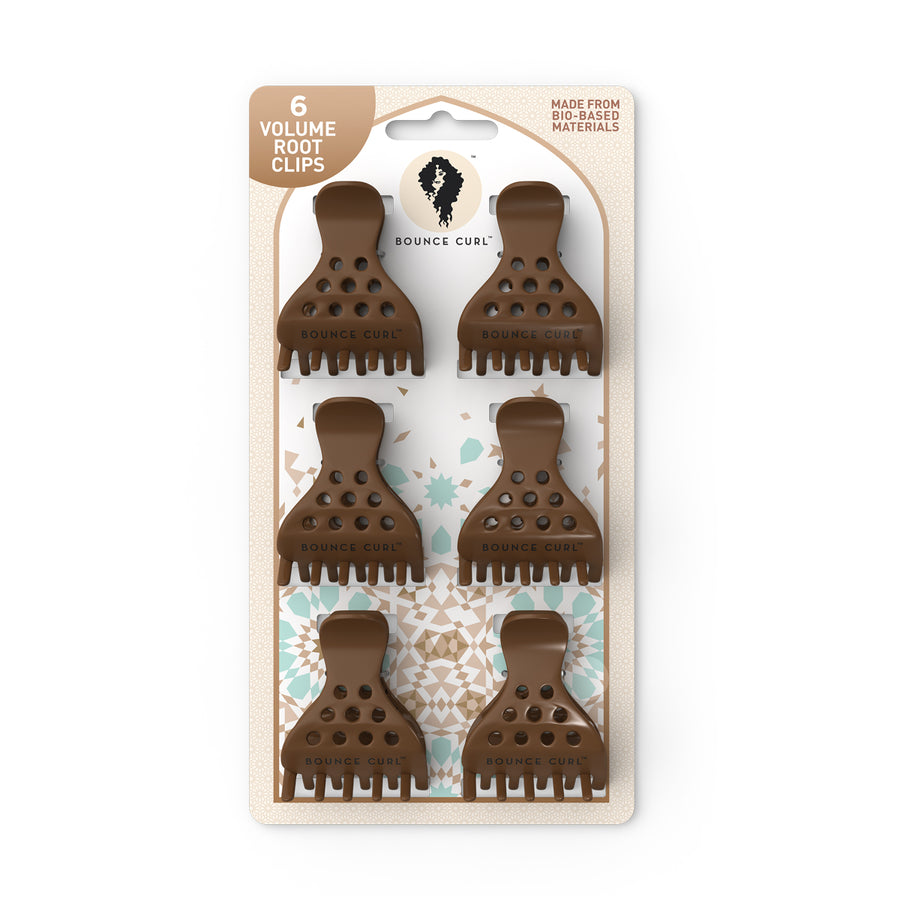
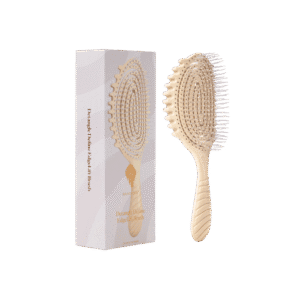
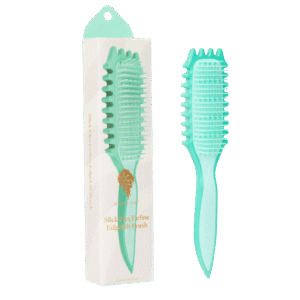
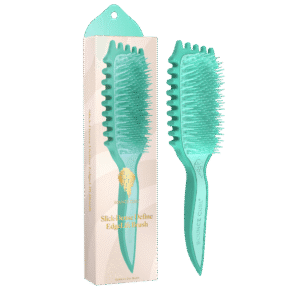
Watch the direction your hair comes out of your scalp, since that determines how it falls. You can lift with either tool:
I lift the most around my crown so it has volume and my scalp doesn’t show.
Checkpoint: Your roots should be off your scalp, with nothing stuck down.
This is where you finally bring out your curls, so they’re formed, clumped, and back in their pattern instead of smoothed and stretched. I call it “define” instead of “scrunch” because some people don’t want shrinkage.
Repeat rake, lift, and define on each section until your whole head is done.
How much water did I use in total? I used an entire spray bottle that was about three-quarters full, partly because talking slowed me down. The faster you get with practice, the less water you’ll need.
Checkpoint: Fix wet frizz and stringy ends before you dry. Look at your whole head and fix anything now, while your hair is still soaking wet.
This step balances the water you need for clumping with a faster dry time. It leaves you with less water weight, stronger hold, and smooth clumps.
The glaze is part of my Strong Hold Method. For every step in one place, grab the free Strong Hold Method Cheat Sheet.
Checkpoint: Look for any frizz and fix it now. It’s much harder to fix once your hair is dry. Checking at each stage is how I control my results, so my hair doesn’t turn out like a mystery.
Diffusing sets the cast and curl shape, so it locks in everything you just did. That’s why the checkpoints matter. You want defined clumps, lifted roots, and set curls, not dry frizz, flat roots, or stringy pieces.
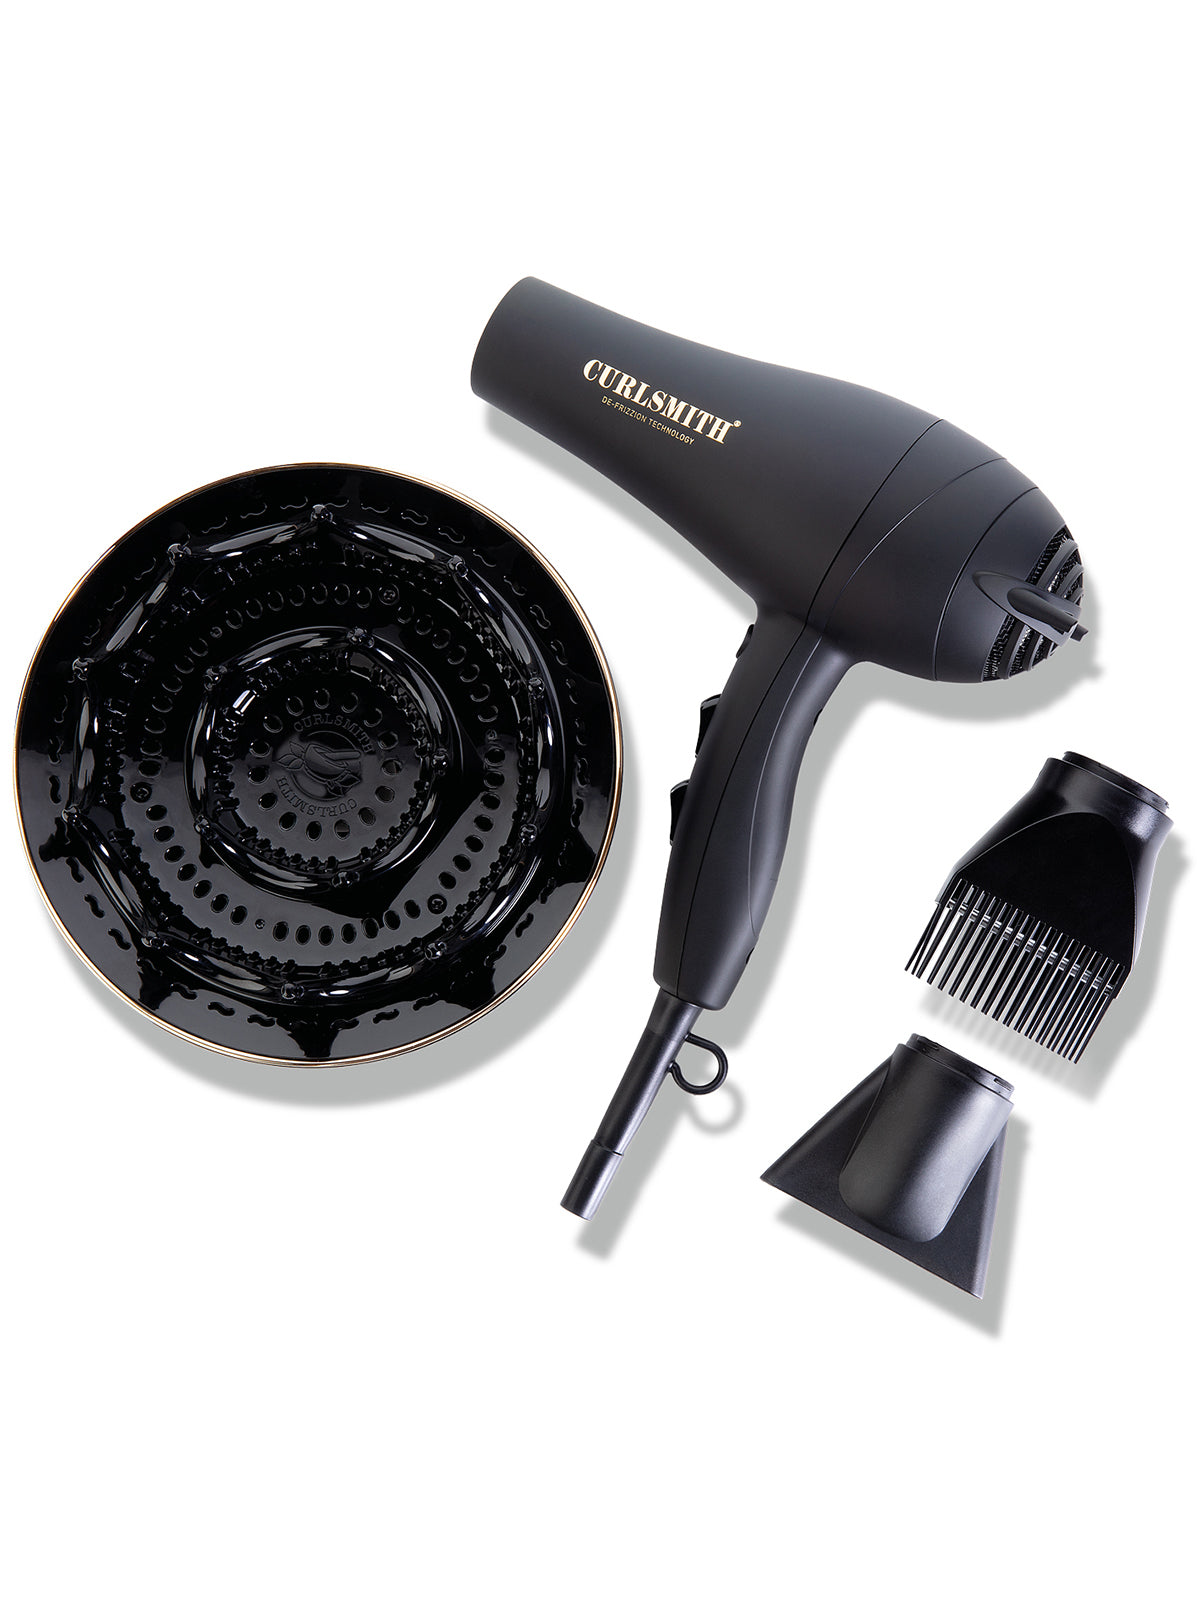
I use the Curlsmith Defrizzion Hair Dryer & XXL Diffuser on the lowest fan speed and highest heat. A lot of your definition comes out here:
Checkpoint: Once you’re dry, check that your cast is even, with no patchy frizz. What if frizz shows up after diffusing? If it wasn’t there before you diffused, your diffusing technique needs work. My Diffusing 101 for Beginners video walks you through it.
My hair dried defined, with virtually no frizz and an even cast without patchy spots. Hair is never completely frizz-free, and low-density areas (like my problem areas) can still get a little stringy. That balance takes practice, but it mostly comes down to paying attention.
Breaking the cast: I wait until my hair is completely dry, then scrunch out the cast with dry hands. You can leave the cast in for longer wear, but I prefer a softer look. After breaking it, my hair was soft with more volume and still virtually no frizz. This gel always turns out amazing for me.
Checkpoint: An even cast that breaks easily tells you the earlier steps went right. What if you can’t break your cast? You may have used too much gel, not had enough water, or not gotten even coverage.
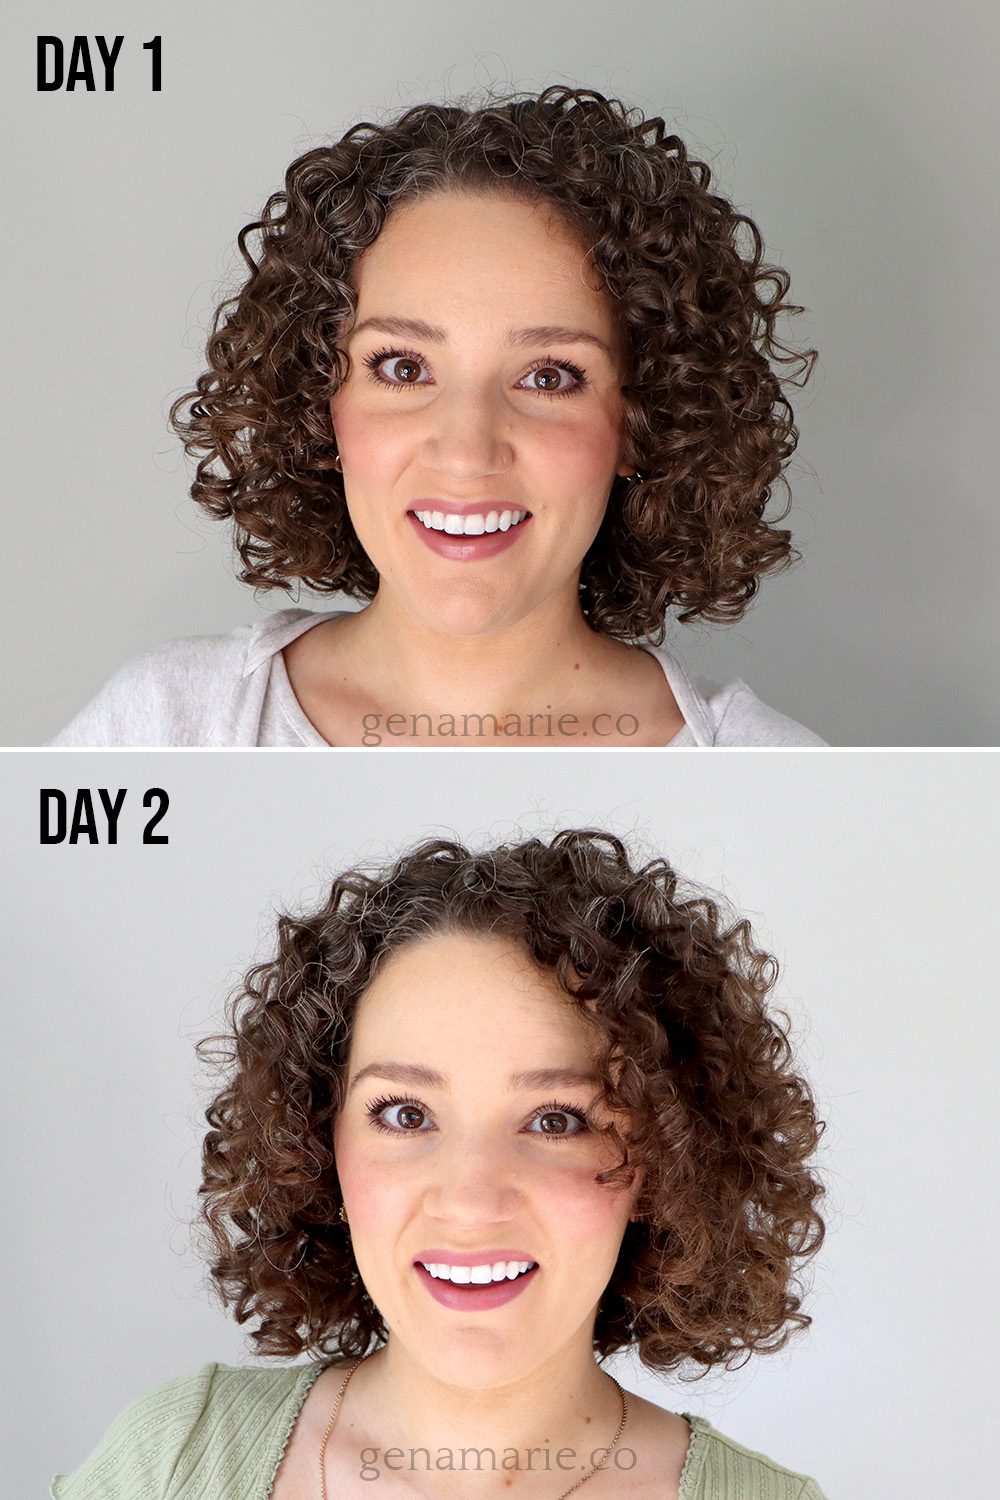
I didn’t need to refresh with water, just a quick dry refresh to fluff and separate some clumps. I only style twice a week and barely touch my hair in between. I had normal frizz, plus one spot that probably didn’t get quite enough gel. A little water would fix it, since this gel reactivates well.
My curls were very clumped that morning, which means they weren’t stringy. When you prevent wet frizz and stringiness on wash day, your curls don’t get progressively worse. If you start with them, it often looks worse the next day, because there are no clumps to hold the frizz.
If you take one thing from this guide, I hope it’s to pay more attention during the steps that often get overlooked, especially prep and rake. Once you get the hang of it, it doesn’t take long. You’re just being more intentional with steps you already do.
That’s why I focus so much on technique in my Group Curl Coaching Program. These skills work no matter what products you use or what hair type you have. Without solid application and styling technique, it’s hard to get longer-lasting results, even with the best products.
We do several guided styling sessions in the program, because sometimes it takes a second set of eyes to spot the small things you’re doing. If you’d like that support, you can request your seat now for my Winter Program, which begins in December.
For more beginner styling help, explore the rest of my Beginner Curl Series, which covers diffusing, building a balanced routine, and choosing the right styling technique for your define step.

If your curls look frizzy and stringy while they’re wet, they often dry that way too. You’re probably overlooking a few application steps that rarely
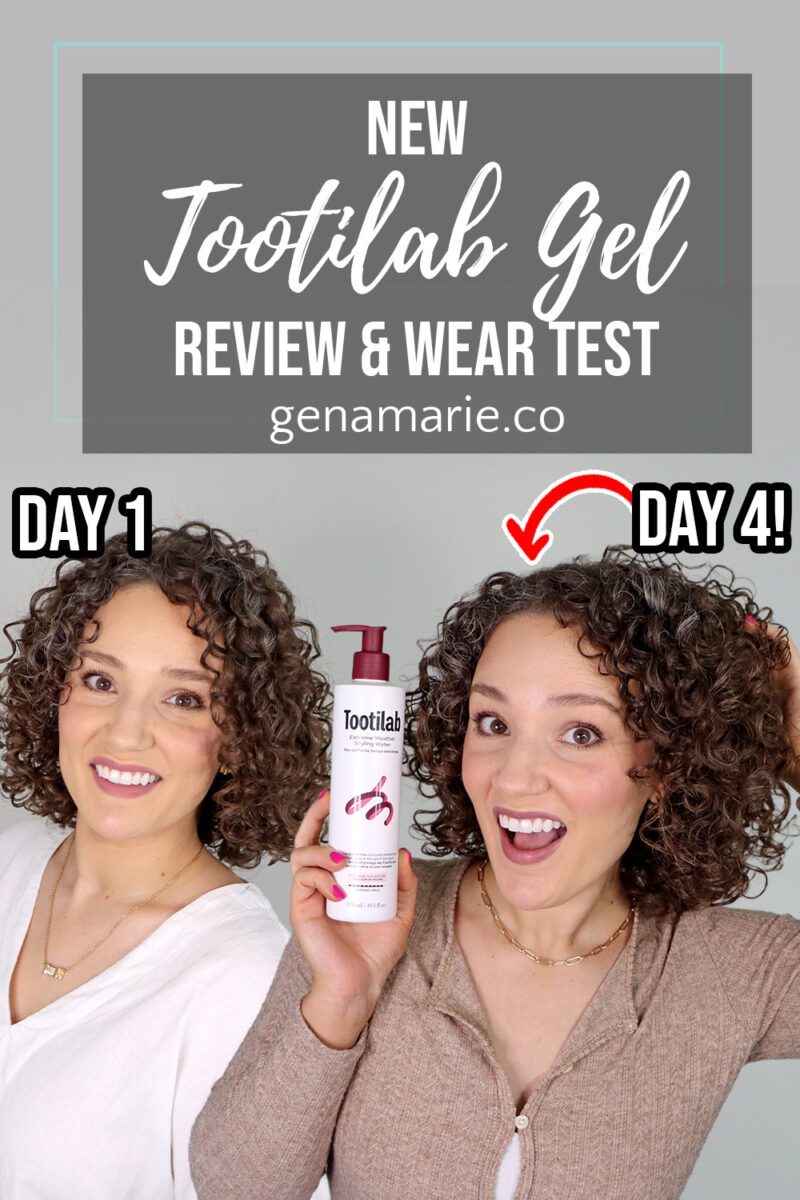
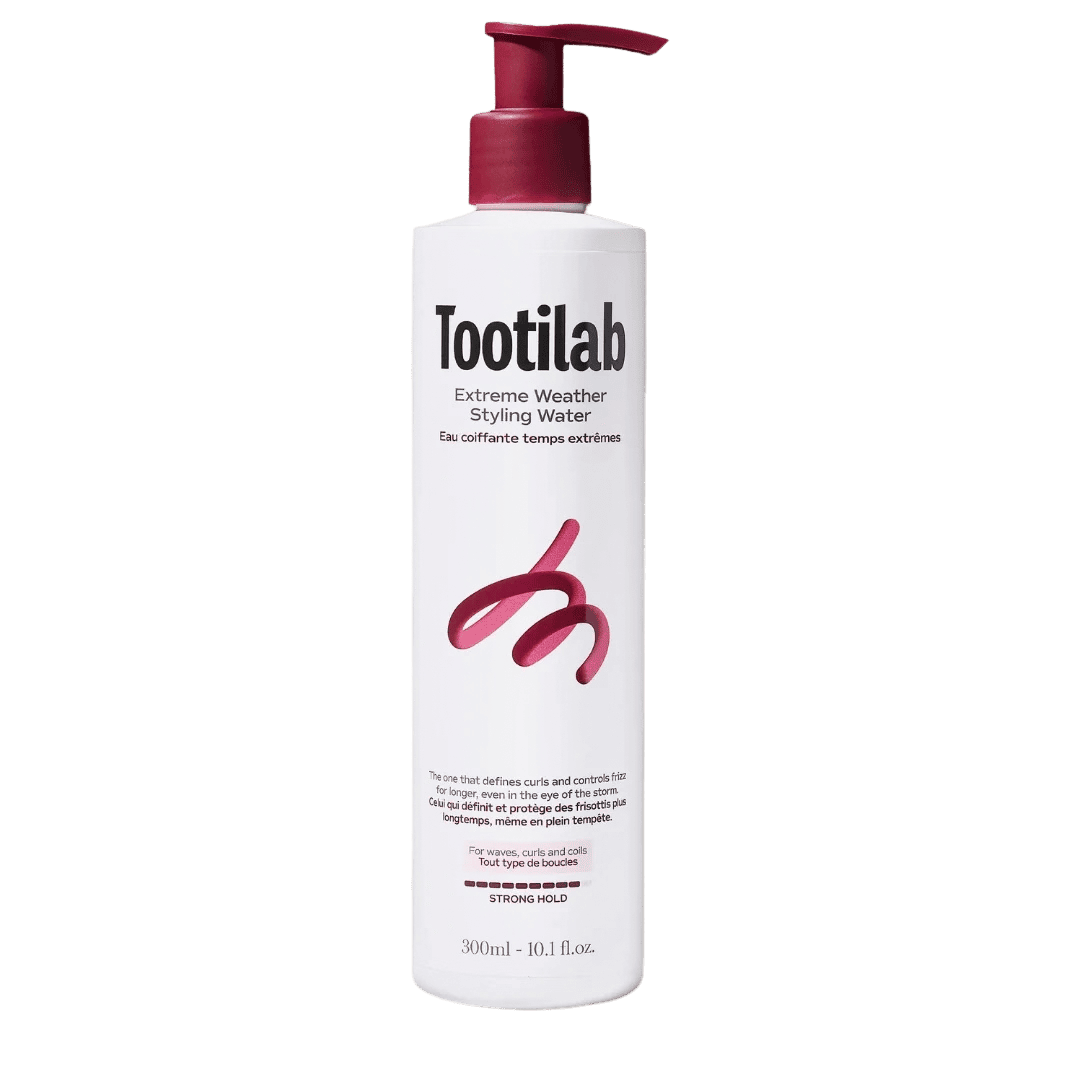
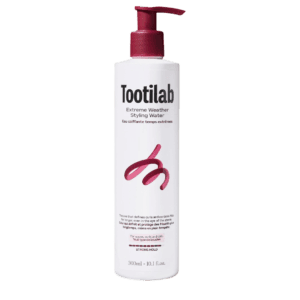
Have I finally found a gel that checks all my boxes, including lasting days without a refresh? I put the new Tootilab Extreme Weather Styling


Amazon’s Prime Day Deals are happening today and tomorrow only! I’ve rounded up my top curly hair picks on my Amazon storefront plus shared quick notes below on each product’s key characteristics to
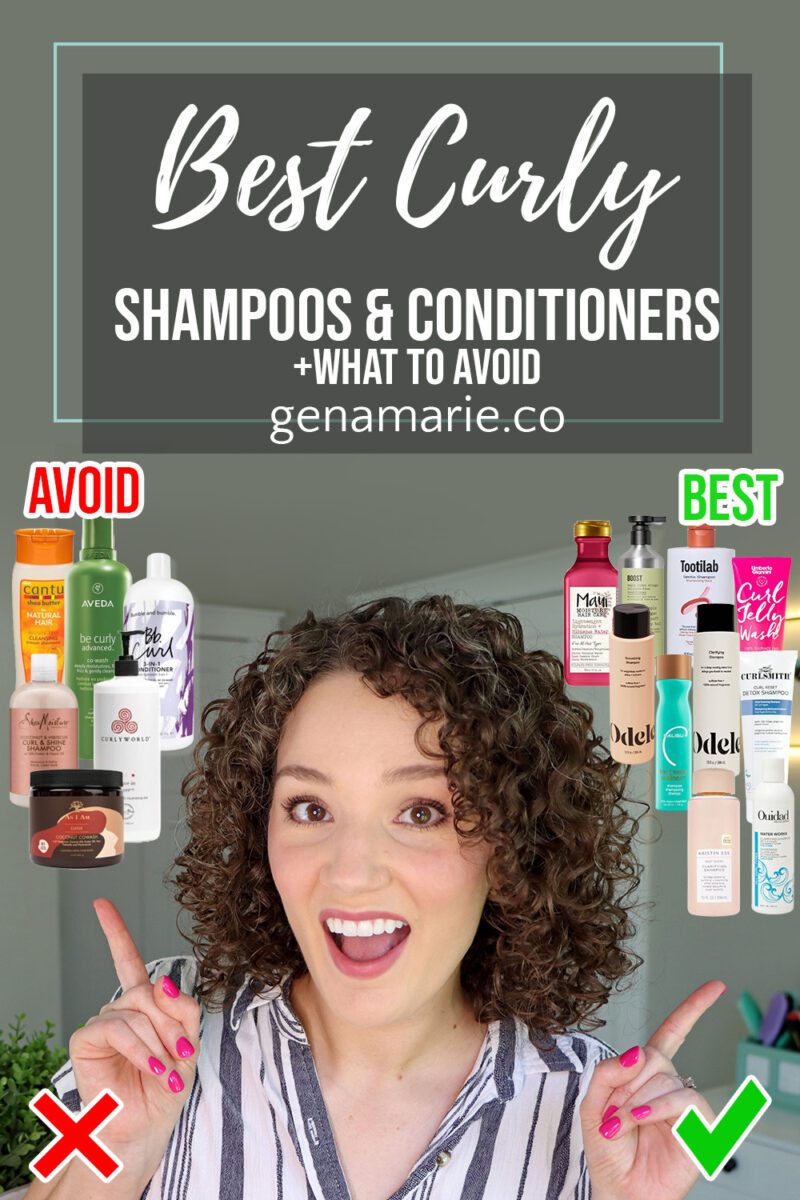
The shampoo and conditioner you use affect your curls more than you think. It doesn’t have to be complicated. You just need to know what
Notifications