



Rake, Lift, Define Live: Styling My Hair While Answering Your Questions
Today I styled my hair live from start to finish using my Rake, Lift, Define Method, the same way I run guided styling sessions with

Today I styled my hair live from start to finish using my Rake, Lift, Define Method, the same way I run guided styling sessions with my coaching clients. I stopped at each step to answer your questions about the moments where hold, water-to-gel balance, and frizz usually go wrong.
If you couldn’t make it live, you can watch the replay, skim the steps I followed, and read short answers to your questions.
Use these timestamps to jump to the part of the replay you need.
0:00 Intro: What Is the Rake Lift Define Method?
6:27 Prep: How Wet Should Your Hair Be?
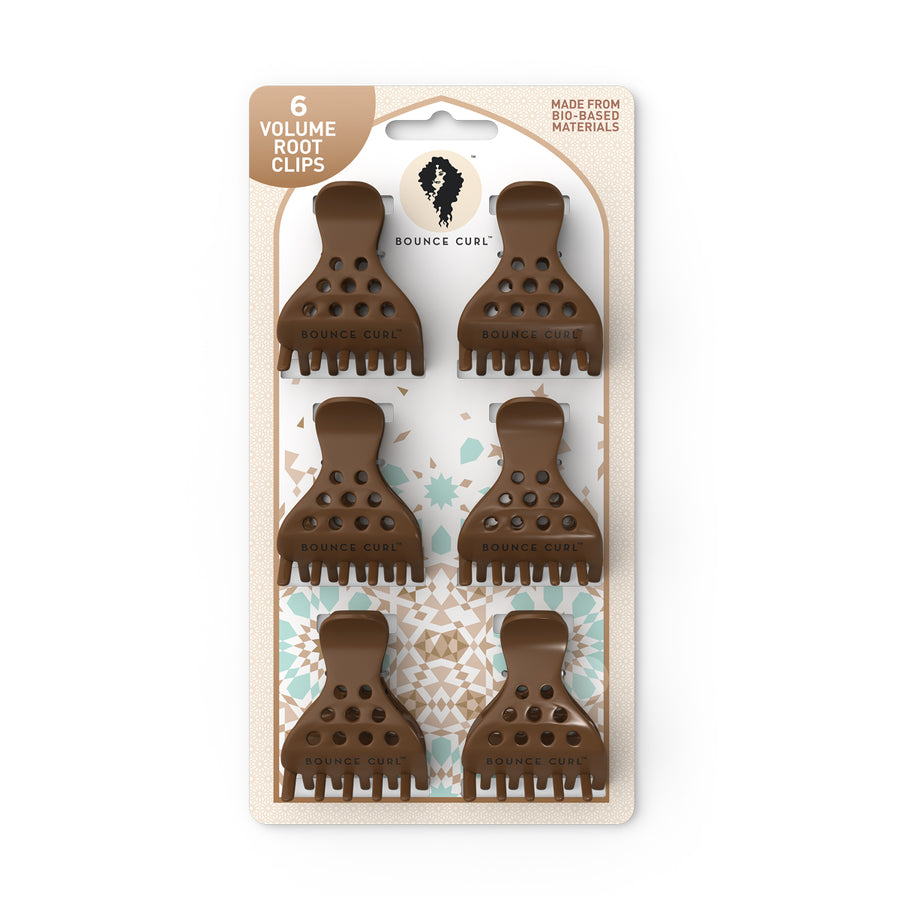
8:45 Sectioning Tips + Clips for Fine or Thin Hair
10:30 Prep Checkpoint: How Your Hair Should Look and Feel
12:15 Rake: How to Apply Gel Evenly
13:21 The #1 Reason You’re Not Getting Hold
18:00 Lift: Getting Roots Off Your Scalp
20:43 Define: Bouncing, Scrunching and Brushing
27:11 How Much Gel to Pick Up
28:47 How to Prevent a Split or Cowlick in the Back
35:09 Top Section: Sectioning for Root Volume
36:30 How Should Gel Feel in Your Hair? (Long Hair)
47:35 Defining Waves: Shake and Twist Method
53:00 How to Finger Coil
55:30 Why Is My Hair Drying Before I Diffuse?
57:54 Praying Hands + Final Scrunch
1:01:49 Microplopping
1:05:53 Diffusing for Volume
1:09:01 Bleach-Damaged Hair: Conditioning vs Hold
1:12:43 Do You Need New Products?
1:16:27 Hair Only Lasting One Day?
1:18:14 How Guided Styling Works in Coaching
1:21:24 How to Diffuse Long Hair Without Bending Curls
1:22:47 Do You Need Oil to Break the Cast?
1:23:51 Breaking the Cast
1:28:31 Styling Your Hair at Night
1:30:41 Final Results + Why Hair Looks Dull After Sleeping
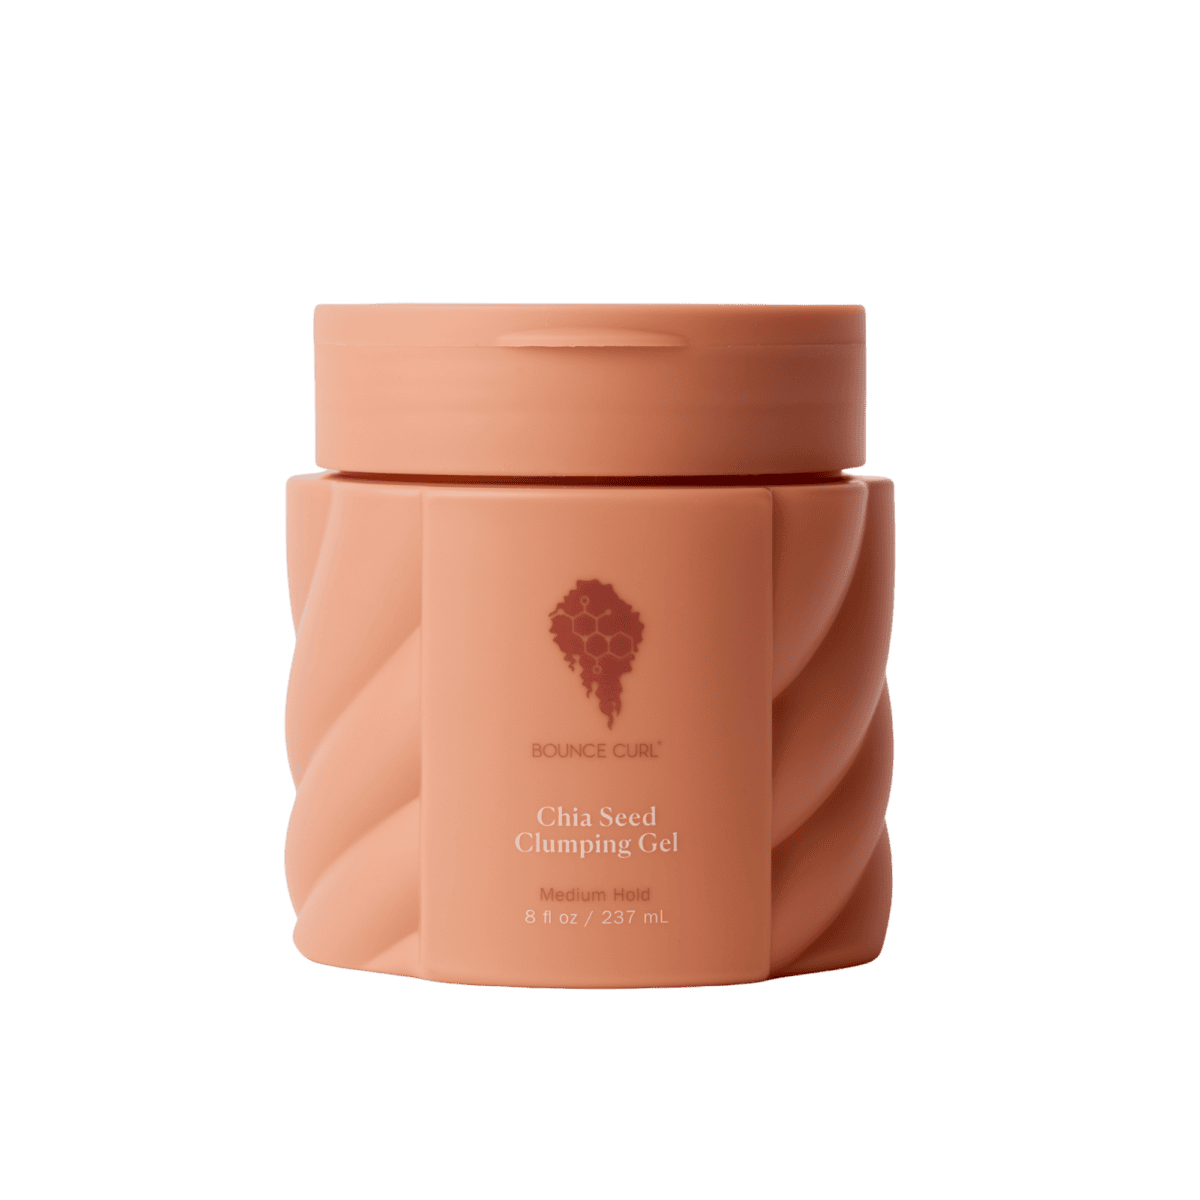
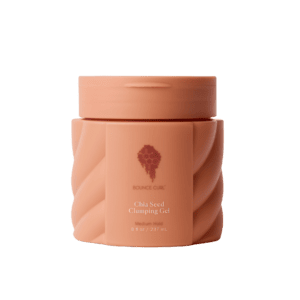
1:33:04 Chia Seed Gel: First Impressions
Here’s the routine I followed on the live. For a full breakdown of each step, read my Rake, Lift, Define Method post.
Ready when: your hair is evenly wet, smooth, tangle-free, and lifted at the roots. Some wet frizz is normal at this stage.
Ready when: your hair is straightened out, coated root to tip, and starting to clump evenly.
Ready when: your roots are off your scalp and your hair is still smooth and coated.
Ready when: your curls are the shape and clump size you want, with no major wet frizz or stringiness.
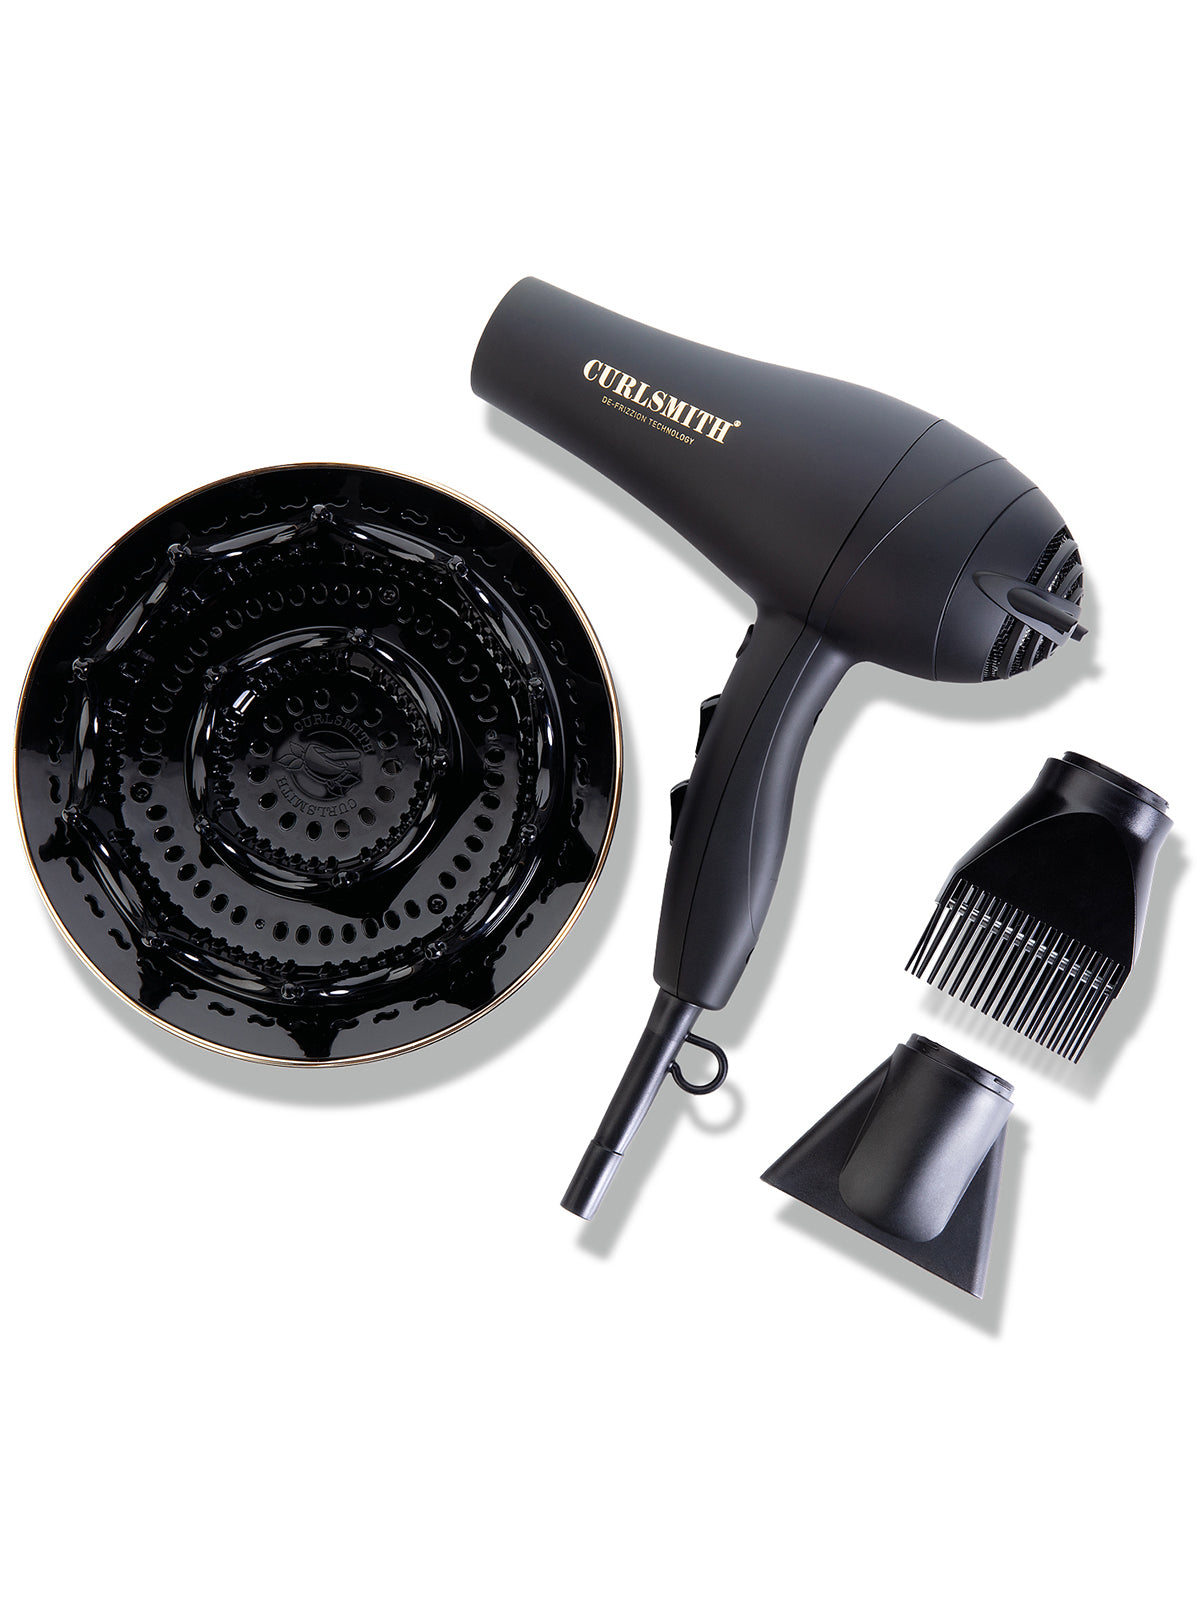
I diffused with the Curlsmith Defrizzion Hair Dryer which dries my hair fast using gentle heat.
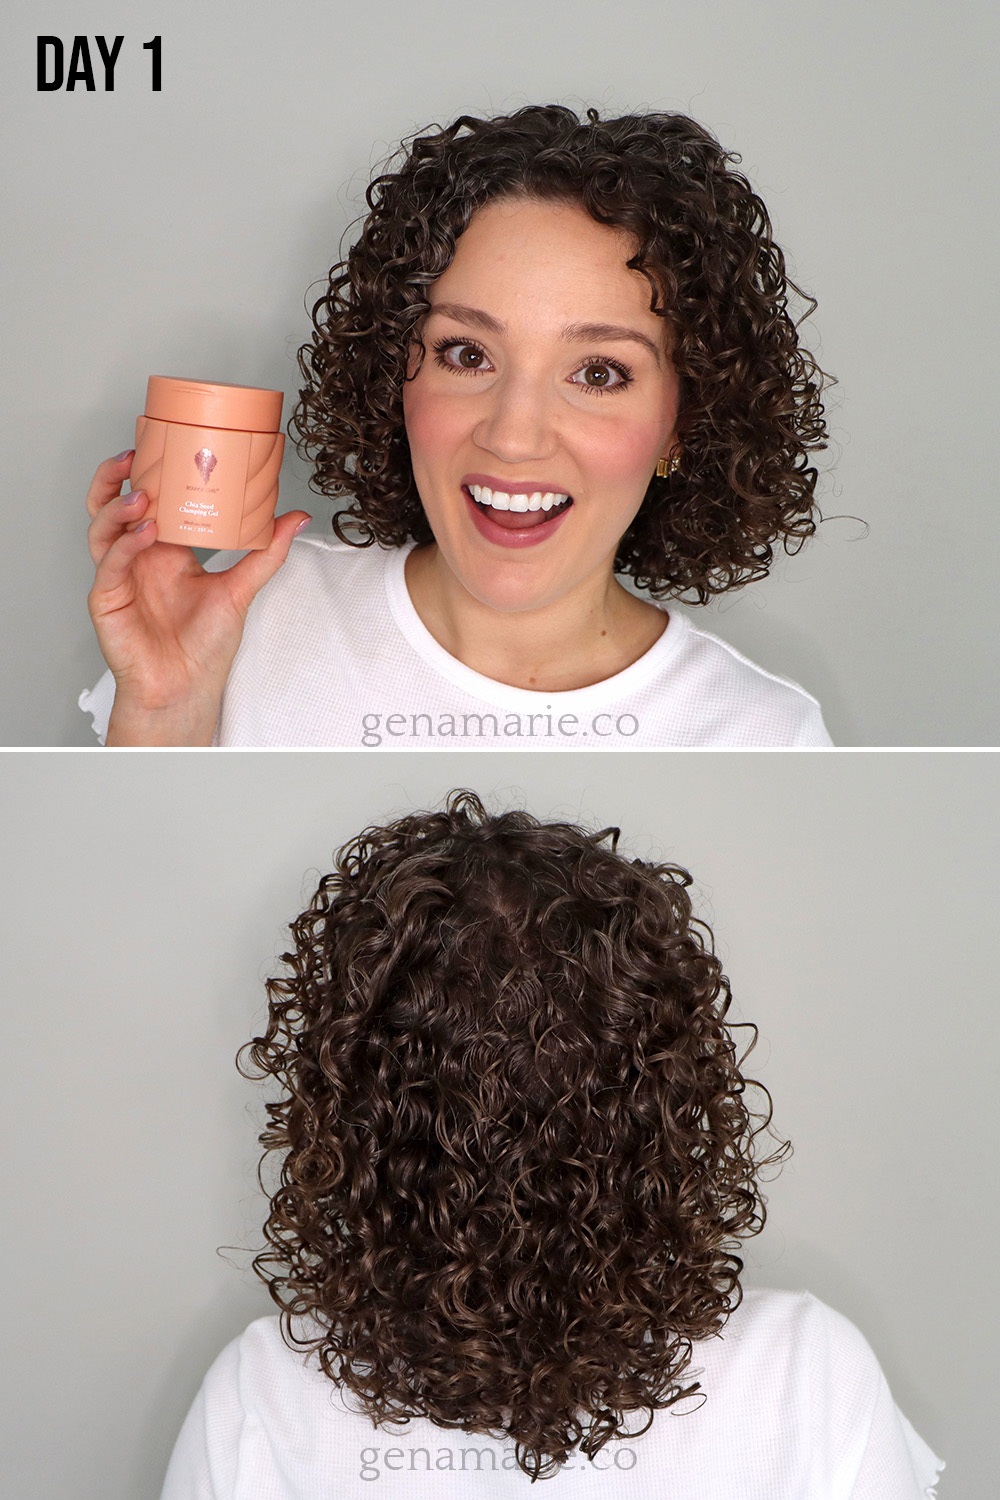
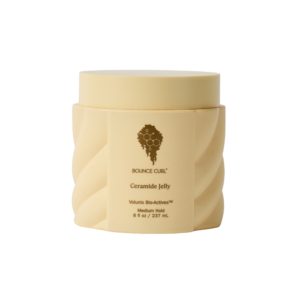
My hair dried with a very strong cast, so strong that I struggled to scrunch it out. That surprised me, because I skipped the extra gel glaze after microplopping. It worked out, since I clearly didn’t need any more gel.
The result was very defined and shiny, with good volume. It was a little crunchier than I like on day one. With this gel, my hair tends to look best toward the end of day one and into day two, as the cast naturally starts to release. The last time I tested it, my style lasted about four or five days.
If you like a strong cast, especially on day one, you might really like this gel. A stronger cast gives you a better starting point for longevity, because casts naturally break down over time as your hair rubs against your pillow and goes through your day.
If you don’t like a crunchy look on day one, use less gel.
I definitely need to use less next time. I have to dial it back on purpose, because I’m used to being heavy-handed with my more liquidy gels to get the most hold out of them. This gel gives more hold than those, so the same amount is too much.
If you’re still working out your gel-to-water ratio, this gel might be a good one to try. Even with a lot of water in your hair, you’ll still get a strong cast.
Once my hair was dry, I could feel some texture from this gel. That texture comes from the starches in the formula. It helps the hair clump and gives more volume.
A few things to keep in mind:
I’m still testing this gel and working out the right amount for my hair. So far, so good. I’ll share my day two results on Instagram the day after the live.
Here are some of the questions you sent in before and during the live, with short answers.
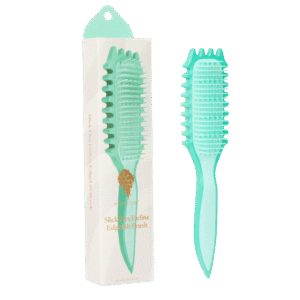
I don’t have enough hair to grip the Bounce Curl clips. What should I use?
Try putting more hair in each section, or twist the section into a small ball so the clip has something to grip. If the clips are still too big for your hair, go with something smaller, like mini plastic clips, as long as it holds your sections up.
How should my hair feel when it’s coated with gel? My hair is very long and thick.
Your hair should feel soft and slippery, a little tacky in a good way, and noticeably different from clean hair. When it just feels clean again, pick up more gel. With hair that long, work in small sections and expect to use a lot more gel.
How much gel is too much?
Too much gel usually shows up as a cast that’s hard to break, leaving your hair crunchy on day one. Start with a small amount and add more as you go, but when you’re testing a new gel, it’s better to over-apply and then dial it back the next wash day.
What do you mean by over-directing? I get more volume brushing my hair straight up.
Over-directing means forcing the hair in a direction it doesn’t naturally grow, like brushing it straight up, so it folds over itself at the root when it falls. You do get some volume that way, but it can stretch your curls and cause tangles, so brush up and away from your scalp, such as out to the side, instead of straight up.
The section I style first starts drying and frizzing before I can diffuse. Should I add more water?
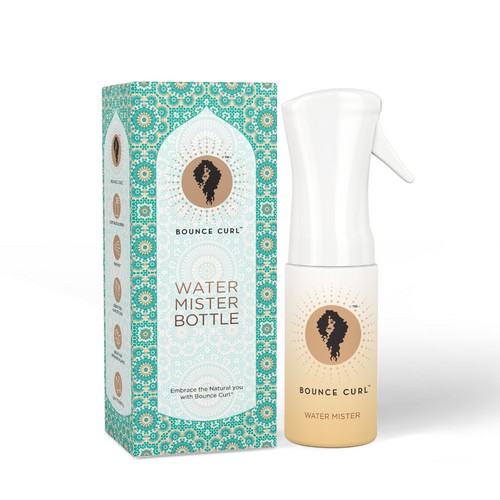
Yes. Keep a spray bottle on hand and mist each section before you clip it away, so your cast doesn’t start forming early. If your hair is drying that fast, you may not have enough water in your hair from the start.
I can’t get hold in the back of my hair, no matter how much product or water I add. Should I diffuse the back first?
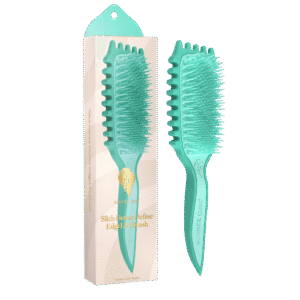
The back is often the area that doesn’t get fully coated, so make sure your hands reach the roots in the back when you rake in your gel, and diffuse the back as thoroughly as the rest of your head. You can start with diffusing the back. Make sure that you are separating out your hair so the prongs are not catching on your other sections. This could be why the back ends up frizzy.
My hair looks dull after sleeping. How do I restore the shine?
Dull hair is often a sign of lost hold, because a gel cast is what gives your hair shine. Notice when it starts to look dull, then add some water the next day to bring your gel cast back, or improve your wash day styling or use a stronger hold gel so your hold lasts through the night.
What you watched today is how I run guided styling sessions with my coaching clients. However, in my program, you can have your camera on so I can watch you style along with me. I check each step against its checkpoints and look for the signs your hair is giving you.
In coaching, you learn to read those signs yourself, so you can troubleshoot your own curls. If you’ve tried these steps and you’re still stuck, you probably need a second set of eyes. There’s usually something you’re missing.
If you want me to actually look at your hair while you style, join the waitlist for my Winter Group Curl Coaching Program.
Already on the waitlist? Early access is open now, so check your email for your link and sign up by November 30th

Today I styled my hair live from start to finish using my Rake, Lift, Define Method, the same way I run guided styling sessions with
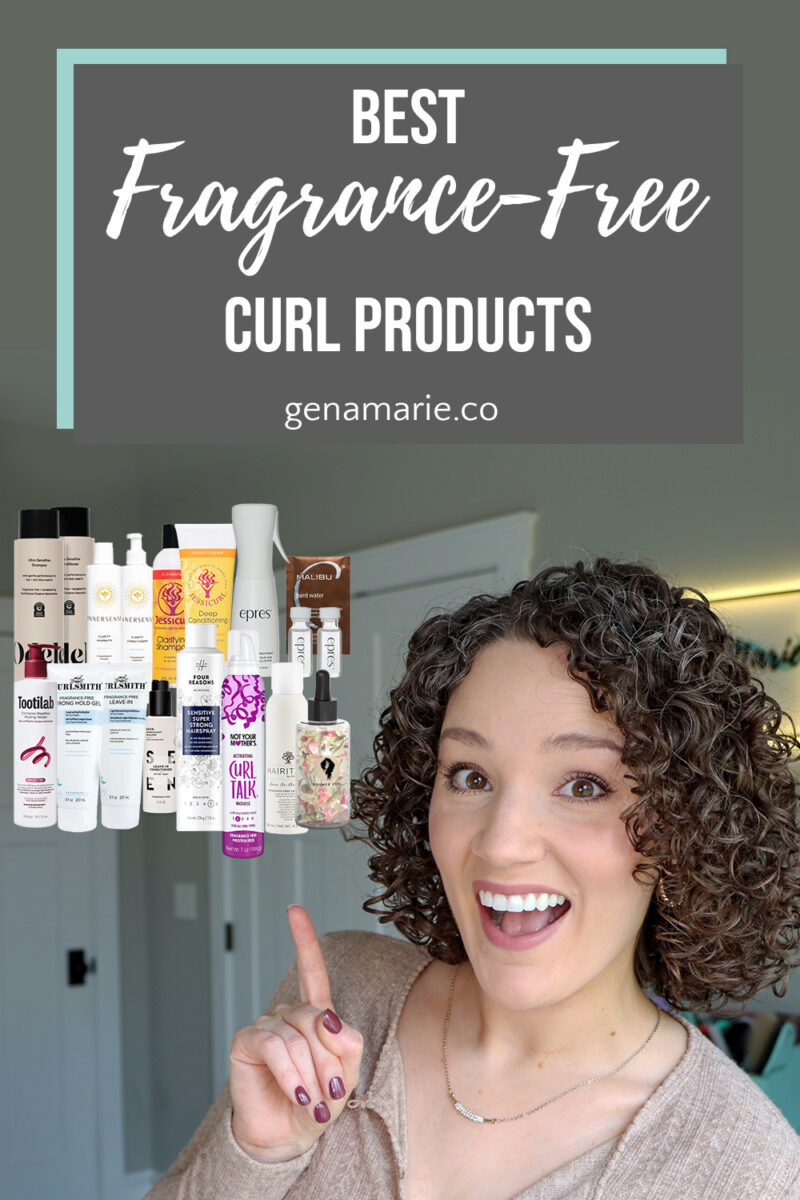

There aren’t many fragrance-free curly hair products out there. Add picky criteria on top of that, and the options get even slimmer. So I went

Do your curls feel soft but never last past wash day? Or do they feel brittle, dry, and hard to manage? It’s often not your
Are your curls stringy and frizzy, or heavy and weighed down? The advice you’ve been following about how much water to style with might be
Notifications