

How to Diffuse Curly Hair Without Frizz: A Step-by-Step Guide
If diffusing always gives you frizz or wonky curls, or you’ve decided it isn’t worth your time, it’s not diffusing itself. It’s that no one

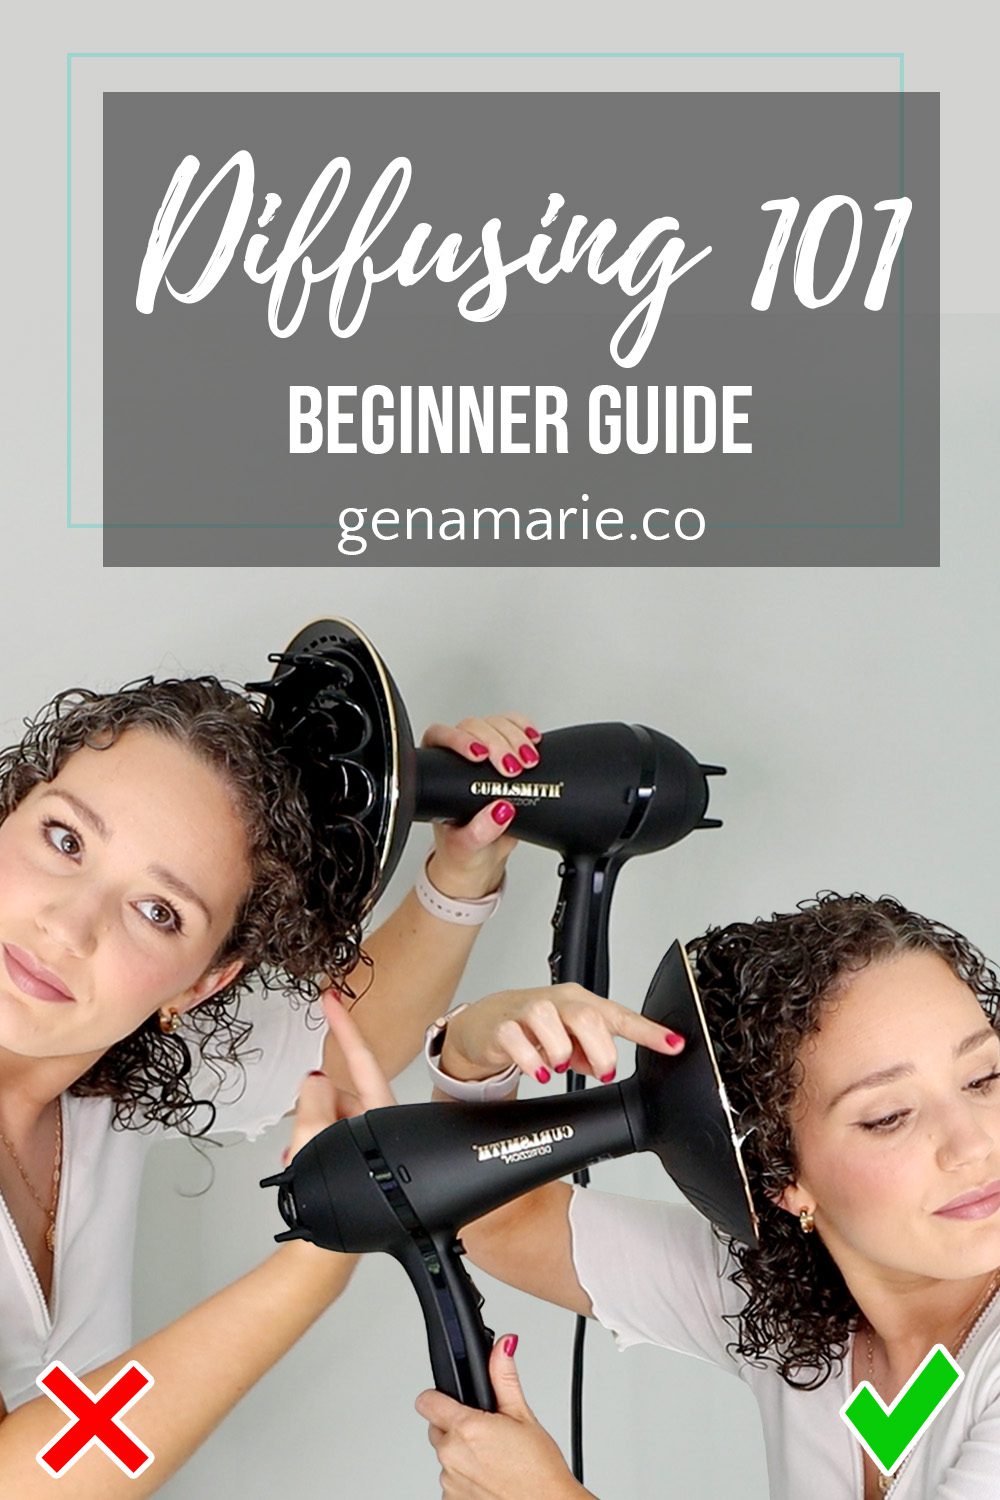
If diffusing always gives you frizz or wonky curls, or you’ve decided it isn’t worth your time, it’s not diffusing itself. It’s that no one has taught you how to do it properly.
You have more control over your curls than you think, and diffusing is one of the best ways to get it.
This guide walks through the six steps, and where most people go wrong in each one. It’s part of my Beginner Curl Series, where I teach the foundations you need for longer-lasting curls.
One thing before we start: everything you do before you turn on the diffuser matters. So that’s where we’re beginning.
Every curl routine needs a prep product, ideally with heat protection, and a styler that gives you hold.
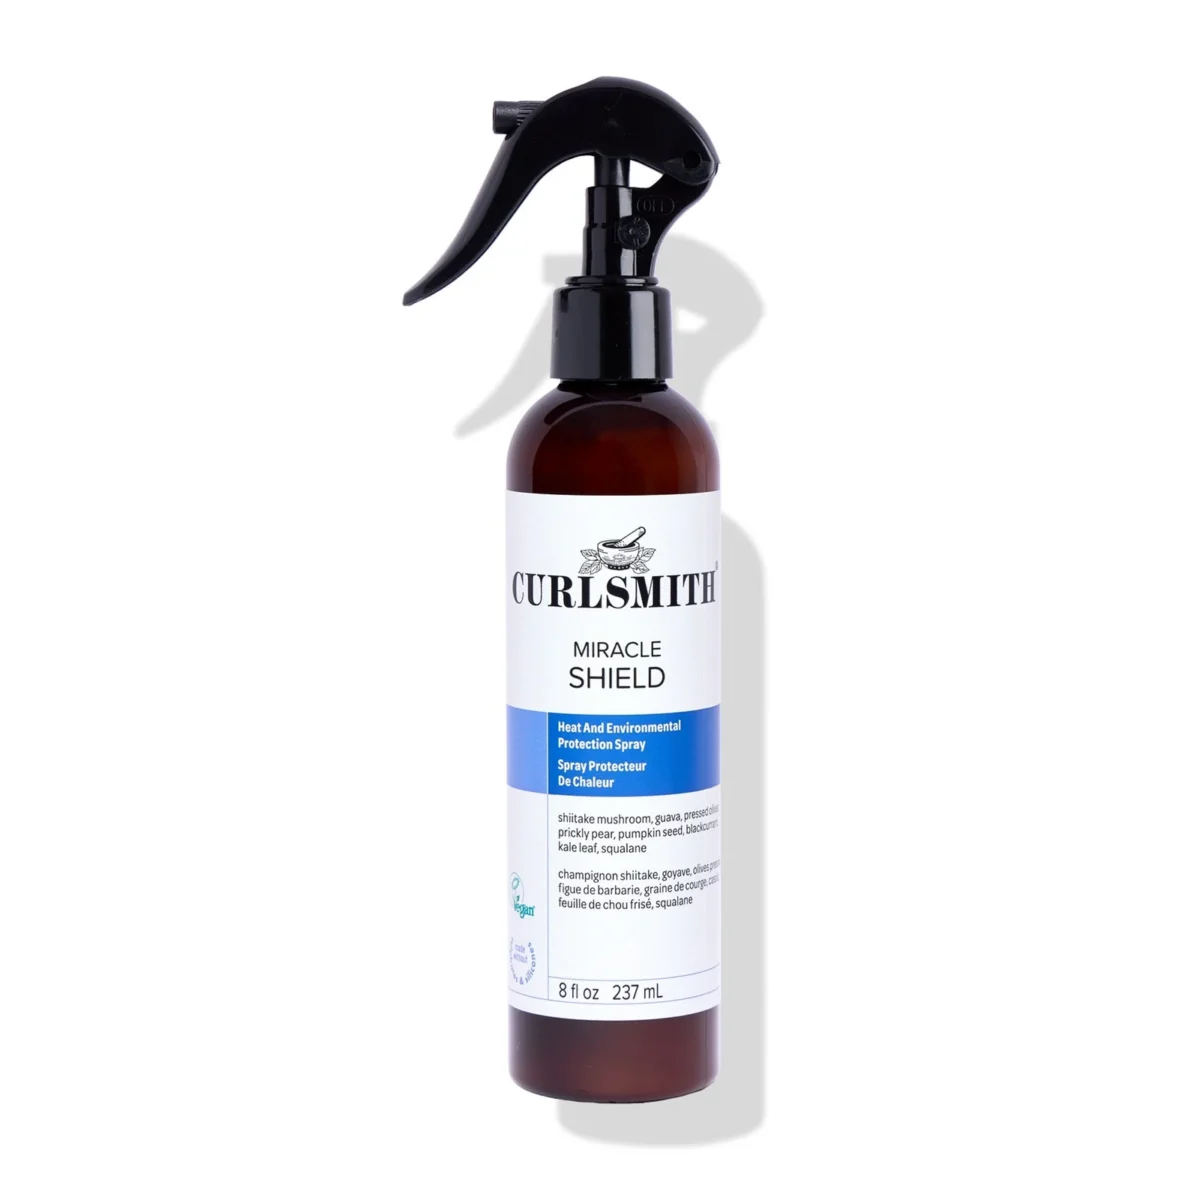
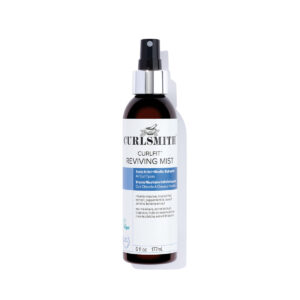
I used the Curlsmith Miracle Shield.
Diffusing is completely safe for curls when done properly, but you should still use heat protection.
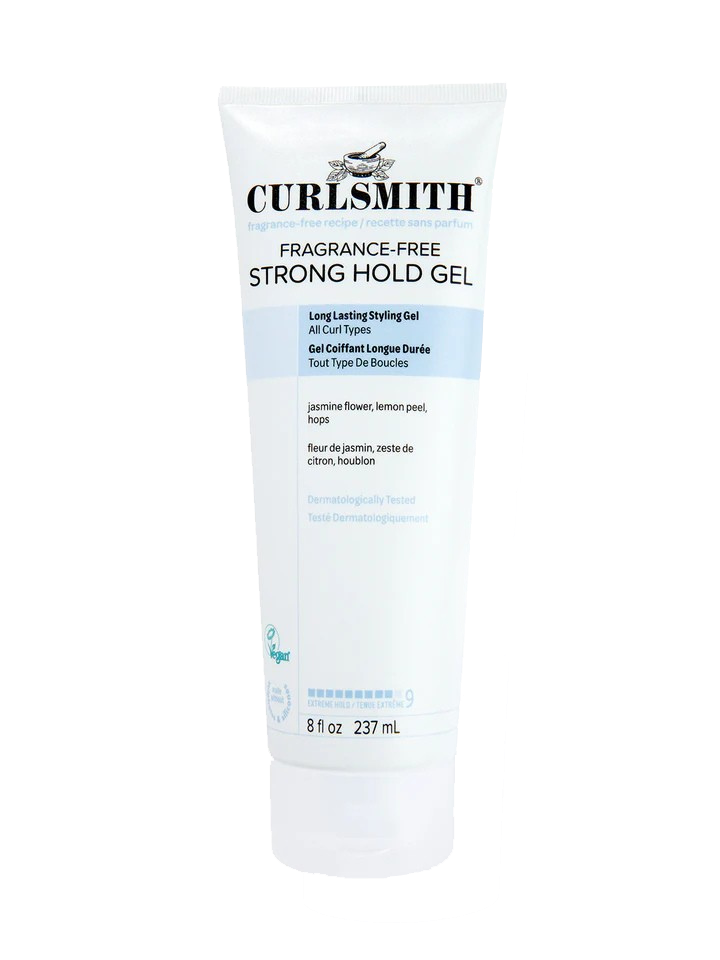
I used the Curlsmith Fragrance-Free Strong Hold Gel. It’s one of my all-time favorites, and I know it works for all hair types because so many of my clients use it and get great results.
To get strong hold out of it:
If your gel doesn’t give you sufficient hold, your frizz only gets worse when you diffuse, from the airflow and the movement. And if you’re already using a strong hold gel and still getting frizz, the issue is your application. My FREE Strong Hold Method Cheat Sheet walks through how to get the most hold out of your styling product.
If you feel like diffusing takes too long, this is the step you’re missing. Styling soaking wet means a very long dry time.
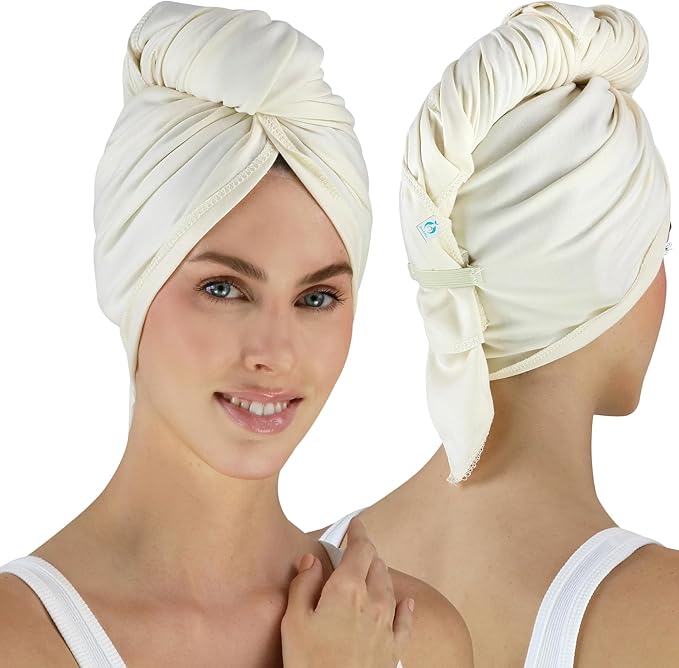
Microplopping means scrunching the excess water out with a towel or T-shirt before you diffuse.
This is the key step. Microplopping removes a little product, so you’re putting it back, on hair that’s starting to dry.
That layering, gel on hair that’s already starting to dry, is what gives you hold.
These are the steps that get me to the point where diffusing doesn’t instantly create frizz. With my hair’s length and density and the Curlsmith dryer, diffusing takes about 10 minutes. Completely worth it for longer-lasting results.
You can use my techniques with any diffuser. But the right design solves a lot of problems on its own.
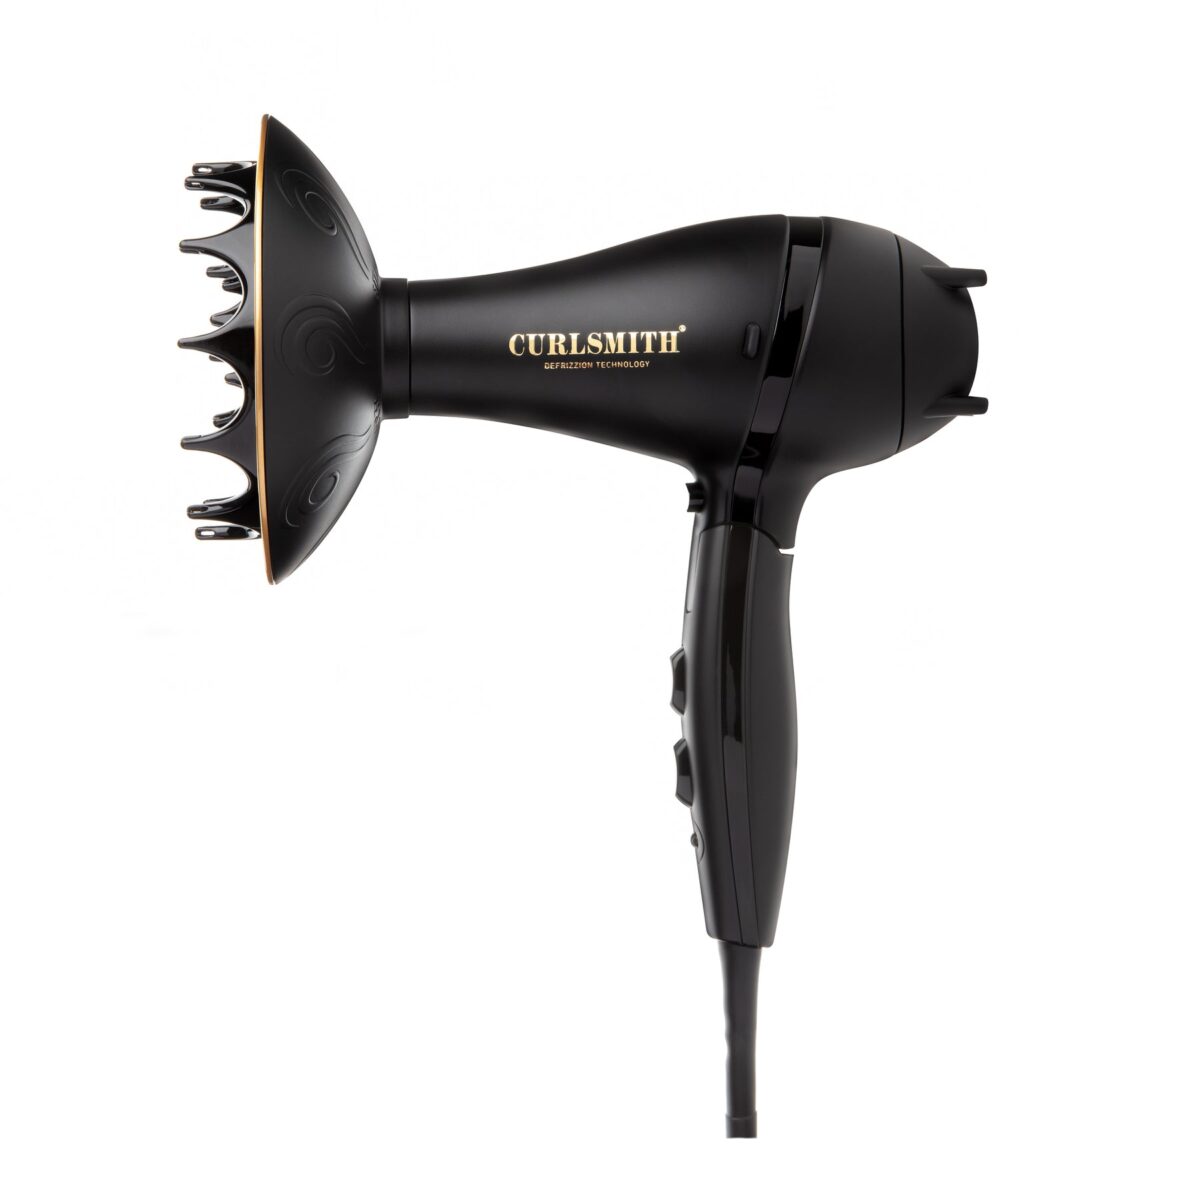
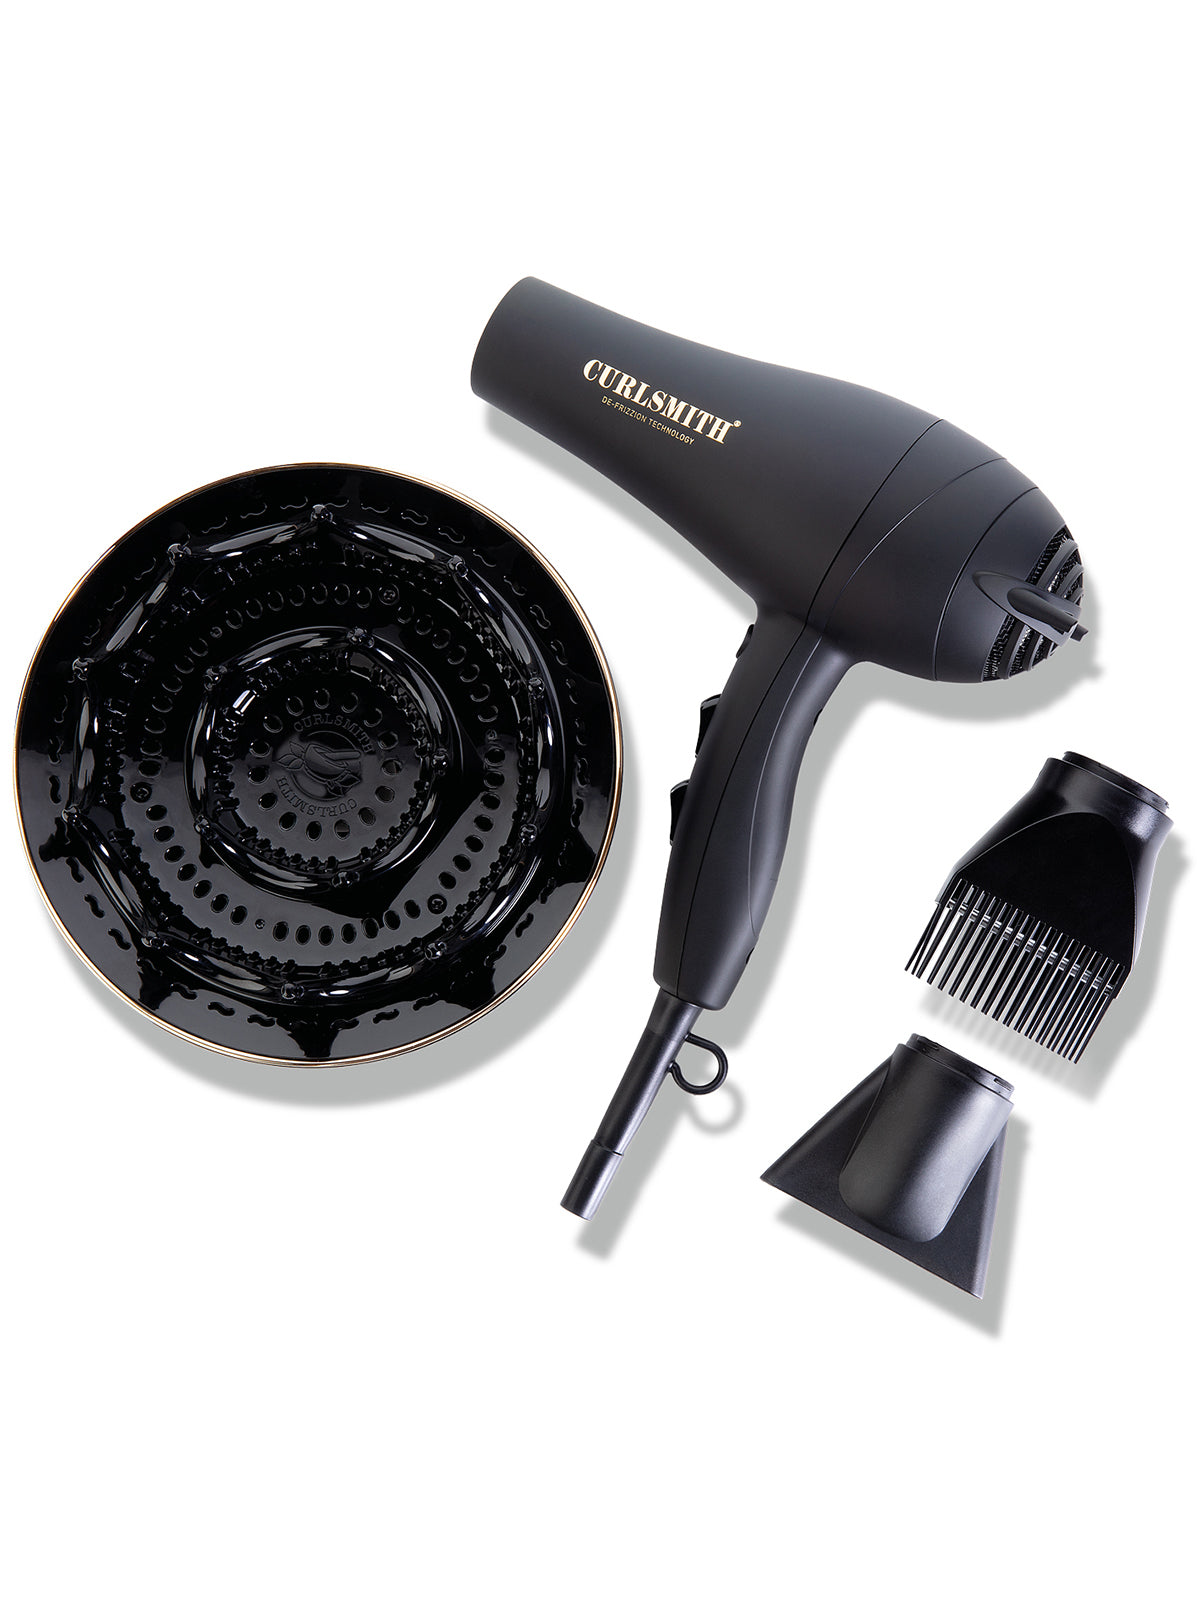
I use the Curlsmith Defrizzion + XXL Diffuser or the Defrizzion Travel Edition. You don’t need this exact one, so here’s what to look for.
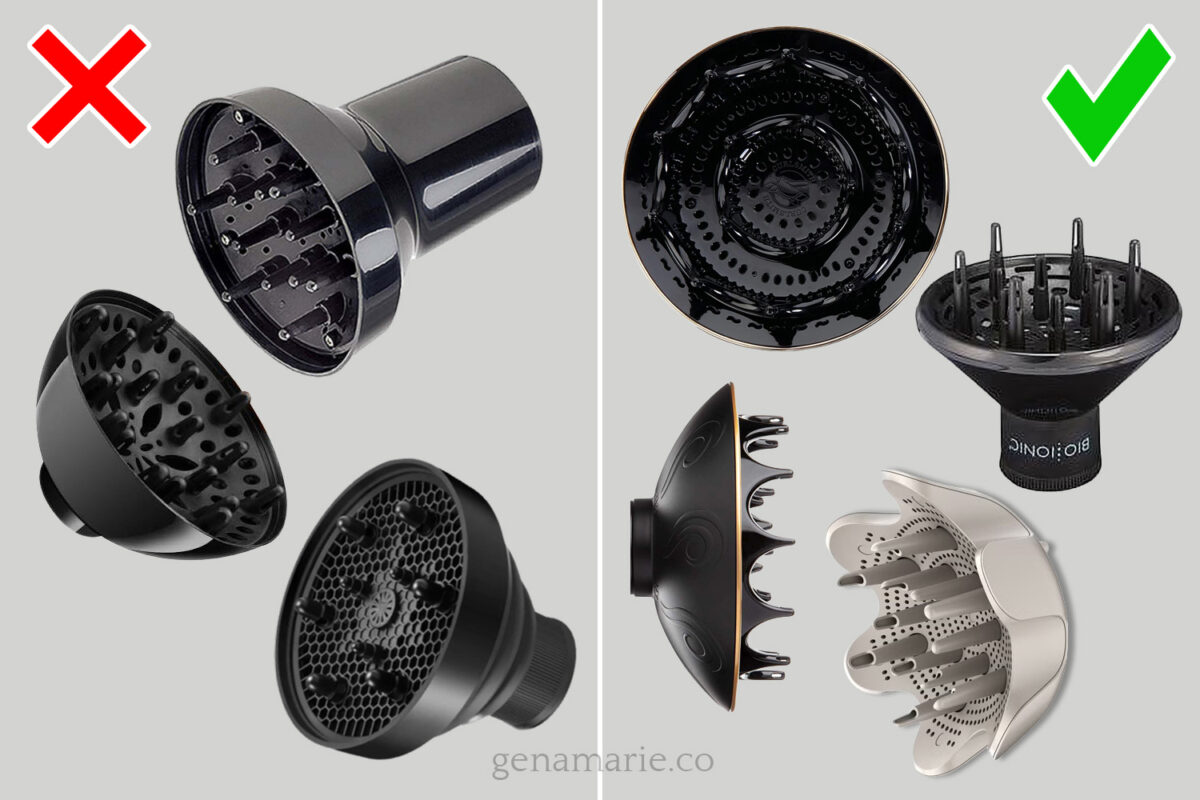
This is my issue with the Dyson. I don’t recommend it, because it gets way too hot for curls.
The Curlsmith Defrizzion is designed for curly hair and isn’t too hot even on its highest setting. I’ve never gotten split ends from it, and I pay close attention.
Shop all my recommended diffusers here.
Highest heat, lowest fan speed.
Start diffusing right after that last glaze, with whichever method you choose. You don’t want your curls air-drying first, or your cast starting to set. Your hair should still be wet if you want more curl pattern and volume.
Diffusing shouldn’t be a gamble. If you never know how your curls will turn out, it’s the technique, not the diffuser. There are three methods, and each creates a different result.
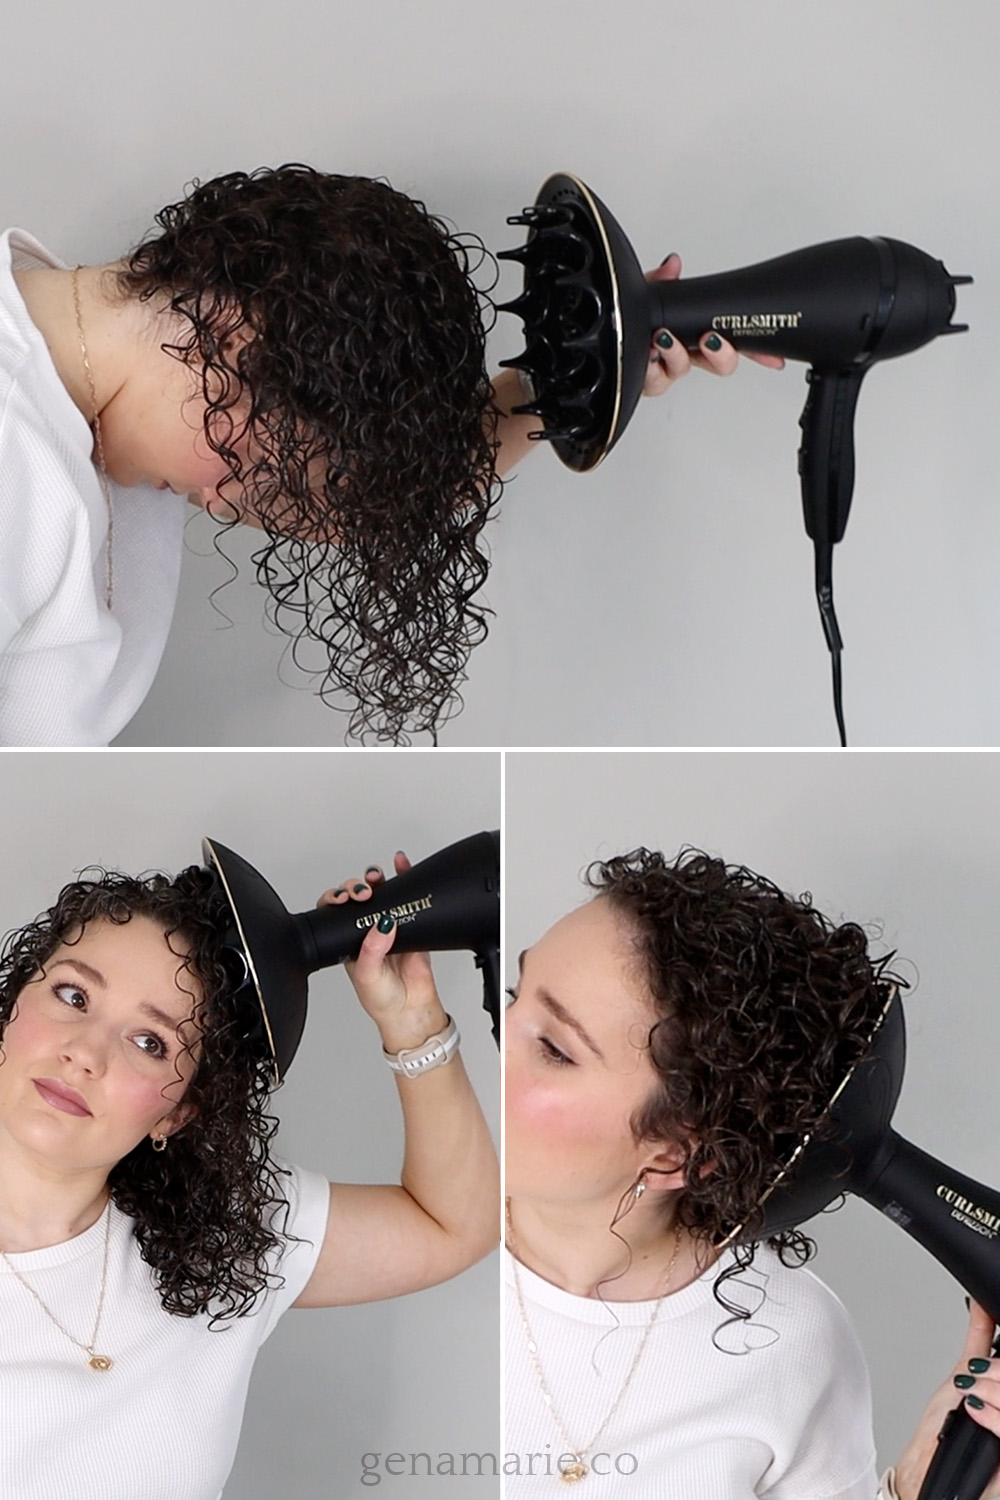
Just like air drying, but faster, because of the dispersed heat.
How: Position your hair how you want it, upside down or upright, then hover at a distance without touching your hair. Move gradually around your head. You can turn the heat and/or speed up, since you’re not touching.
Best for: Elongation. Looser rather than tighter curls. Maximum definition and zero frizz, if volume isn’t a priority. (You still won’t get frizz with the other methods if you do them right.)
It’s also the safest option if you struggle with wonky curls, because there’s no placement step at all. But I don’t recommend starting with hovering unless you prefer elongation.
Hovering takes a while, and getting roots dry is hard without prongs, especially if your hair is very thick.
A bit more manipulation. You’re using the prongs, but going in from the side or at the root instead of scrunching the full length.
How: Go in from the side around the mid-shaft and push upward. Or go in at the root and push upward. This sets hair in the upward position, which creates volume.
I do this toward the end of my routine, because that’s when I get the best root lift.
Lift is great if you have very long hair and can’t quite get it scrunched. I’ve also seen really great results with clients who have loose waves and curls. For clients with very short hair, going in from the side and lifting is more effective than trying to fully scrunch.
The classic technique, and the maximum level of manipulation.
How: Start at your ends, gather hair into the bowl, then press up toward your scalp so the hair scrunches, just like scrunching with your hands.
This brings out your natural curl pattern. We’re not creating a pattern that doesn’t exist. We’re getting your curls to dry at their maximum curl potential.
Some call this pixie diffusing, but that technically means turning the dryer on and off between sections. You can do that if you’re really struggling with frizz or wonkiness. I usually don’t.
Scrunch diffusing especially helps curls last longer if you have waves, loose curls, or soft hair that falls easily. A tighter starting point on wash day means that when they loosen, they last much longer.
Use one, or combine them, depending on the result you want.
If wonky curls are your main struggle, here’s how they compare:
This is where most people go wrong. These apply to every section of your hair, wherever you are on your head.
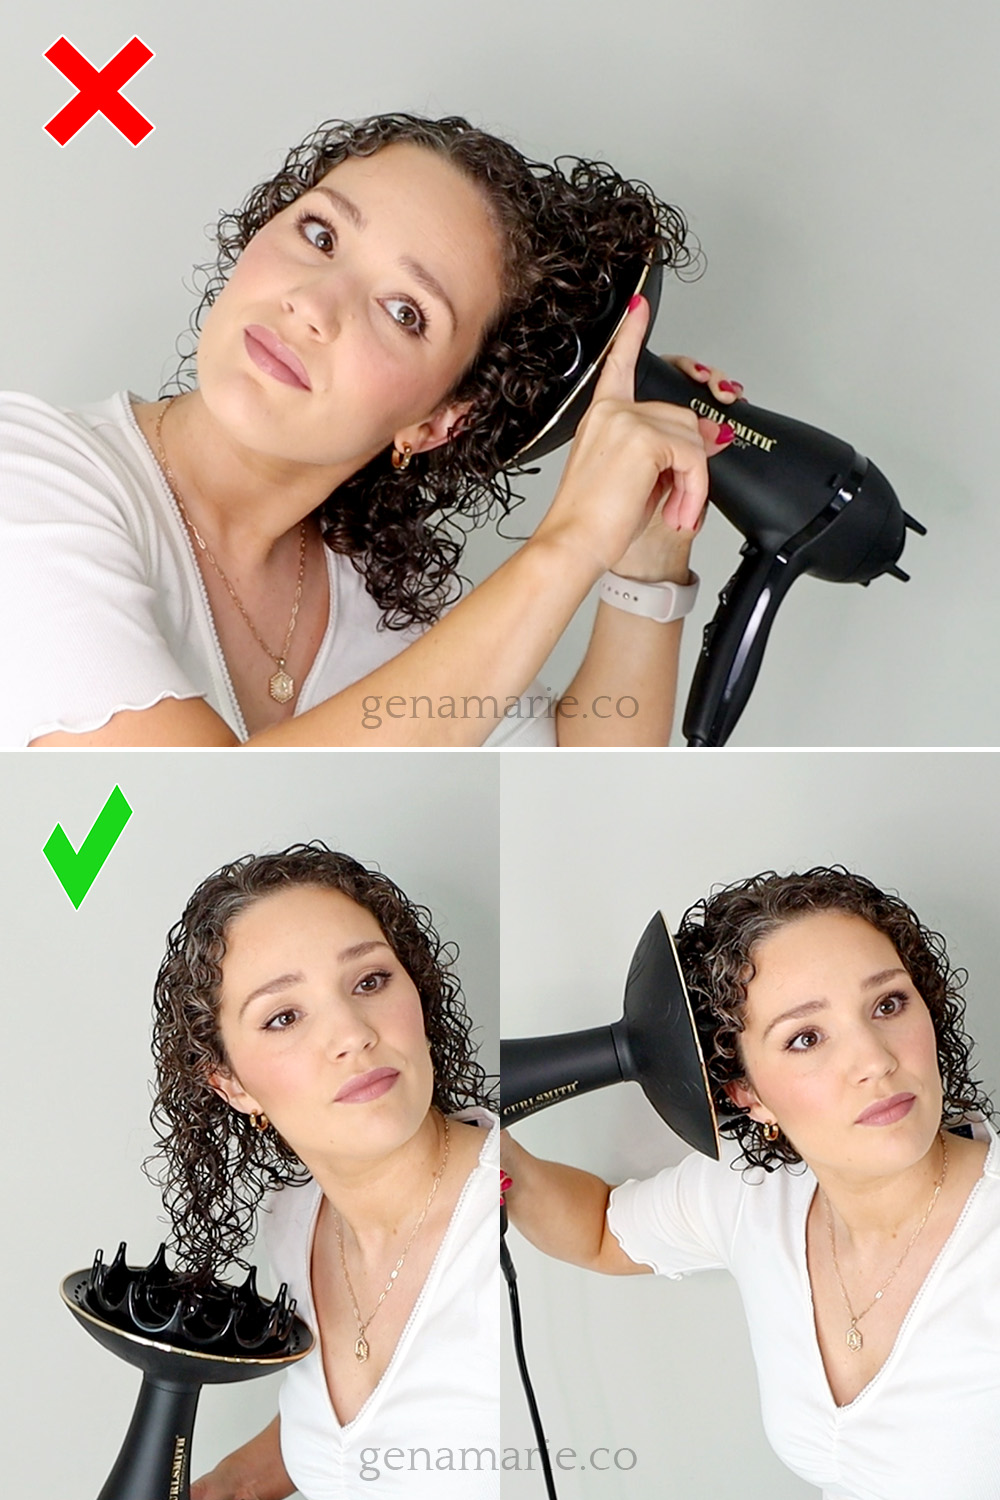
Too much and you’ll miss bent areas that dry wonky. Too little and it takes forever to dry.
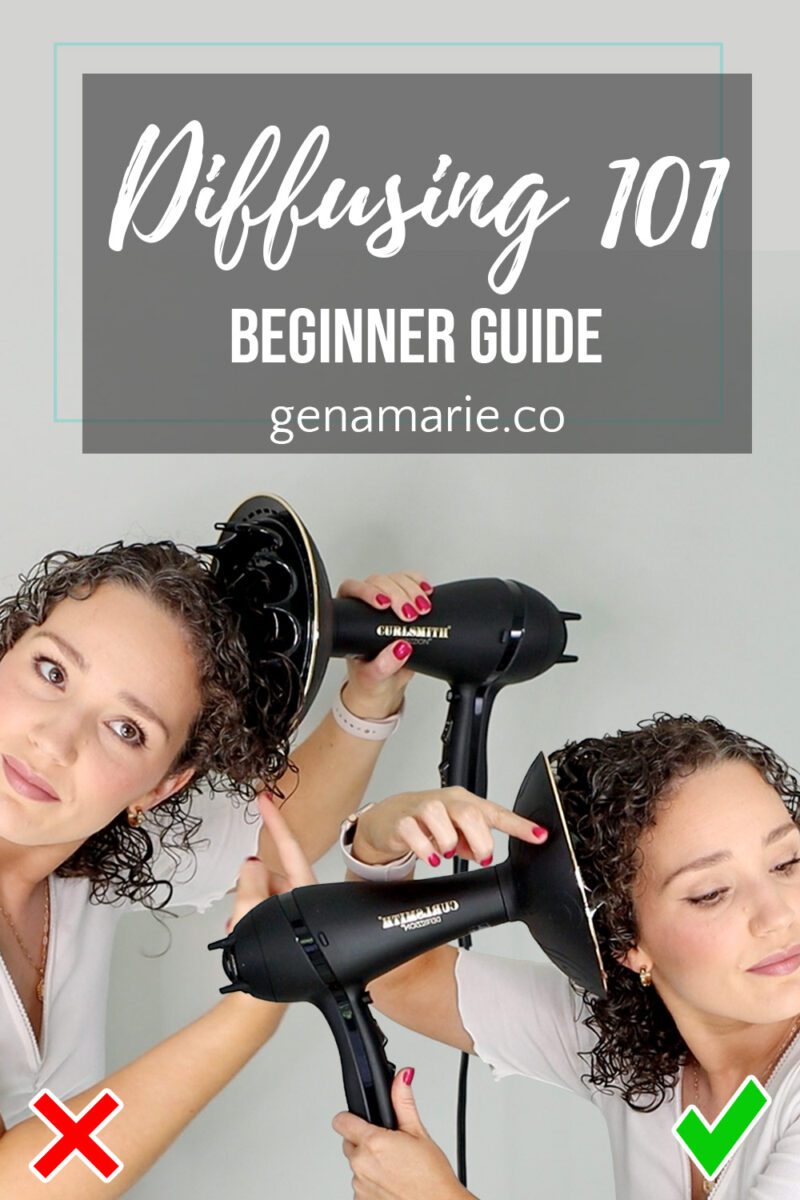
It’s hard to grab hair properly with the diffuser alone, so I use my other hand to guide it.
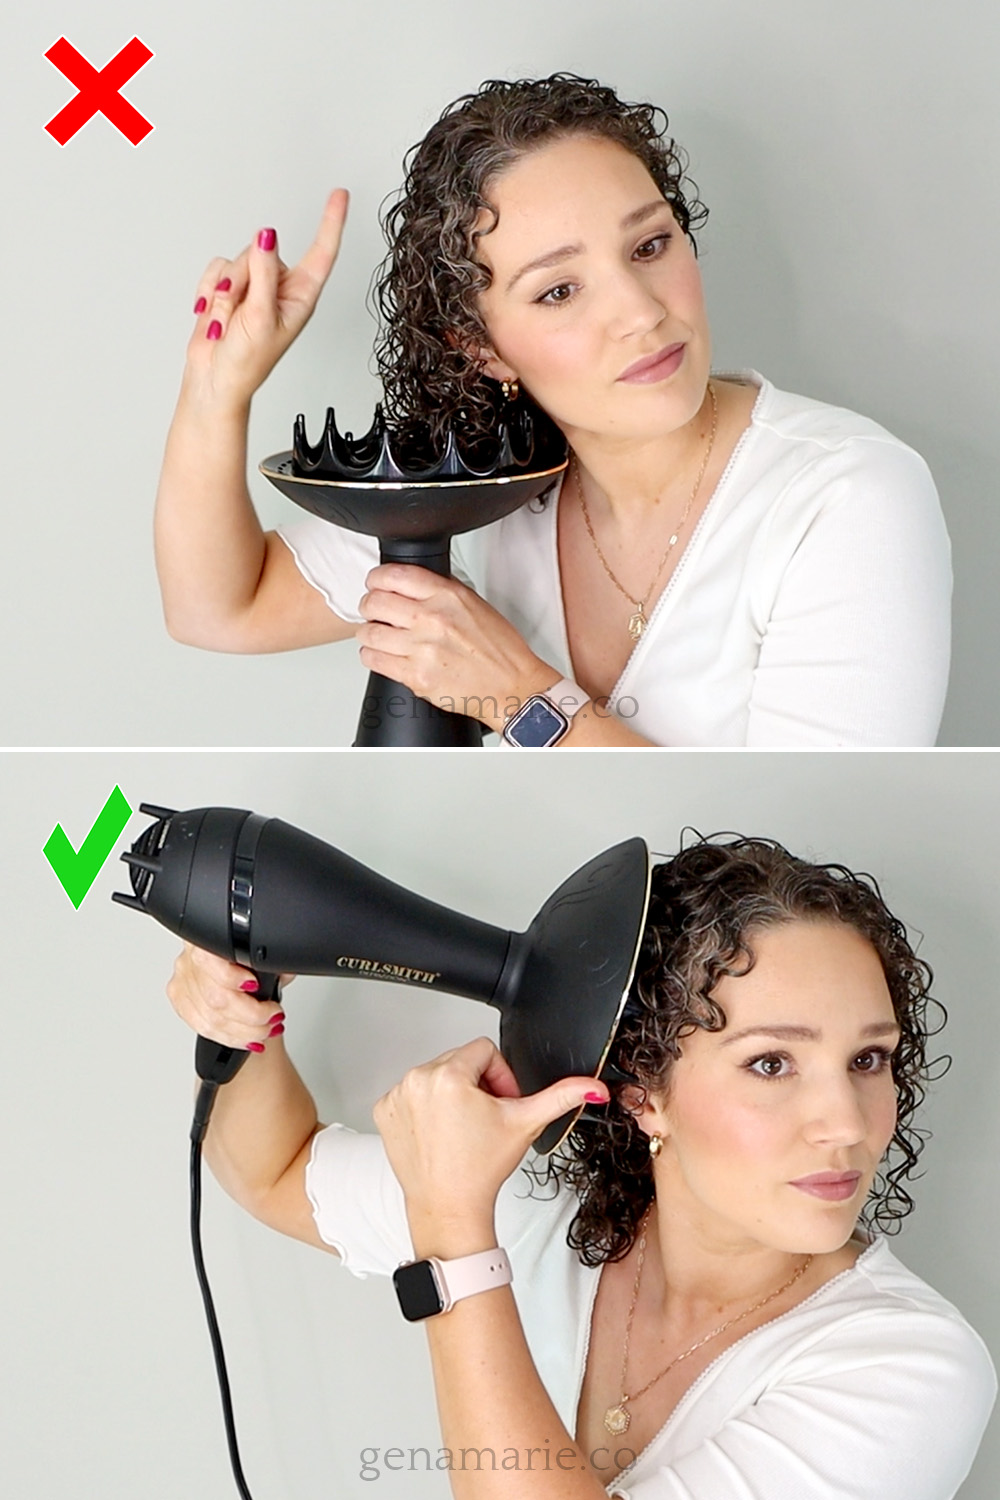
Don’t stop and point the diffuser straight up. That blows air up the hair shafts and pushes hairs out of their curl clumps, which is frizz.
Instead: a slow, fluid motion that ends with the prongs pointed toward your head. When I stop on a section, I feel all the prongs flush against my scalp. That blows any frizz into your hair instead of out of it.
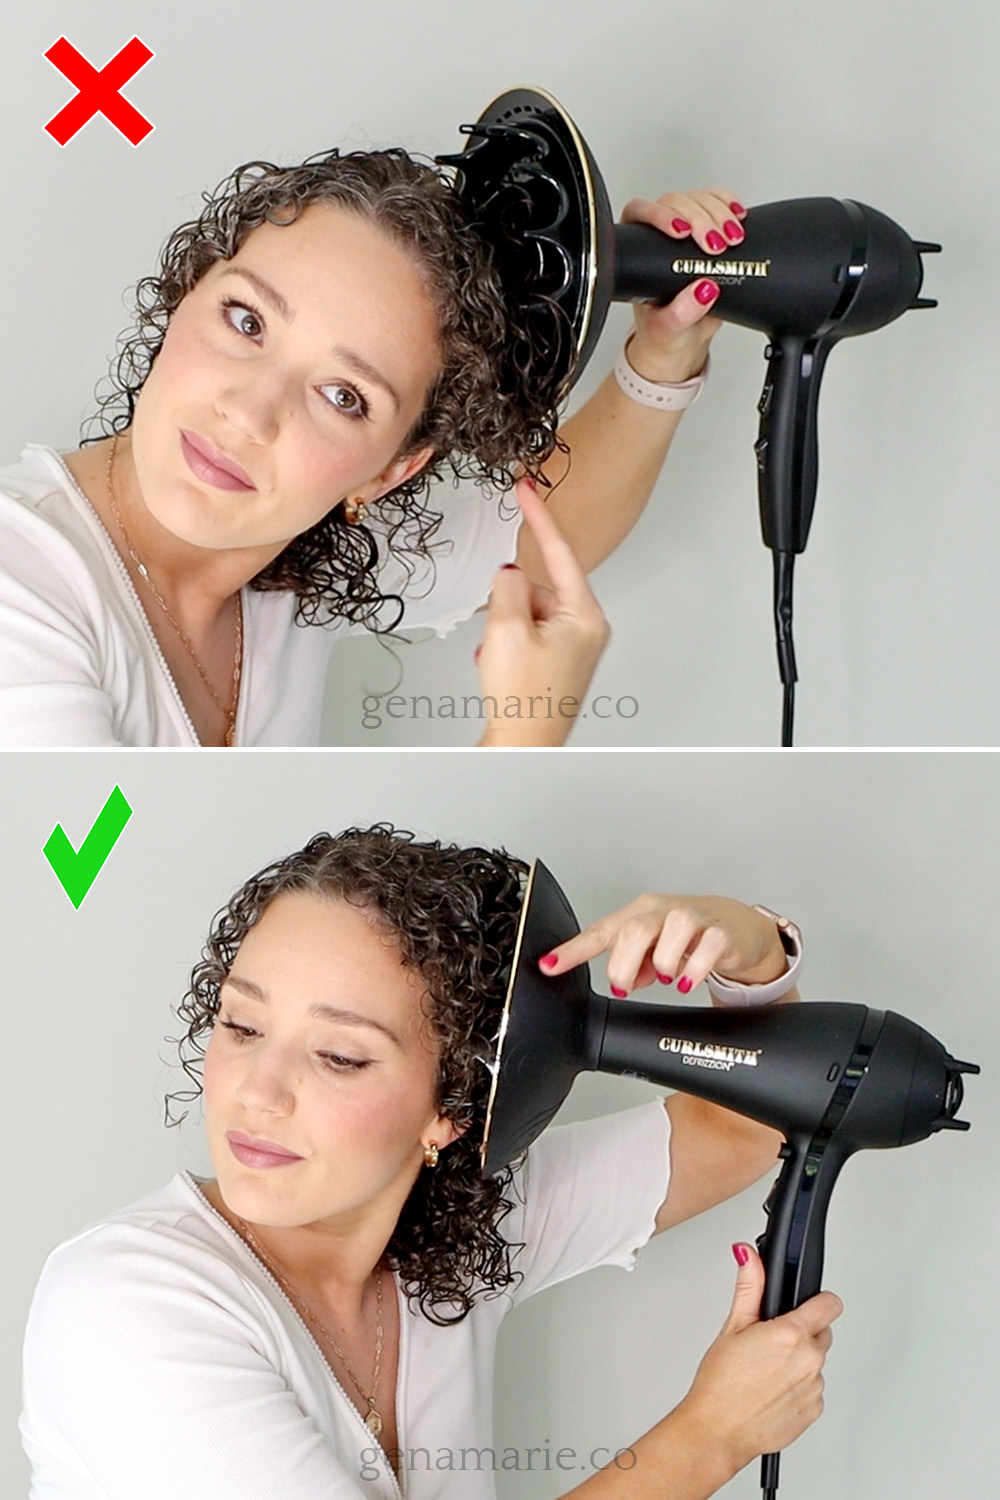
Here’s what I see beginners do. You put your ends in the diffuser, and because I said to end at your scalp, you fold it up. Now you’ve got a 90-degree bend, or a U shape.
That bend is what creates the wonkiness. It’s also why people’s ends are often so much curlier than their roots. They never really got the middle and the root area.
Instead:
I especially see this with waves and loose curls, which don’t have as much spiral and aren’t easily scrunched. If you’re really struggling with wonkiness, use the lift method instead of trying to gather everything and scrunch to the top.
Aggressive scrunching creates frizz, because more touching during the drying phase means more friction.
Now that you know how to place your hair, here’s the order to work in.
Don’t dry one section to 100% and then move on. The heat still reaches the sections beside it, and those can dry elongated instead of scrunched. Work in laps instead:
Two payoffs. You keep room for error, because a bent section isn’t stuck yet and you won’t have to re-wet to fix it. And you’re not over-diffusing one area while the rest is still wet.
Laps are what dry hair evenly and prevent the wonkiness that often happens with waves and loose curls.
A lot of the weight sits in your ends, so scrunch there first for maximum curl shrinkage and formation. Set your priority area right away. For me that’s my face-framing curls in front. Wait until the end and they’ve already taken hot air from the rest of your head and set more elongated.
Start upside down if you like, since it targets the front best, but come upright to finish. Avoid diffusing updside down the entire time. Upright you can see how your hair lays and whether you’re actually scrunching properly, which is hard to judge at the sides and back. Work in thirds: front, one side, then the other.
Go in from the side at the mid-shaft, working around your head. This is also great for layers. I target my layering at the mid-shaft so it doesn’t just compress into my lower layer.
With long hair, don’t do the whole length at once. Ends separately, then mid-lengths with lift, then roots with lift. Going in from the side gives a much more even scrunch than trying to scrunch perfectly from ends to roots.
Roots get the most lift somewhere around 50 to 80 percent dry, or even upward of 80 percent. Getting root lift in the same pass as your ends is really difficult.
If the prongs aren’t creating any height, the problem may be your styling, not your diffusing. When hair is squished together and stuck to your head, there’s only so much a diffuser can do. My Curl Stacking post shows how to style to prevent that heavy, flat root look. It’s all about creating space at the root.
Get your hair fully dry with the diffuser if you can, so you can see your real result.
It’s hard to tell when hair is fully dry, so I gently touch mine toward the end. If an area is still damp, I focus the diffuser there and turn the airflow up. My underside tends to stay damp.
What the cast is doing: it sets your curl shape without frizz. It holds the curl clump and lets the shape form. Think of it as a protective shell that dries your hair in the position you want, so you can break it and the curls stay intact.
If your hair didn’t dry with a cast, it’s usually one of these:
That’s totally fine. Just know lighter hold can mean more frizz from diffusing, especially if your technique isn’t dialed in. With a good strong hold gel or mousse and proper diffusing, you should feel a cast. That means your routine worked.
To break it:
Leave it in entirely if you’re going to bed or heading into humidity and want your curls to last. It softens naturally overnight or through the day.
Short on time? Diffuse until you’re happy with your curl shape, then let it finish air drying. There’s a delay, though, because you can’t break the cast while it’s still wet. That’s what creates frizz.
If you don’t get much frizz, you can break your cast slightly early and hair may dry faster after. Just avoid it while it’s still pretty damp. Fully dry, or barely damp, is the target.
Not much frizz at all. Just some normal, natural frizz, which is completely normal.
Hair is never going to be completely frizz-free, but your diffusing routine shouldn’t be causing significant frizz. If it is, go back through the steps here and check each one, starting with hold. If you start with not enough hold, it only goes downhill from there.
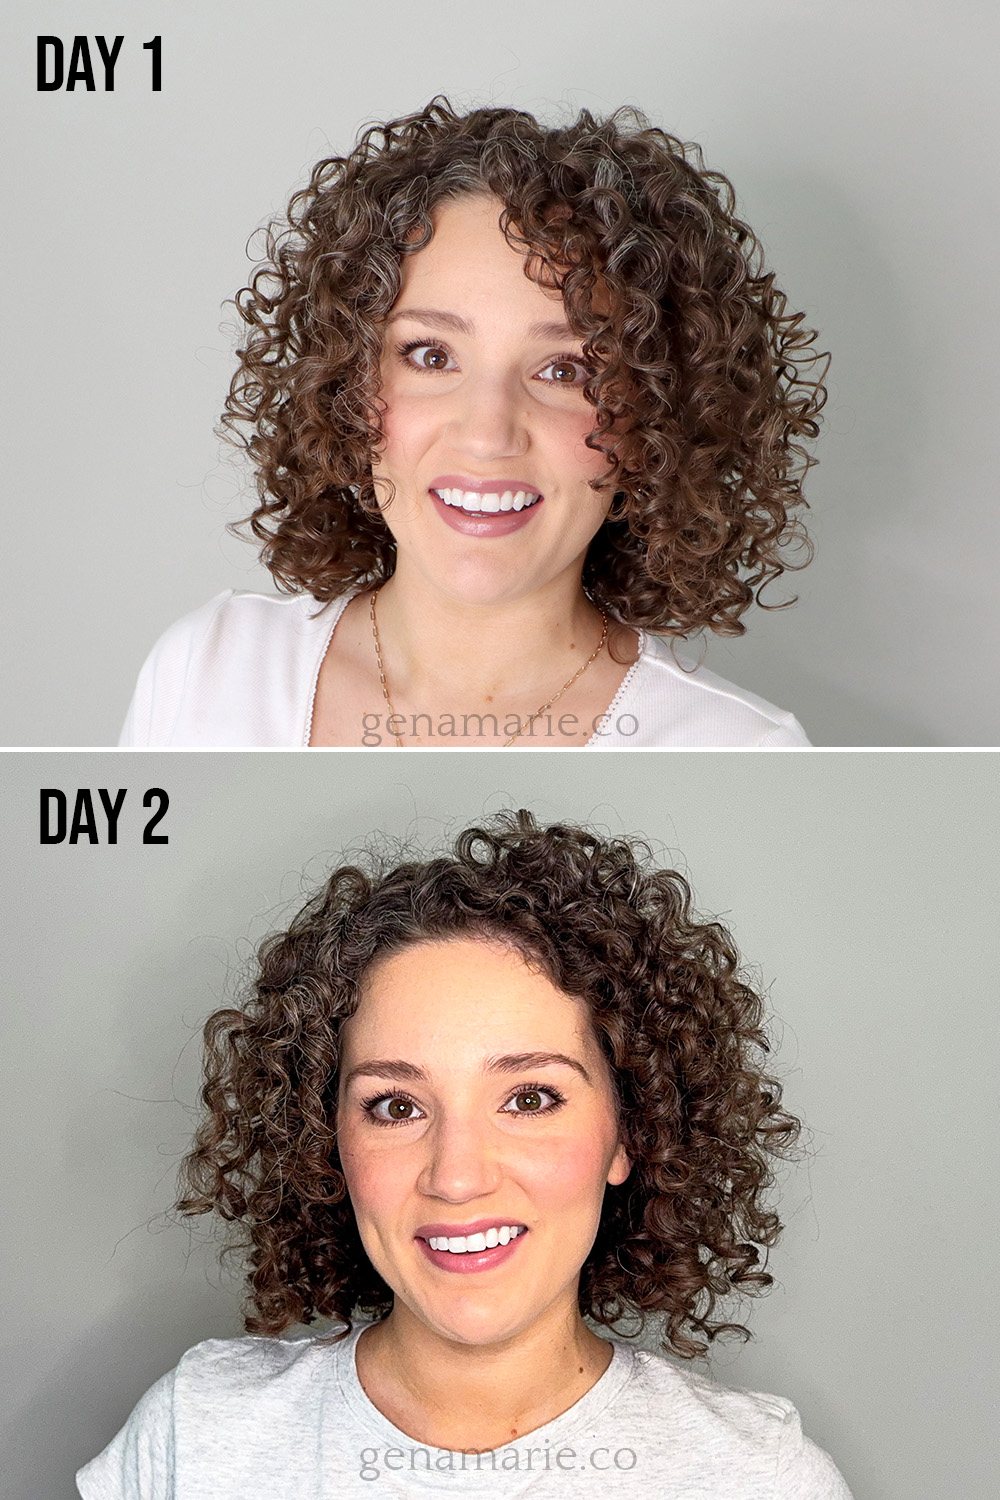
These are my results with no refreshing at all. This is why I diffuse. It saves me so much time, because I don’t have to do anything with my hair today.
When hair is more defined and set into position on wash day, it holds up so much longer, because even as it frizzes and elongates through the week, everything stays in place better.
If you’ve tried all of this and it’s still not working, something else in your routine needs tweaking. Usually it’s:
If you’re still getting frizz, revisit what happens before you diffuse. My Balanced Routine Post in the Beginner Curl Series covers balancing moisture and hold, and how to build a routine that lasts.
Most people don’t need a different routine. They need someone to catch the thing they can’t see. It could be as simple as the way you’re holding the diffuser, your hand movements, etc. That are difficult to catch on your own. This is why I watch all of my curl clients diffuse, style, and refresh, because I catch the little details and tweaks that make or break their results.
Doors close September 15th for my Fall Curl Coaching Program. If you want to finally diffuse well and get longer-lasting results with less time, effort, money, and fewer products, I’d love to have you in this fall program. Reach out any time if you have questions.

If diffusing always gives you frizz or wonky curls, or you’ve decided it isn’t worth your time, it’s not diffusing itself. It’s that no one
Do you really need different products for your exact hair type? That question came up over and over in today’s live Q&A, and the answer
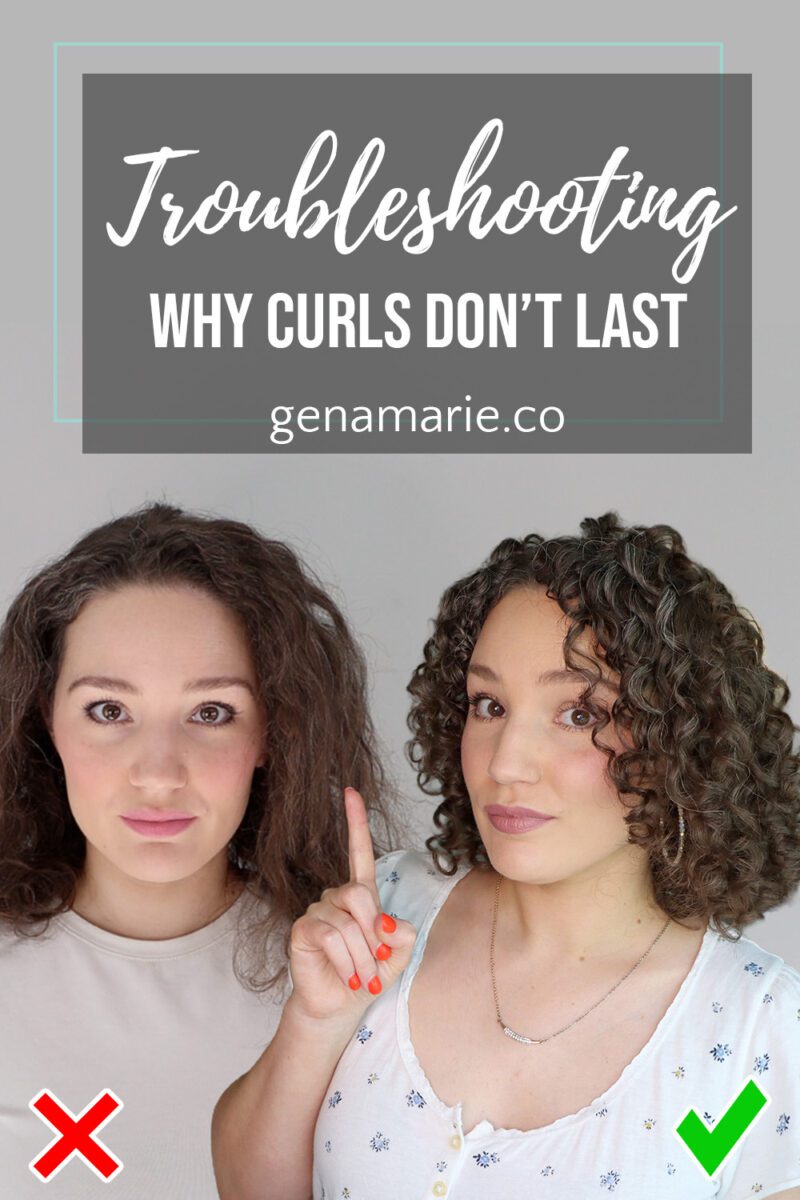
You put all that work into wash day, only for your curls to frizz and fall out by the next day. Then you’re stuck restyling
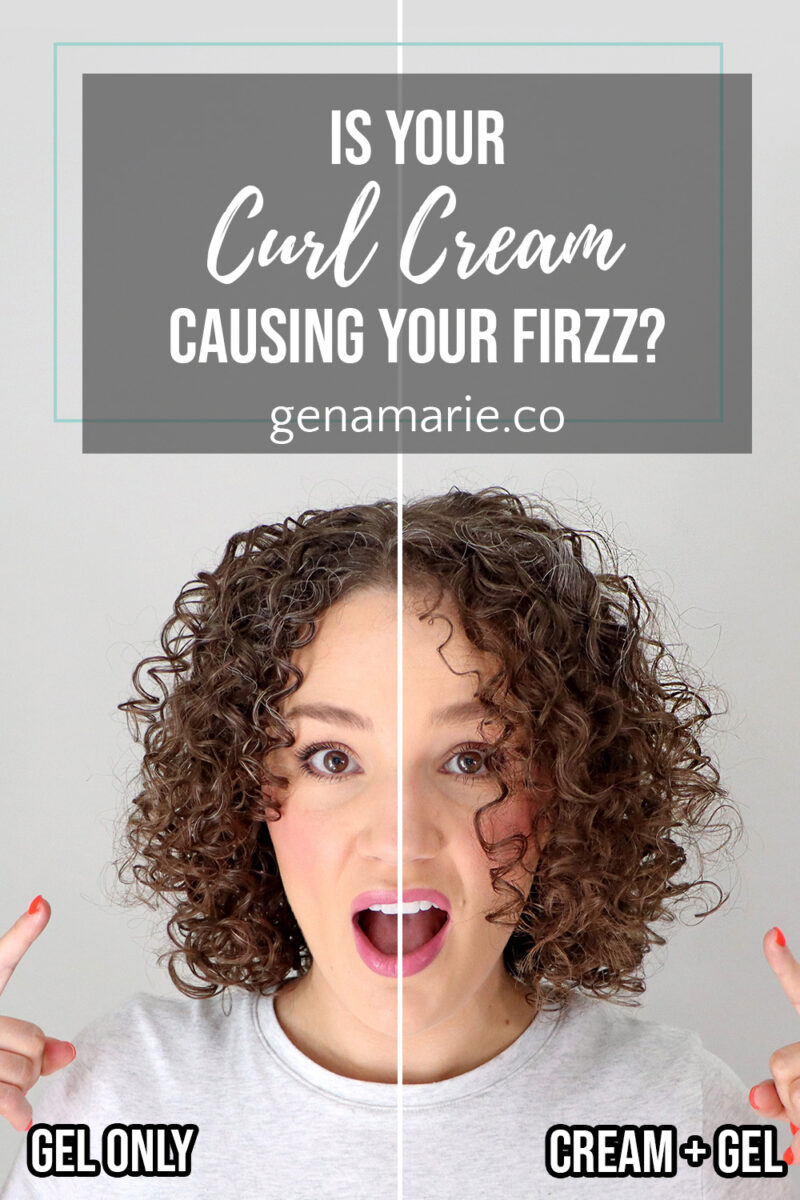
Could your curl cream be the reason you have frizz and can’t get your curls to last? I put it to the test with a
Notifications